For those of you who don’t know what a grain sack pillow is,
or aren’t familiar with them,
allow me to introduce you 🙂
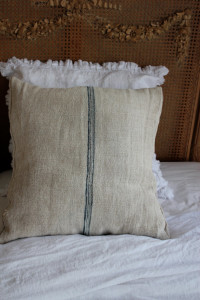
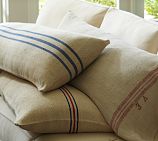
This … is a grain sack pillow:
They’re usually made with vintage burlap sacks used by european farmers
that have either red or blue died yarn going down the middle of it.
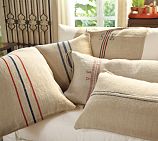
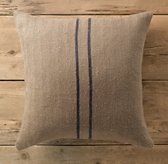
PotteryBarn has some great ones, but at $89 a piece,
I don’t think so.
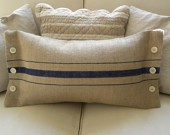
You can find some great ones on Etsy,
Depending on how true to real european grain sack they are using,
will depict the price.
So trying to be thrifty, which aren’t we all ? :),
I came across some really nice soft linen fabric at JoAnn’s
and decided to give it a try myself.
Unfortunately I bought the fabric and zippers back in february I think?
I know I got it on sale, but I really can’t remember at what $$.
So let’s just say the fabric was $6,
I had enough for two pillows, and some left over for another project.
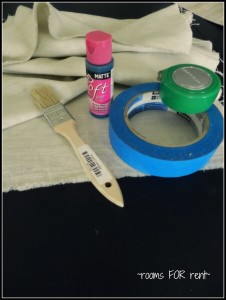
I started with:
(Fabric and craft paint I purchased, everything else I had)
First I made the square pillow covers.
It honestly is one of the easiest things to do with a sewing machine,
since you are just sewing four straight lines (with the exception of adding the zipper)
that I didn’t take any photos,
but there are some great tutorials out there,
I pinned this one on Pinterest, and took a peak at it for a refresher.
I didn’t follow her zipper instructions, but thought it was a cool idea 🙂
Once they were finished,
I knew I wanted my stripes to fall vertically and be centered in the pillow,
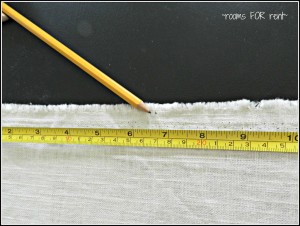
so I measured to the middle of the pillow and marked it with a pencil.
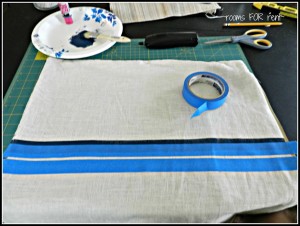
I knew I wanted one stripe in the middle with two smaller ones on either side of it.
I made dots for each stripe and then grabbed my painters tape.
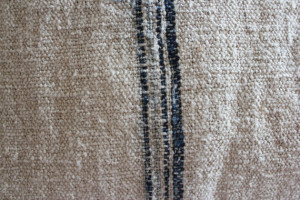
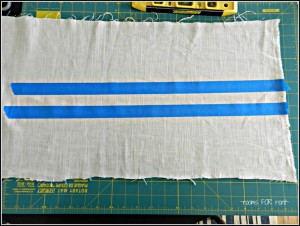
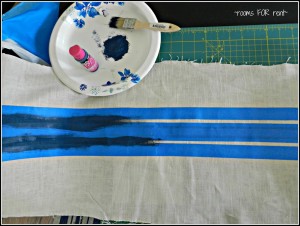
I did a test run on the extra fabric left over (pictured above) first,
just in case it was a total fail.
Once it dried and I liked the outcome I continued on with the pillow covers,
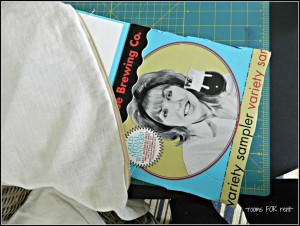
inserting cardboard into them to catch any paint that bled through.
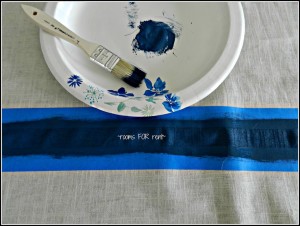
I started with the middle stripe and painted it a little uneven in spots to give it a “aged” look.
Once the middle stripe was dry I taped the outer stripes off and painted those as well.
Once I finished with the outer stripes, I pulled the tape off right away,
like in painting my horizontal stripes,
because a.) I figured, if it worked good on the walls, why not the pillow?,
and b.) I liked not having to wait to see with finished product :).
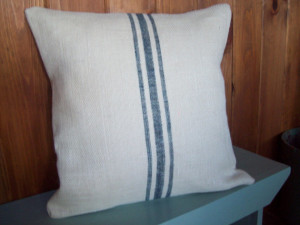
And I love how they came out!
They were exactly what I had envisioned,
and love how simple they are.
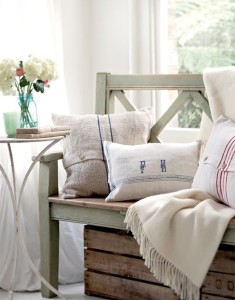
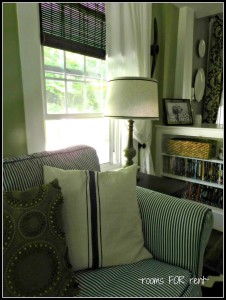
Here is the pair
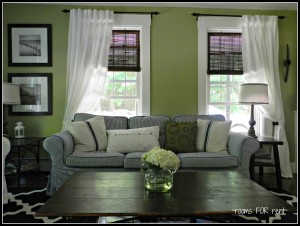
recently shown off in our
post.
Hey there! Just wanted to let you know you are the lucky winner in OAK House 5’s drawing for the Tori Spelling book! Just email me you shipping info and I’ll get the book right to you! Sorry to contact you here, but I dont’s think you got my email.
~Kelly @OAK House 5
Wow! I love these pillows! They look awesome! Hi, I found your blog via the blog hop and am following along now. ! I’m excited to get to know you!
Alesha <3
Looks so great! I am definitely doing this. Been needing pillows for a while now and was really coveting the PB ones…. Thanks!
Visiting from Thee Networking Bloghop.
Britta @ TheHandmadeHouse.net
I love yours more than PB’s! Thanks for sharing this project! I want to do a summer look in my bedroom and use navy and cream, just might have to give this a try!
dee dee
Love this! Have you tried washing them? Just curious as to how the paint holds up. Enjoy your day!