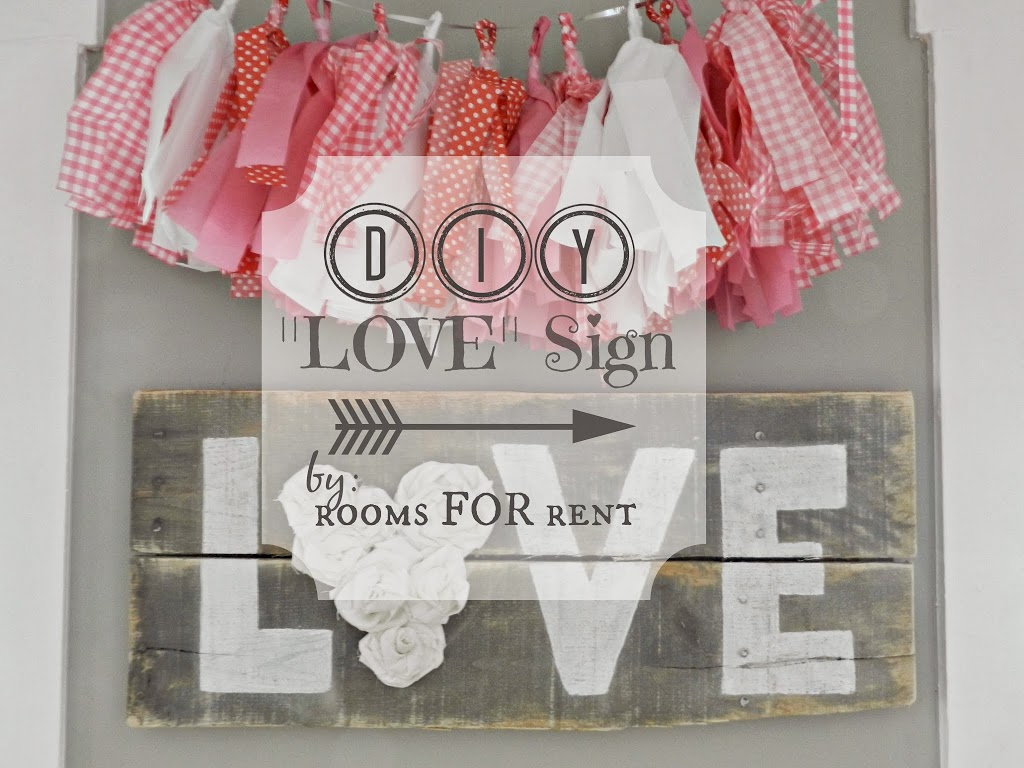
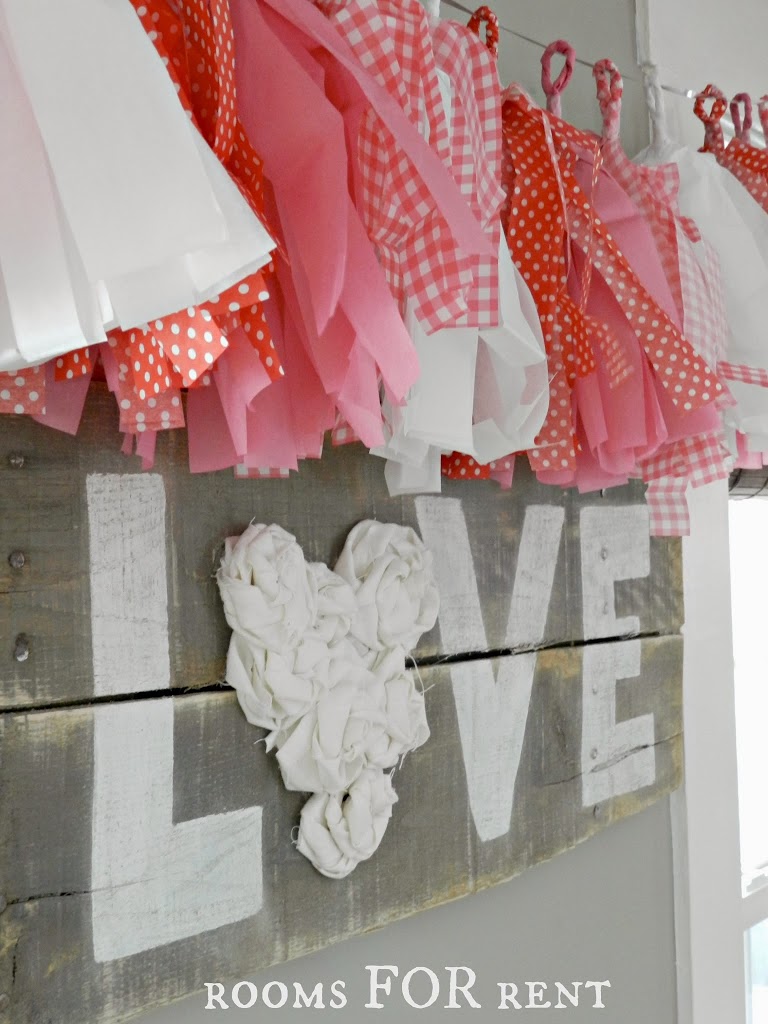
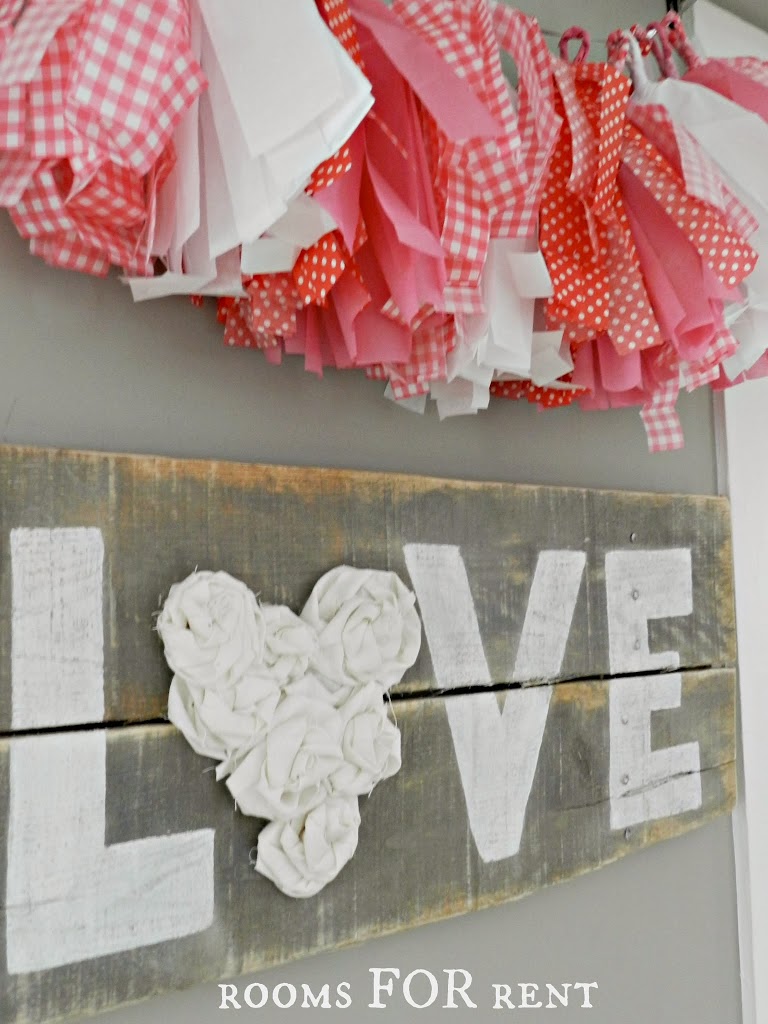
I shared this tutorial over at Migonis Home last week, but in case you missed it, and still want to make something quick and easy for Valentine’s Day, I’ll share it with you here today. It is such a cute sign, and quite easy to make, especially since there are such minimal materials needed. When I first saw this sign from Shanty 2 Chic on Pinterest I fell in “LOVE”. Literally! Since I don’t have a silhouette machine, or a fancy printer, the first time I made it I decided to just use what I had, and hoped for the best 🙂 I was smitten with the first one, so I’m back today to share with you how I made mine.
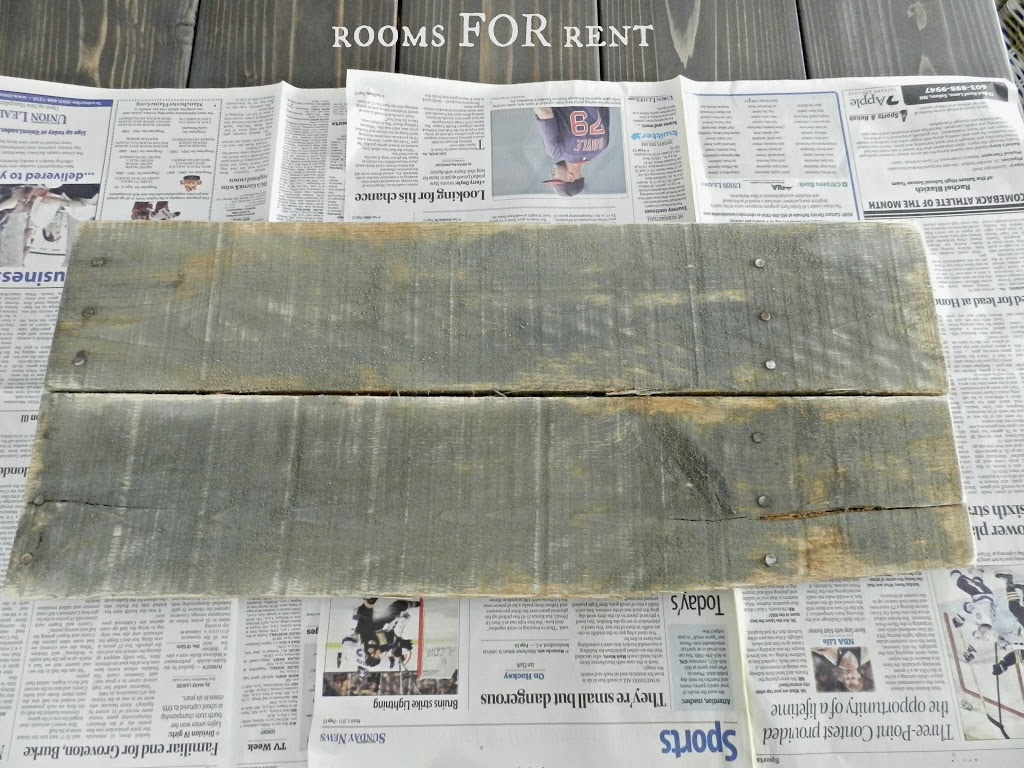
First you will need to get the piece of wood you want your sign to be on. I grabbed some scrap pallet boards from my stash, but guessing that most of you might not have this on hand, I would head to your local Home Depot or Lowes and go to their lumber section, and look through their pine boards that are at least 8″ in width. I think the wider the better for more of a farmhouse look, but that’s just me 🙂 You want anywhere from 2-4 ft in length, and no worries they will cut the board right there in the store for you! Once you have your board you are ready to begin.
I chose to rub some stain on mine for a more weathered look. You can use stain, paint, a combination of both, or just the raw wood. It’s your sign, make it how you want. You will notice I planked 2 pallet boards together for mine, if you have seen most of the signs I make, I tend to go this direction just because I really like that look.
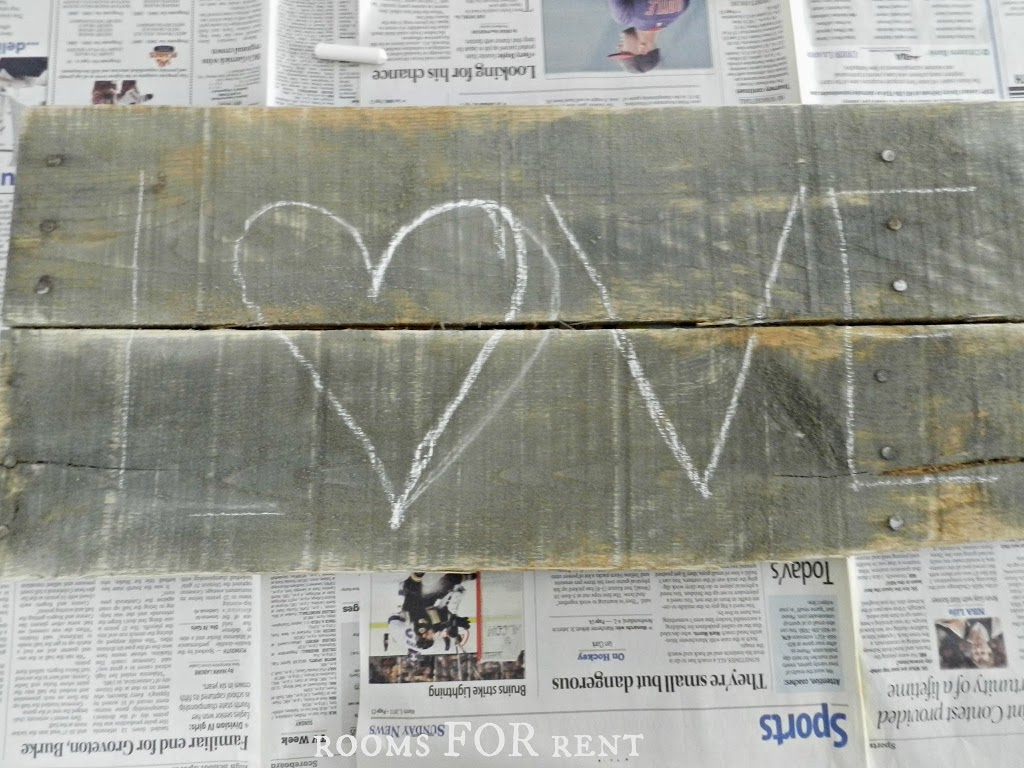
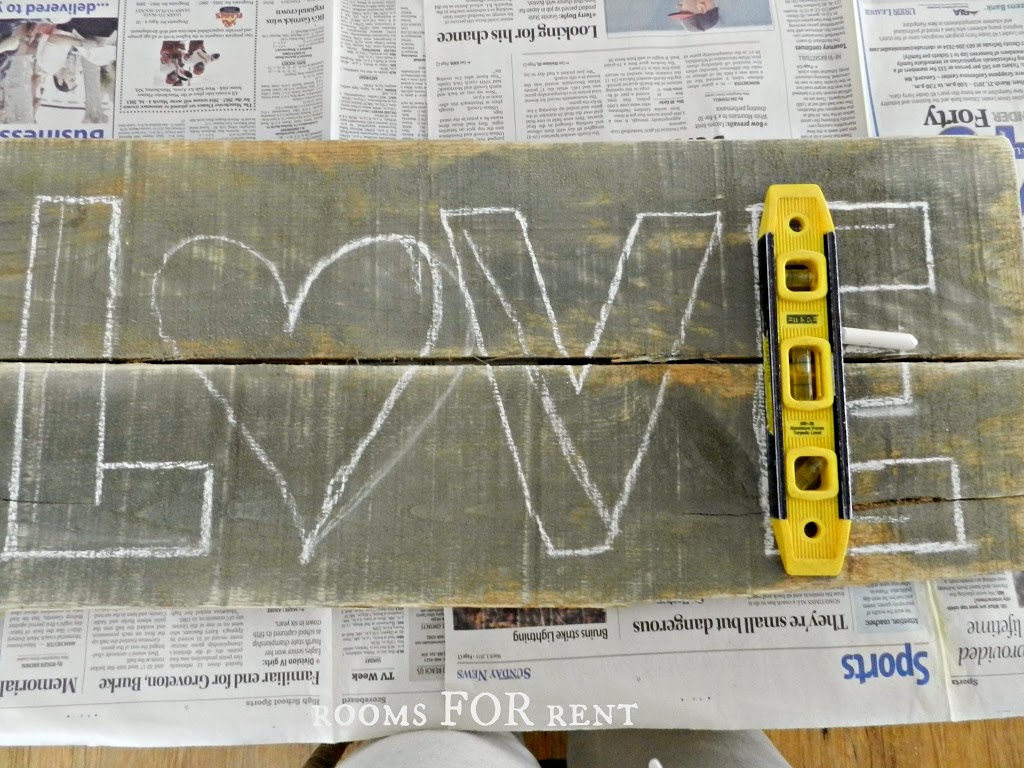
Next, with a plain ol’ piece of white chalk, I sketched out the letters for my sign. This is strictly for spacing and overall width on your board. don’t worry about straight lines, just that everything is evenly spaced out and placed correctly.
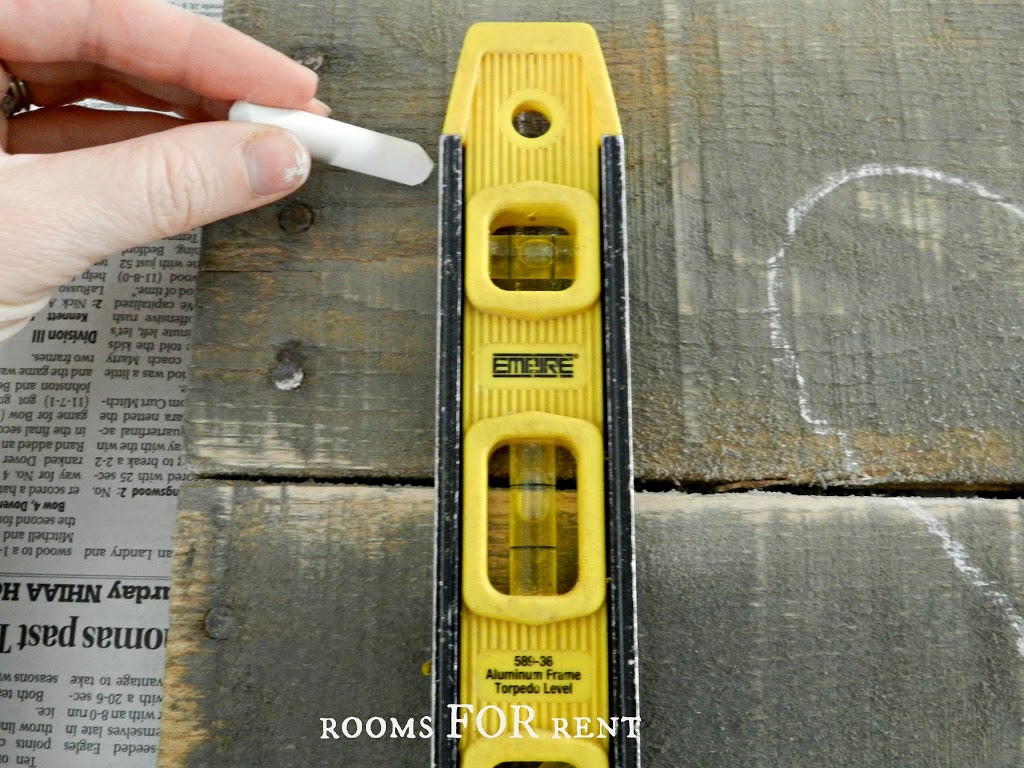
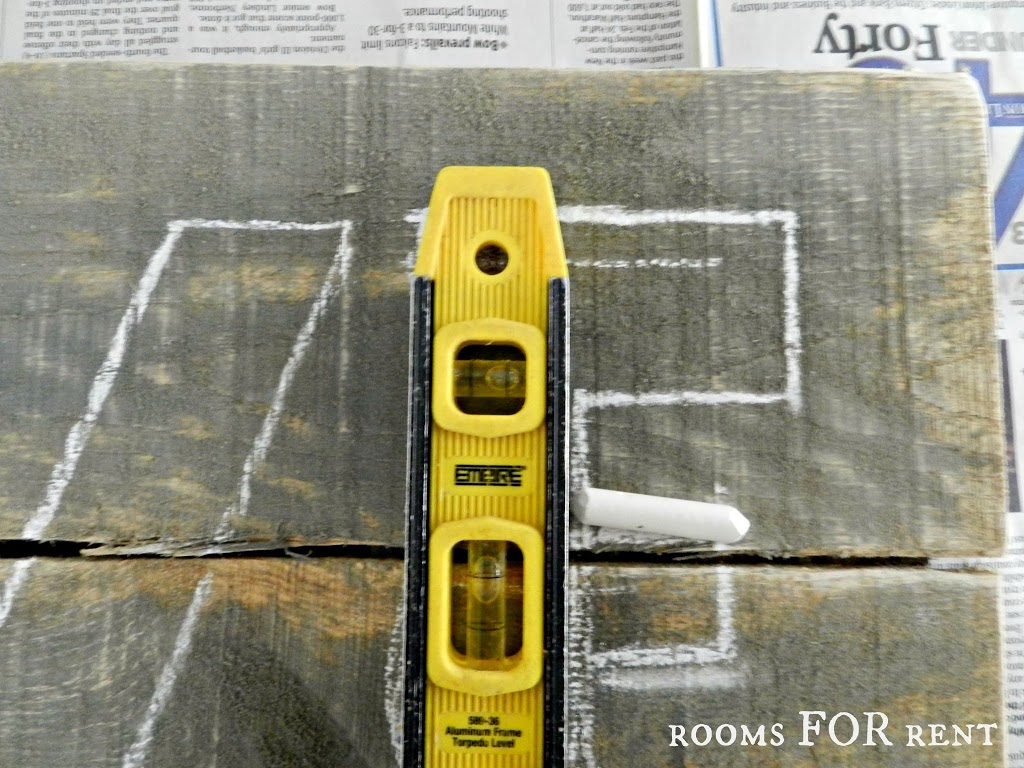
Then, you want a ruler or level like I used vs. any old straight edge, because I traced both side of the level to make sure that the width of all my letters was exactly the same.
Since all the letters you are painting have straight lines, this makes using a ruler or level like mine easy to draw out your word, and ensures a consistent look, like you would get using a silhouette printer, or tracing letters.
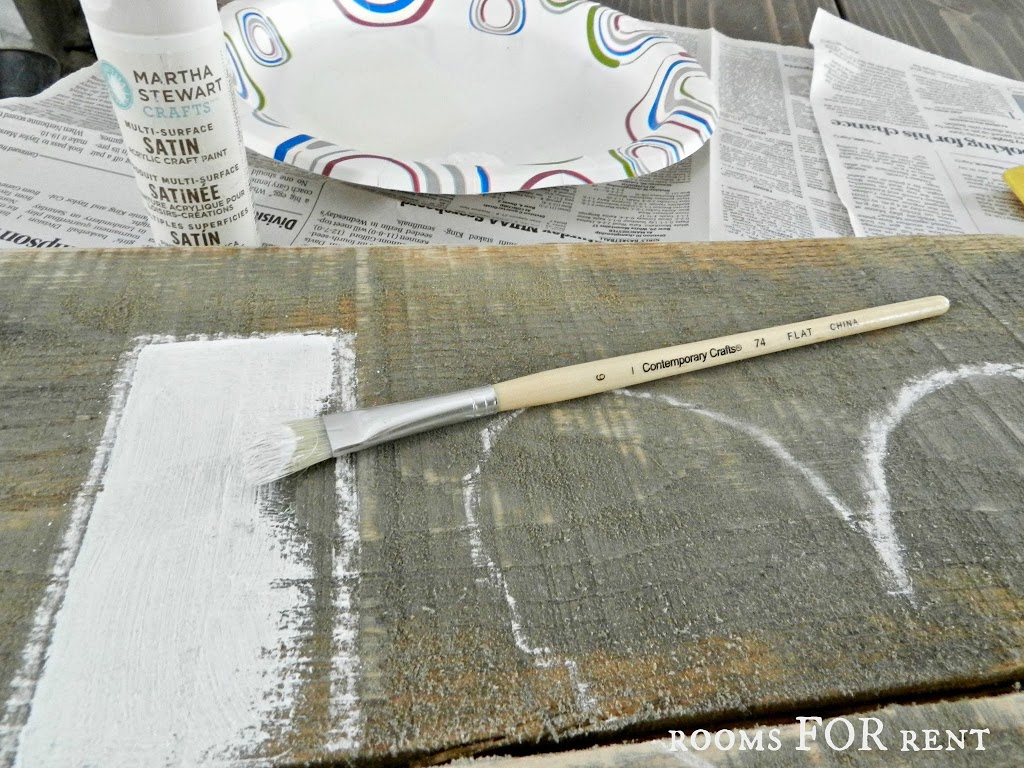
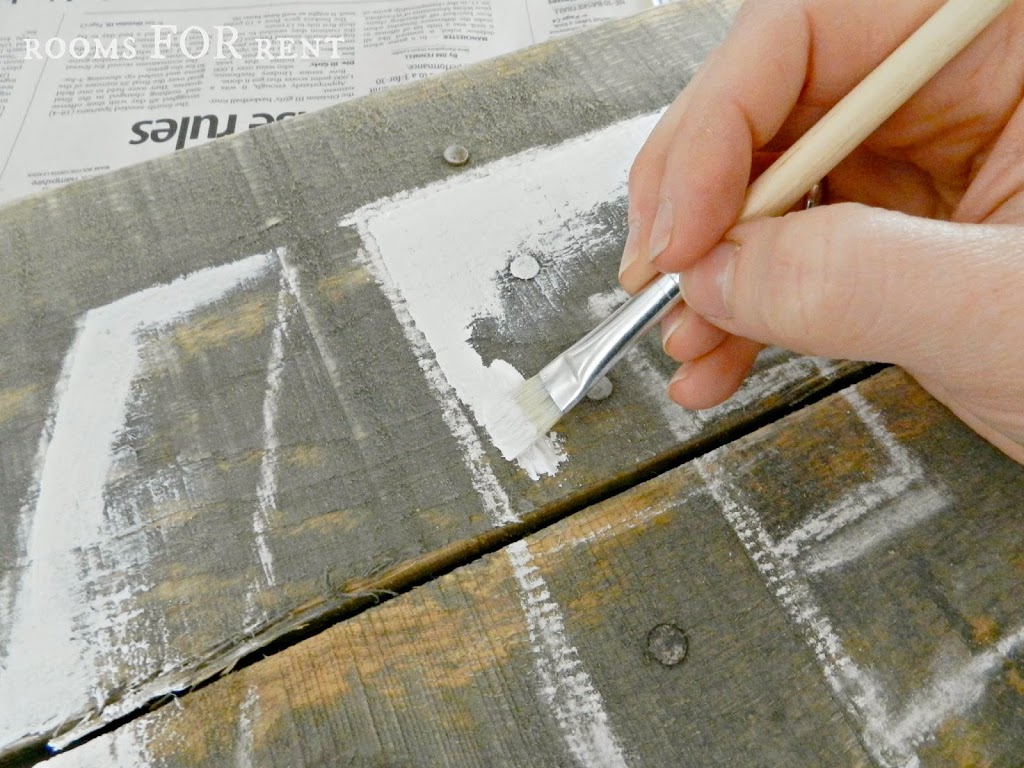
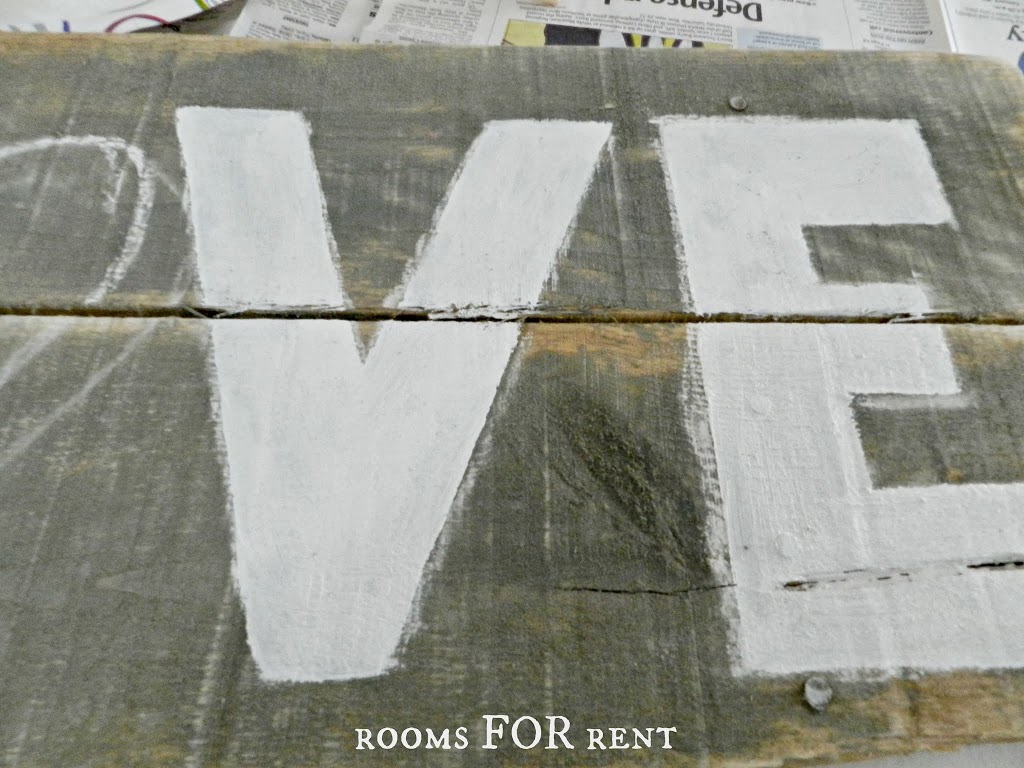
Since my wood is really rough, I opted for a stiff bristle brush, but if you are using new wood than any medium sized paint brush would work fine. I used white acrylic paint and began painting my letters, staying inside my chalk lines to keep everything straight.
I started on the outside making sure I painted straight lines, and then filled in the middle section of the letters. *TIP* To help achieve straight lines on all sides of the letter, I rotated my sign around as I worked, for an easier angle to paint.
Don’t worry about trying to cover up all your chalk lines, we will take care of that once your paint dries. Once you have painted all the letters, it’s time to make your rosettes while the letters dry.
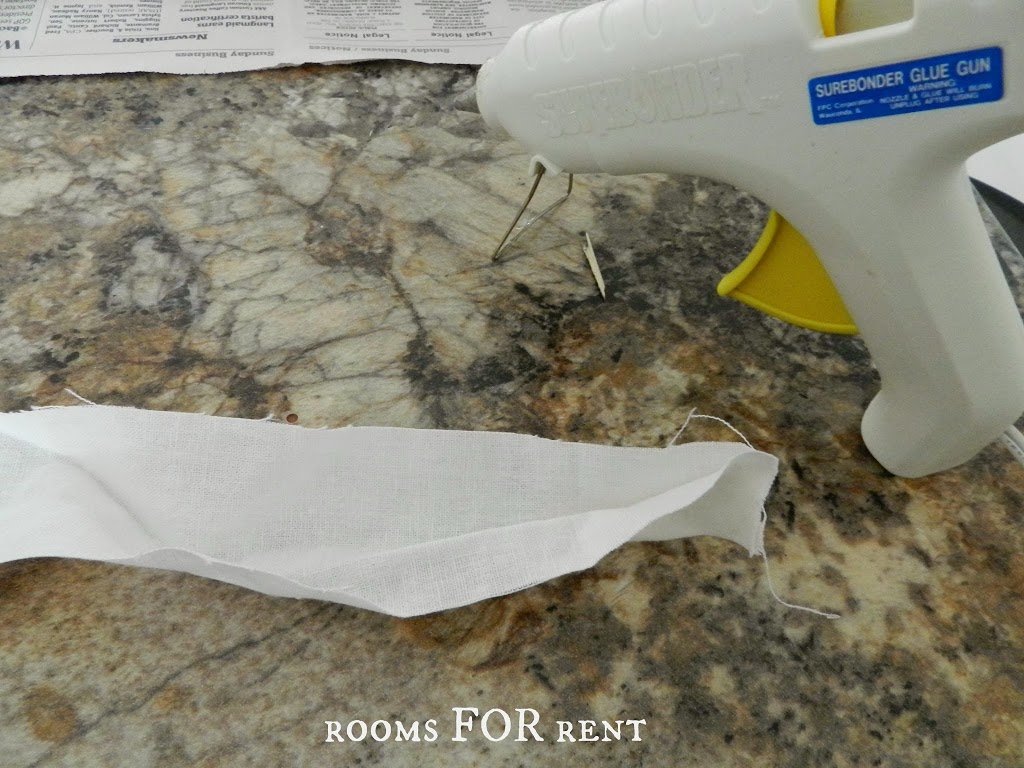
A hot glue gun will work best for making rosettes, however I’ve heard of people using a stapler as well, but for best results I would use a hot glue gun.
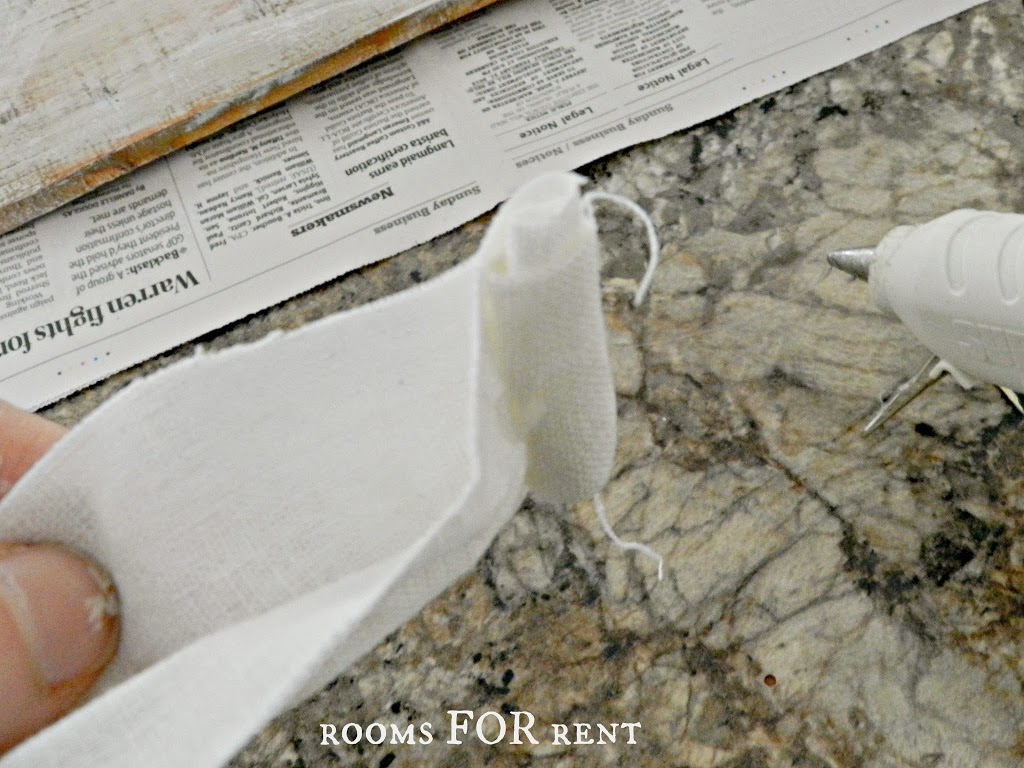
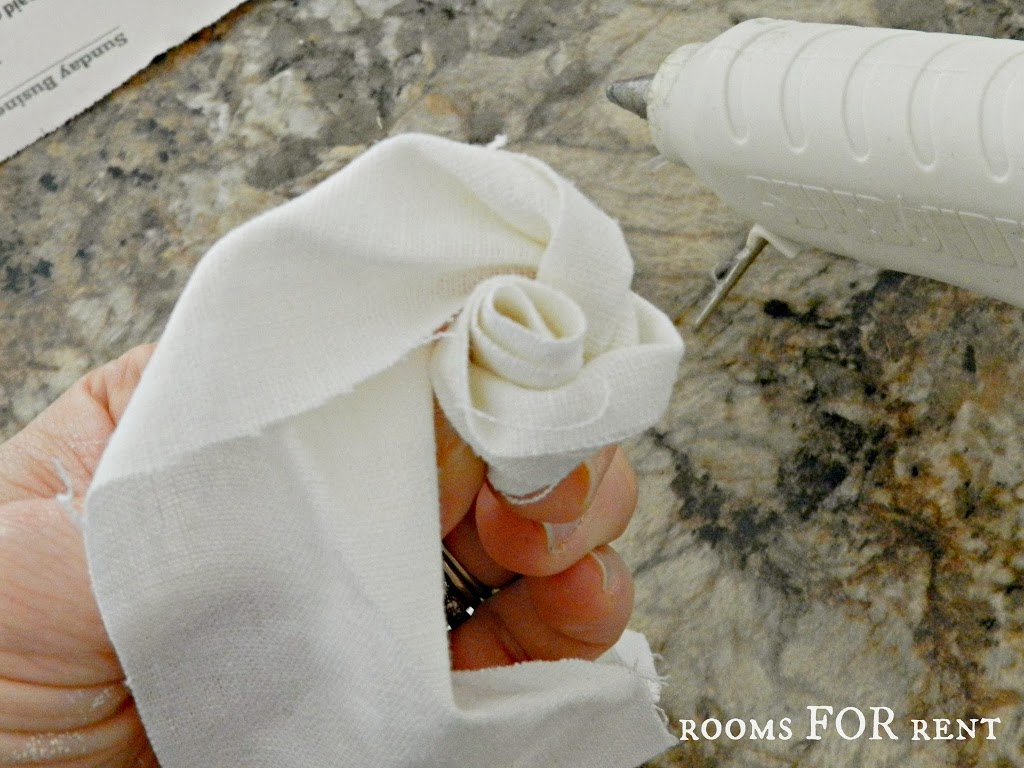
Start with strips of fabric about 2 in. in width. Fold one end in half and secure with a dot of glue. Then tightly fold that end over twice and secure with one more dab of glue.
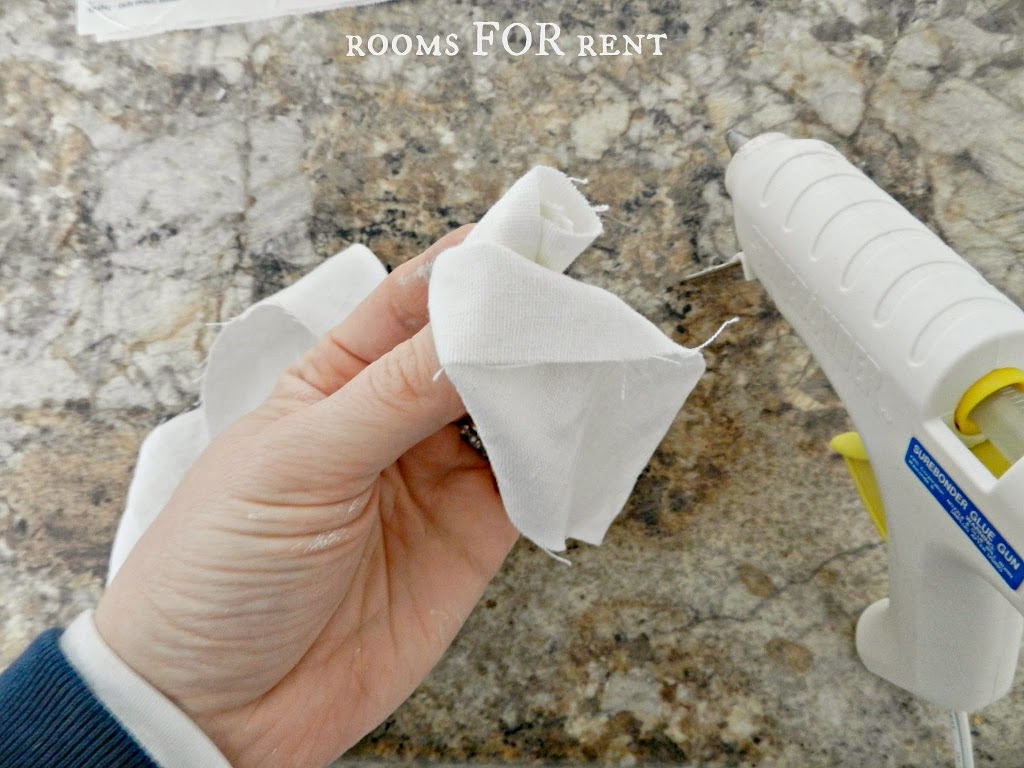
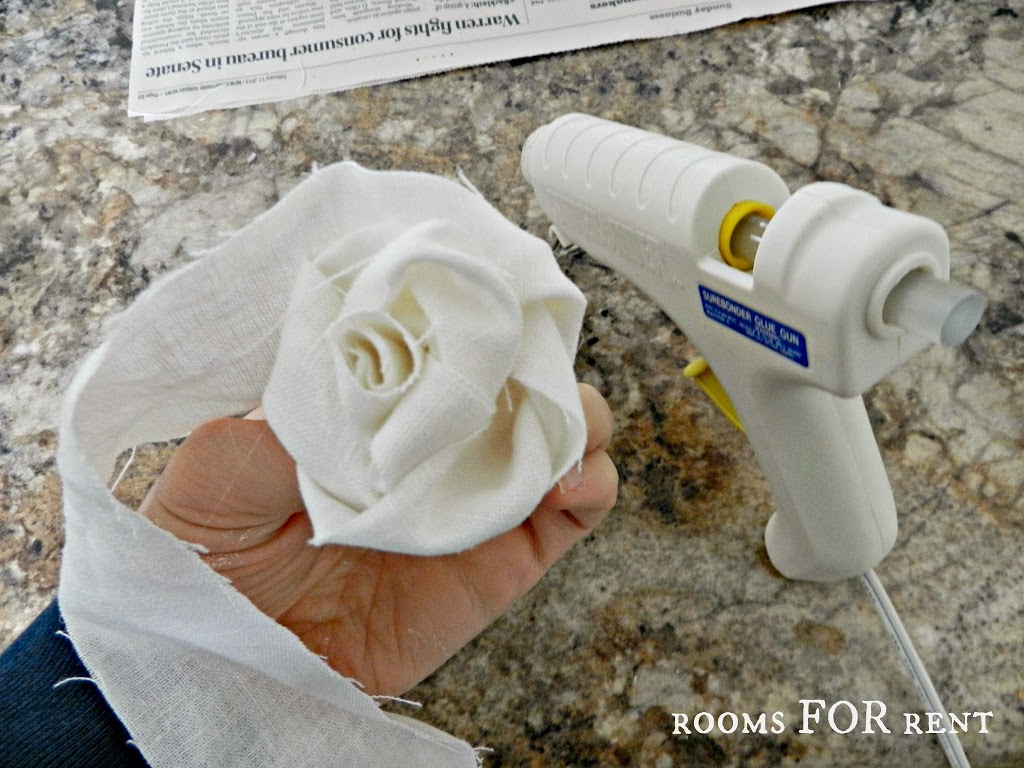
Begin to twist your fabric around, and wrap around your center. I keep it tight in the middle, and let the wrap get looser the further I make my way to the end.
As you are wrapping, you want to secure with a dab of glue every inch or so. If your rosette starts to loose its’ shape than add more glue, or wrap it tighter.
Once you have a few rosettes made you want to start placing them inside your heart drawing for placement to see how many you need. After I made three, I cut one of my strips in half lengthwise to make 2 smaller rosettes to fill in the smaller spaces.
Once you have a good idea of placement, you can then secure your rosettes to your
sign with your hot glue gun.
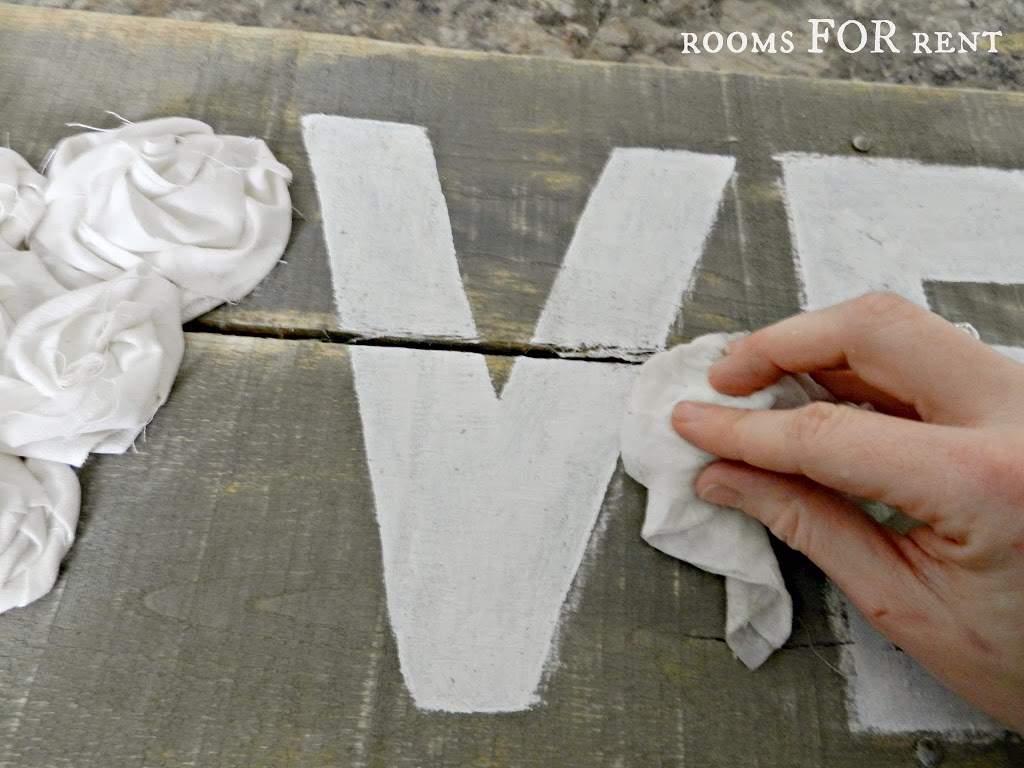
Now for those unsightly chalk lines. Once your letters are dry, with a damp cloth or paper towel wipe your sign down, removing all the remaining chalk seen.
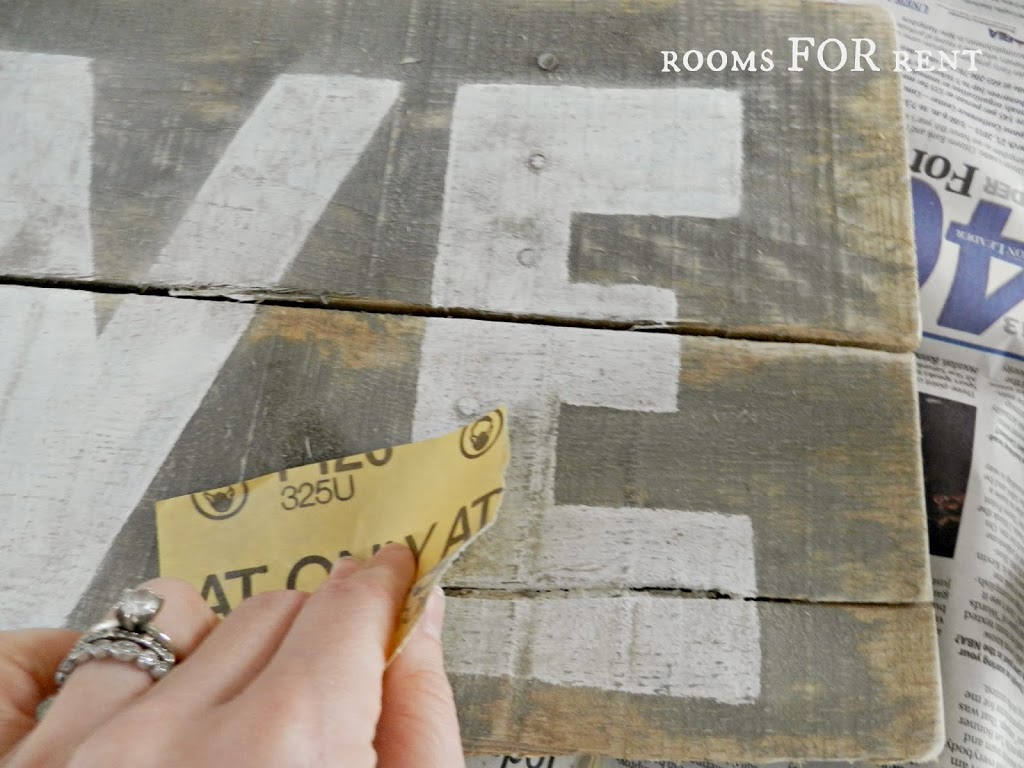
This last step is not a necessary one, but I lightly rub my whole sign down with a medium grit sand paper to give my sign that worn in, vintage feel.
When you are done, hopefully you are as impressed with your outcome as I was.
And congratulations you just made a sign with no machines or stencils!
I adore the tissue paper tassel garland, and think it’s the perfect accent for any party of holiday.
To help things look even more festive,
I purchased all of my tissue paper from Target,
the solid and the printed to mix it up a bit,
and followed this tutorial here on how to make it.
I hope you are successful in your sign making, and now you have the perfect Valentine’s Day wall decor, that can be left up all year round! Thanks for joining me today, and I hope you have a wonderful Valentine’s Day!
XO






I love this. We just made a cute LOVE sign this week too!!! Love is in the air!