I’m back with Day 3 of my week long of Thanksgiving Tablescapes. If you are just stopping by for the first time today, or catching up, click the days to see Day 1 and Day 2.
I love creating tablescpaes, it’s one of my favorite things to do, and what inspired me to do a full week of them, so enjoy Day 3.
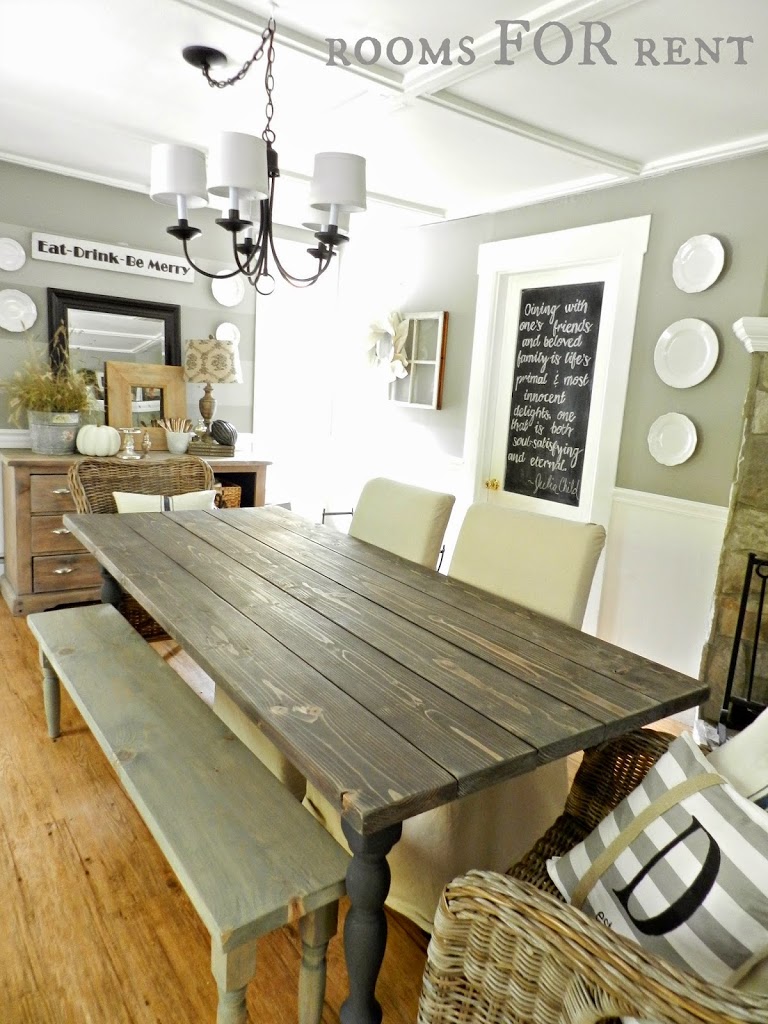
I start by completely clearing off my table, to have a fresh look, and perspective to design.
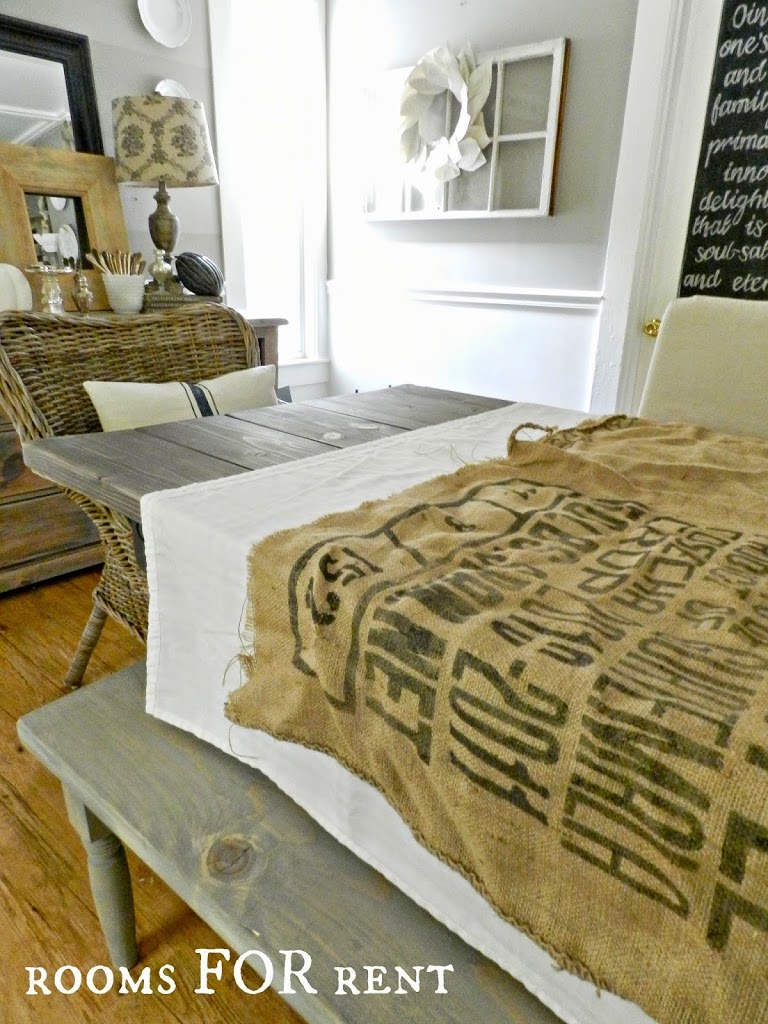
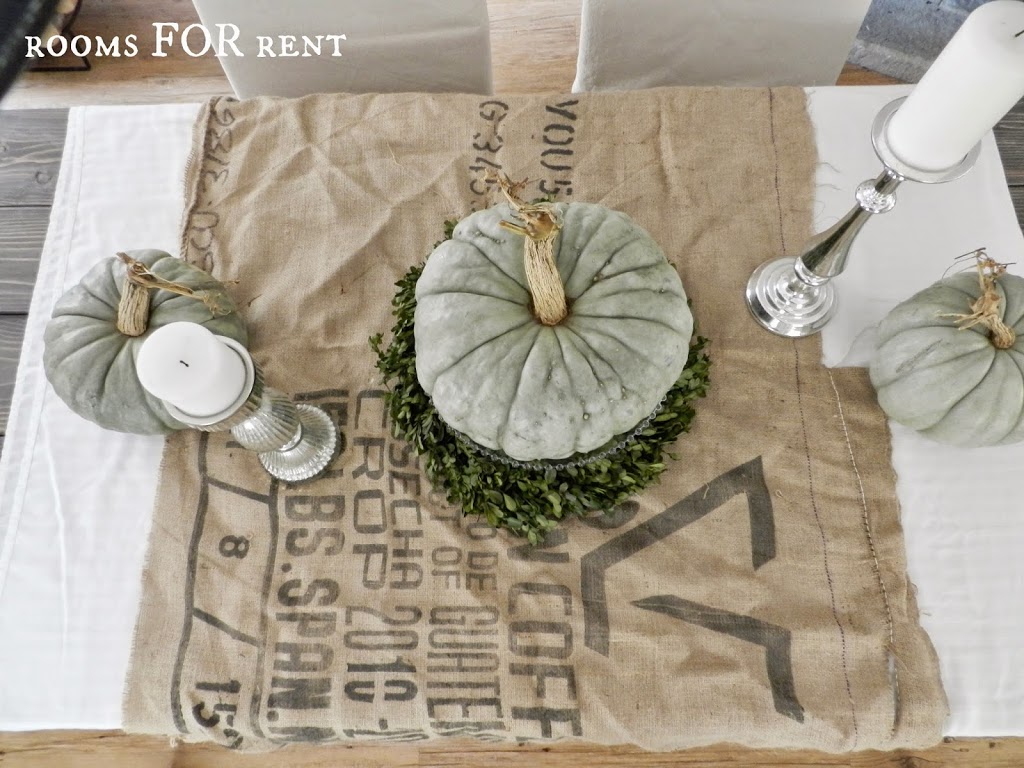
Once my table is cleared I start by layering fabric on top. I still like to see my wooden table top, so I fold a simple white tablecloth in half and center it on my table so that the wood is still exposed on both ends. Then to add texture and depth I add a 2nd layer. This year it’s burlap, last year I chose brown kraft paper that I could write on with chalk.
Once my table cloths are in place, I begin in the center of my table.
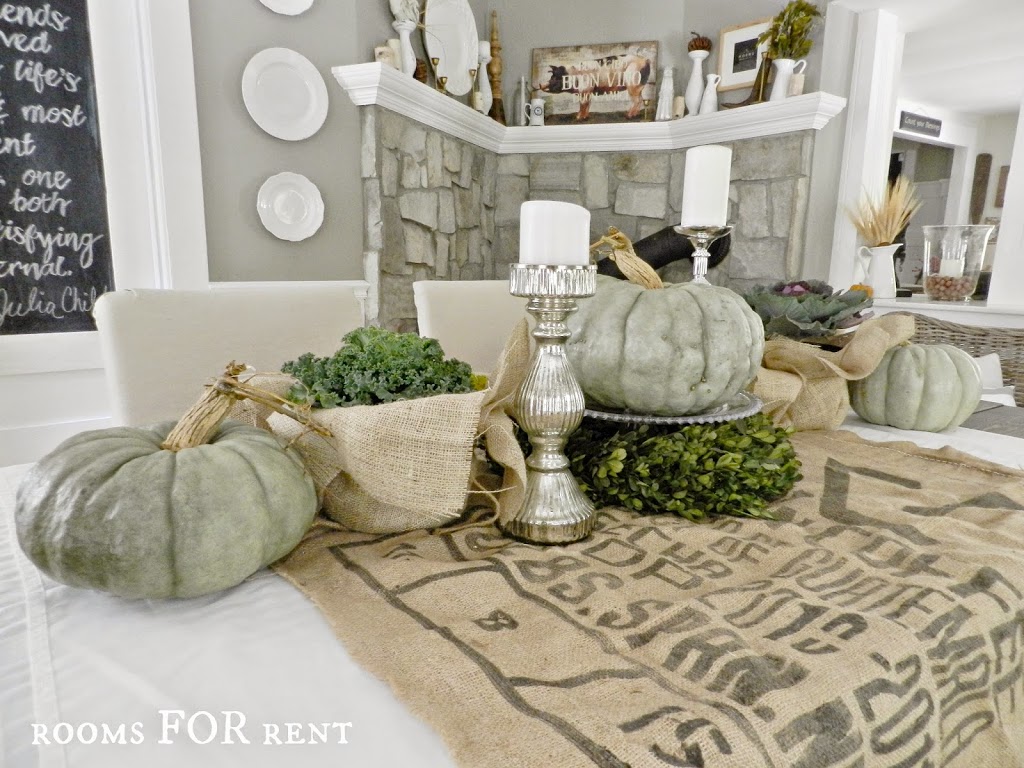
I believe the key to creating a good centerpiece is to have lots of texture, different heights, and plenty of layers to keep the eyes moving.
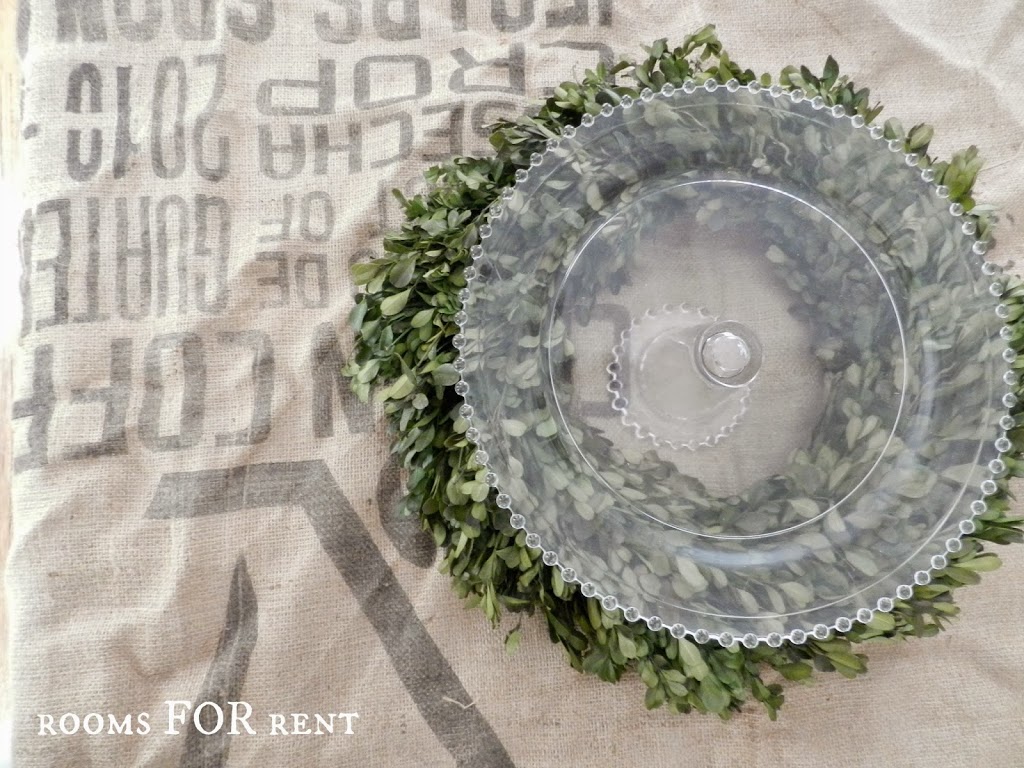
Cake stands are the best way to add height, and still leaving a surface big enough to decorate on.
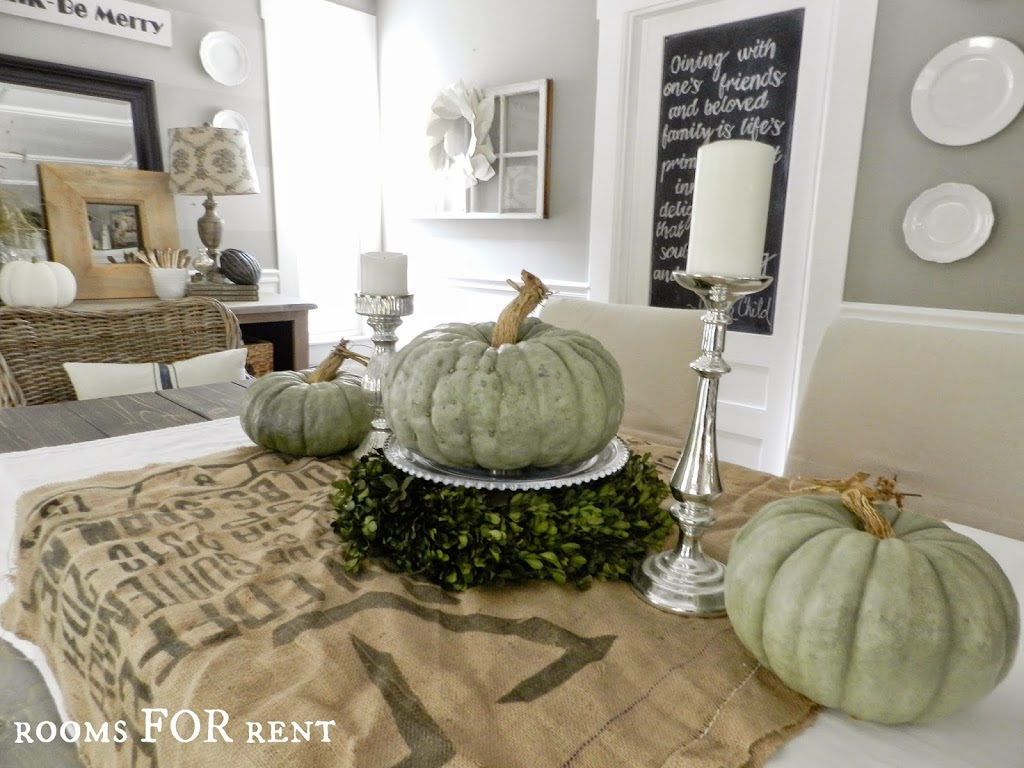
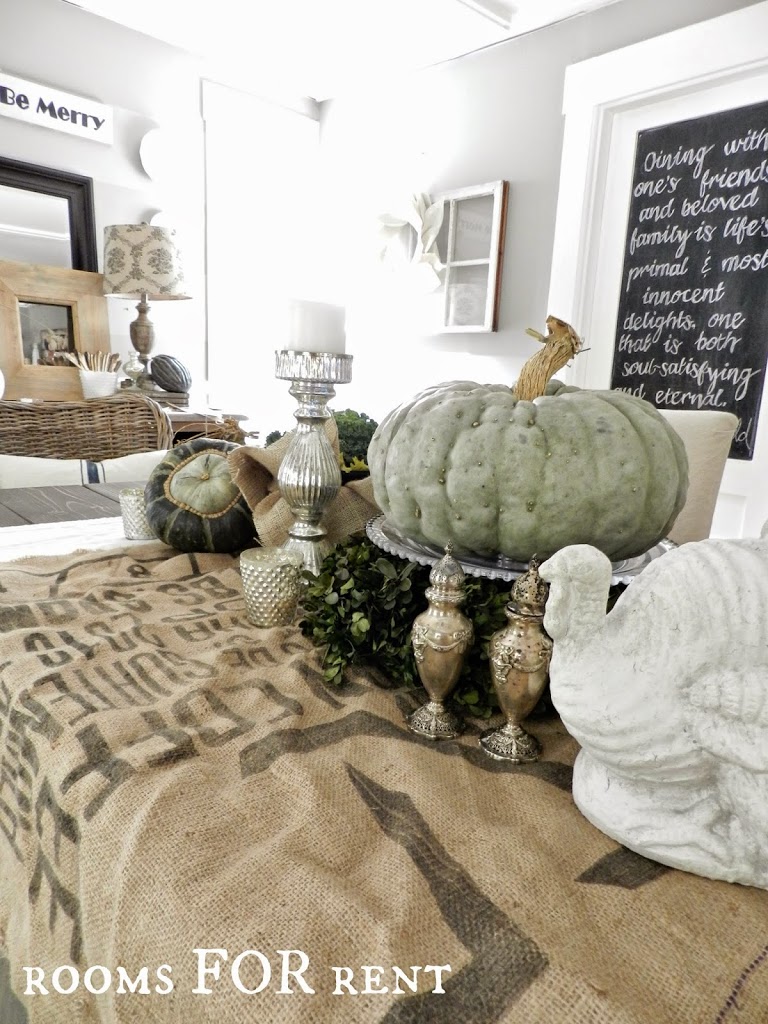
For this table I started by placing a boxwood wreath down first, and then placing a glass cake stand in the center of the wreath. I know most people associate orange with thanksgiving, but for this table scape I’m sticking with a cooler neutral color palette. I love using pumpkins not only for fall, but for thanksgiving as well, so keeping my cooler color scheme in mind I added cinderella pumpkins next.
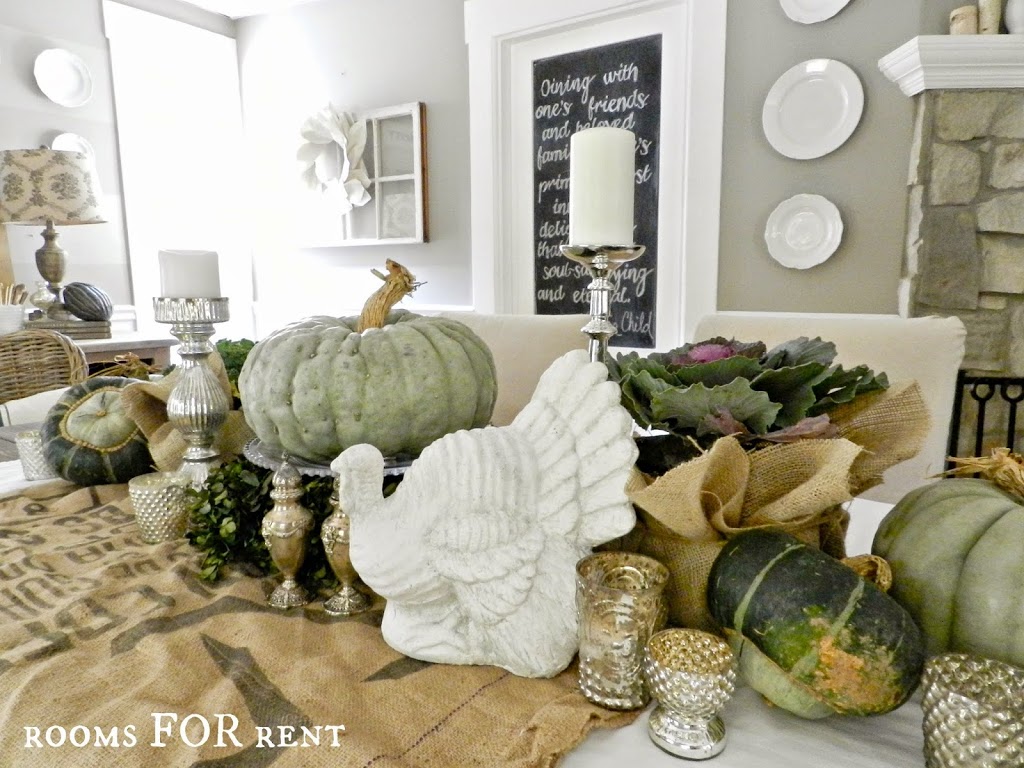
Now if I were stopping here, I would stick with the layout in the photo above, with my candlesticks centered on either side of the center pumpkin. This is perfect if you are limited for space, or prefer a more simpler centerpiece. However, I did say in the beginning of this post that one of my favorite things to create was a beautiful table scape! Since you know I’m not stopping here, I stagger my candle sticks (shown below).
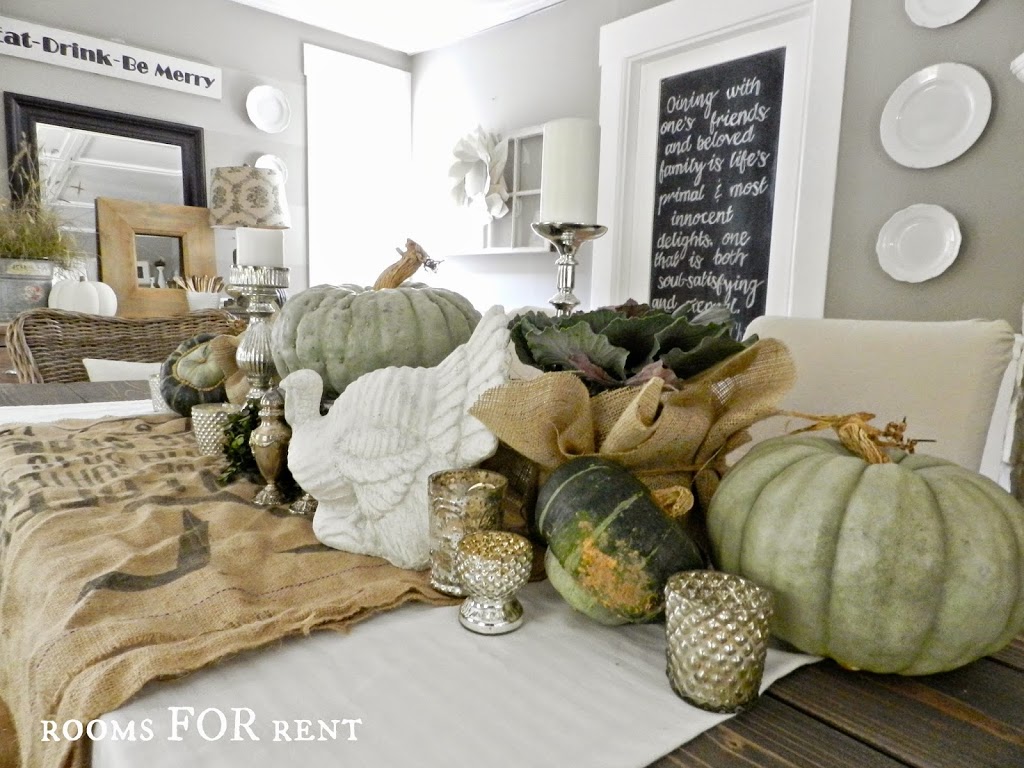
On the opposite sides I place to different cabbage heads, both purchased from Lowes for less than $4 ea. I left them in their original black plastic container but then wrapped them with burlap.
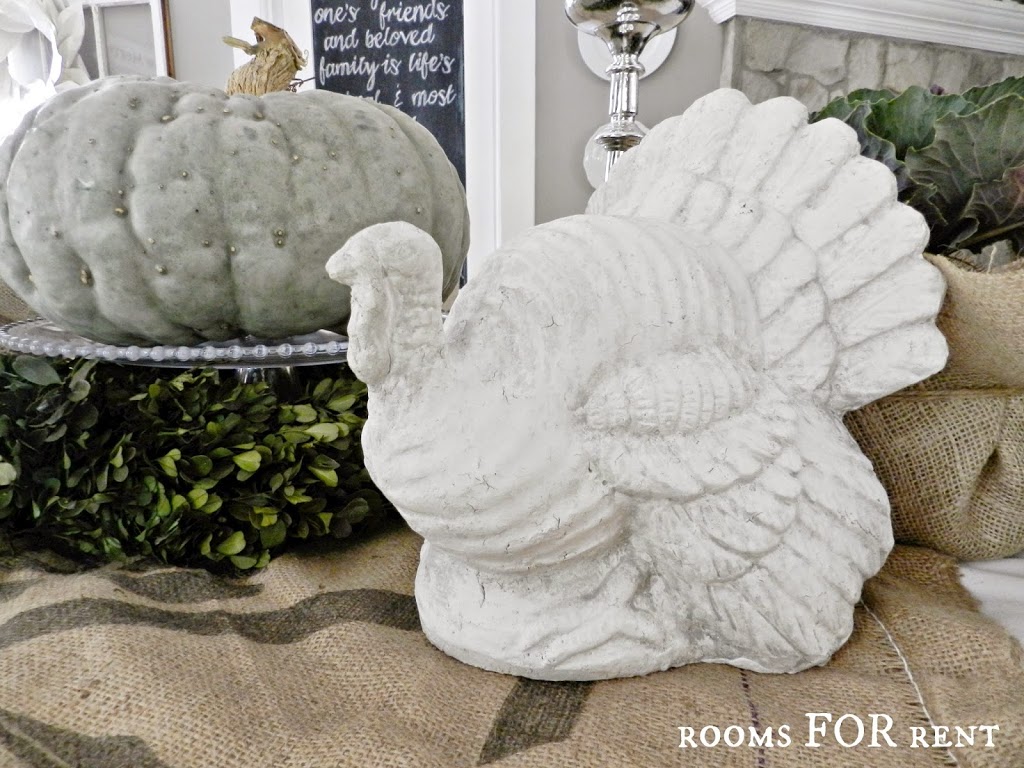
Next, I add my favorite piece, because after all it wouldn’t be Thanksgiving without a turkey!
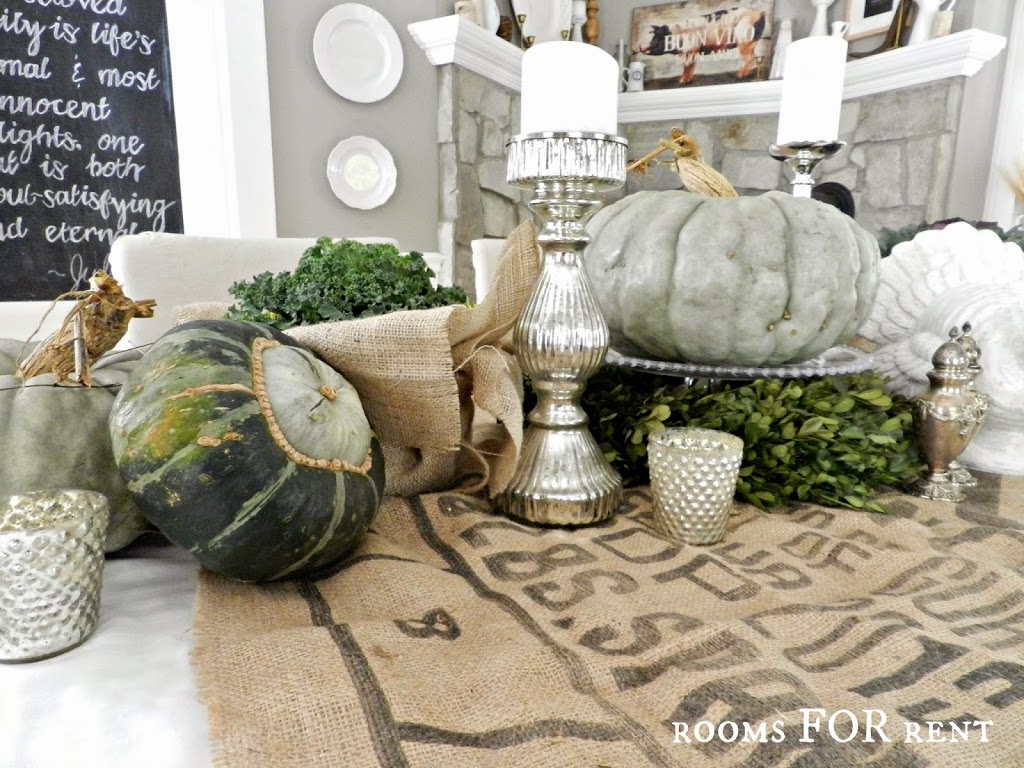
To top the table off, I finish it with a few squash, and mercury glass votives for added sparkle!
I hope you are enjoying the series so far. I will be back tomorrow with a wheat themed table, and I can’t wait for the grand finale Friday!!

I love all details that you give in your articles. grand junction home drafting company
Another pretty tablescape! I have used wreaths before and a pedestal vase in my tablescapes but I like your idea using a cake stand because you have a larger area to put something on it! Thanks for your tutorials, they are wonderful!
my favorite pumpkins…..beautiful
Looks just beautiful!! I don’t ever use orange, so your light palette really is pleasing to my eyes!!!
Love this one!
So fun! I love it all!