OH the weekend went by too quickly sweet friends! I know we probably all feel that way every weekend, but this past weekend for us seemed to go by without even a regard to time itself. Non the less we keep moving forward right?! Our weather has finally started to feel like fall for us here. Low 70’s for a high, a sweet chill in the morning. The kind of chill that makes you want to curl up in a chair with a cozy blanket and a hot cup of pumpkin spice! One of the things I did earlier this year in our fall decor was paint some faux pumpkins I already had. I had picked these up 2 years ago on clearance at the end of the season. So the decision to paint them was easy because I wasn’t afraid to ruin them. If you’ve been around here awhile, that you know of my love for neutrals and grays. However I didn’t feel like painting them all white or gray. Call me crazy but I was craving something different. Another color I tend to gravitate towards is navy blue. I call it my third neutral, lol!
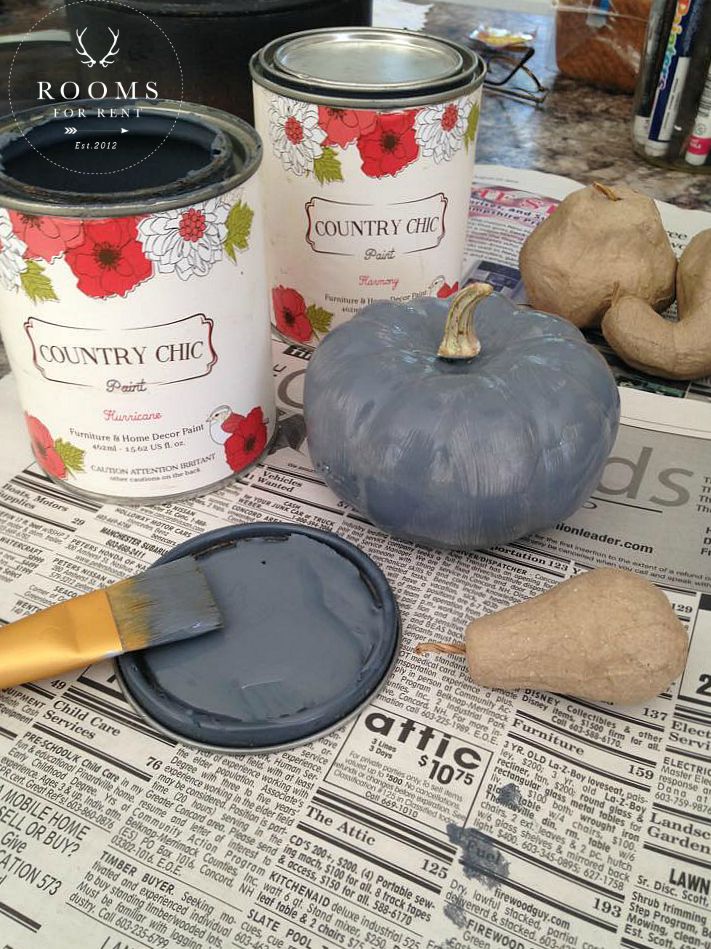
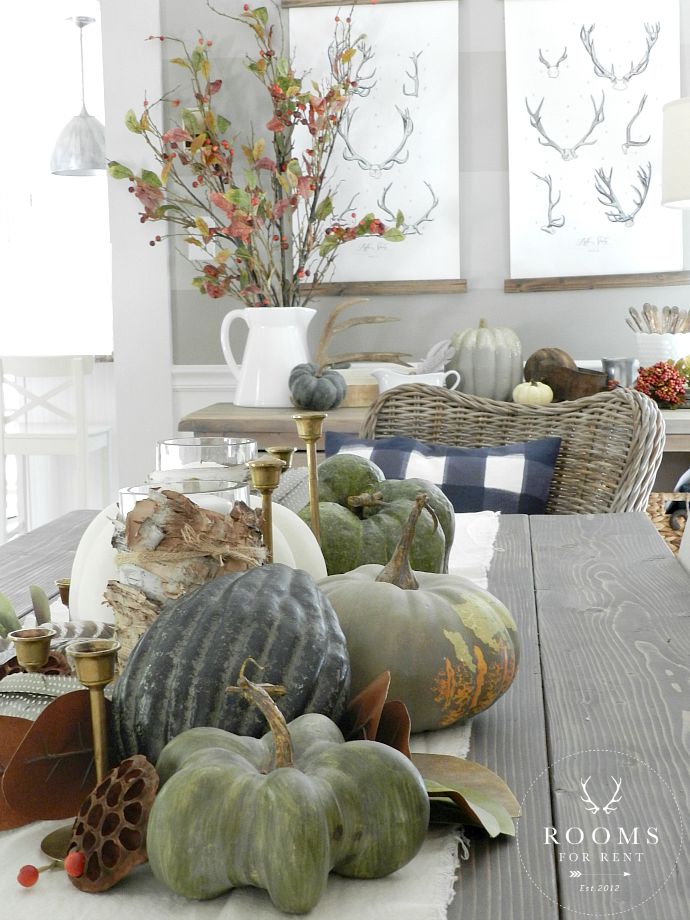 I already had some navy and green faux pumpkins in my collection, and I loved them! So as crazy as it seemed to paint my older pumpkins blue, that was the direction I was headed. I grabbed some of my favorite paint colors from Country Chic Paint. You may remember I’ve used their Pebble Beach chalk paint HERE, and I just love how easy their paint is to use.
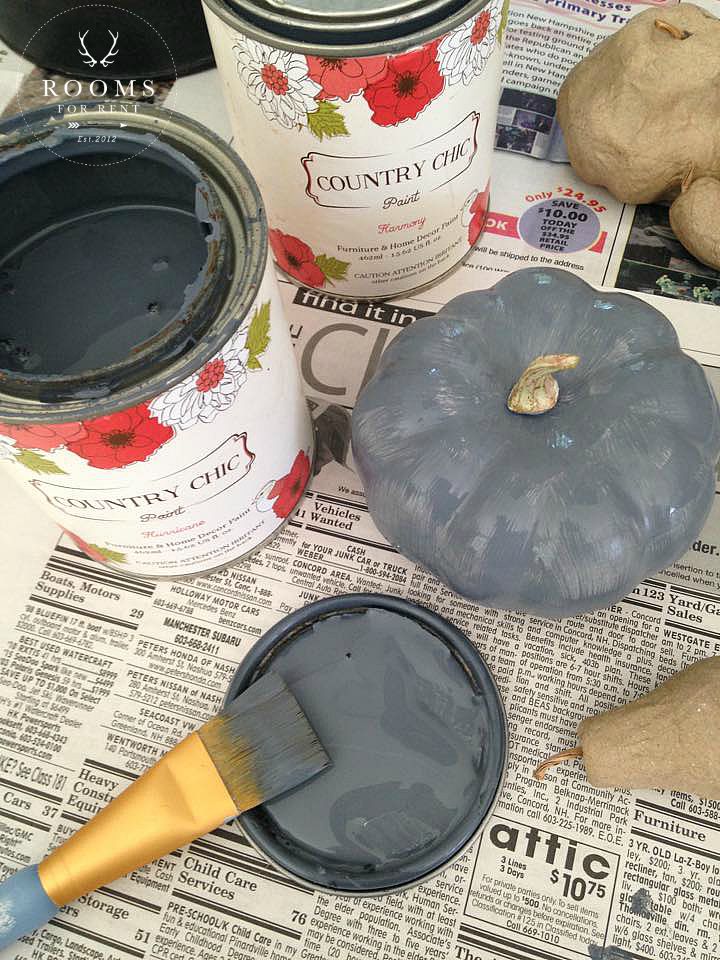
I started with Hurricane. It’s a really pretty color with gray and just enough blue, so it comes across almost muted. You want to know a little secret. This color is probably my ALL.TIME.FAVORITE!
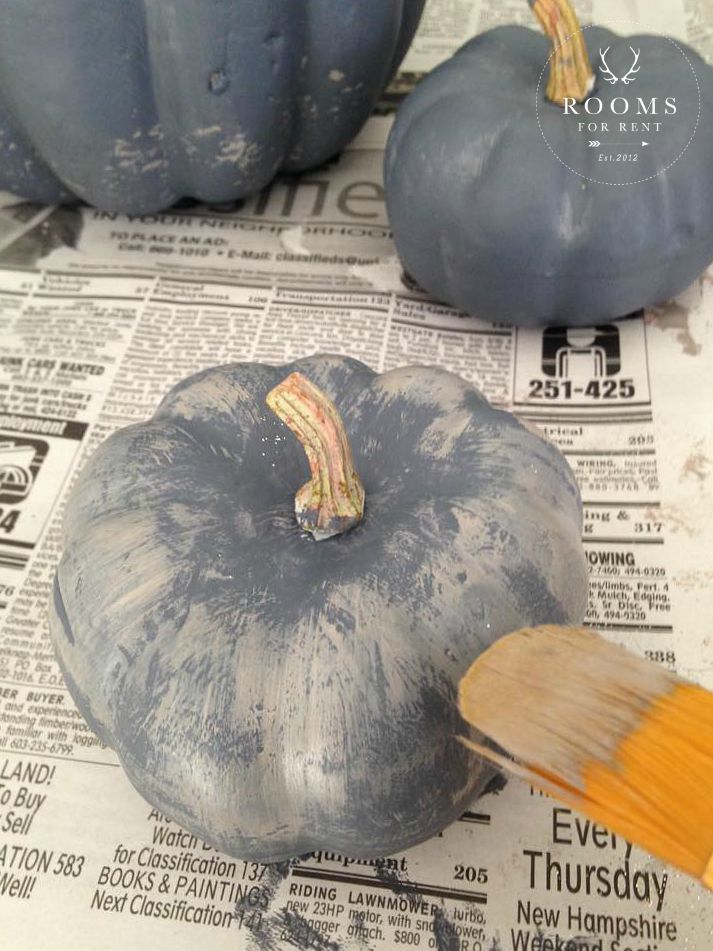
One of the things I love most about painting with chalk paint, is layering colors. It adds so much texture and dimension. Once the paint was dry on one of the small blue painted pumpkins, I lightly brushed over with a pretty tan Country Chic paint has called Harmony.
I also layered three colors on one of my larger pumpkins. I started by painting it white, then painted harmony on top, but with more coverage this time around than the dry brush effect you see above.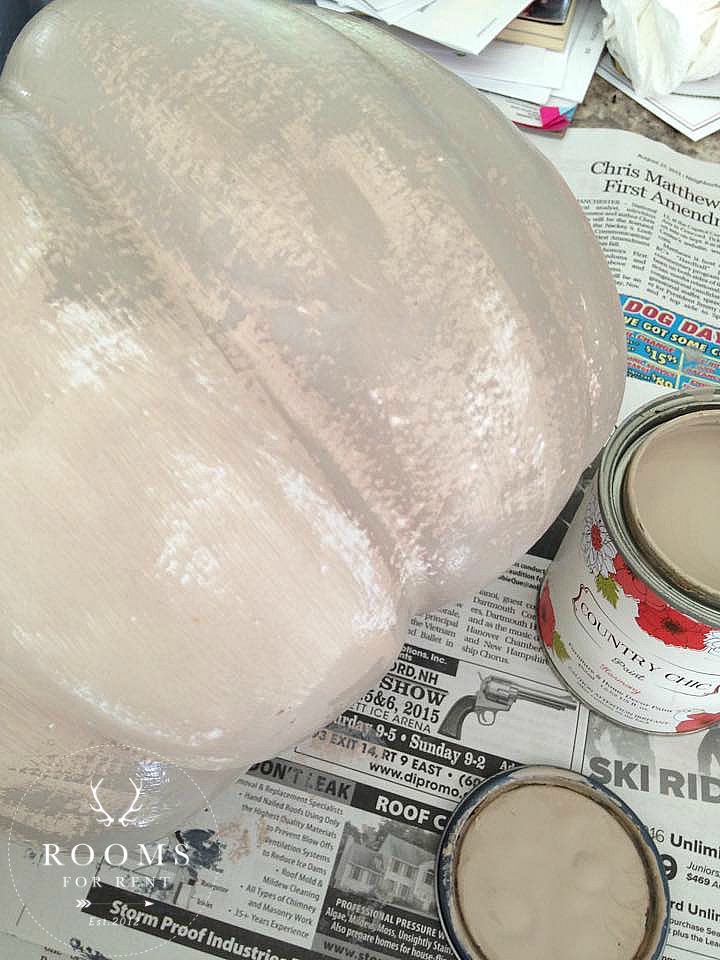
The harmony covered well, but I left just enough of the white to peak through. Once Harmony was dry, I grabbed my favorite gray they offer, Pebble Beach, and began to lightly go over the harmony, focusing on more of the cracks of the pumpkin.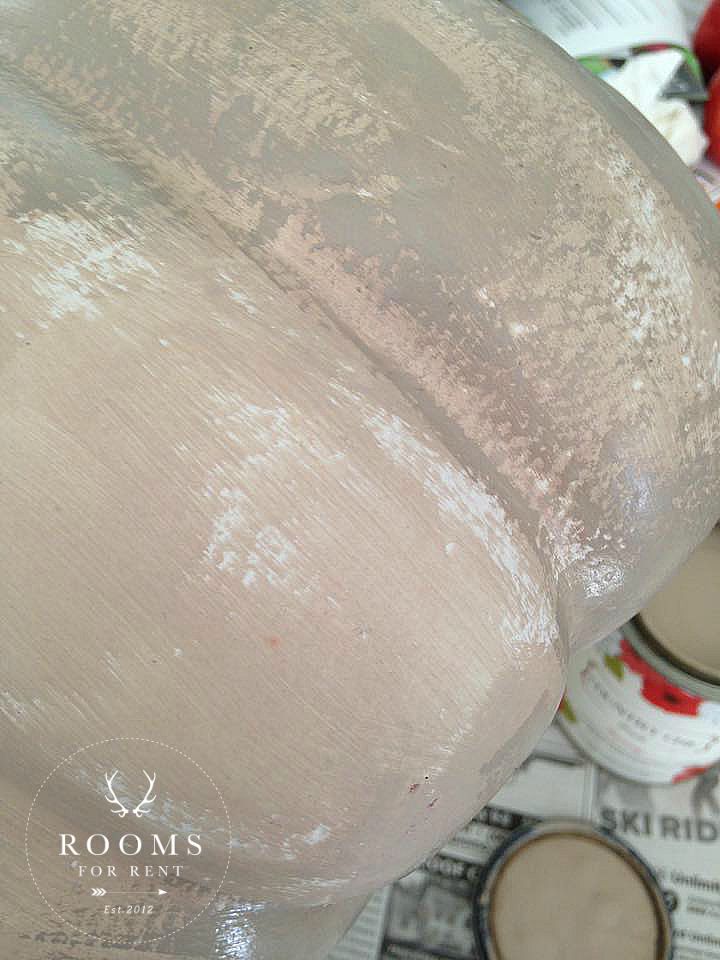
The outcome is a three dimensional looking pumpkin, that resembles more of natural looking pumpkin. Then on a few of the pumpkins I decided to add a little sparkle. I know, not nature inspired at all, but they are oh so pretty!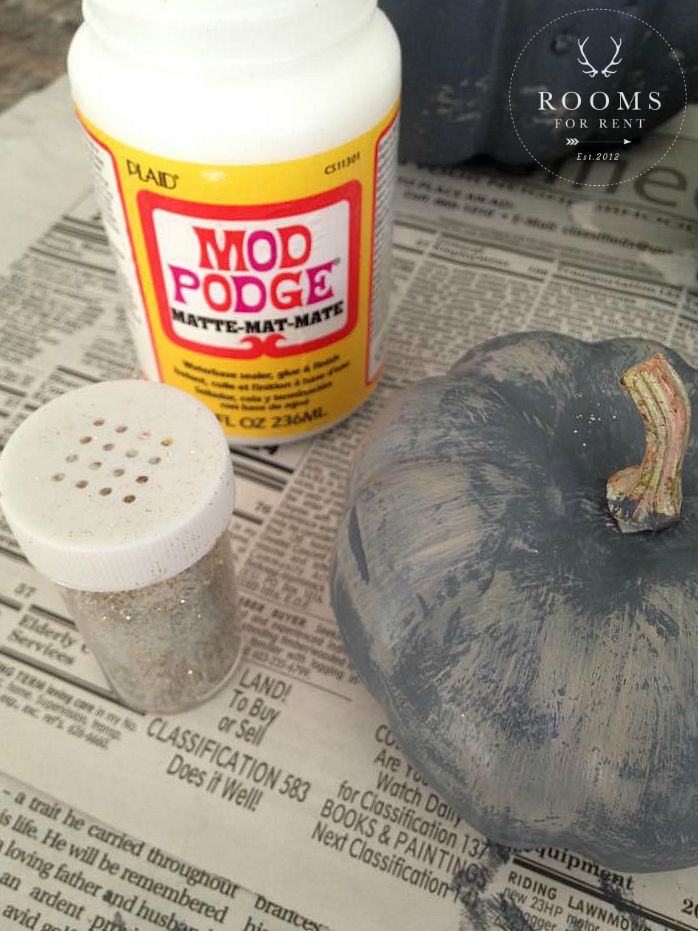
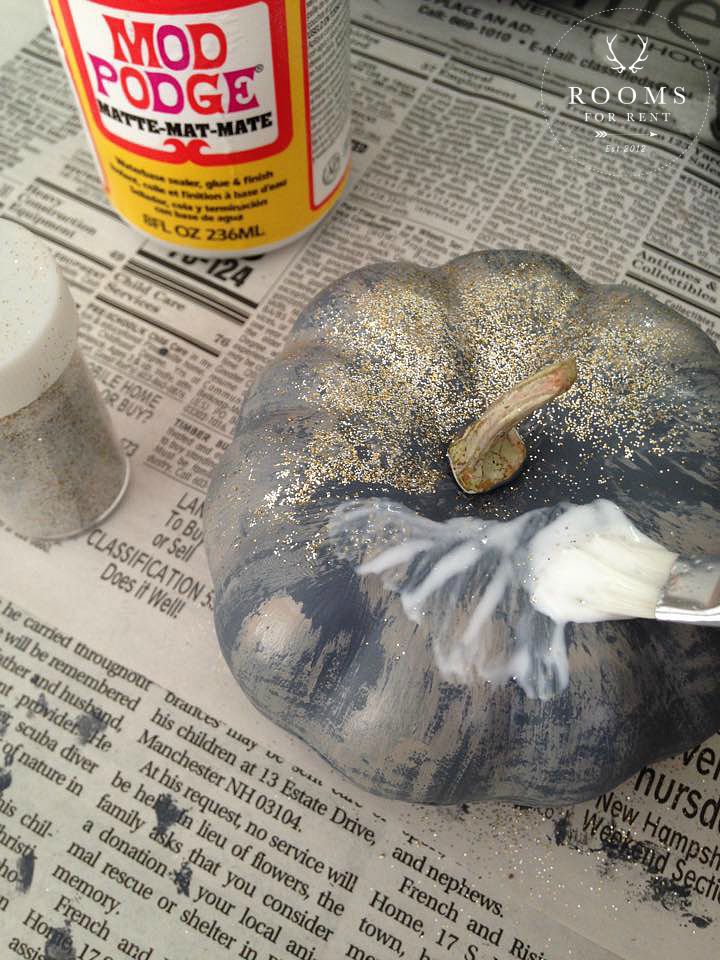
I grabbed my modge podge, and some glitter I had on hand. I don’t remember where the glitter came from, honestly I feel like it was in the $1 section at Target last christmas, or the one before. I began by spreading the modge podge just over the top of the pumpkin. I did one half, sprinkled with glitter, and then the other half.
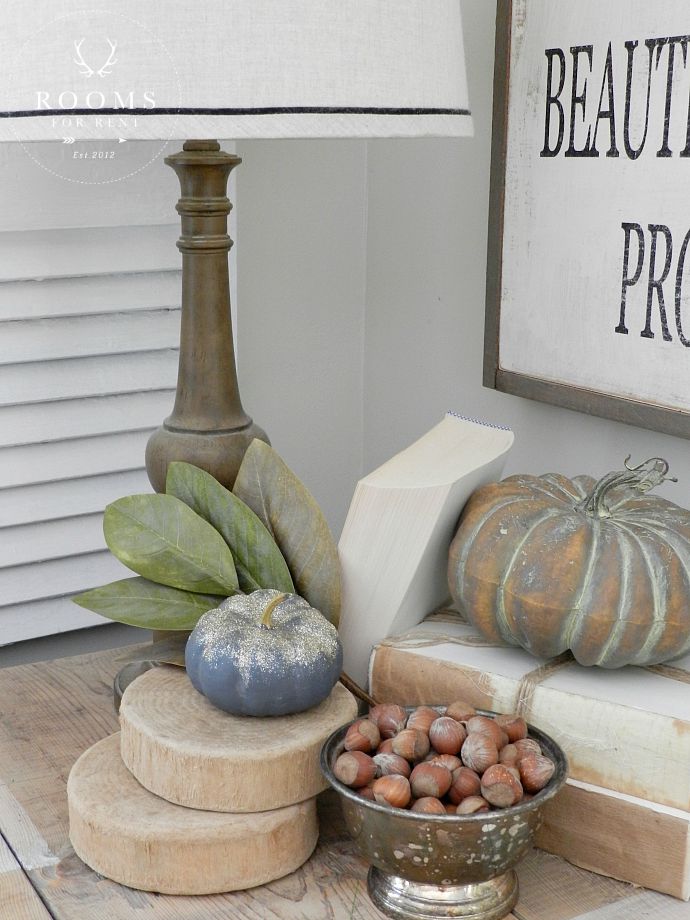
You can see it finished below, in this little vignette I have set up in our living room. Some of the other items you see can also be found in our curated collection just for fall!
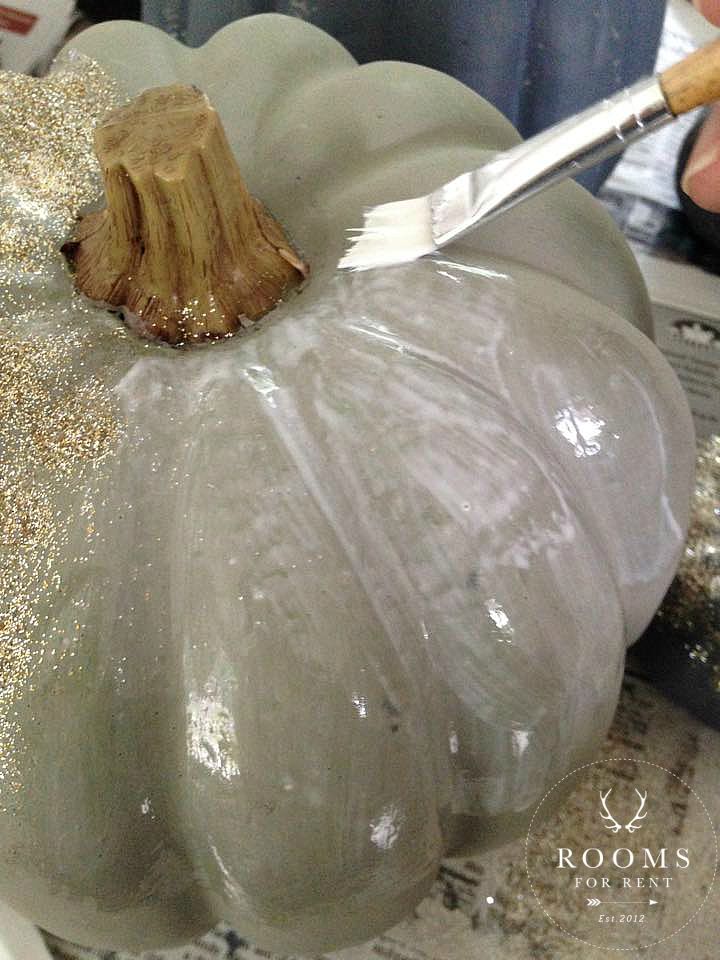
I added the glitter to one of my larger pumpkins as well. This one I had just painted with Pebble Beach, no layering, but I love what the glitter added.
You can see it finished here in our dining room, in the middle on our buffet. 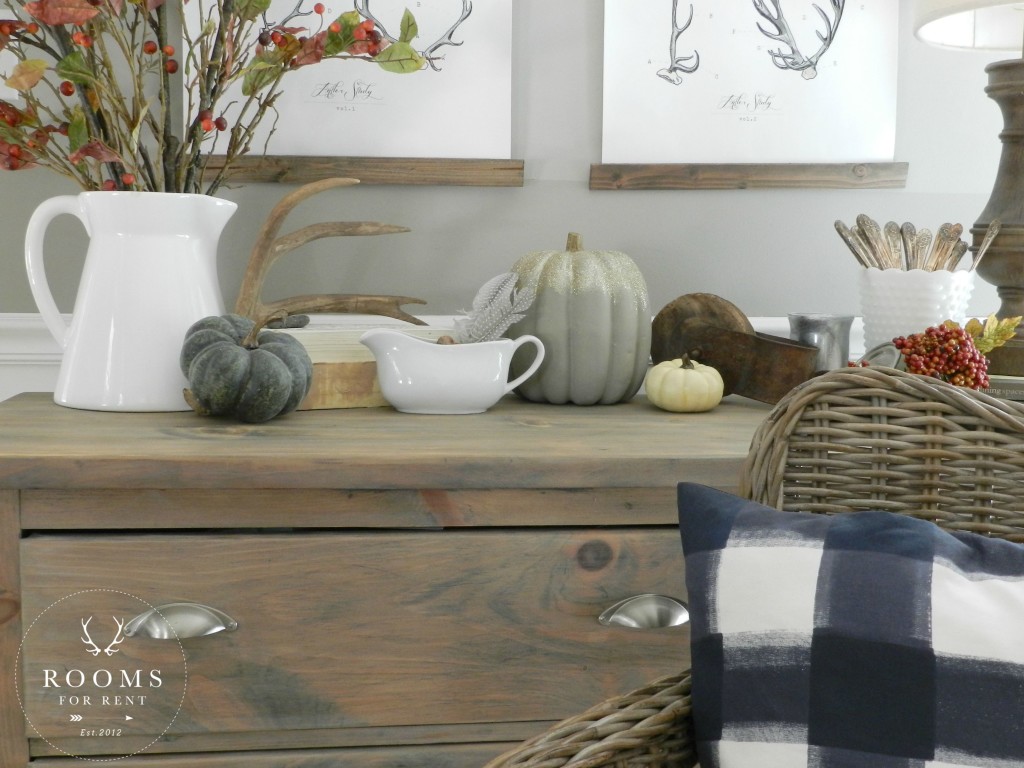
Don’t forget to stop by our new Curated Collection and see some other items we have just for fall. I’ll be back on Wednesday as I join some more of my friends for “Fall into Home“, to show you some more fall around our house!
If you haven’t joined us yet for the Art of Home, there’s still time, we just started Week 2 today, and you can watch the videos at any time.
what a fun project! I can’t wait to try
Love it!! The glitter brings it to the next level for me…. 🙂
The glitter reminds me of frost on a pumpkin!
Oh it looks so cool!! Great job girl!
They turned out adorably, Bre! 🙂
Say its crazy, but I just did the same thing this weekend!