One of my favorite transformations to do is making over a piece of furniture. I love that for a fraction of the price of buying a new piece, you can make existing furniture work with a little elbow grease. That was just what was needed for the little cabinet we have in our downstairs bathroom when we gave it a makeover. The best part about this little DIY was I completed it in a day, so if you are looking for something fun to do this weekend, or coming week, this is a great project that anyone can tackle.
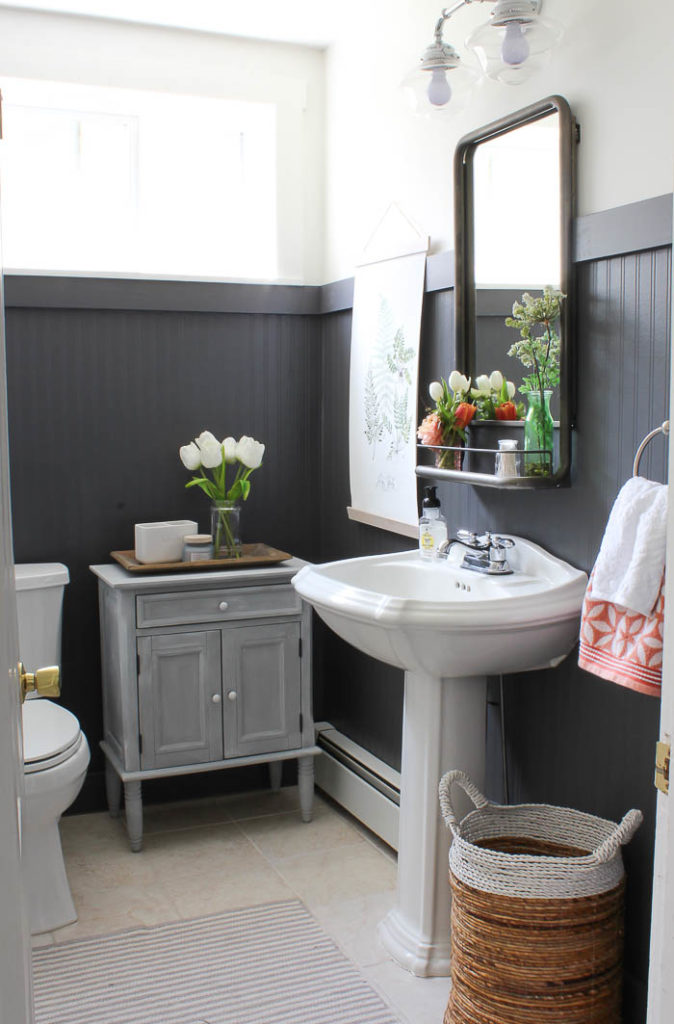
In the beginning of the year I purchased this little cabinet in our bathroom from TJ Maxx for under $100, except it didn’t come in this washed out gray finish you see it in today. Since there wasn’t any cabinet they had at the time that was the right color, I picked one that would give me the best amount of storage for this tiny room. I love open shelves, but sometimes you need something that can conceal the everyday practical items! This little cabinet was definitely on the creamy side of ivory, but once I got it home it looked a bit more yellow then cream, and stuck out like a swore thumb up against our white toilet and sink.
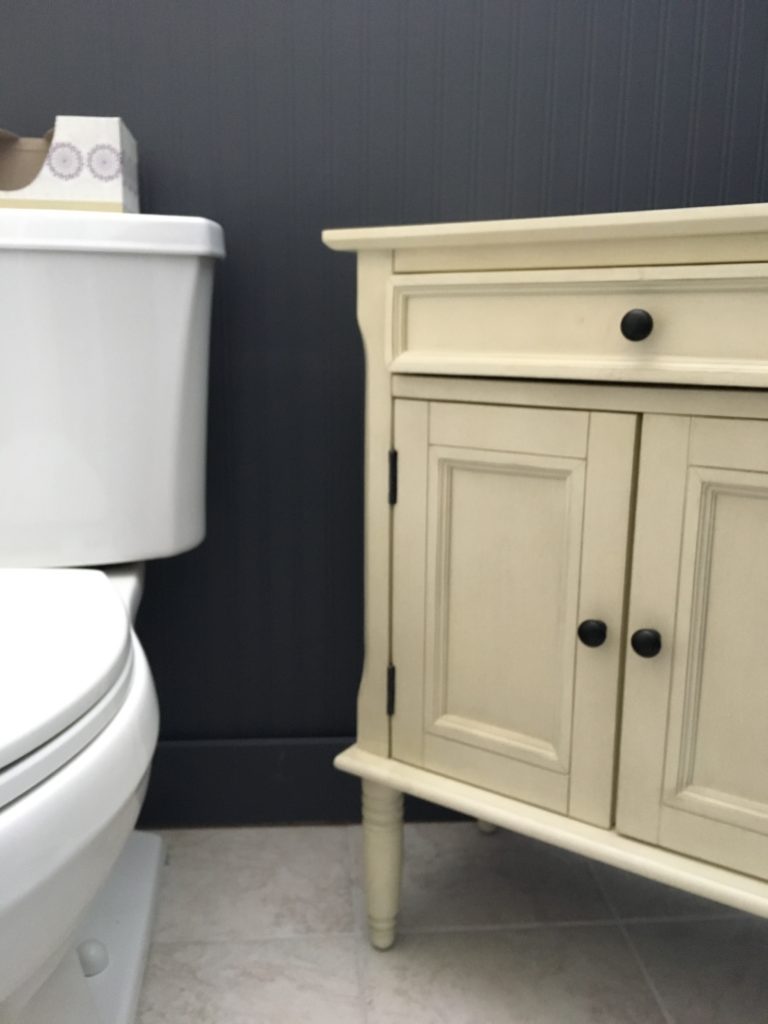
I started by removing the doors, and taking out the drawer, and removing the hardware. This wasn’t the first time I had taken a paintbrush to a piece of furniture before, so I had an idea of how I was going to go about it, I only knew I didn’t want to wait for paint to arrive in the mail. I picked up this “chalky finish” chalk paint at Lowes, they had a handful of colors I could choose from, so I chose Woolen Stockings, because it was the closest to gray they had. 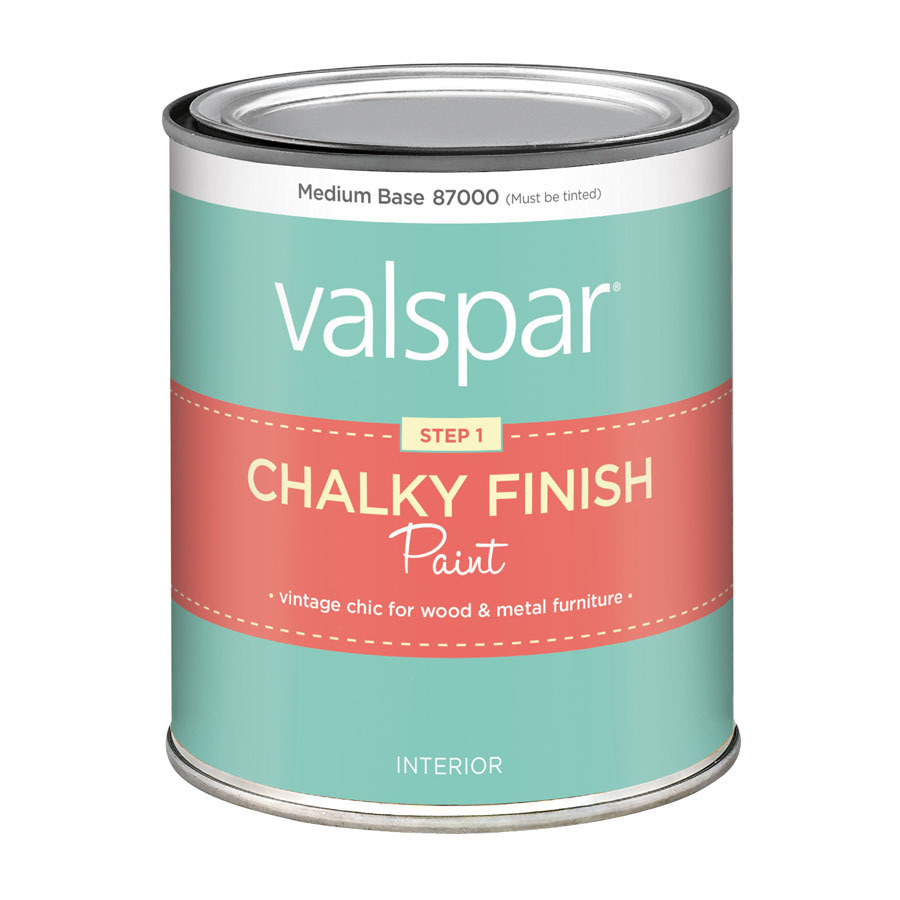
The best part about this is I didn’t have to sand the piece before hand.
I just wiped everything down to ensure a clean surface and started painting. I gave the entire piece 2 coats of chalk paint, allowing it proper drying time in between coats.
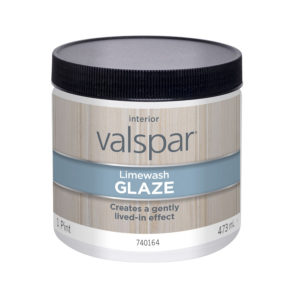
Once it was dry I put the doors and drawer back on, and prepared to finish it with a lime wash, also found at Lowe’s.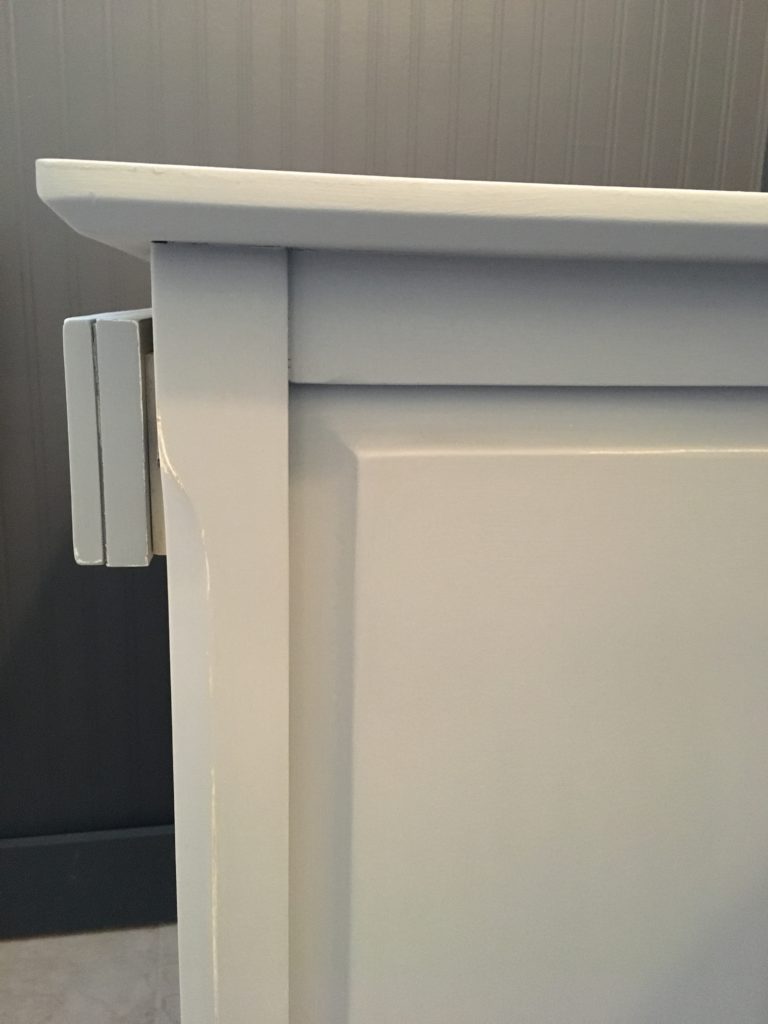
I lightly sanded the cabinet down just before applying the lime wash with a 220 grit sandpaper. This made the surface super smooth, and also allowed me to distress the corners and details a bit without removing too much a the paint. 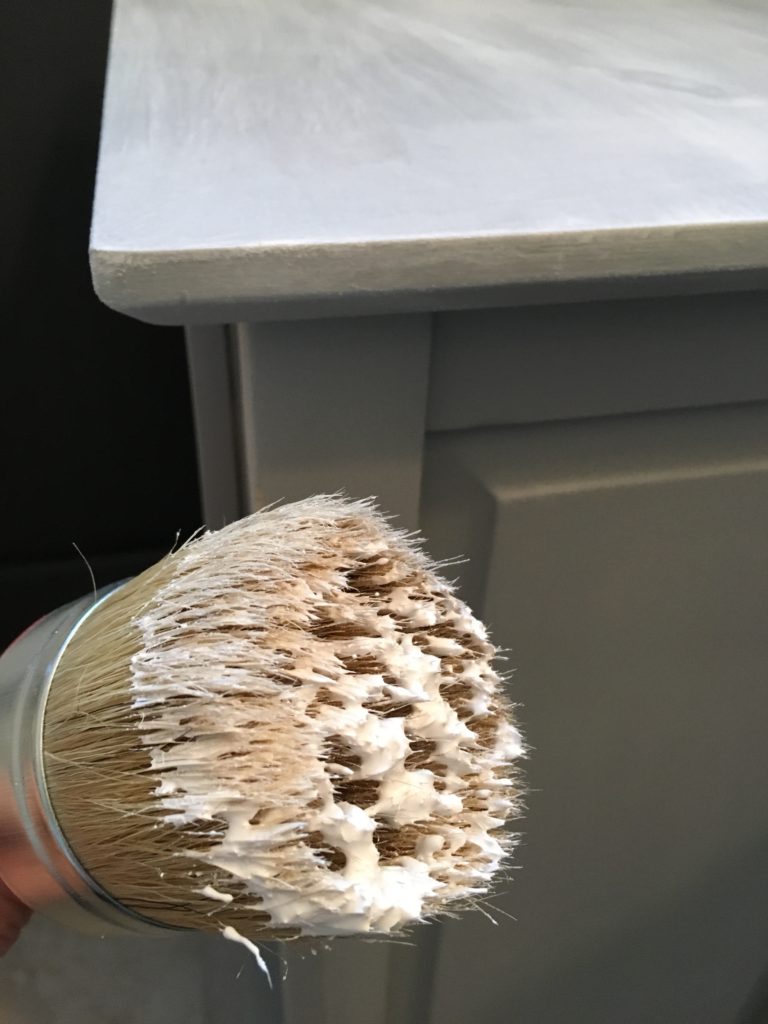
I put just a tiny bit of lime wash on the the end of my brush, and applied it to the cabinet, just like I would do a dry brush affect. A little goes a long way, and it’s really easy to apply, so you can really customize the finish to your own taste. 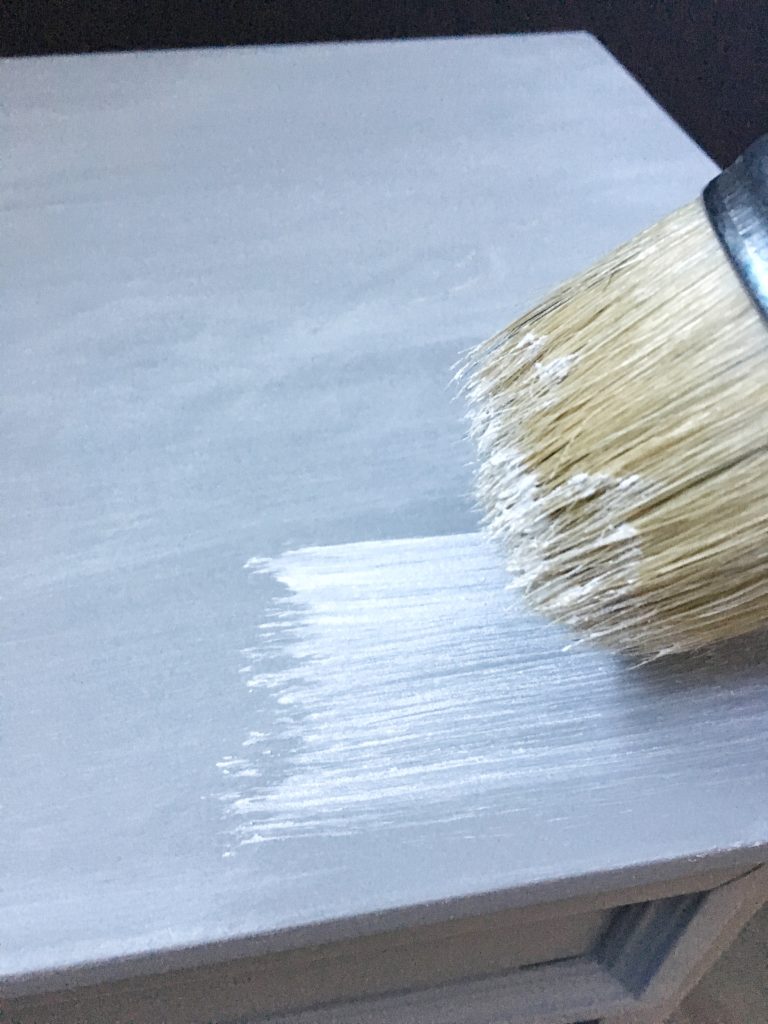
Once the lime wash was completely dried, I attached some new knobs I picked up at hobby lobby. 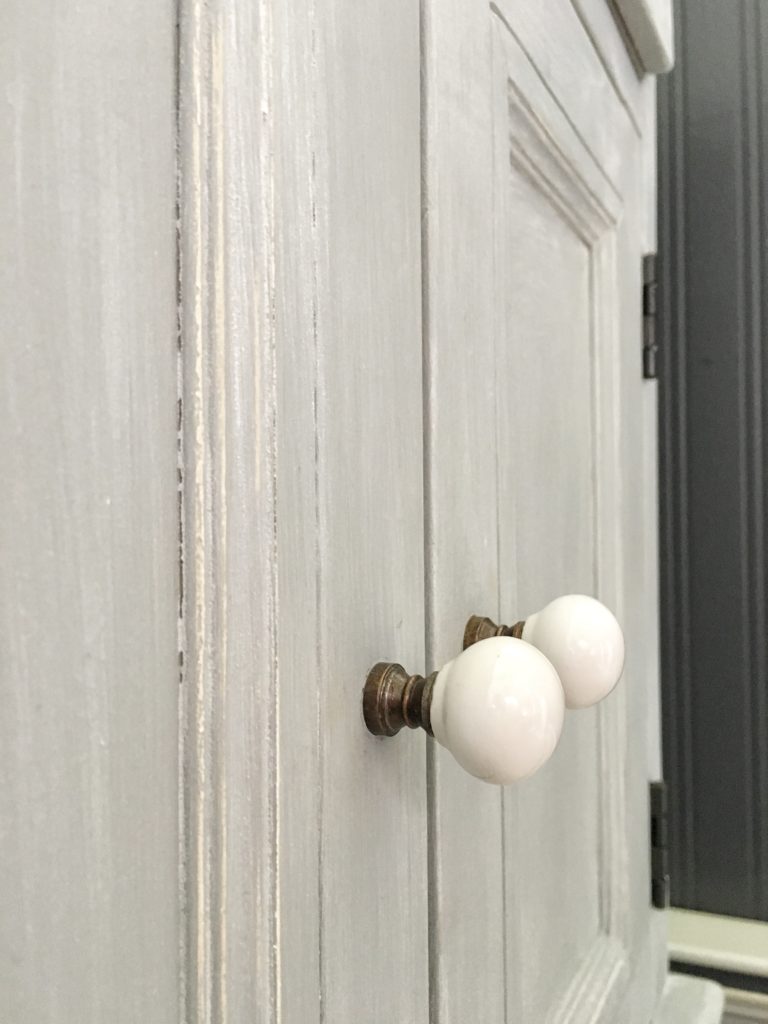
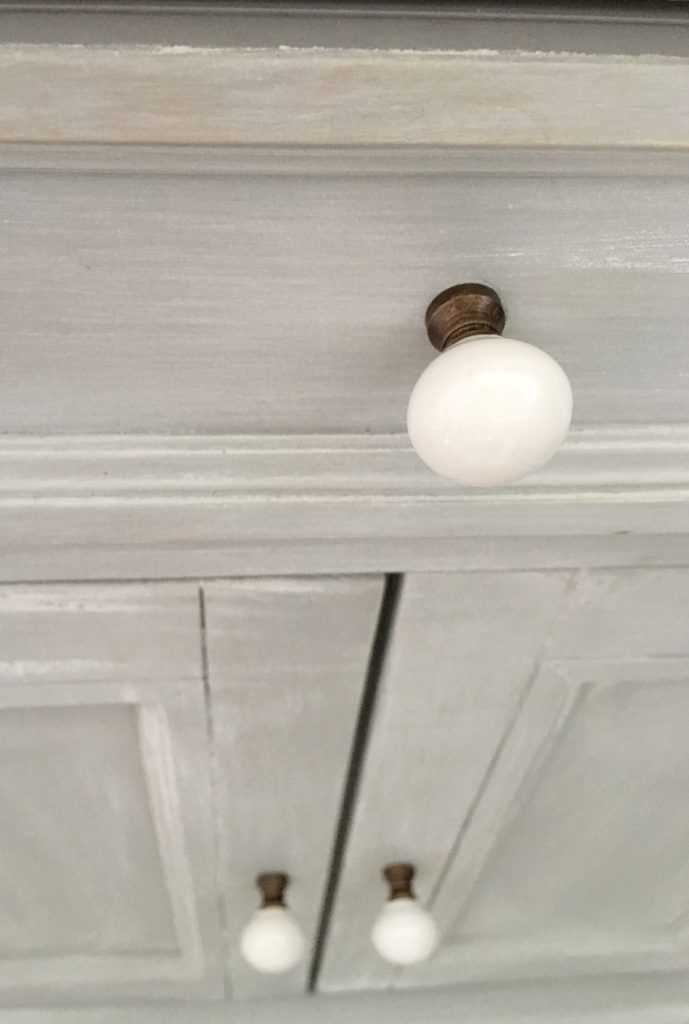 The after is a perfect weathered little cabinet that looks like it came from a cute coastal boutique. Adding new knobs with character and a vintage flair helped give this little cabinet a bit of personality it was lacking before.
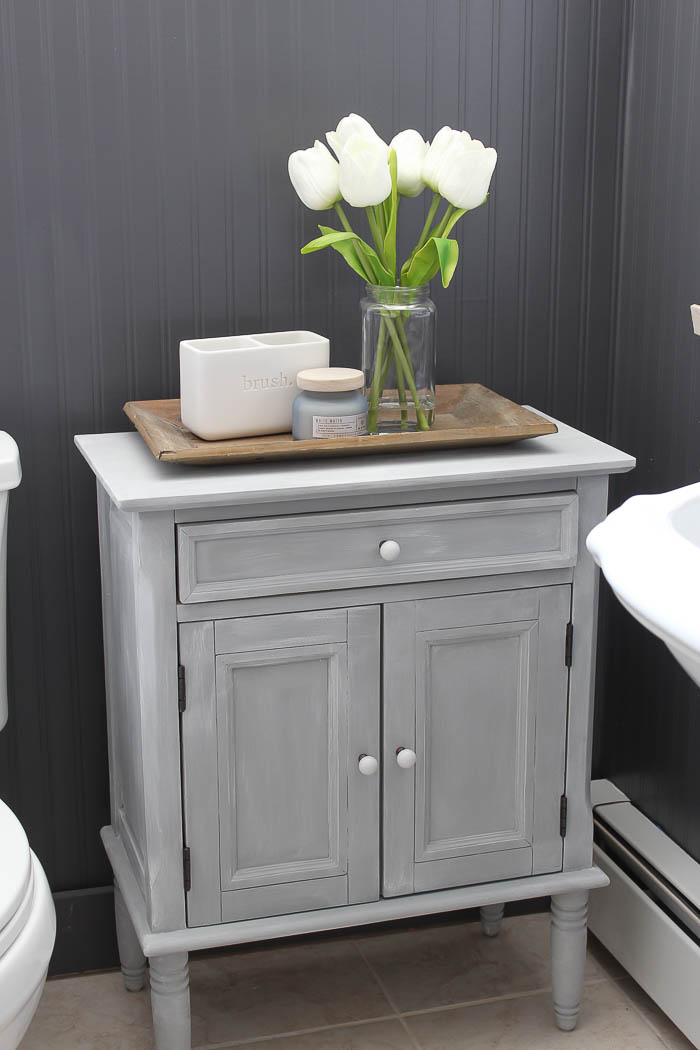
You can see our entire bathroom makeover HERE for all the other details that went into transforming this space. Have you painted a piece of furniture lately? I hope you haven’t tried it yet you will put it on your bucket list. It really is so much fun to transform a piece, and a great way to add your personal touch to the decor in your home!
Stay in touch!
Instagram / Pinterest / Facebook

You did a brilliant job. This looks awesome. Thanks for sharing.
This turned out super cute Bre! Love it! 🙂
Little cabinets come in handy and you made this one pretty.
I love this! I have lots of Annie Sloan chalk paint but the hubby doesn’t think of it as “real ” paint for built in cabinets. Now I can buy real paint at Lowes!!! ?Thank you this post just solved my paint problem for our vintage pink bathroom cabinets.