Hi Friends!! Yes you are reading that title right, todays post is all about our bathroom demo! In case you missed it we are teaming up with Wayfair for their #oneroomchallenge and renovating our master bathroom! It’s so exciting! This room has NOT been touched since we’ve lived here, and I can honestly say it feels so good to put my signature on it! Unlike our downstairs bathroom makeover we did last year, the tub and toilet do NOT need to be replaced. However we are replacing the vanity, adding lots of new lighting, and adding a whole BUNCH of tile! EEK! You can read all about my design plan for the space HERE, and you can see all of the BEFORE pictures HERE. Today I’m going to share with you all the demo that needed to take place before we could get started implementing the design.
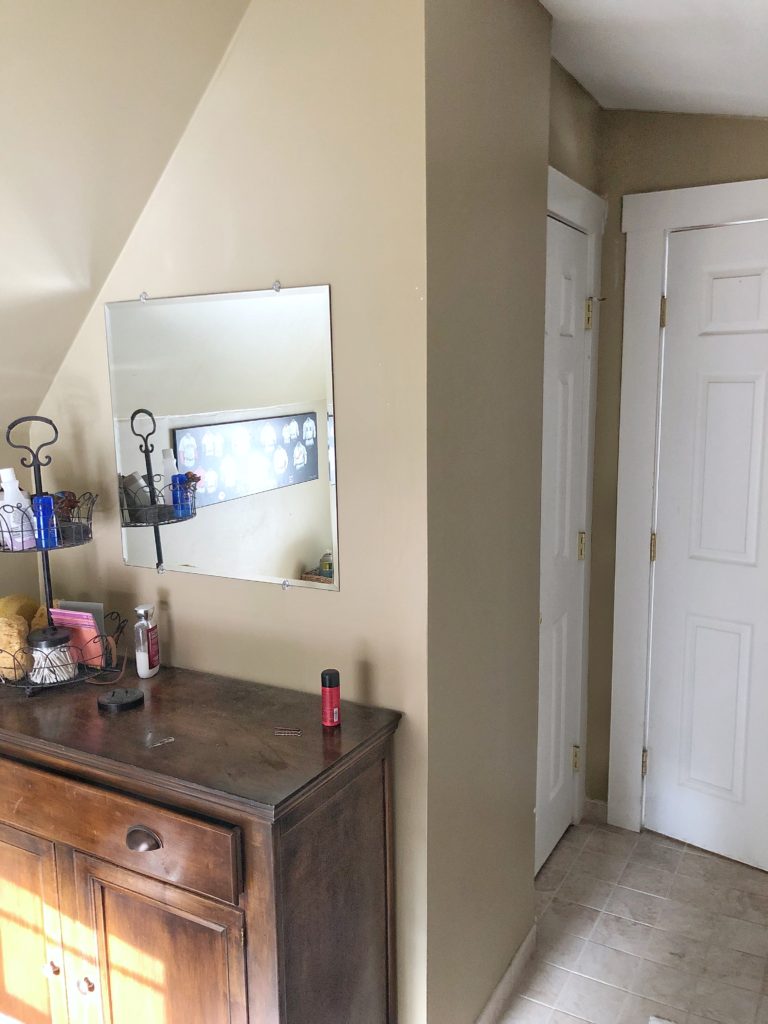
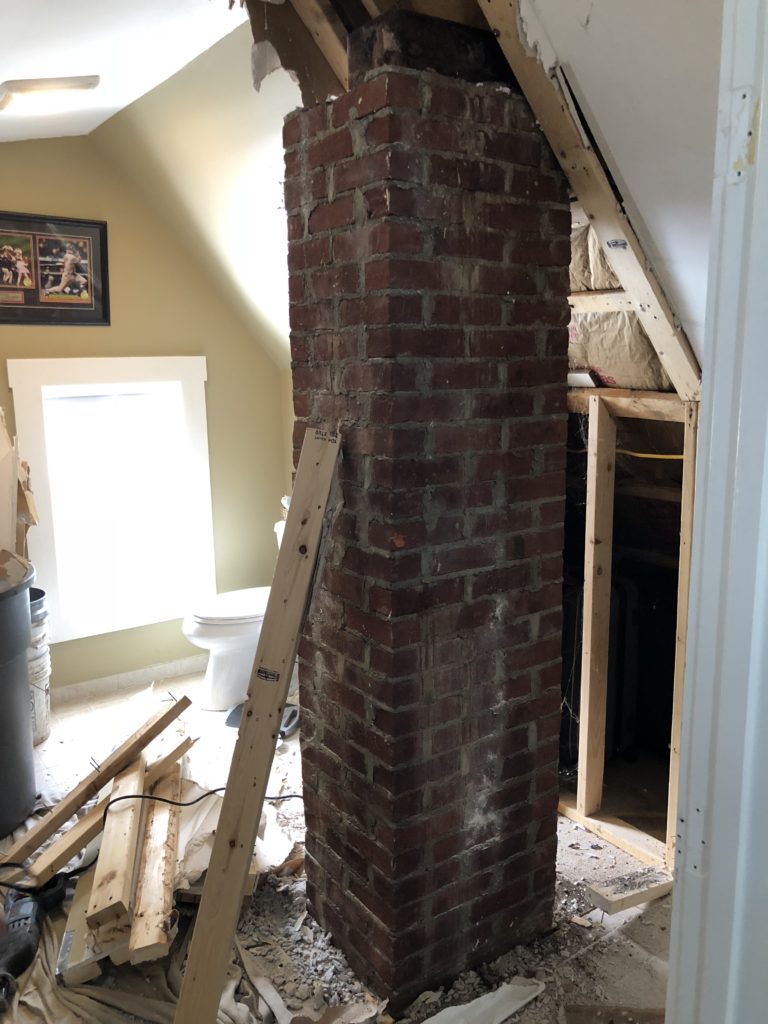
I shared about our plans for this space in the Bathroom Before post, about how we planned to take down this wall that bumps out, and the tiny, unused closet behind it. There was a chimney behind this wall that was no longer in use, so it was really just eating up valuable space. 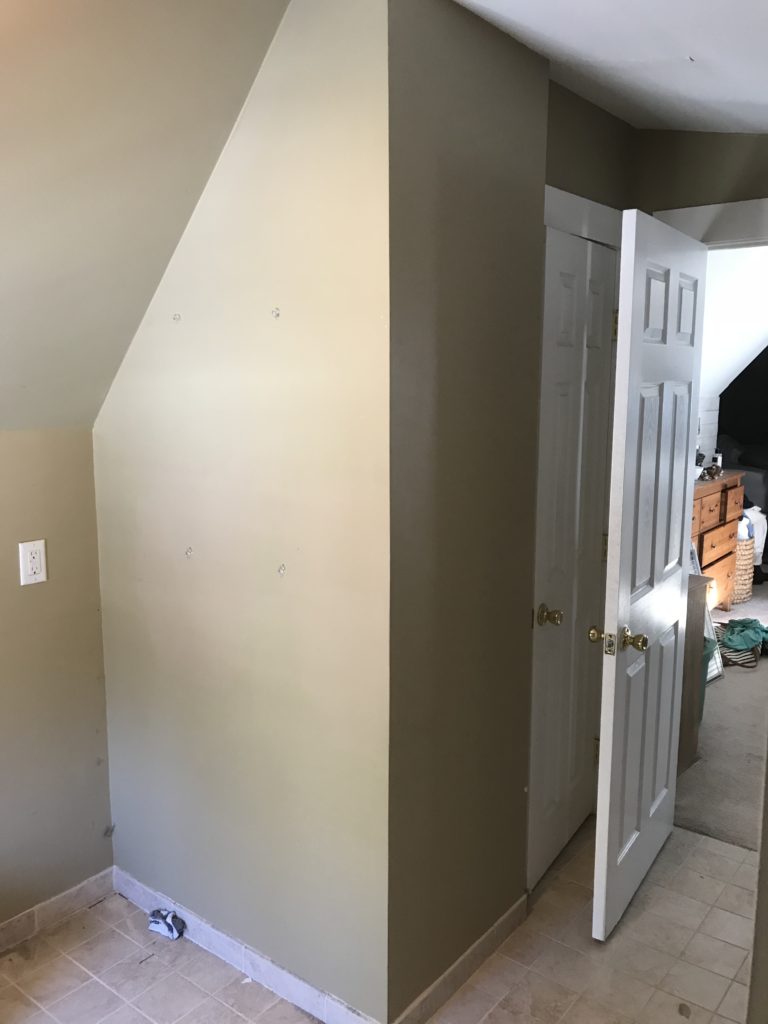
We cleared everything out, so now it was time to demo the wall. One thing that needed to take place before we just started tearing the chimney out, was we needed to take the chimney down to the roofline on the exterior, and patch the roof to make sure that everything was closed off, and we weren’t just opening up a huge whole in the ceiling and allowing outside weather to pour into our bathroom. Once we completed sealing up the outside, we could start the demo on the inside. 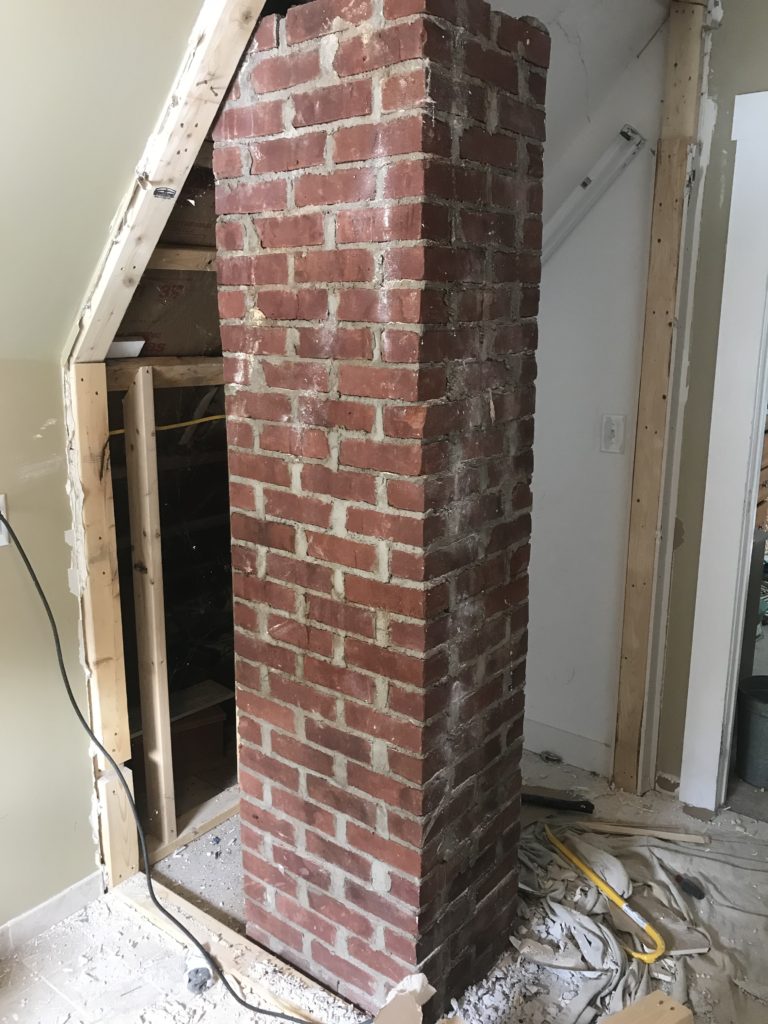
A few of you asked if the chimney would be staying. Trust me I love the idea of exposed brick, but as you can see above the chimney is not up against the wall, and there really is no way to decorate around it. It eats up way to much valuable square footage, so we knocked it down. 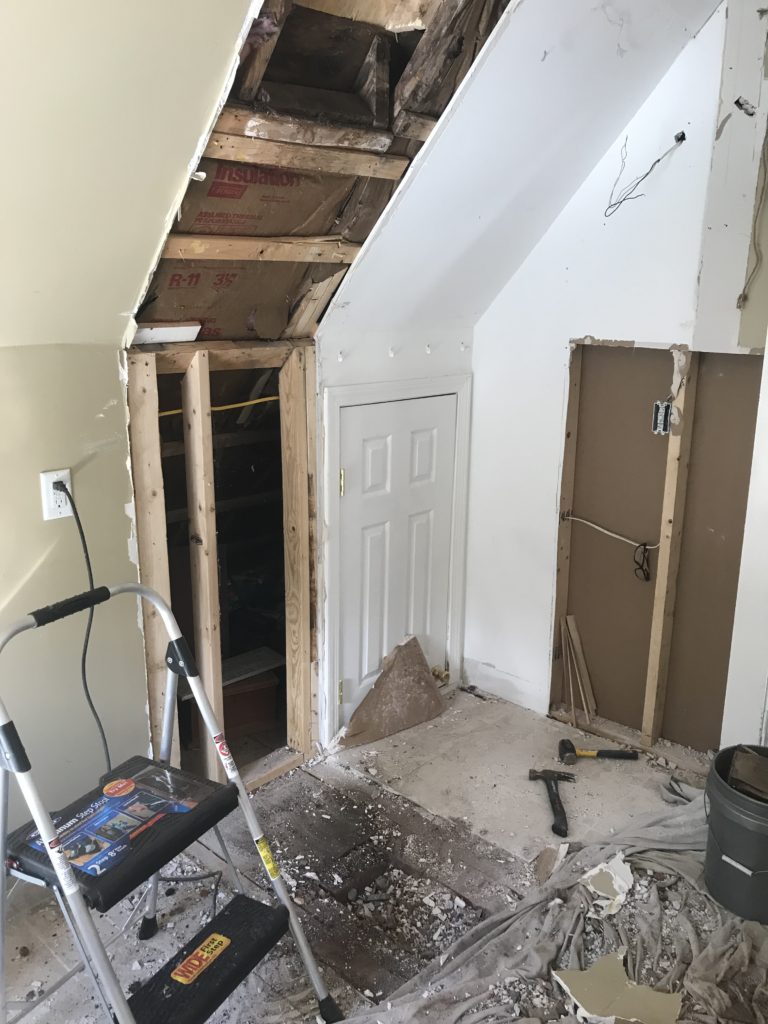
Rest assured, I was able to salvage almost all of the brick, and plan on incorporating it into our landscape this summer. I will say this demo is not for the faint at heart. I know it looks pretty simple when the photos are laid out for you, but this was hours of knocking down brick and carrying it down stairs in 5 gallon buckets, and then outside. Where it now sits in a mound at the top of our driveway until I start to go through it for my landscape project, lol. 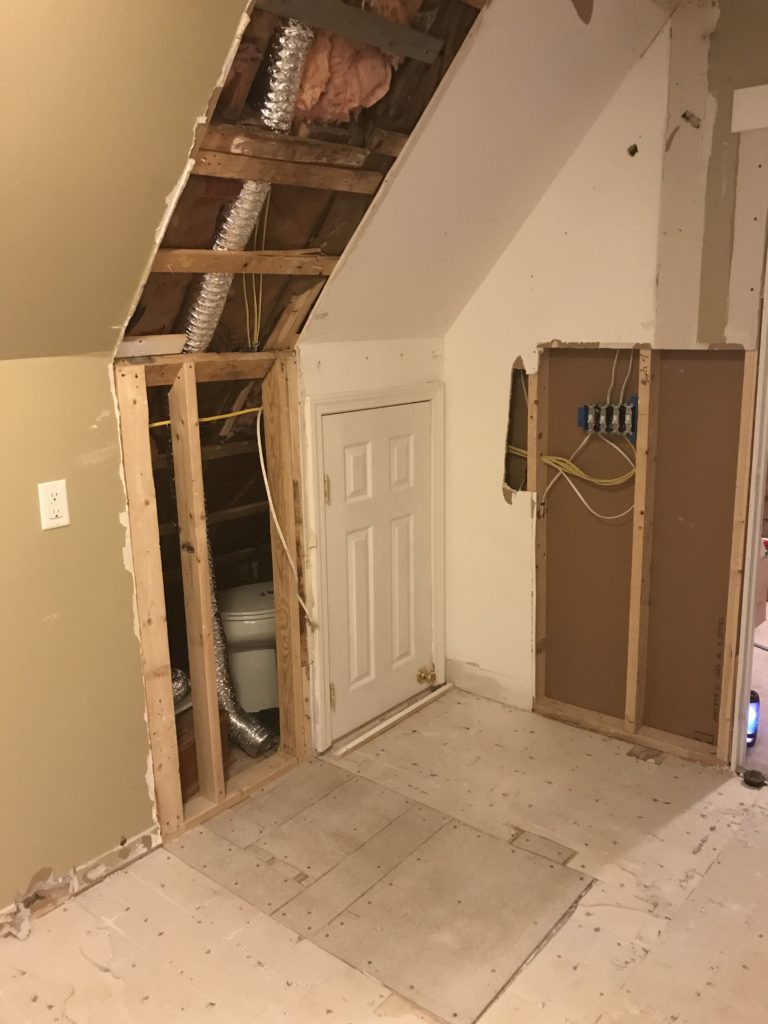
We tore up the tile floor once the chimney was out, and then cleaned up the debris to prepare for the new tile. You can see in the photo above, the tiny door that leads to storage we have in the eaves of the ceiling. We store our air conditioners for the bedrooms in there, our luggage, and bins that hold all of our seasonal clothes. When you live in a 150 yr. old house, closets are not that big, so you make storage wherever you can. Before we could get started on the new tile, my husband needed to run electrical for a new air vent, and some of the new lighting I wanted to add to the space. Being a former electrician, this skill has come in handy more than once when we do projects around the house, and I am so thankful he knows how to do this. What I didn’t know was that it would take him an entire day to all the electrical required, lol. Something I did not take into consideration when projecting a turn around time for this project, but you live and learn. 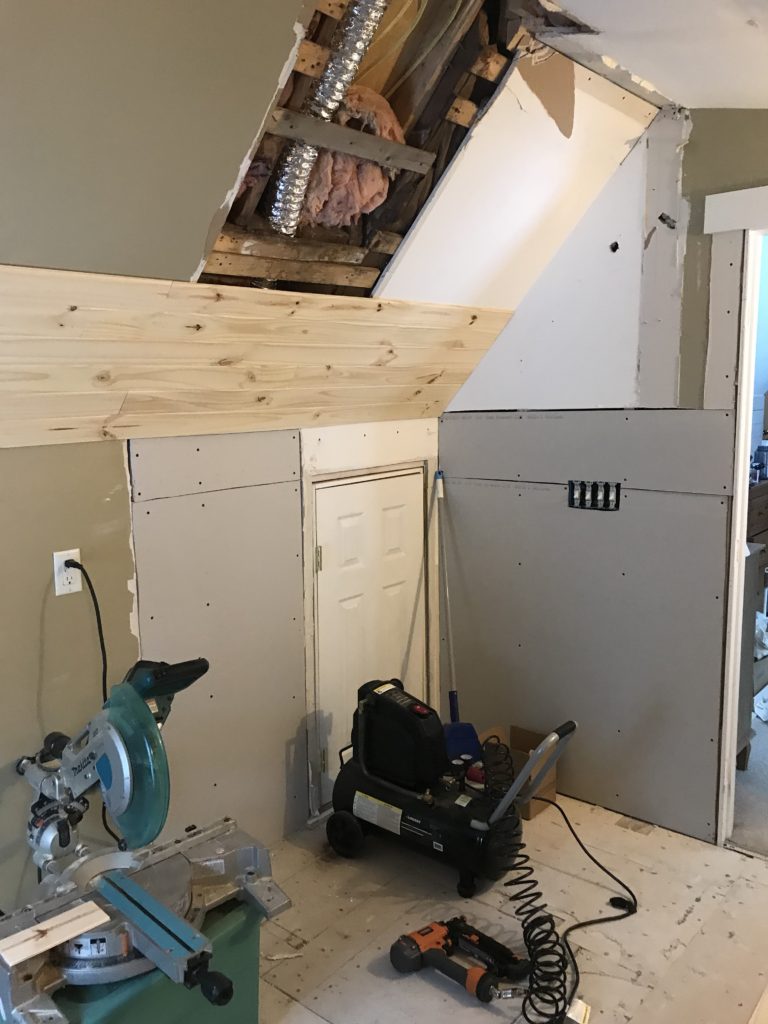
Once all the electrical was done, he patched the holes with new sheetrock, and we were ready to start putting the bathroom back together. Another thing you learn in doing projects is things come up along the way, they always do. So sometimes you are forced to make decisions on the fly. One change that we decided to make was in the ceiling. Originally I was going to paint the ceiling and the walls the same color, because the tile is going to be installed half way up on the walls. Well because this is 150 yr. old house, our ceilings are not straight. Not even close actually which become a nightmare when you are patching sheetrock. Seeing the distress on my perfectionist of husbands face, we resolved to planking the ceiling with tongue and groove planks which completely removes the need to patch sheetrock on the ceiling, and hides any imperfections. Knowing that I could save him some time and stress in the ceiling was worth the cost of the planks in itself. So we began to plank the ceiling. 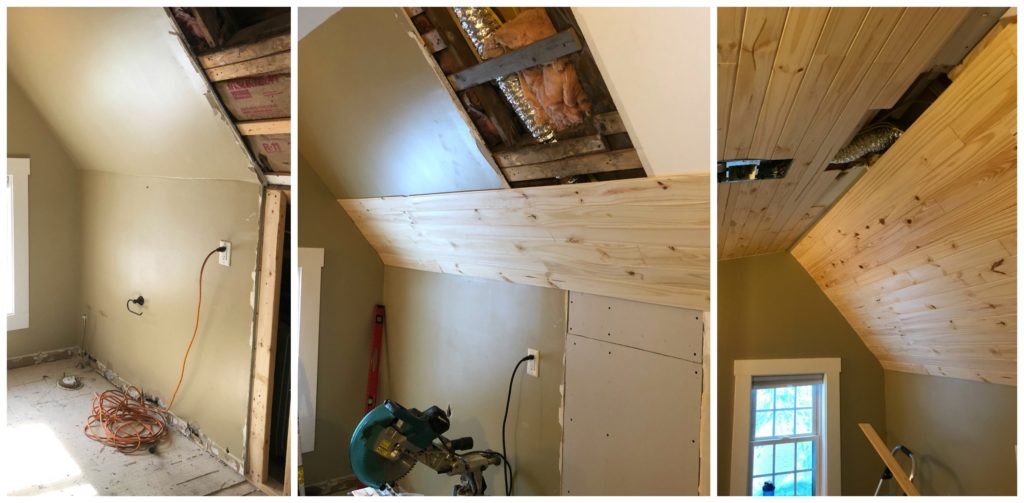
I did a lot of research, and since this wasn’t part of the original budget, we ended up choosing the most budget friendly option, and that fit in our time frame. Unfortunately I didn’t have the time to order something online, so I needed to work with what was available in my local store. We ended up buy tongue & groove wood planking that is reversible, similar to THIS, and used the wider planked side.
So to recap, here is the progression of our demo from the view as if you were going to walk into our bathroom. 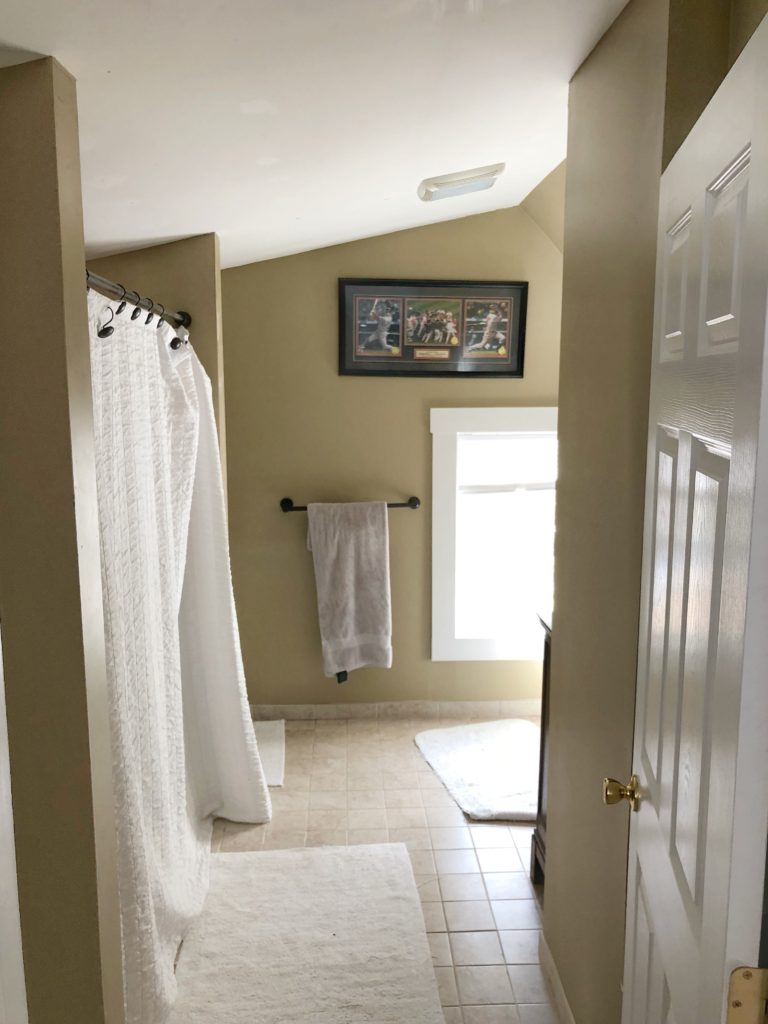
Walking into our bathroom the shower is on your left, and then on the right was the bump out wall that was hiding the chimney behind it. Just past the wall on the right is our toilet, which you can see below.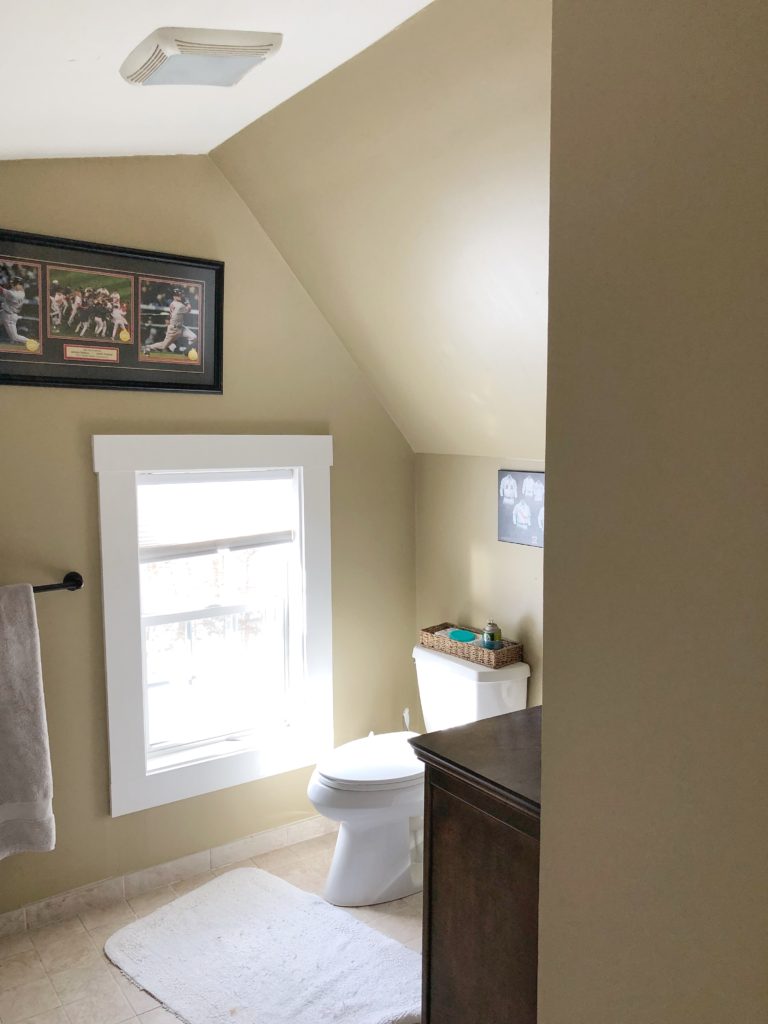
Below you can see what it looked like once we tore the wall down and exposed the chimney.
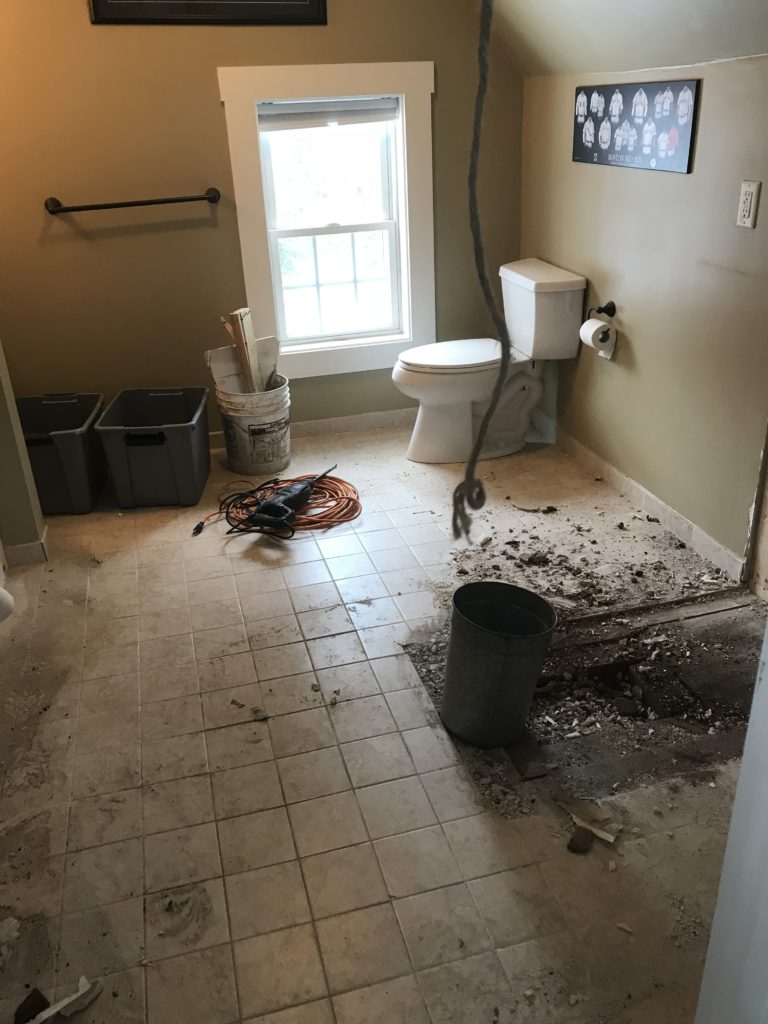
Once the chimney was out, we removed the toilet, and safely set it aside, and now we could tear up the blah tile floor. 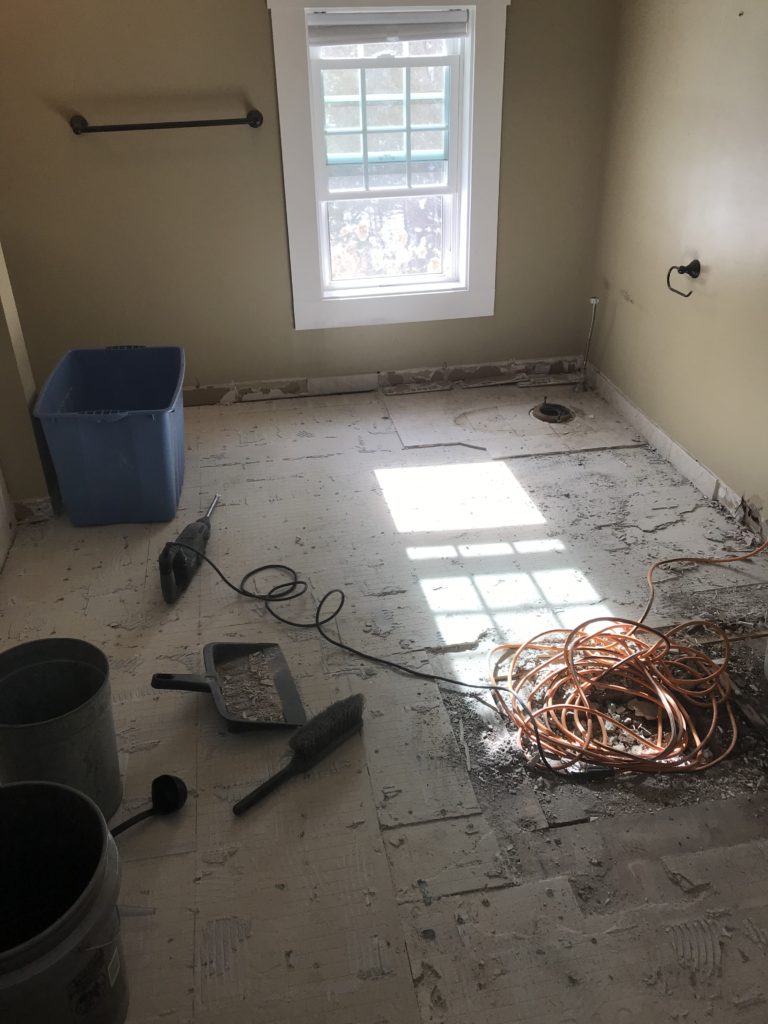
Once all the demo was done, we took down the wire shelving (shown in the before post HERE, next to the shower), ran needed electrical, and patched all the holes and new sheetrock.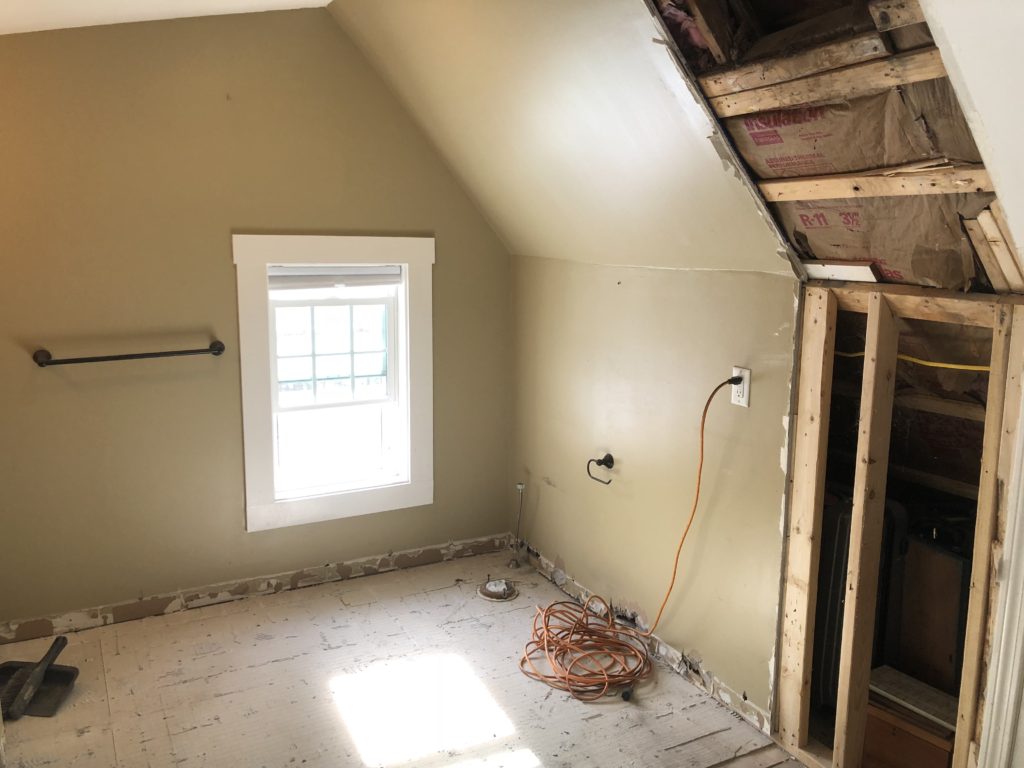
Once the sheet rock was all patched, we planked both sides of the ceiling, which I debated staining or painting.
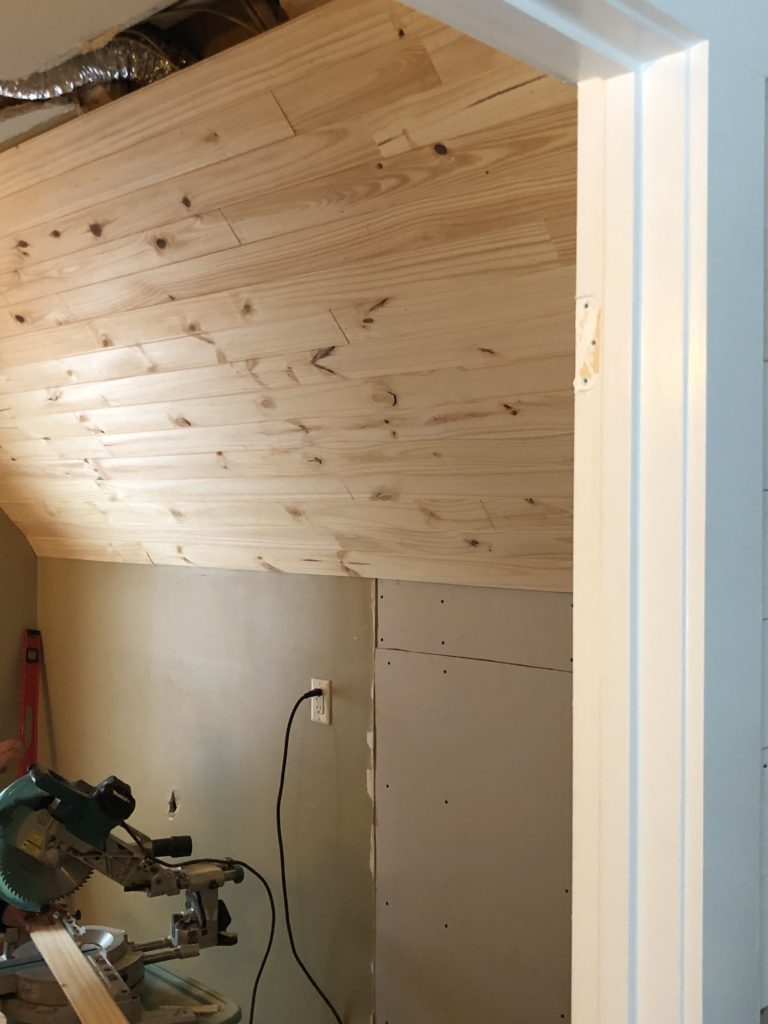
I ended up painting it white, because we plan on installing a reclaimed beam from an old barn down the center of the ceiling, where the two pitches meet. I really wanted that detail to stand out. The only problem is I need to wait for the snow to melt outside because it’s under about 2 ft. of snow right now. So that might be added later after the reveal, but I will be sure to keep you posted!
In the meantime, we started tiling this past weekend. The walls are done, and the hubby plans on starting the herringbone pattern for the floor this week! Once the tile is done, we can install the new vanity, bring back the toilet, and put up my new shelves. We are so close to finishing, I can’t wait. And honestly we both can’t wait to have a working toilet upstairs again too, lol!
In case you missed it, you can catch all the design details we are incorporating in this bathroom reno HERE.
And to see all the before photos, and catch some of the design renovation plans, you can read all about HERE. 
Stay in touch!
Instagram / Pinterest / Facebook

I can appreciate the work and excitement you are experiencing. We bought an investment property a while back. The bathroom and kitchen were beyond repair – rotting floors etc – and now the difference is amazing.
I know you are so excited to get it done and i am to so i can see how beautiful it turns out.I think you will like your ceiling, it is really nice.
I can’t wait to see it! It’s going to be beautiful and so much more space. Love what you’ve decided to do to the ceiling.
Nice job, you two!! What are you going to do with all that space you’ve created?? LOL I am sure you will find something!!
hey girl- can’t wait to see the big reveal!