Friends, I am SO excited!! In just 2 days I will be sharing the final reveal of our master bathroom makeover, and I can’t wait! Last week we finished up the tile, after some very long days of grouting. I learned a valuable lesson while doing this makeover with my hubby, it’s about the 15th reno project we’ve tackled together. So before the reveal I wanted to share some snapshots of our tile progress with you, because it really was the game changer that helped transform our bathroom. To say it’s unrecognizable to us – is an understatement. But you will see what I mean with the final reveal in a couple of days.
You remember the before looked like this :
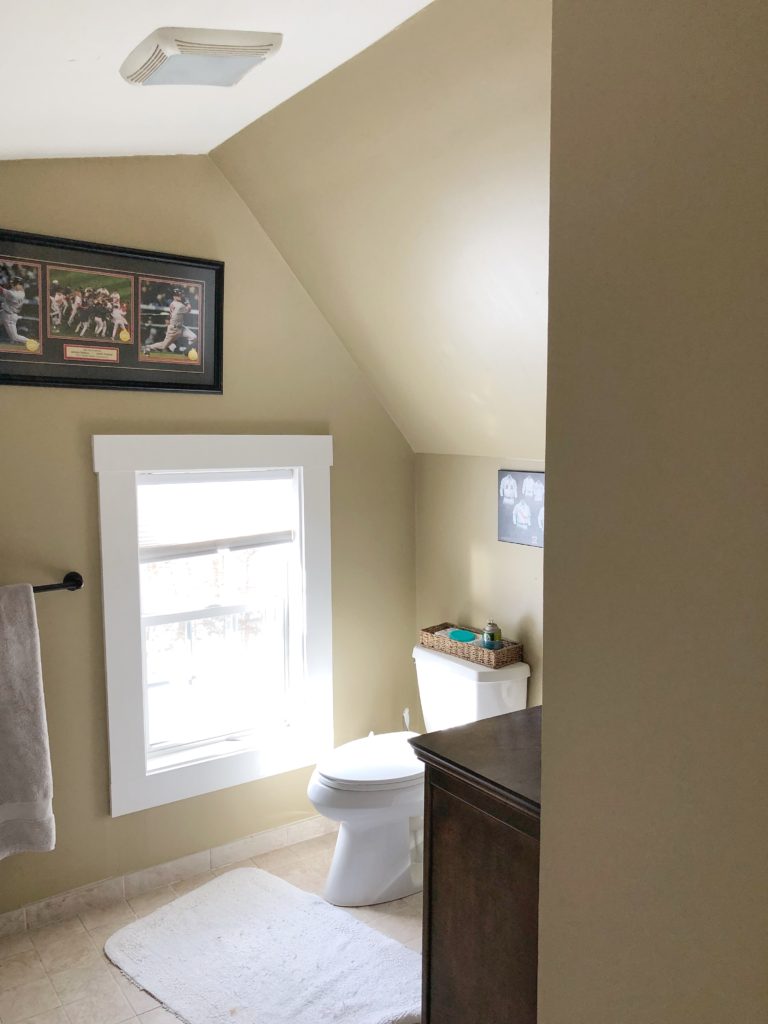
It’s so funny too, because that wall on the right that we tore out really does block the view. We couldn’t believe how much space it actually really took up until it was finally gone.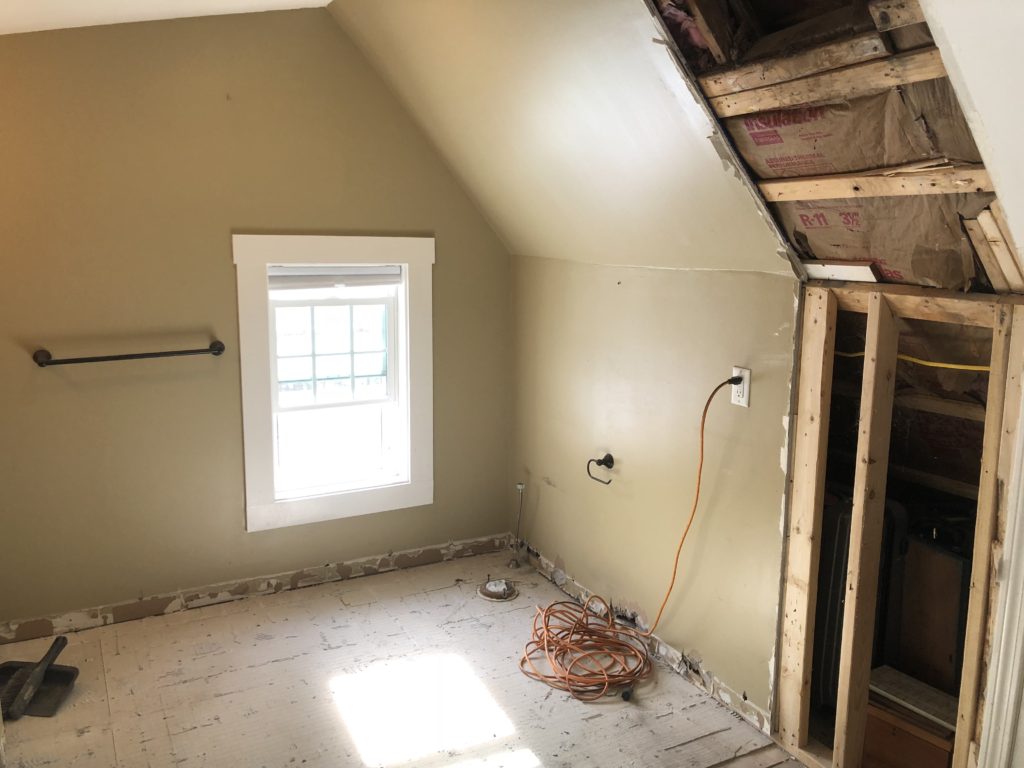
I shared the demo phase HERE, and explained how we tore out the bump out that housed a tiny unused closet, and an unused chimney.
We decided to add tongue and groove wood planks to the ceiling so my hubby wouldn’t have to worry about patching the drywall to fix all the holes. 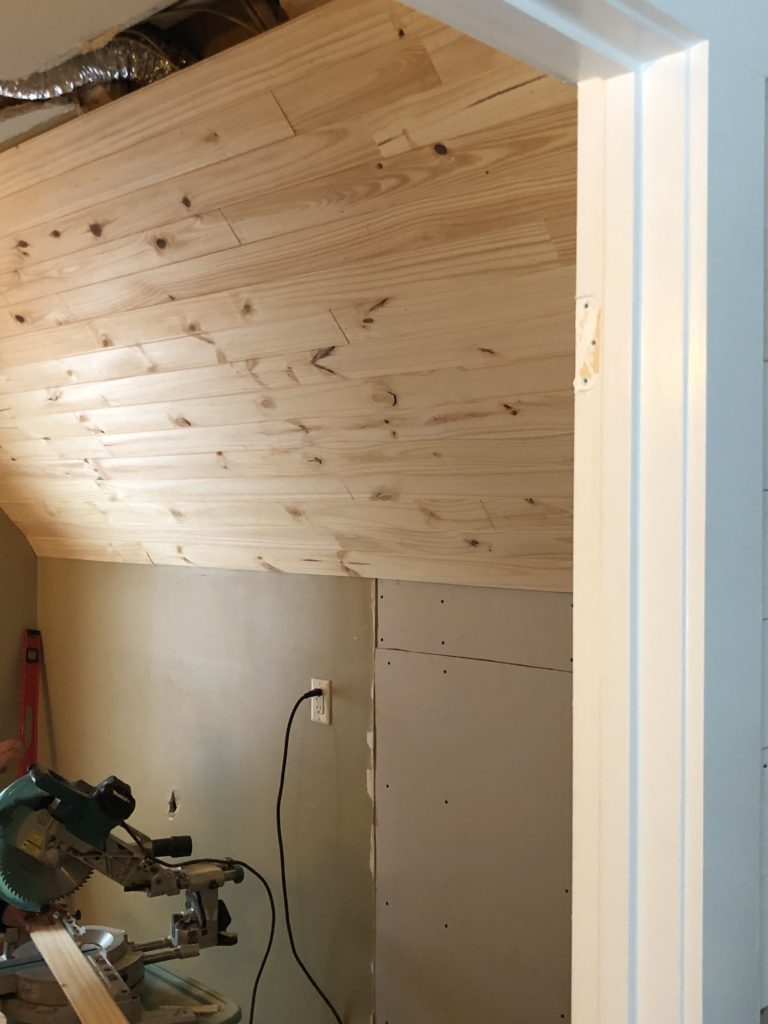
And once all the preliminary construction of putting the room back together was done, we could start the next phase of the renovation – TILE!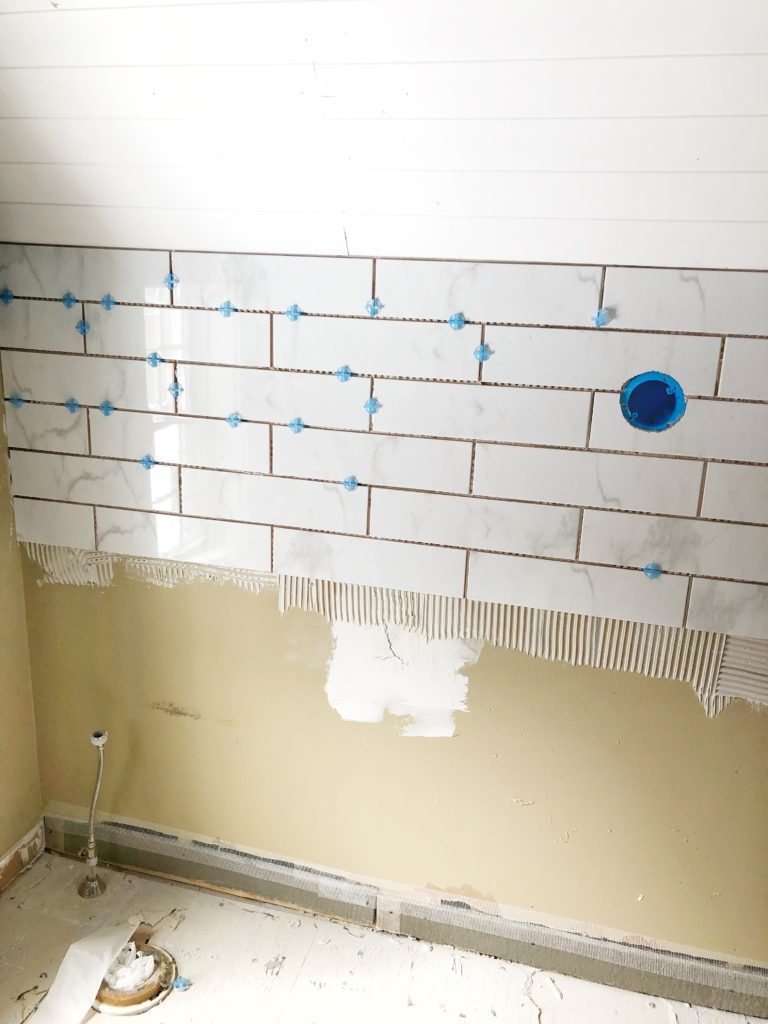
My hubby started on the back wall, behind where the toilet goes. It’s the longest stretch of wall, so he figured it would be best to try and cover the most ground at once. Since tile takes 48 hours to set, then you can grout, and wait another 48 hours, he decided to start with the walls first instead of the floor.
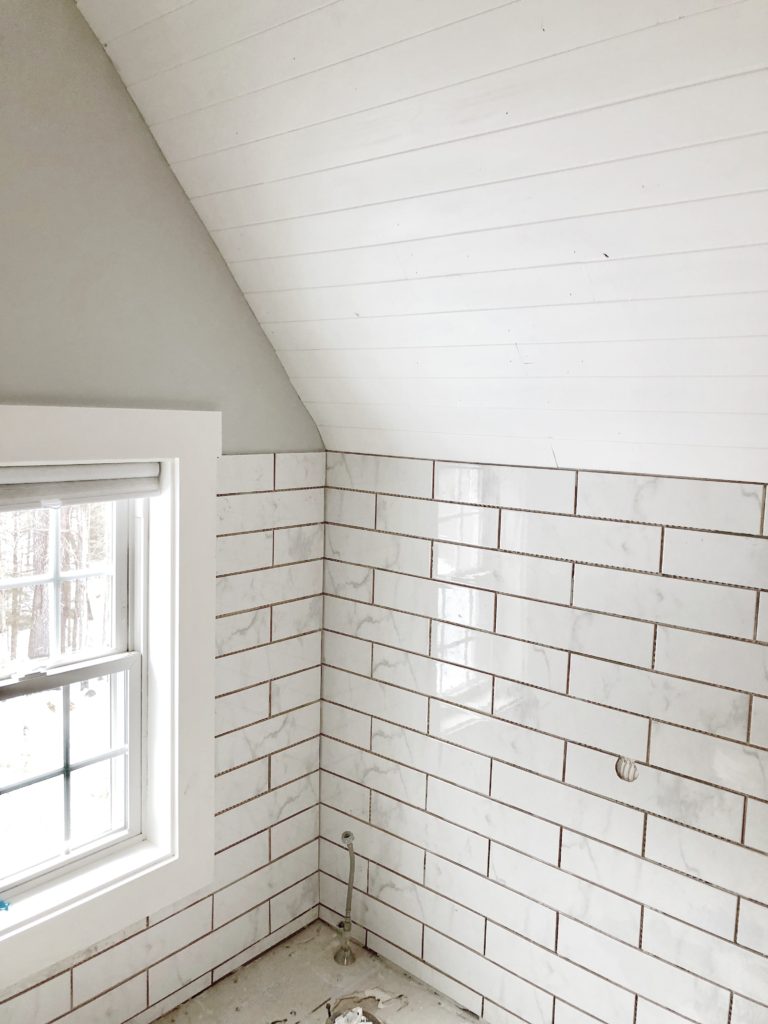
This made it so that I could grout all the walls, instead of having to wait for the floors to fully dry before we could walk on them. Since the walls were had more square footage to cover, we tackled the bigger area first, and then worked our way out of the room tiling the floors. 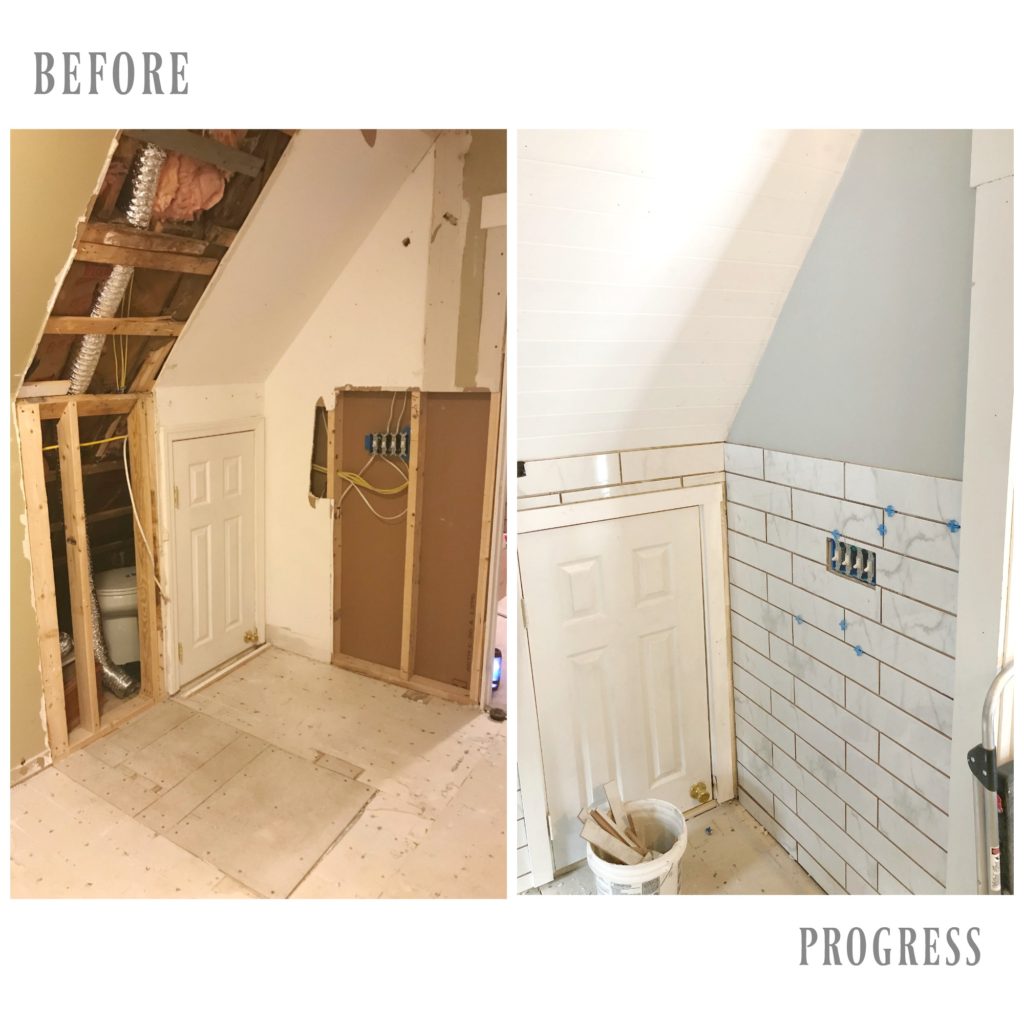
I mentioned in my demo post that this tiny door leads to storage in the eaves of the ceiling. We keep our AC’s and suitcases in their, so we didn’t want to close off that valuable storage area. 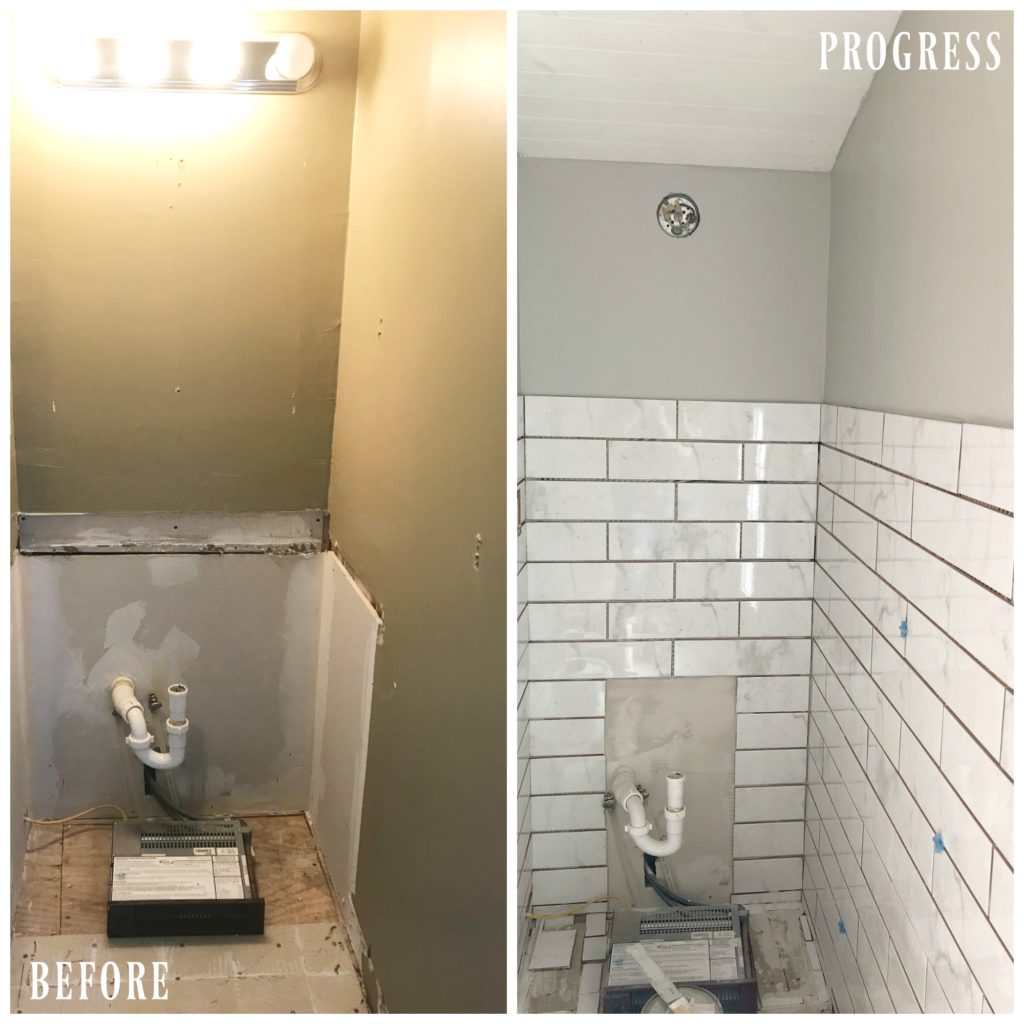
I was so determined to do tiling in this project. I knew it would really be a huge help to my hubby while he’s at work during the day, I could make some great headway in our reno. I have seen so many other bloggers tackle tiling, and since I’m somewhat skilled in DIY, I figured it would be smooth sailing with my hubby by my side teaching me. And you know what?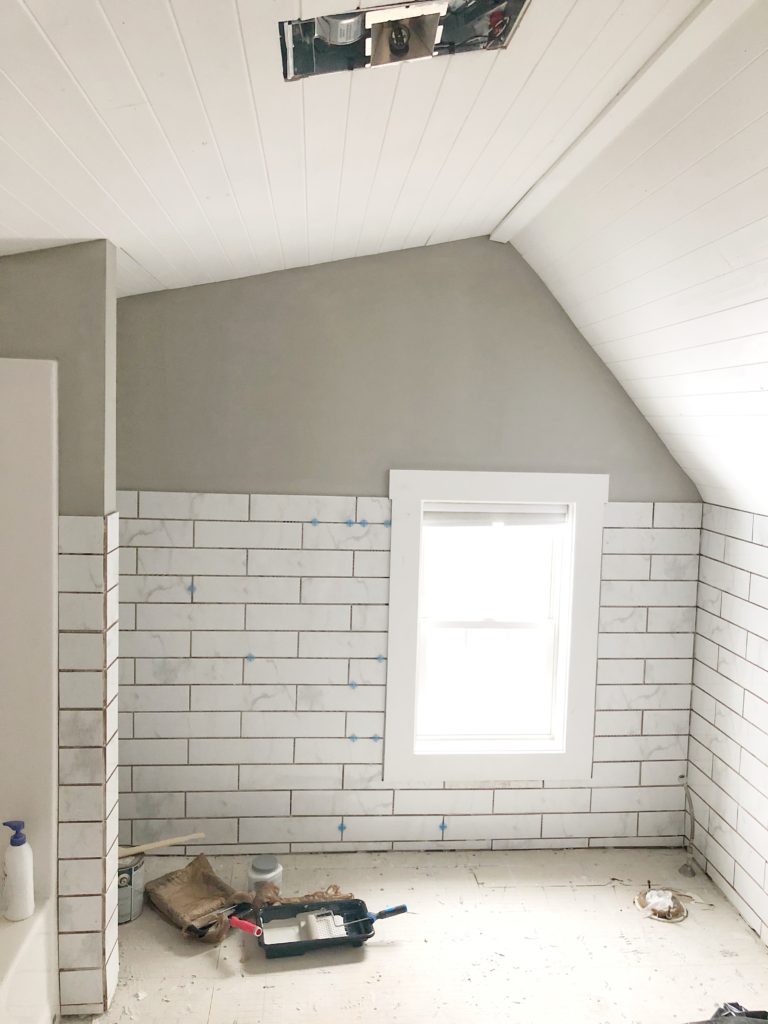
I wanted to vomit! Like literally I’m standing there while he started explaining it, and my stomach started doing flips. And not in the excited – butterfly kind of way. I was totally all set with letting him tackle the herringbone floor pattern I wanted for in this space, but I thought for sure I could handle the walls. We did a classic subway tile layout, with what I thought would have no real complications. And then he started spitting out math equations, and FRACTIONS – and I waived the white flag! 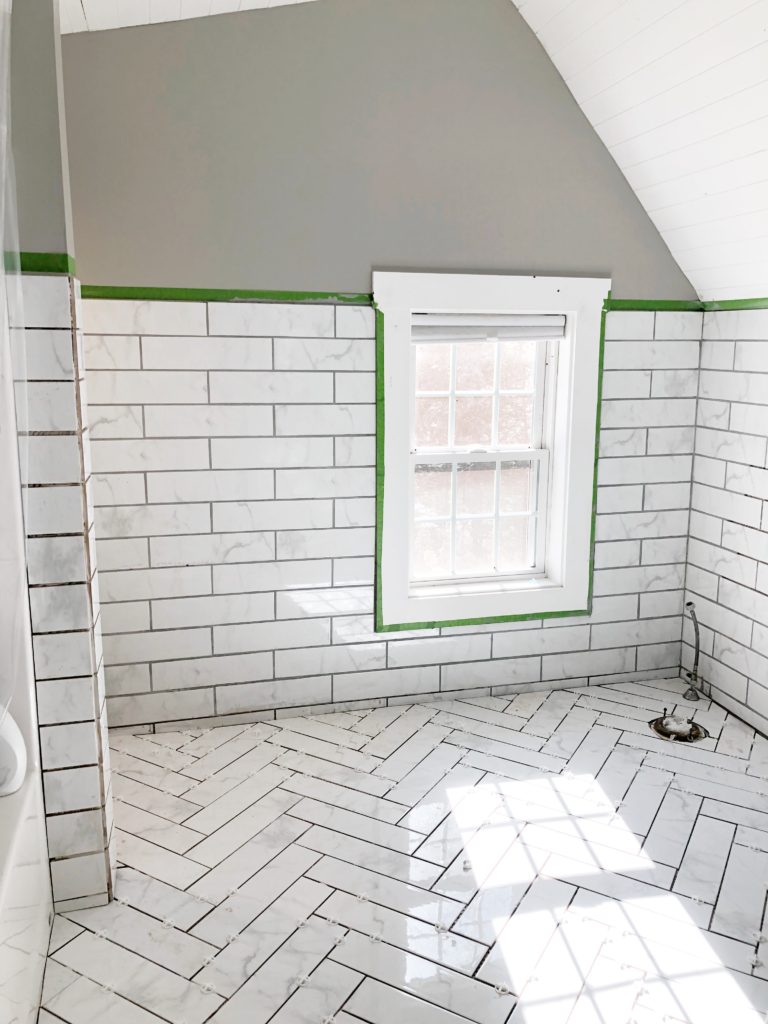
I told him I didn’t want to know, ha! And you know what, I was totally ok with that. I did all the grouting for the walls and the floor – which I will be sharing some tips I learned along the way next week, along with a tutorial for the herringbone pattern he did on the floors – and that was enough for me.
I realized something in that moment, we aren’t all meant to do everything. Everyone comes to the table with their own skill set. And while yes I think everyone can learn new skills, and I think it’s important too as well, that doesn’t mean we are going to be good at everything we put our hands too.
I realized that my strong suite was not in laying tile, and that’s ok. I painted, and grouted and painted some more, and that’s where my strong suite was. Oh, and I also helped out in grunt labor cleaning up as my husband went along, and that is a huge help just in itself. 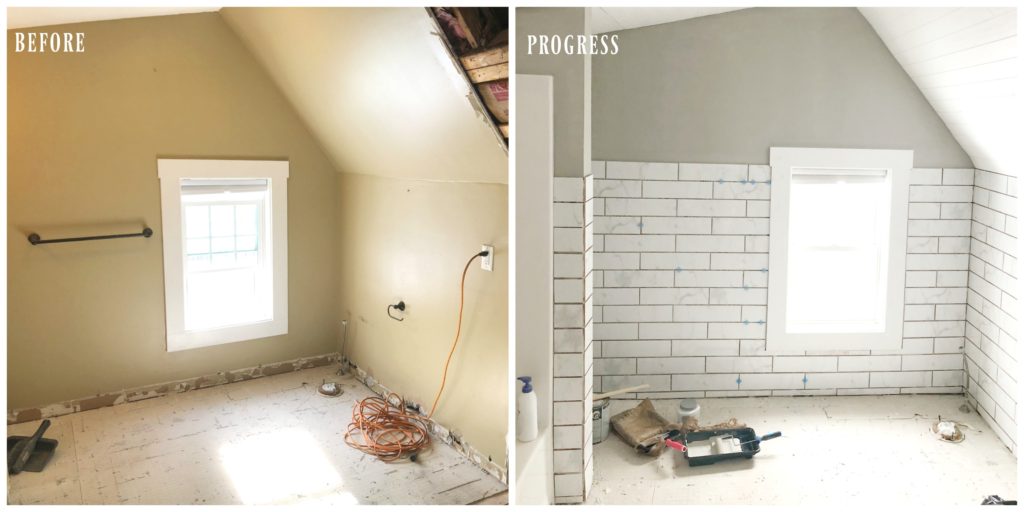
We balance each other out. His brain can solve problems in a way that I would just look like a deer in headlights. His skill set is vast and wide. And while I don’t want to do anymore grouting anytime soon. I am completely content letting my hubby do the tiling, and knowing that my skill set is equally as important and valuable.
In case you missed it …
click HERE, to see all the before photos of our master bathroom.
Phase 2 is HERE, where we demoed the space: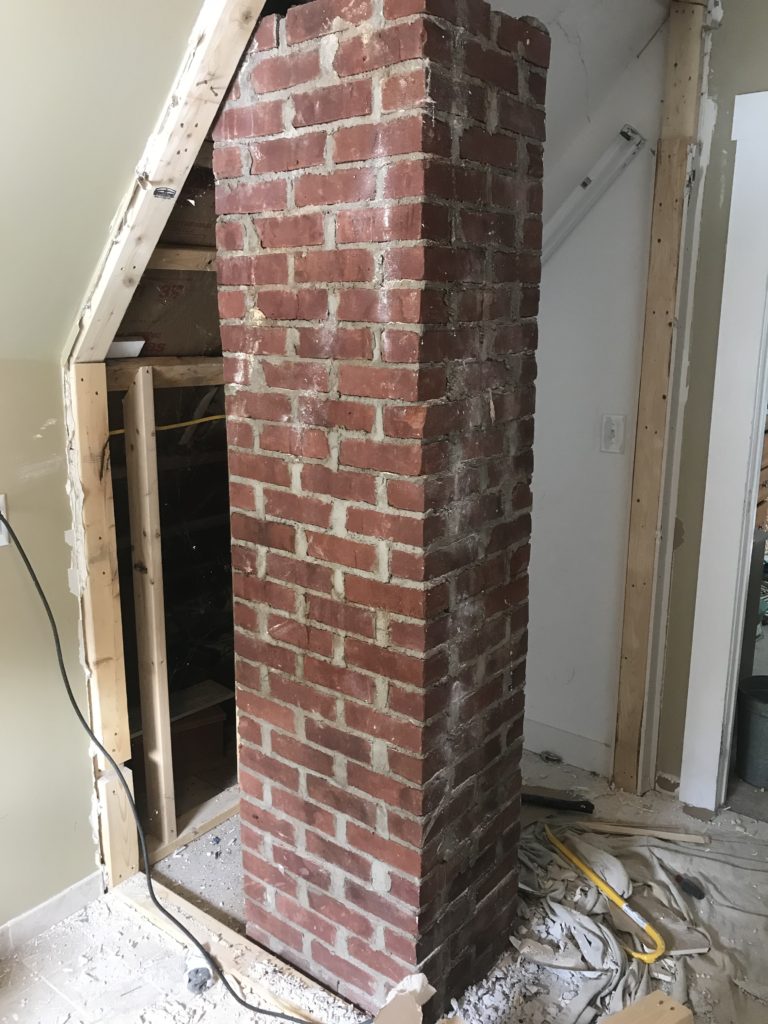
And if you like design details, you can catch my post HERE, with all the design plans and sources I planned to implement into our bathroom to transform it from its blah-beige state. 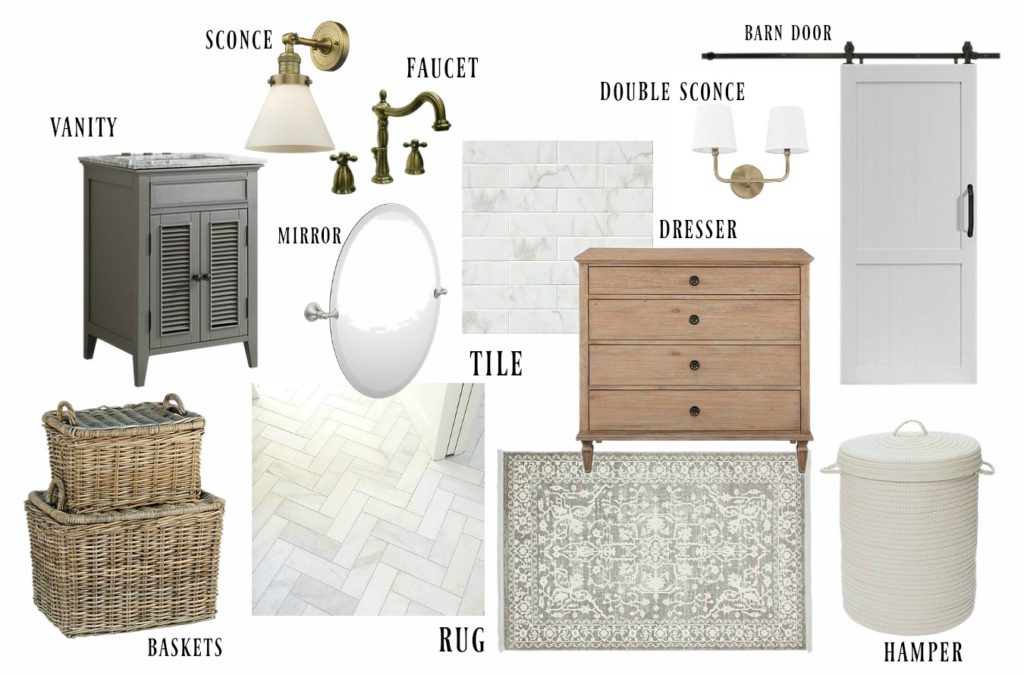
Stay tuned the reveal is just around the corner!
Stay in touch!

Looks Amazing!!! Great job 😍
Looking great. I would have left the tile to my husband too. I agree, we are good at different things and sometimes it helps him more if I do the grunt work.
Looking forward to seeing this finished.
Have nice weekend
Cindy
Thanks Cindy. It’s not always glamorous, but it certainly makes a difference 🙂
It’s really looking good Bre! I can’t wait to see the finished product! I know you’re creative mind will make it amazing!! Looking forward to the big reveal!
It looks great, but looks like lots of work but well worth it.
Bree, the tile looks so good. I can’t wait for the final reveal.