Hello Friends! Happy Friday!! Yes you read that title correctly – we rented a BobCat! My son liked to joke the whole time saying “Where I don’t see a bobcat?!”. He thought he was pretty funny! I shared in my landscaping post, we have totally switched gears after renovating our master bathroom and turned our attention towards our outdoor spaces. So to tackle one of our bigger projects we rented a bobcat, cleared some land, and laid down some crushed stone. The same kind of stone we used in our outdoor patio area. So today I’m going to show you the area we cleared, and how we install our crushed stone.
First you may remember the outdoor patio space we have below. 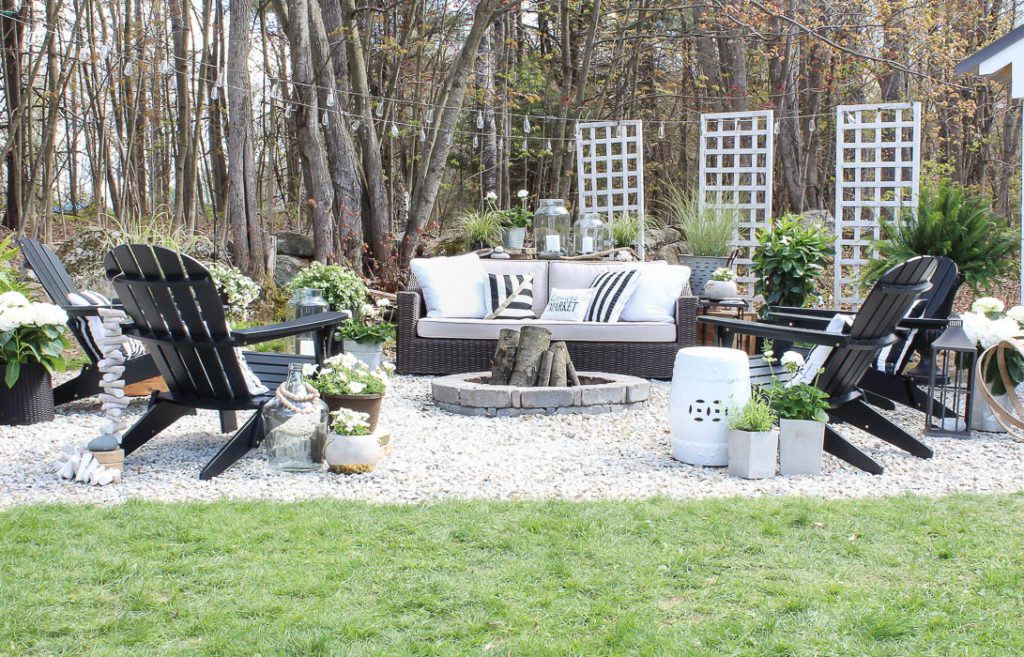
We installed the stone and fire pit just before I started blogging, so I never shared how we did it. But I dug out the entire area – yes with just a shovel and wheel barrel, we laid down weed block, and installed 3/4″ crushed granite. A lot of people asked when we used crushed stone vs. pavers and there were a few reasons. It was more cost effective, it wouldn’t take as long to install, and we didn’t have to worry about the ground being completely level. We could level it ourselves by putting in more rock in one area, and less in another to make it even all around.
Before we did the makeover it looked like this – 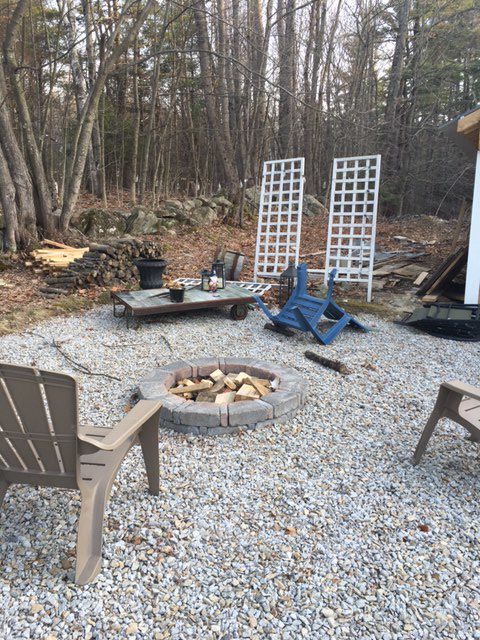
We still had the stone, and the fire pit, but hardly any furniture, and the whole area felt a bit lacking. Not to mention the junk yard behind those trellis’. Now when the trees are full of leaves you wouldn’t notice it from afar. But back there was a graveyard of old boards, cinder blocks, and who knows what else leftover from the previous owner. We did our best to hide it, and every year it would overgrow with weeds. Well not this year! 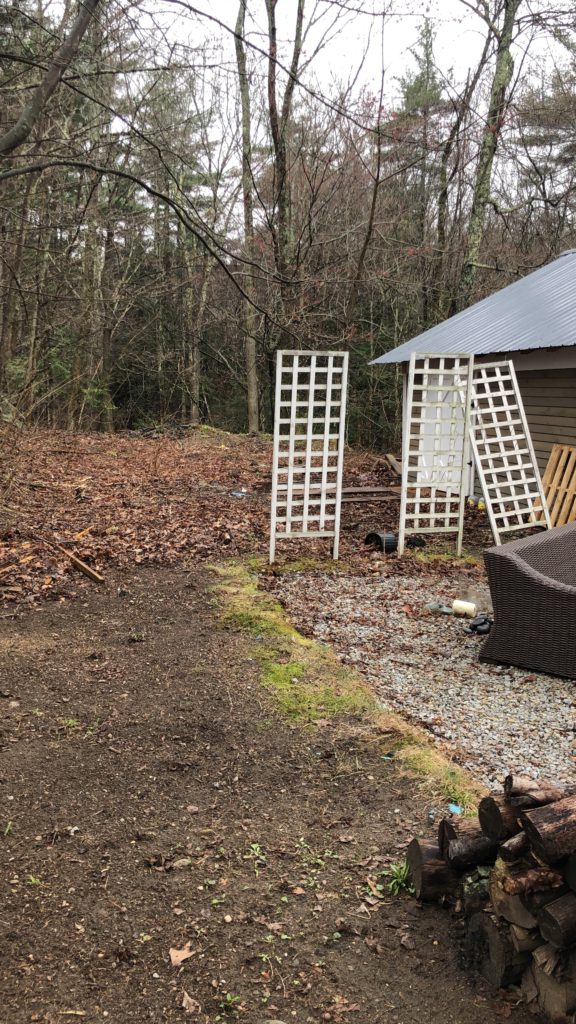
Based off of our experience of digging out the first patio area, we hit a lot of roots – A LOT! We knew that if we were serious about clearing that area back there, than we needed to plan accordingly. 
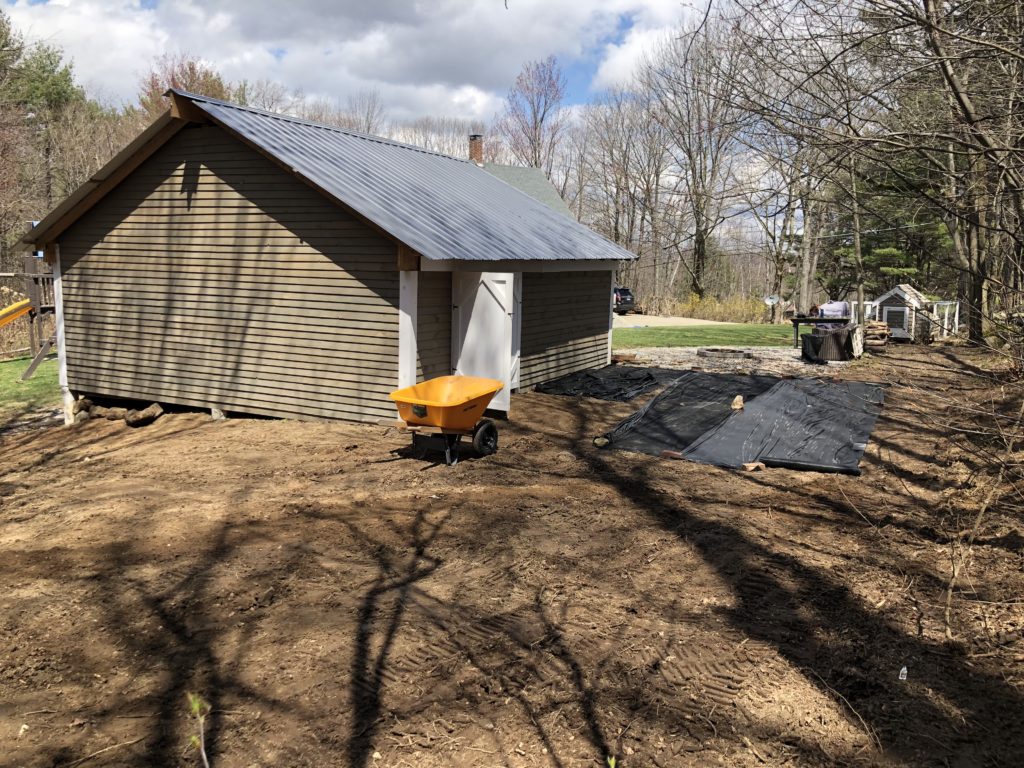
The plan was to extend the crushed stone along the side of the barn, and down behind it, mostly so my husband could take the lawnmower in and out the shed without having to move the patio furniture every time! And just in case you are wondering, I took these pictures the last weekend in April this year. Just before all the tiny buds appear on the trees, and every spring my husband would get the leaf blower out and clean up the patio area to get it ready for use again!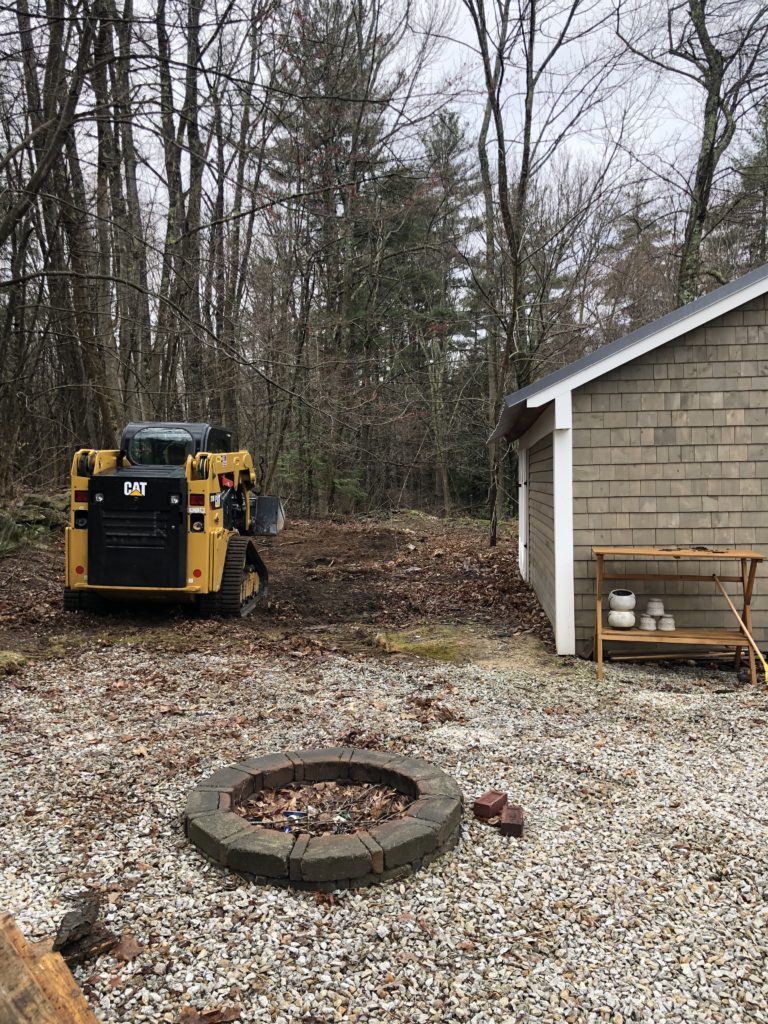
We chose the last weekend in April because it’s right before the may flies come out, and you are in the safe zone of the snow being pretty much behind us. So we cleared everything away, and my husband started clearing the ground with the bobcat. We also realized that in order to really get rid of all the weeds, the best thing would be to really scrape the ground, that way we could tear everything up at the roots. 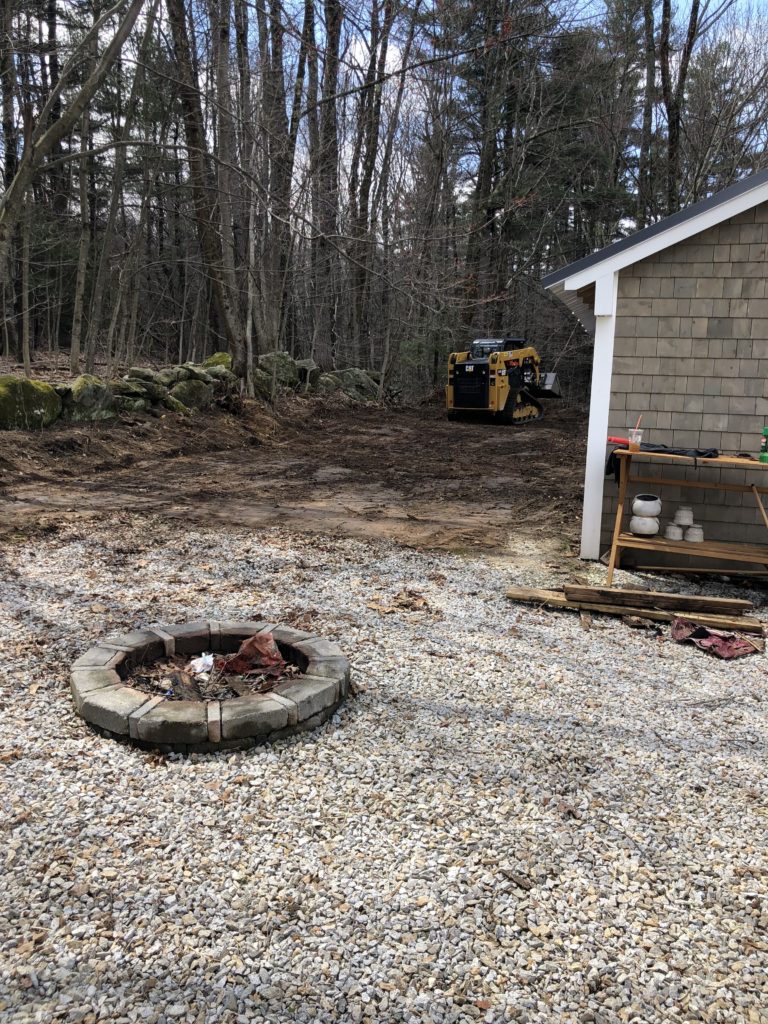
The area to the side of the barn isn’t overwhelming, but behind the barn was much worse, so we primarily rented the bobcat to clear the backside out, but I have big plans for this side of the barn which is why I’m sharing it with you.
Once the excavation was done, we started putting down weed block I know there are many different ways you can do this, using newspaper, I’m just sharing with you what we did, and it’s worked well for us. We use the black cloth that comes in rolls, and we were able to cover this entire area, and the path for the lawn mower behind the barn with just 2 rolls. 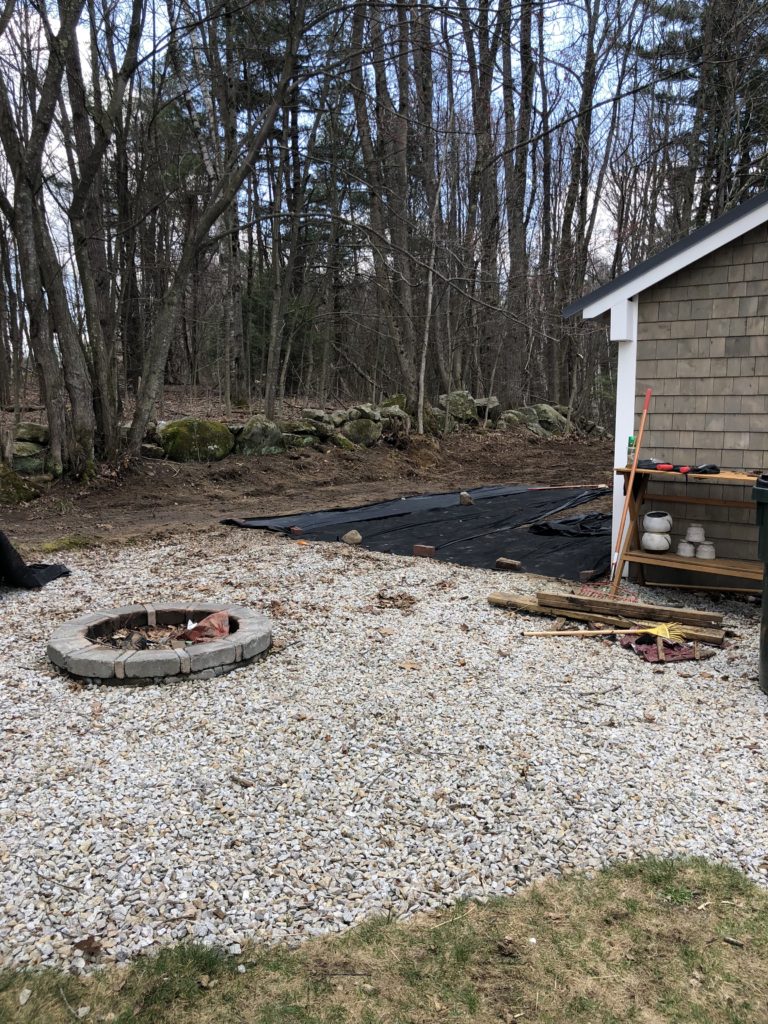
I shared some sneak peeks of this in my Instagram stories a couple weeks ago, and explained why we aren’t laying the stone down all the way to the rock wall. Next to the original fire pit area, I have the biggest section of lily of the valley that comes in every year. It’s gorgeous. So we plan on adding some more bushes and plants along the rock wall to soften it up.
Below you can see the view from behind the barn.
What I didn’t anticipate was all this extra space back here. We cleared it just because we didn’t want to see all the over grown weeds. 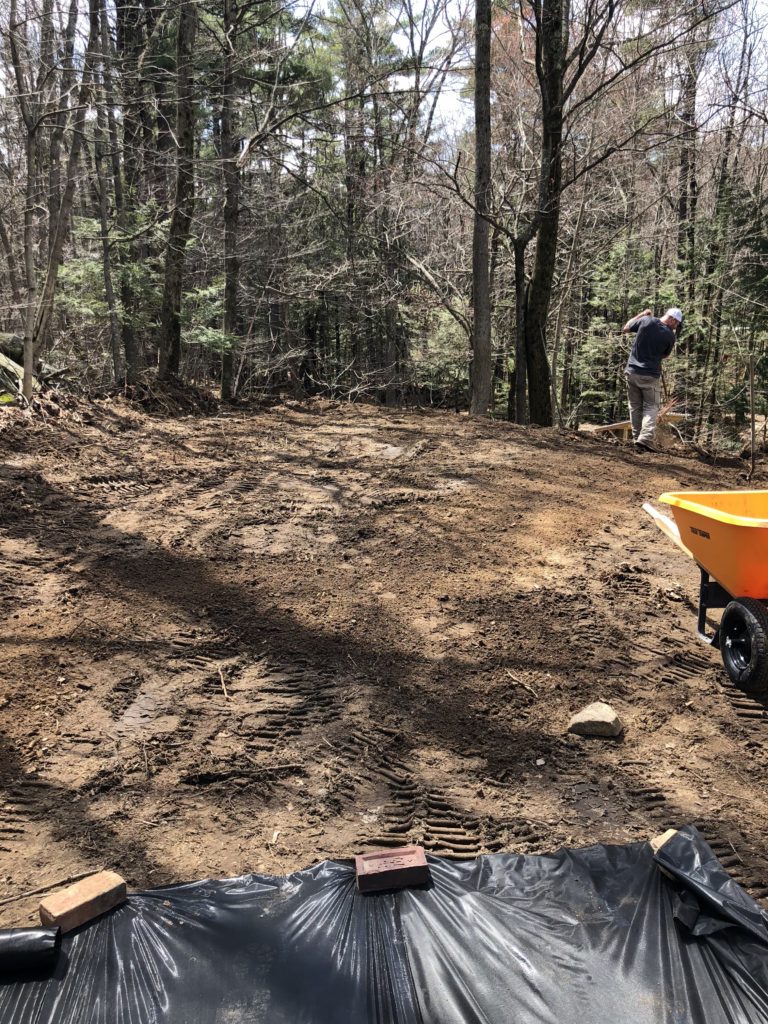
When the leaves come in it’s 100% shaded on these sides of the barn, so if you follow me on Pinterest, you may have seen all my pins for “shade gardens”. Guys the dreams are BIG! lol.
Once we had all the black cloth down, it was time to install the crushed stone. We used the same stone we have around out fire pit area – 3/4″ crushed granite. It packs well, lays down nice and easy, and in my opinion is a quick fix. Plus, it’s cheaper than bark mulch. 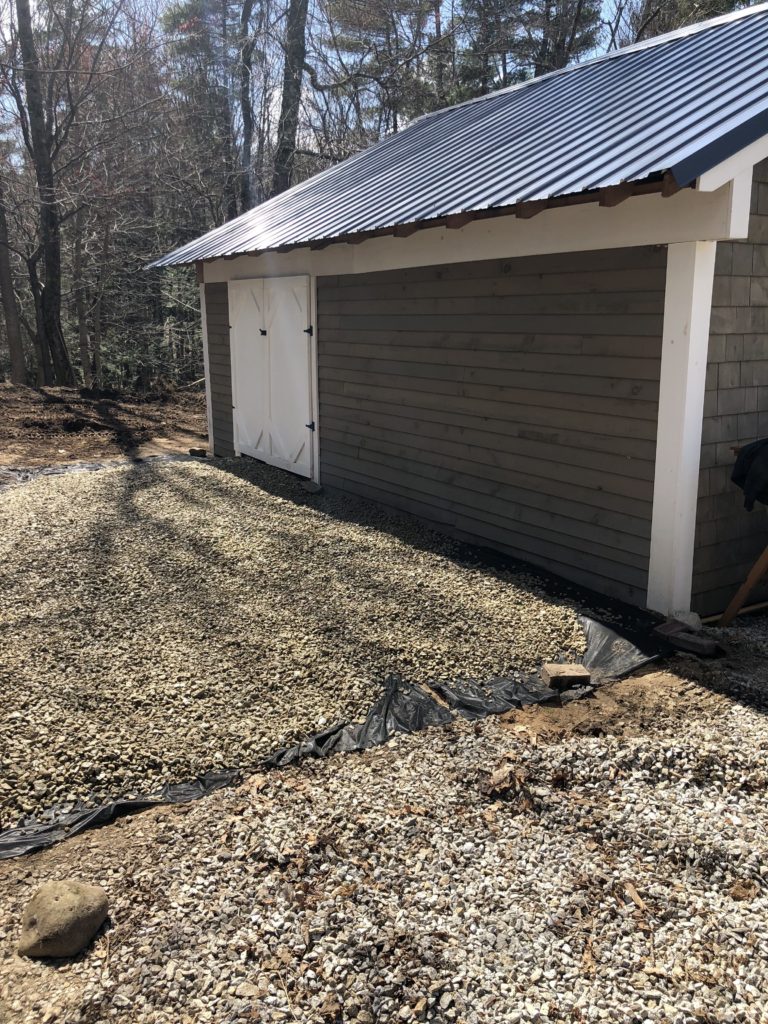
You can see above, where the 2 areas meet up. The original stone, and the new stone. We filled in the area until eventually you couldn’t see where the old or new began. 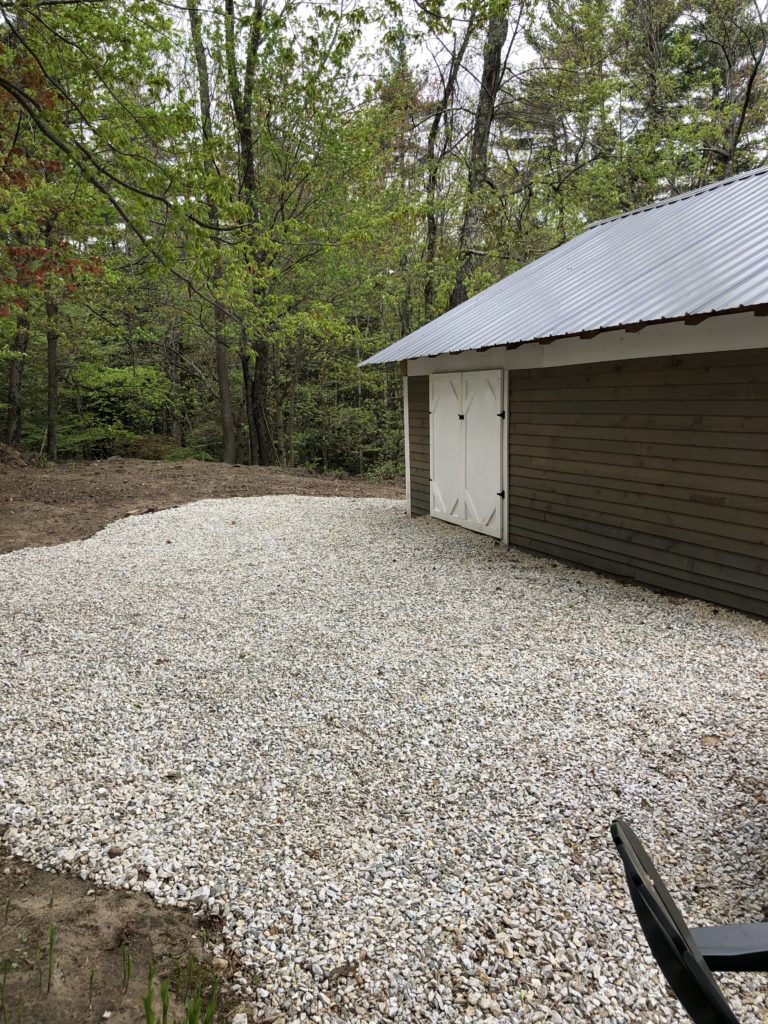
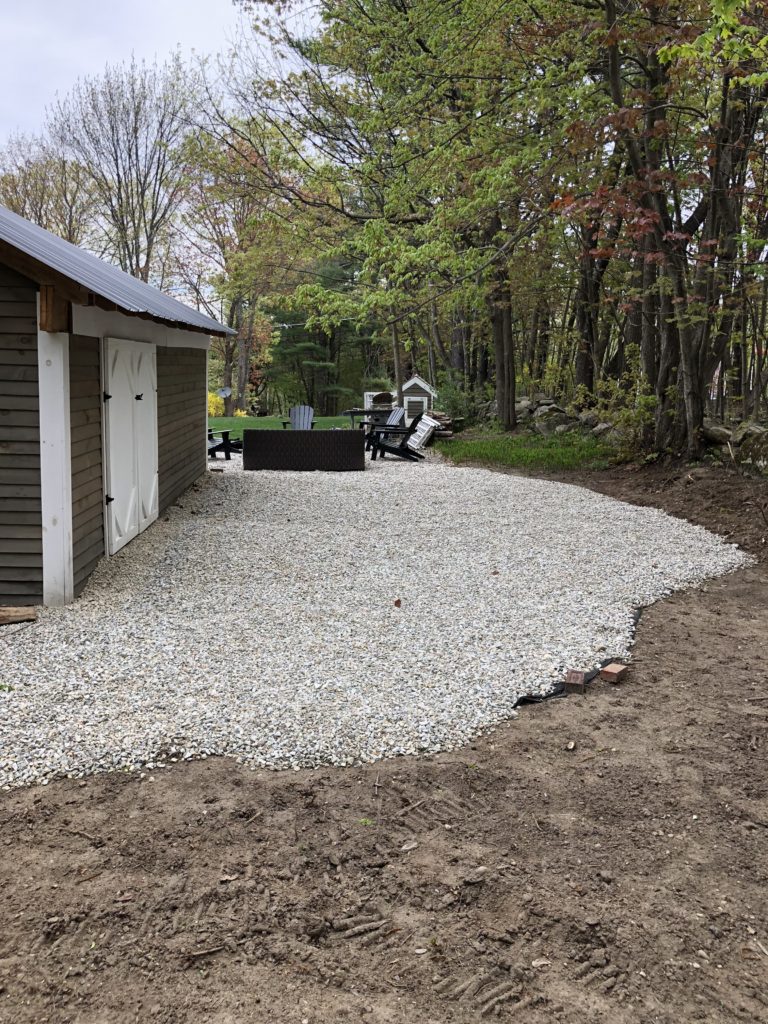
The plan is to move our outdoor dining table over to the side of the barn, and then string up patio lights above it. I have lots of ideas swirling around in my head for this space, and of course I can’t wait to go get some plants. I’m hoping to do so within the next week or two, and I will be sure to share the progress with you.
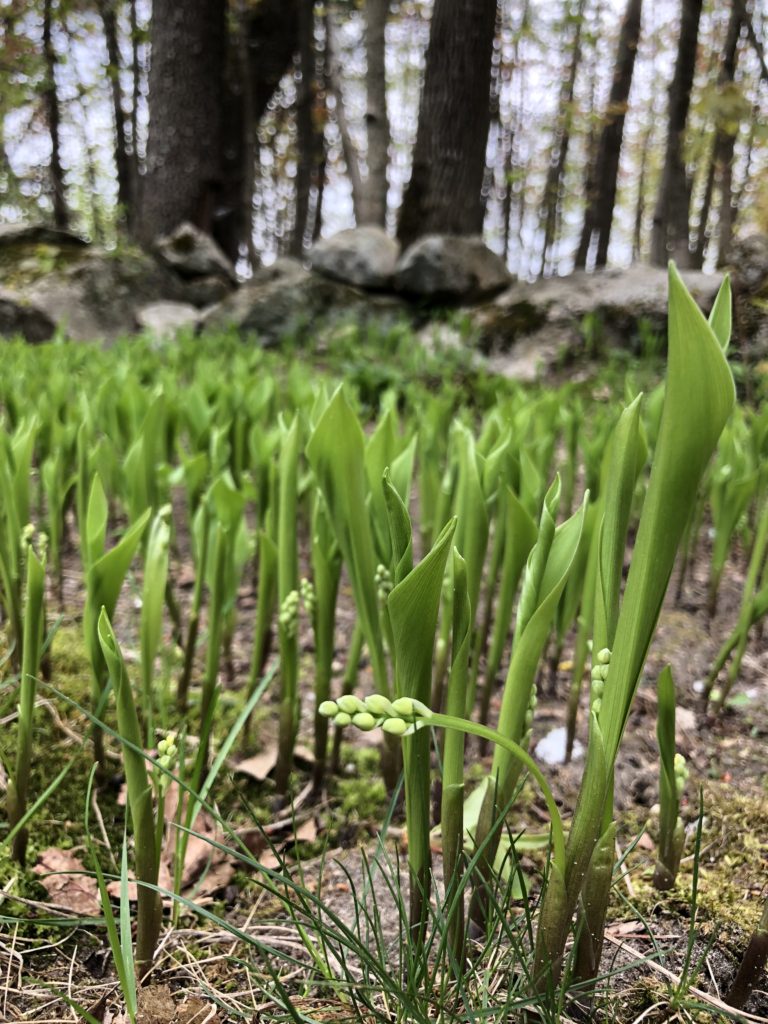
Here is all my lily of the valley! They bloom every year just in time for Memorial Day weekend, which is usually when we have our first fire. They are so fragrant, and I love being able to cut a few and bring them in the house.
I know a lot of times in the past I’ve shared just the pretty “After” photos, and not so much of the progress. So I hope this helps answer any questions, and show more of how we get to the pretty after photos I love to share so much with all of you!
P.S. If you’ve got outdoor spaces on the brain now too, you can follow along with me on Pinterest, where the dreaming is endless! 
Stay in touch!
Instagram / Pinterest / Facebook
