If you follow me on Instagram, than you may have seen some sneak peeks of a little master bedroom makeover I’ve been working on! Honestly I was just ready for a change, and a dark moody color. And since our master bedroom isn’t very big, it makes painting the room pretty easy. At first I was thinking of just painting my nightstand dresser a lighter color since the walls are a new darker color. I was just about ready to do so, and figured I should at least see if I can sand off some of that paint and uncover raw wood. And you know what?! I did just that.
Here is what my nightstand dresser looked like before :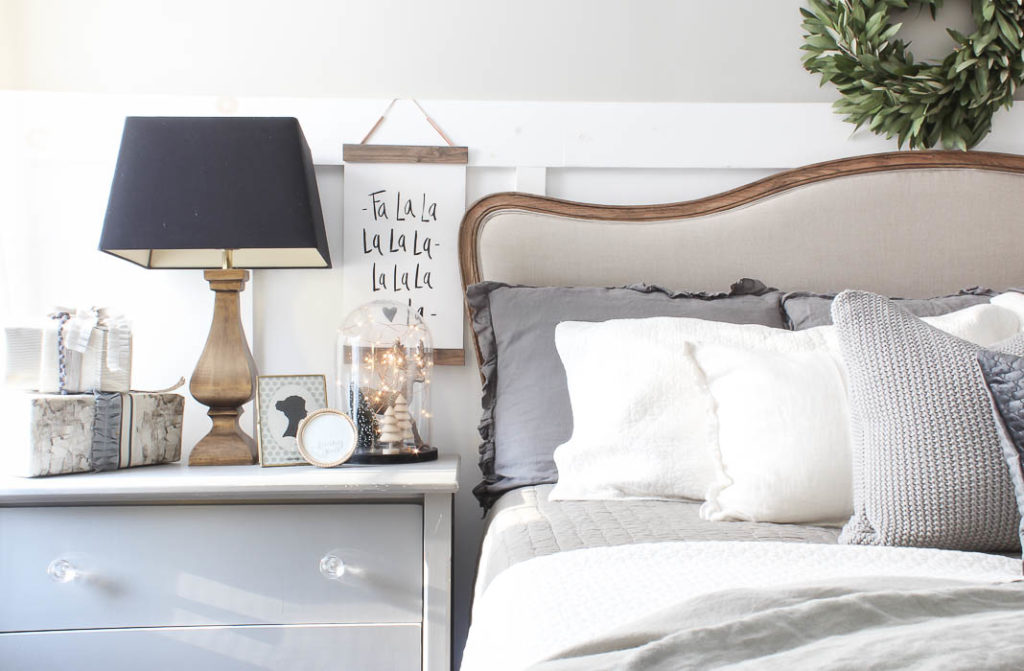
It worked before with it being a nice medium toned gray. I honestly don’t remember what the color was, since I painted it on a whim with some left over paint we had in the basement. But with the new darker color on the walls, it just felt a little lost in the space.
I started by sanding down a corner just to see if it was even possible. 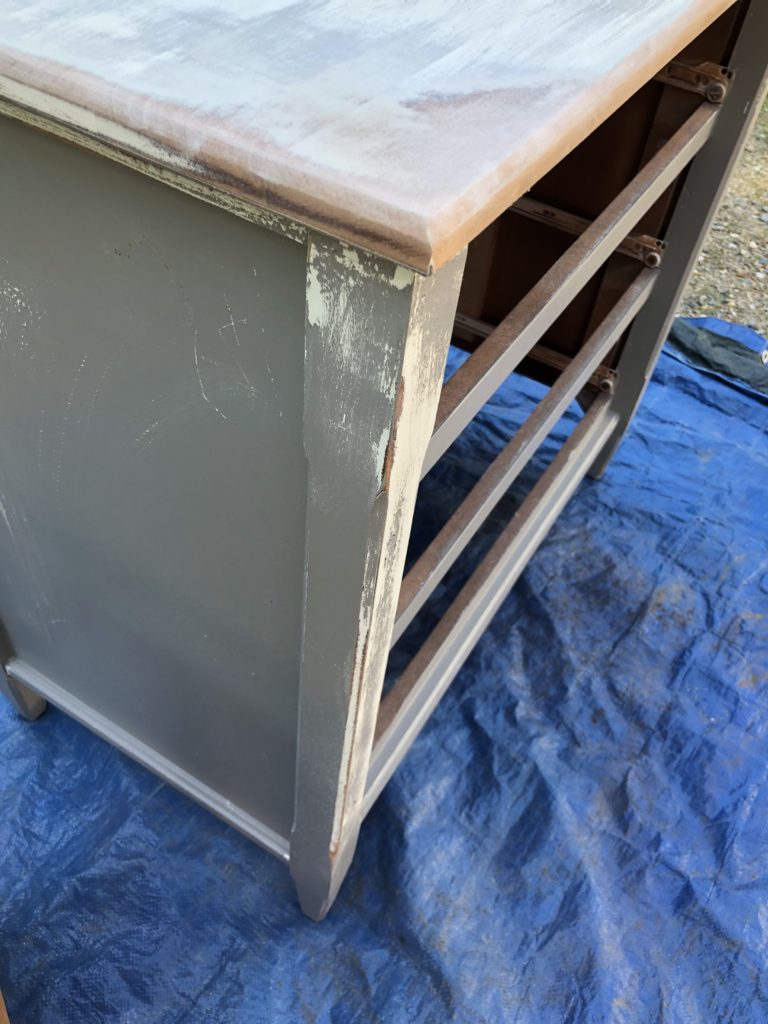
And what do you know – SUCCESS! The dresser was originally cherry, which is why I painted it years ago in the first place. I was afraid that no matter what stain I used that warm red undertone would always bleed through. Since then though I have become a bit more familiar with stain, and different techniques, and I had this “Vintage Wood Stain” that I was itching to use. So I thought to myself, what do I have to loose? I could always re-paint it if it doesn’t turn out right.
Once I knew I could get to raw wood, I decided to strip the paint off of it first. 
This was only my second attempt at stripping furniture, but since I knew I had only painted it a few years ago, I was more hopeful because I wasn’t trying to take off an antique finish. I used Citristrip stripping gel and a foam brush to apply it to the entire dresser. 
A few tips I found to be helpful when working with stripping material. Of course you want to be in a well ventilated area. Since I don’t have a garage, I worked outside in our driveway, however, you do NOT want to be in direct sunlight. You want to make sure you stay in a shaded area, as the sun will almost bake on the stripping gel, and then you have to sand it off.
-Also one thing I learned, was the more generous I applied the paint stripper, they easier it came off. You do NOT want to apply a thin layer. I definitely recommend putting on a heavy coating. It will be much easier to strip off the desired finish if you do so. Then I followed the instructions on the container for the wait time, and tested a small area before removing all of it.
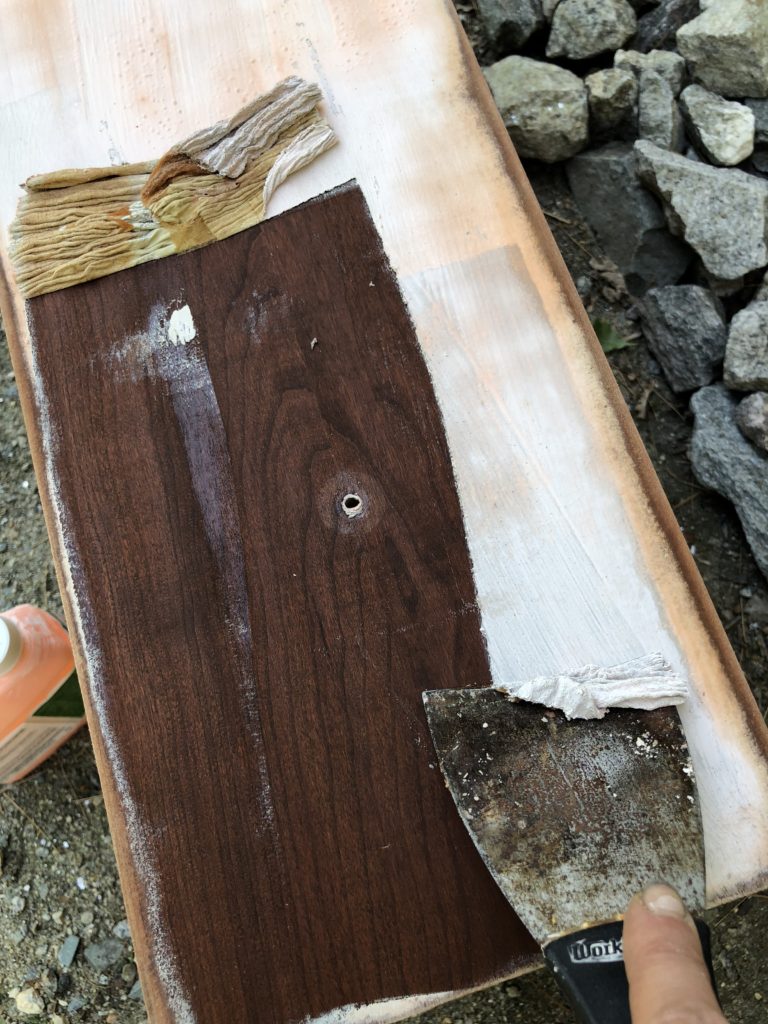
After I tested a small area, I used a putty knife to remove all the paint. After I scraped all the paint off, all that was left was the original cherry finish on the wood. I wiped everything down thoroughly, but noticed it was best to wait until all the left over residue had completely dried before trying to sand it. 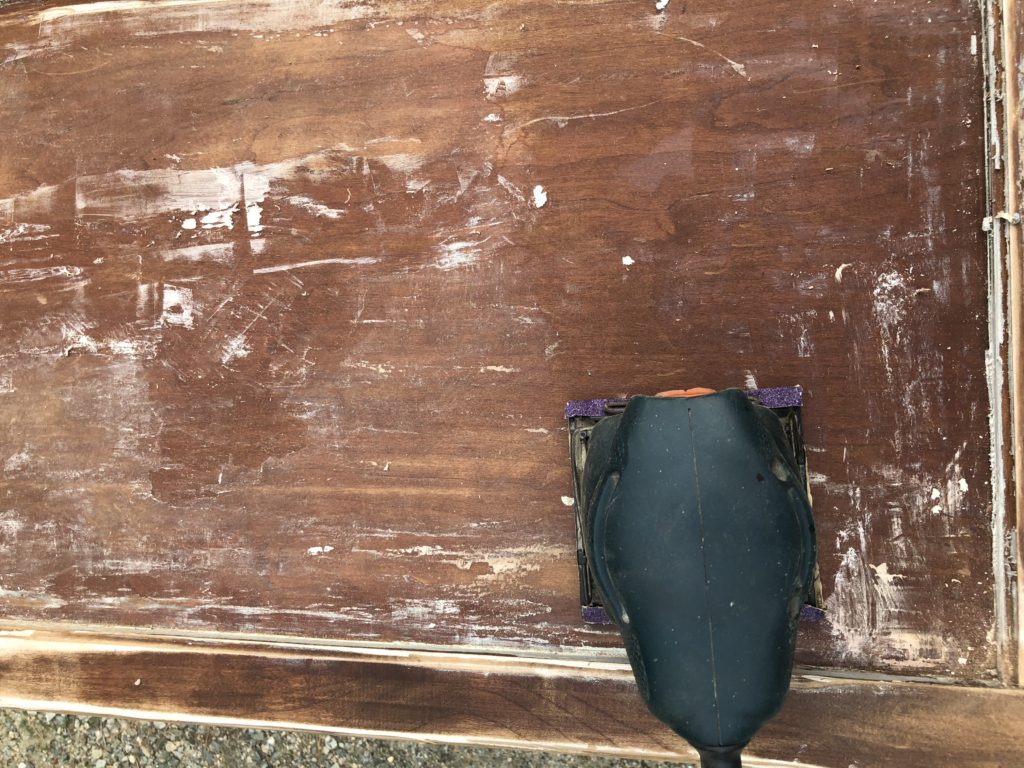
Once it was dry, I used a 60 grit sandpaper and my palm sander to sand down the dresser to its raw wood. Below you can see a side by side comparison of the drawers once the paint had been stripped off, before and after I sanded it. 
Once I had everything sanded down I applied vintage wood stain called “Better With Age” by Amy Howard. At first it looks like you are just applying water to the surface, but then the magic happens as it dries. 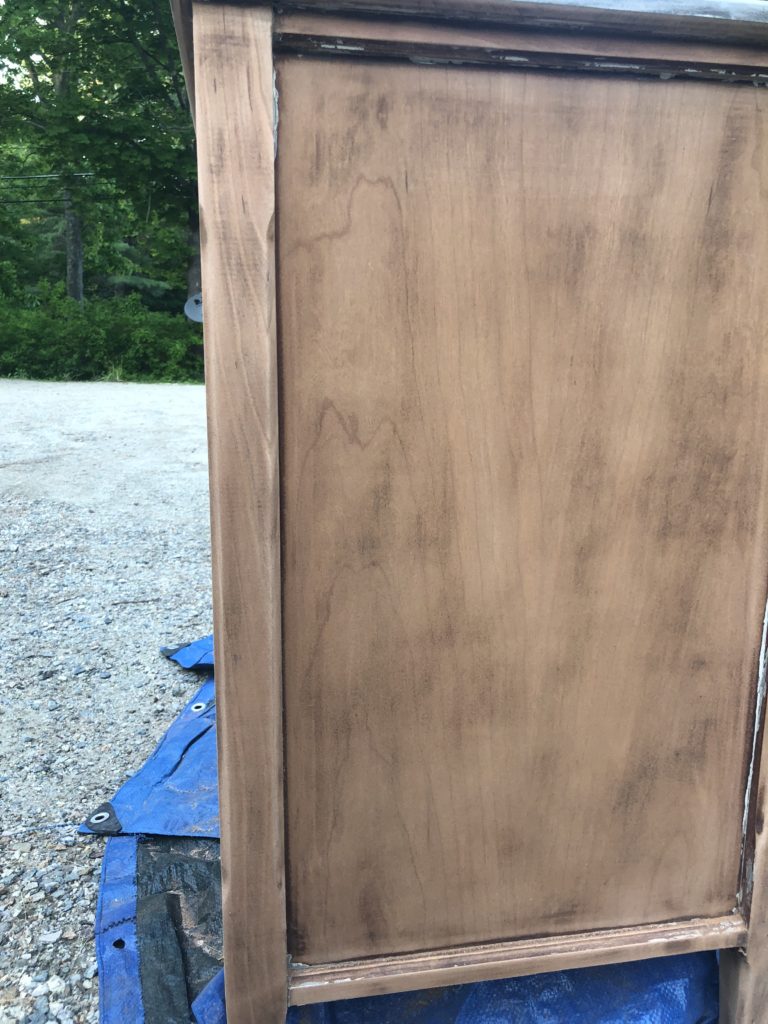
It adds a gray finish to pretty much any kind of unfinished wood, that allows the piece to look as if it’s aged over time. I let it dry over night and then used 220 grit sand paper, to sand the whole thing one final time. In my early days of refinishing furniture I always skipped this step. I would read other tutorials that mentioned this process, and always thought it was unnecessary. It’s completely necessary! It gives your furniture a silky, smooth finish. Think of it as a final buffing step for your furniture to make it feel like it has been professionally finished.
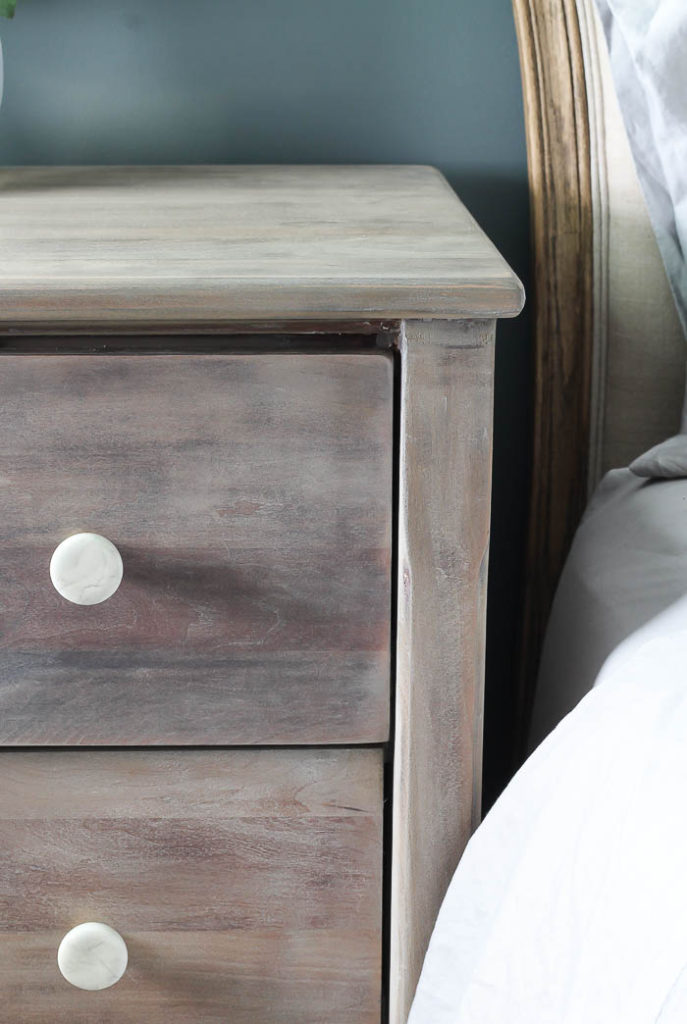
I loved how much Miss Mustard Seed’s white wax worked on our dining room table, so it was my first go-to when it came to adding a finish to this piece. 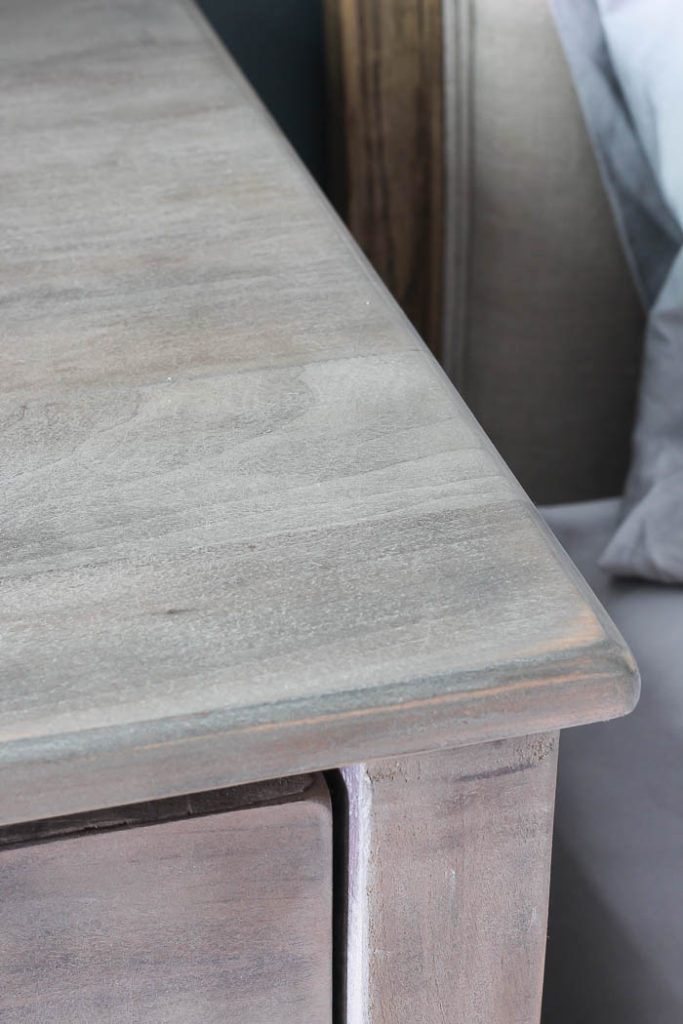
I rubbed it over the entire piece, and it added just a layer of detail over the gray stain. I put the current faux marble finish knobs back on that were on the dresser when it was painted gray, found at Target.
I’ll be sharing our entire Master Bedroom refresh later this week with all the details, but feel free to ask any questions about the process of nightstand dresser makeover.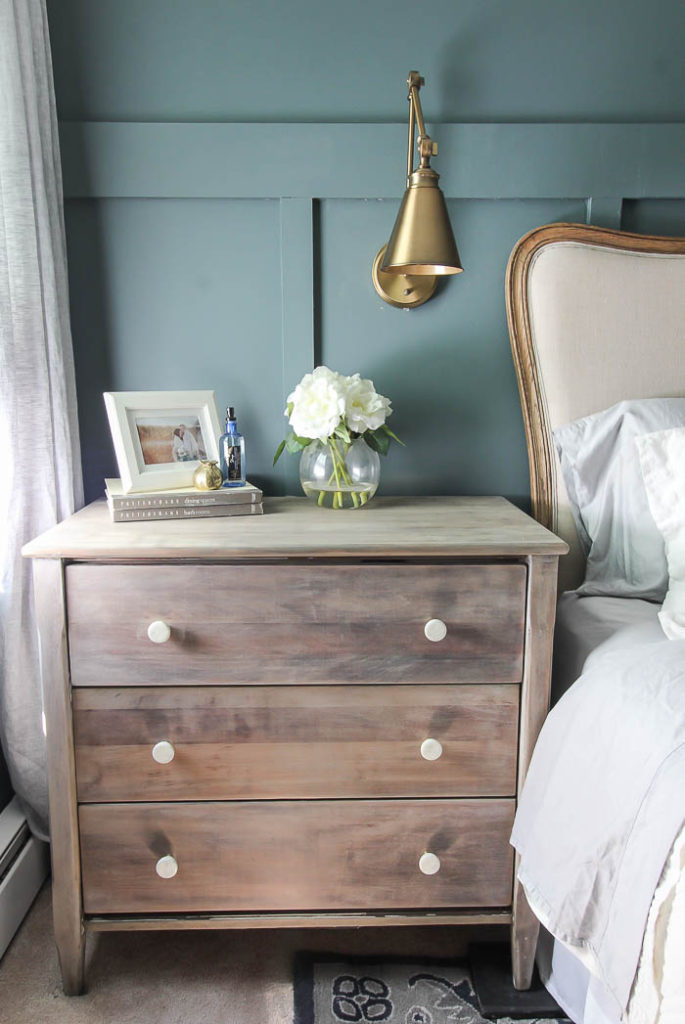
I know that the thought of refinishing a piece of furniture can feel daunting sometimes. If you haven’t tried this before, but want to, I suggest starting with a small piece of furniture and making sure you have the right tools. I’ve listed a few below that are my go-to’s when it comes to working on furniture, and the stain and wax I used for this project.
A variety of different grit sandpaper
An electric palm sander – I highly recommend an orbit sander, this one is on my wish list!
Stain of choice – for this project I used Vintage Wood by Amy Howard
Wax – I used Miss Mustard Seed White Wax for this project
Stay in touch!
Instagram / Pinterest / Facebook

That piece is beautiful, job well done!
Thank so much!!!
Love the look of wood patina over paint. You did a really nice job!