Hello Friends!! Well, demo has officially begun on our kitchen floor. I have to be honest with you, this tile demo has truly been a test of stamina. After tearing up the tile floor in our master bathroom makeover, I anticipated the mess. The debris and dust that comes with construction. I thought it would be like our bathroom. I thought there would be some work, but I never expected it to be like this.
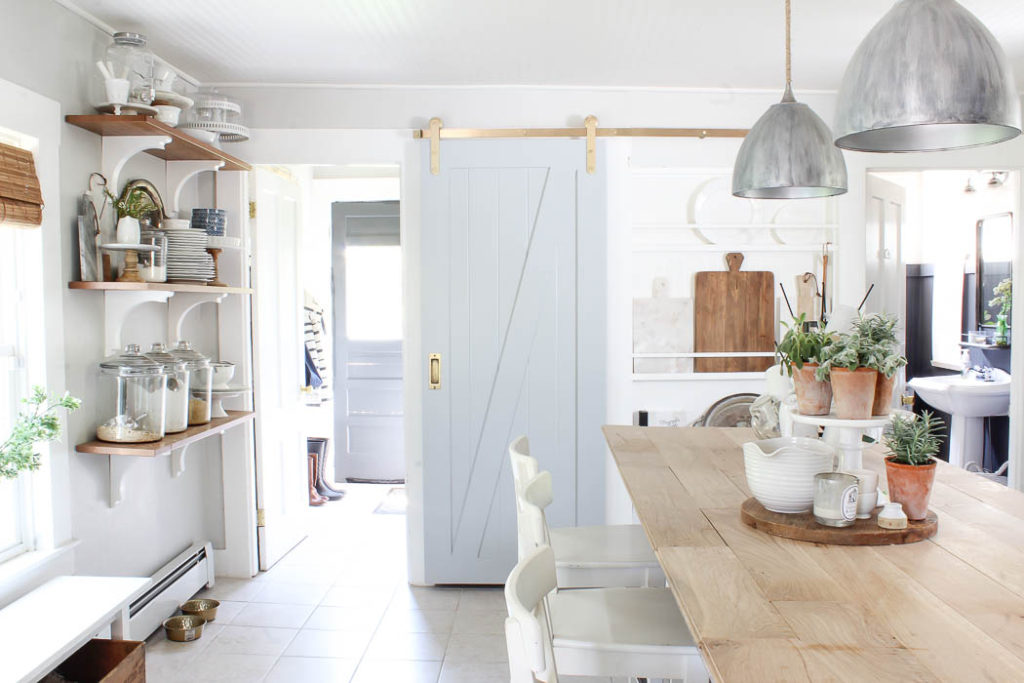
I shared HERE, how we were finally going to tackle our kitchen floor. When we bought the house our kitchen came with beige 12×12 square tile, and believe me from the 70’s vinyl we’ve had in past apartments, I know kitchen floors can come much worse. I was just thankful it was real tile, and something I could keep clean, or so I thought.
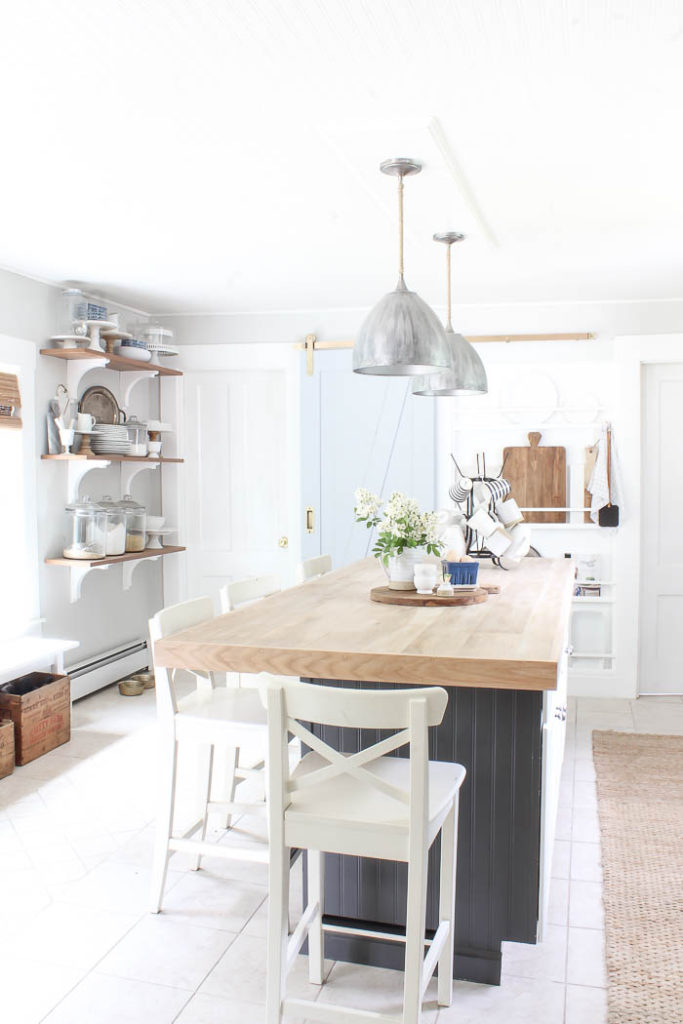
I shared in the post about our kitchen floor, how when we first moved into our home there were other areas that needed our attention more. And like I said, tile is better than many other flooring options that could have been there. The only problem was they never sealed the white grout around the tile, which then resulted in our kitchen floor always looking dirty. I tried painted the grout – a few times, but since our kitchen is a very high traffic area (and our main entrance), and we have a dirt driveway, the long term of it turned out to be not so easy to keep clean.
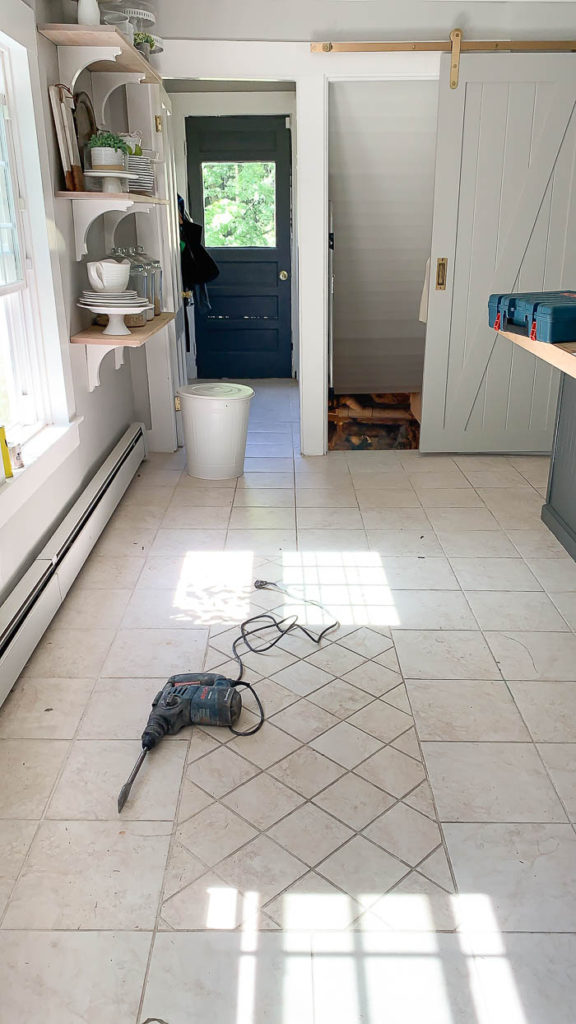
On Monday we finally started tearing up the kitchen floor. It was slow going at first. My husband used a hammer drill to remove the tiles, but it’s kind of like trying to take out the first slice of a pie. Getting the first one out can prove to be very tricky, but necessary if you want to remove the rest.
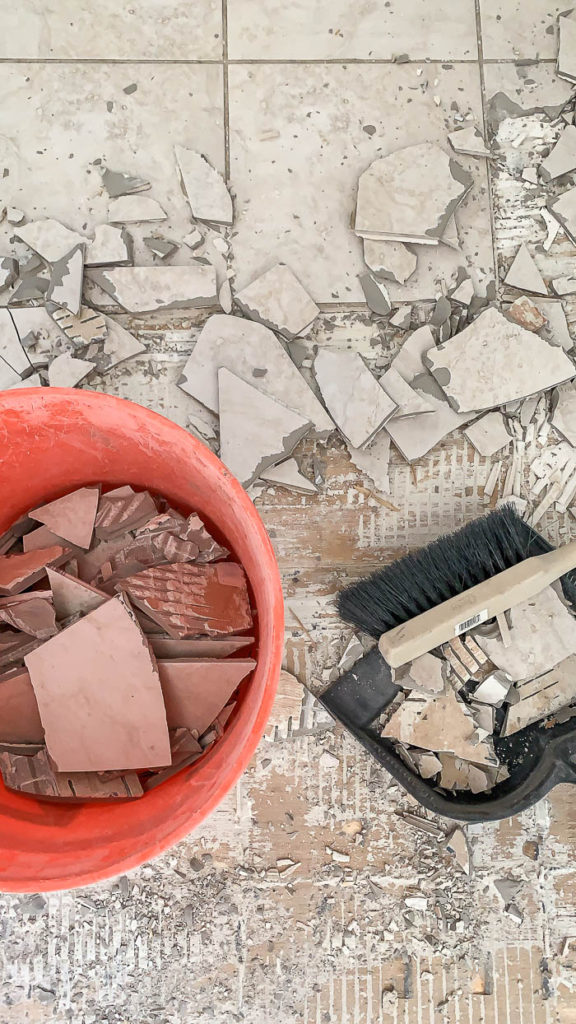
Out of our entire kitchen, back hall and downstairs bath only five tiles came up in one slide piece. FIVE! My husband and I make a good team. Since this isn’t our first rodeo, and we both have strong work ethics, we worked side by side, while he hammered into them, I used a dust pan and a 5 gallon bucket to pick up the pieces as we worked through all 300 sq. feet!
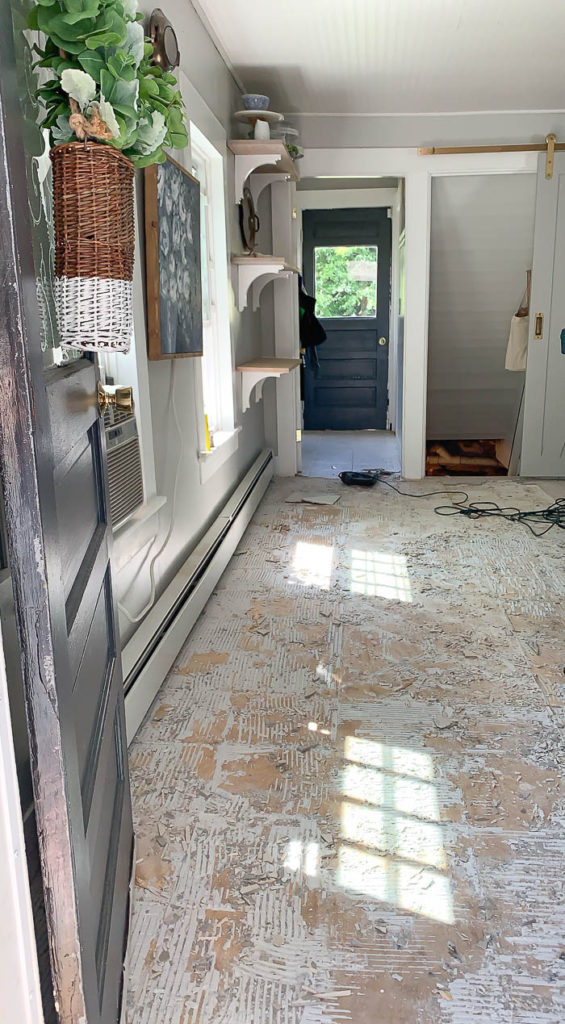
We got all the tile up in about 2 hours. Not-to-bad, if I do say so myself. We were relieved to find plywood underneath. Given that the house is over 150 years old, we really had no idea what to expect. However because of the plywood underneath, and there being no backer board or cement board like what you would use in a bathroom, the plywood absorbed the mortar making it much more difficult to demo.
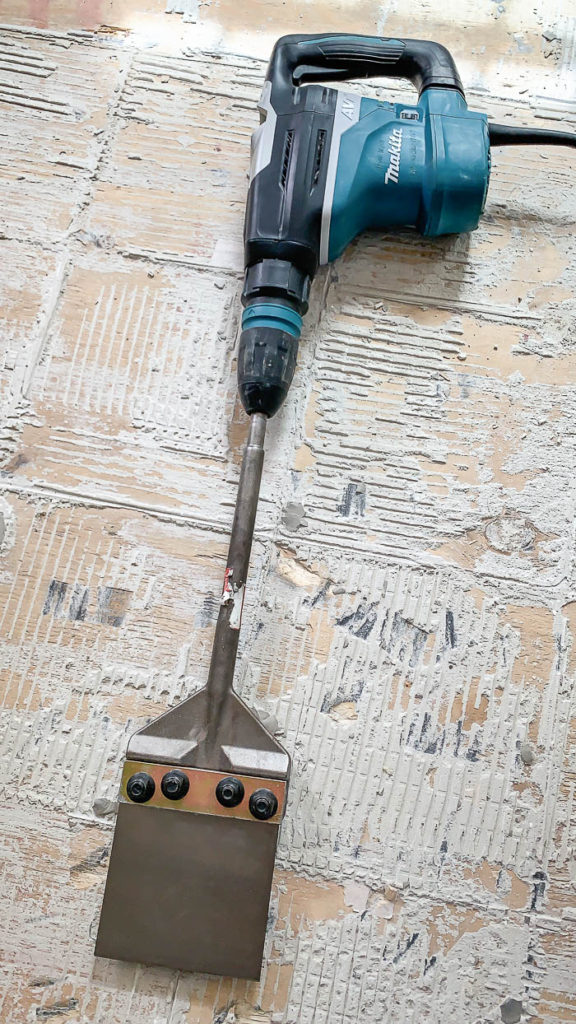
So, day 2 of demo was spent using a wide tile + thinset removal bit, that you attach to a hammer drill, and four hours of drilling away at mortar with this 50 lb. drill. Thankfully we were able to rent the tool from our local Home Depot, as we found out that such drill bits are only available to buy online, which would have delayed our demo by a few days! Phew!
In the words of my husband, you don’t cut corners when it comes to installing tile. You need a smooth surface to install it on, especially a high traffic area like ours to ensure it’s not going to pop up. Another friendly tip that our friends from Floor & Decor told us, was because of the tile size we ended up going with, 6″x36″ planks, we do not want to use quick setting mortar, because it has more of a chance of coming loose in high traffic areas.
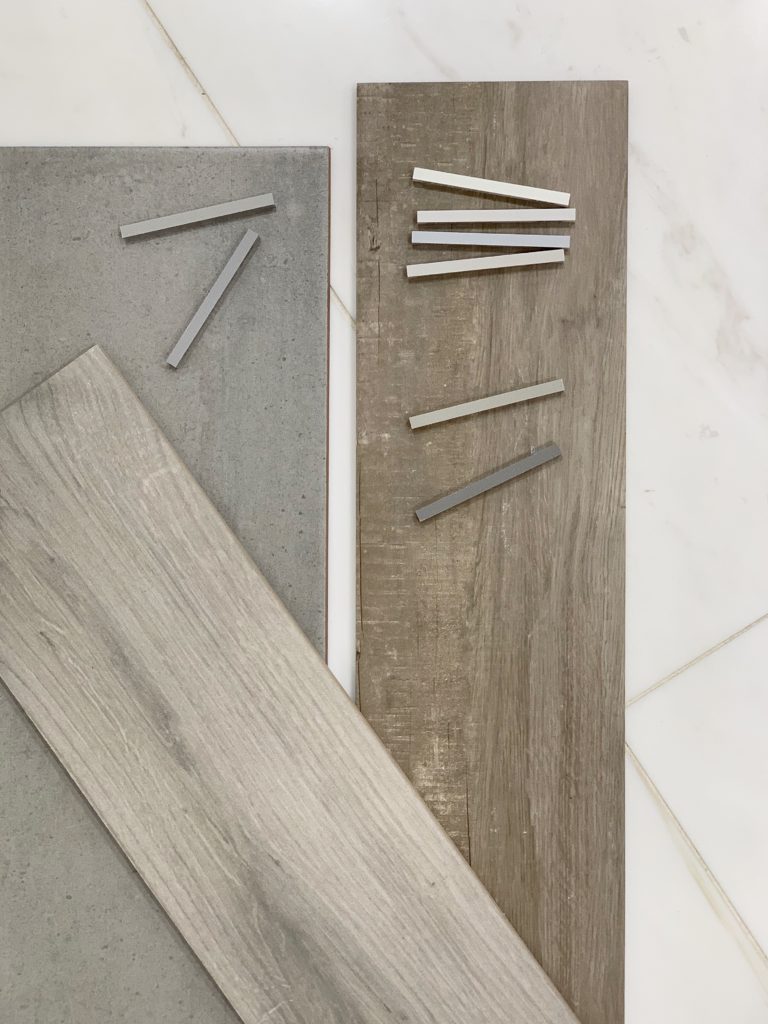
To recap, here is the 3 different tile styles I narrowed it down too ~
I can’t wait to see the space finished! I’m trying not to feel anxious about wanting it done sooner. I also know at this stage in the renovation process, the end result is about the only thing that is keeping you to move forward. Tomorrow we finish prepping the floor and hopefully start tiling, but you know how it goes in renovations. Things don’t always go according to plan, and you just have to try and be flexible. Here’s to hoping our only set back was having to rent that ridiculously heavy spatula hammer drill :p
