Hello Friends! It sure feels like spring is here in New Hampshire! We had a very abnormal warm day yesterday, especially for typical New England March weather, but I am not complaining! I know we aren’t out of the woods just yet, but it won’t be long now. To celebrate I made a spring floral arrangement, and today I’m showing you how!
Come and see ~
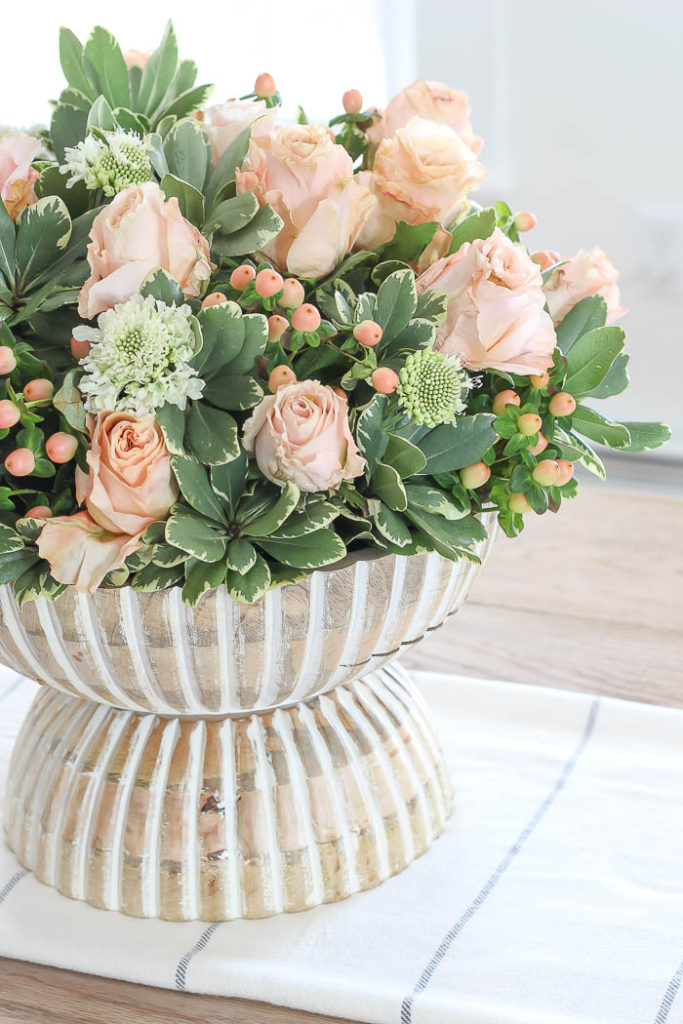
When I was in highschool, I got to job shadow a florist for career day. For a whole day I got to work in a local floral shop, and while I never made any real flower arrangements there, they let me get creative with some of their dried and faux florals. I always knew I wanted a career in a creative field. Of course Interior Design was at the top of my list, but so was doing something with flowers, or becoming a hair dresser.
All three things I still love doing today!
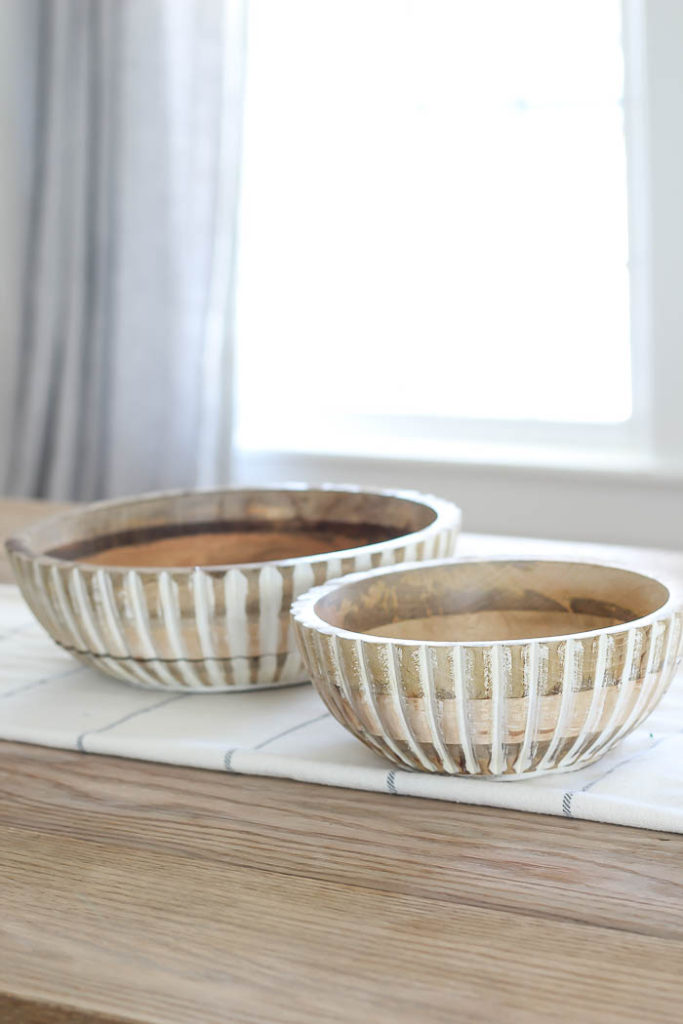
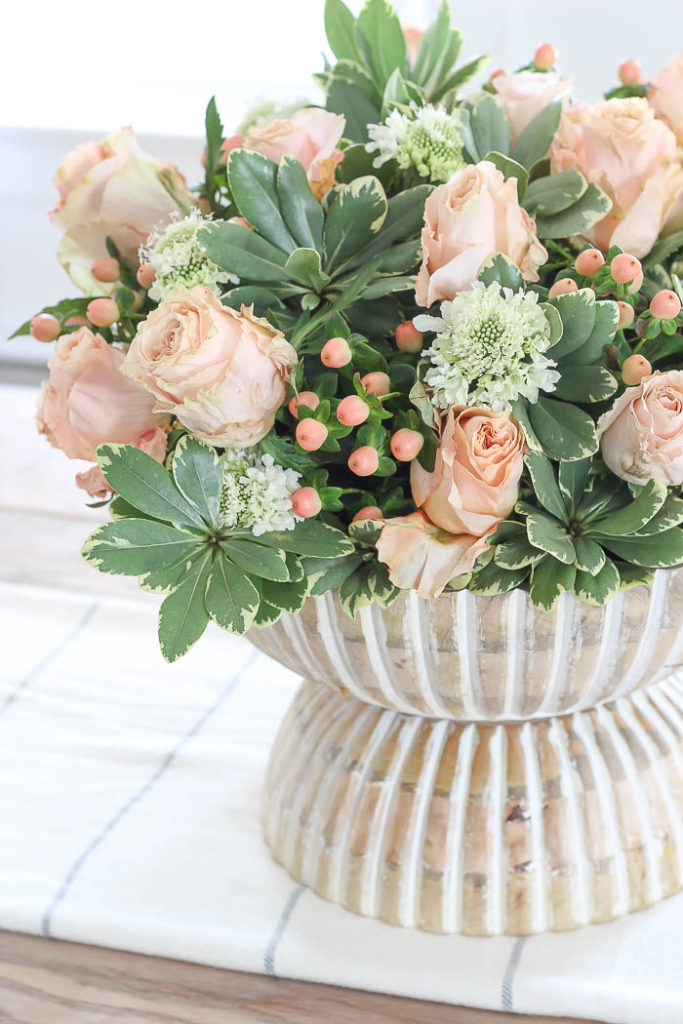
I found these salad bowls on a recent trip to Homescence, and was immediately drawn to them because of their scalloped sides, and the white washed wood tone. As I stood there admiring their beauty, I had an “ah-ha” moment, and realized they would make the perfect pedestal vessel if you flip the smaller one upside down and stack them on top of one another.
So that’s exactly what I did ~
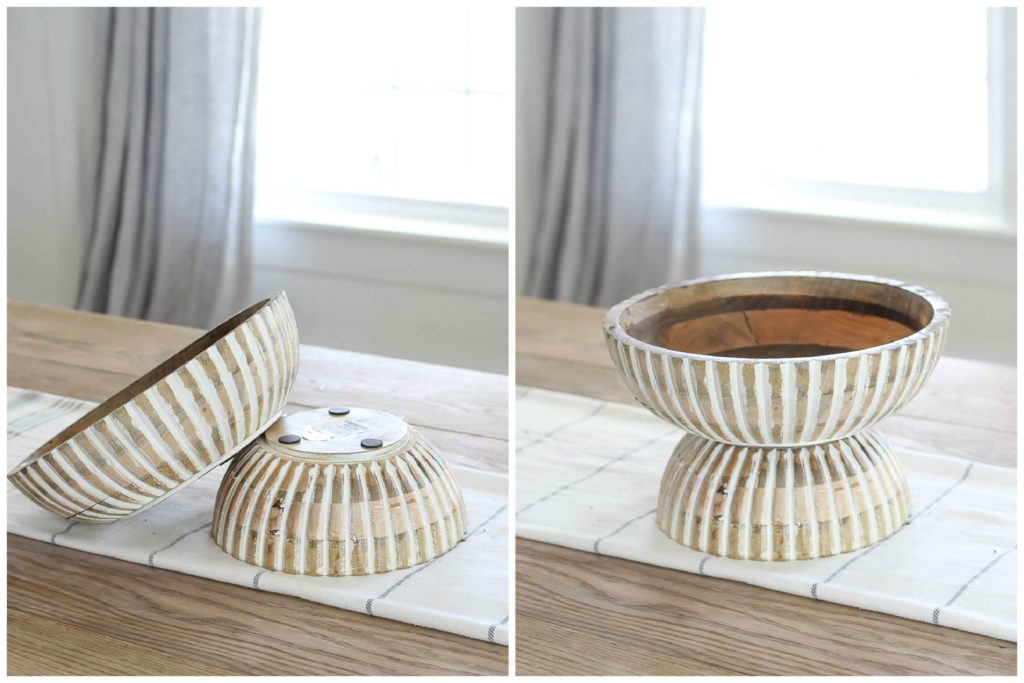
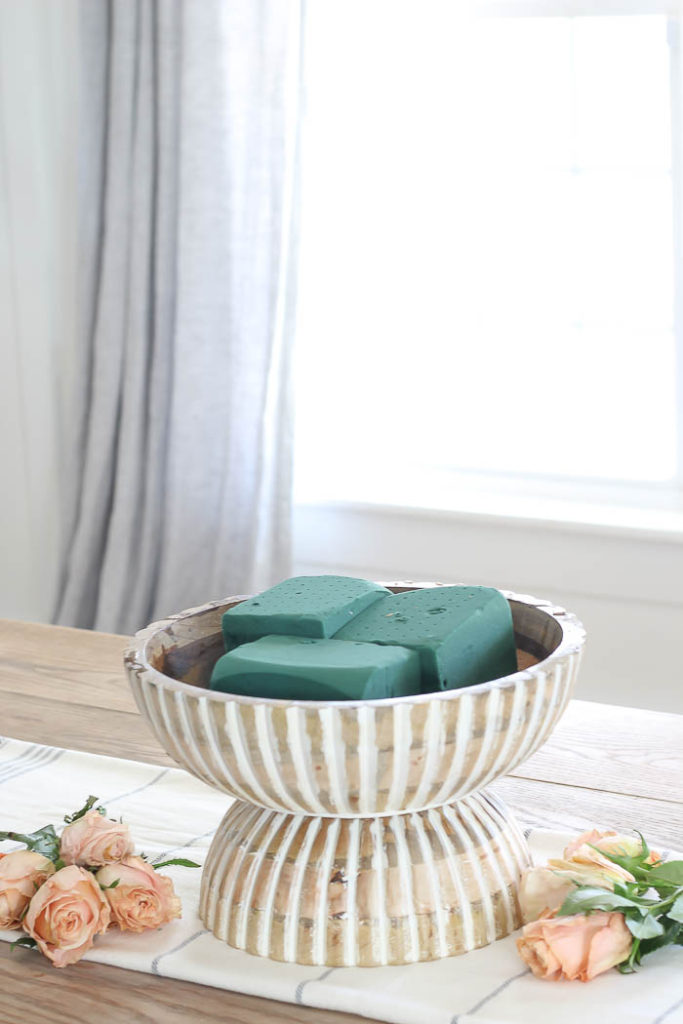
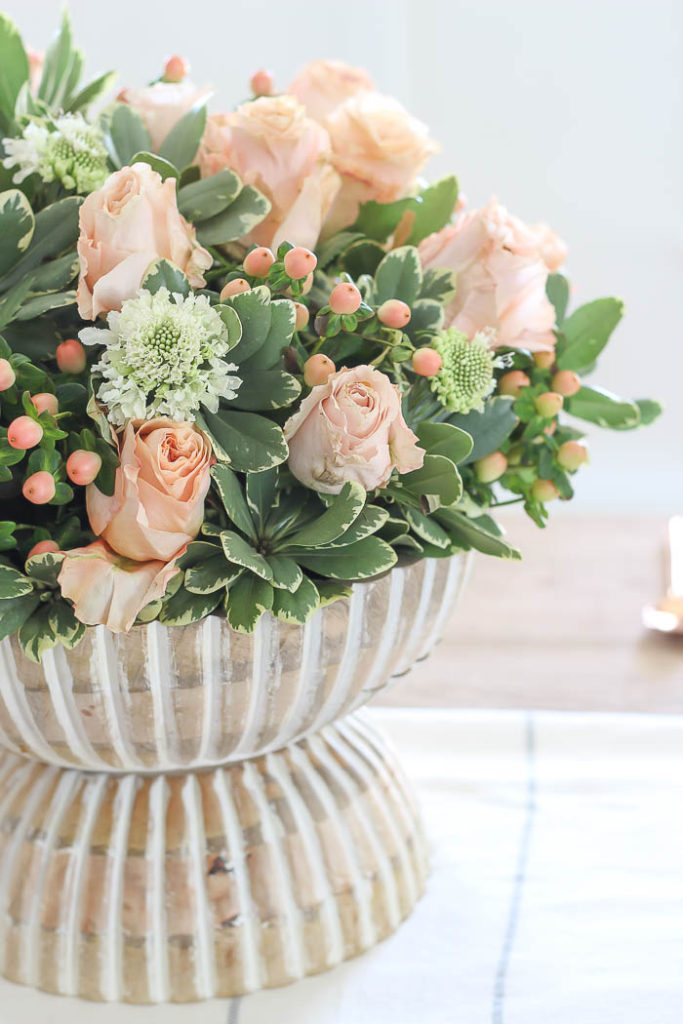
It made the perfect vase for my spring floral arrangement! To get started, first I took one black of floral foam and cut it into thirds. Then placed them in the bowl.
Step 1
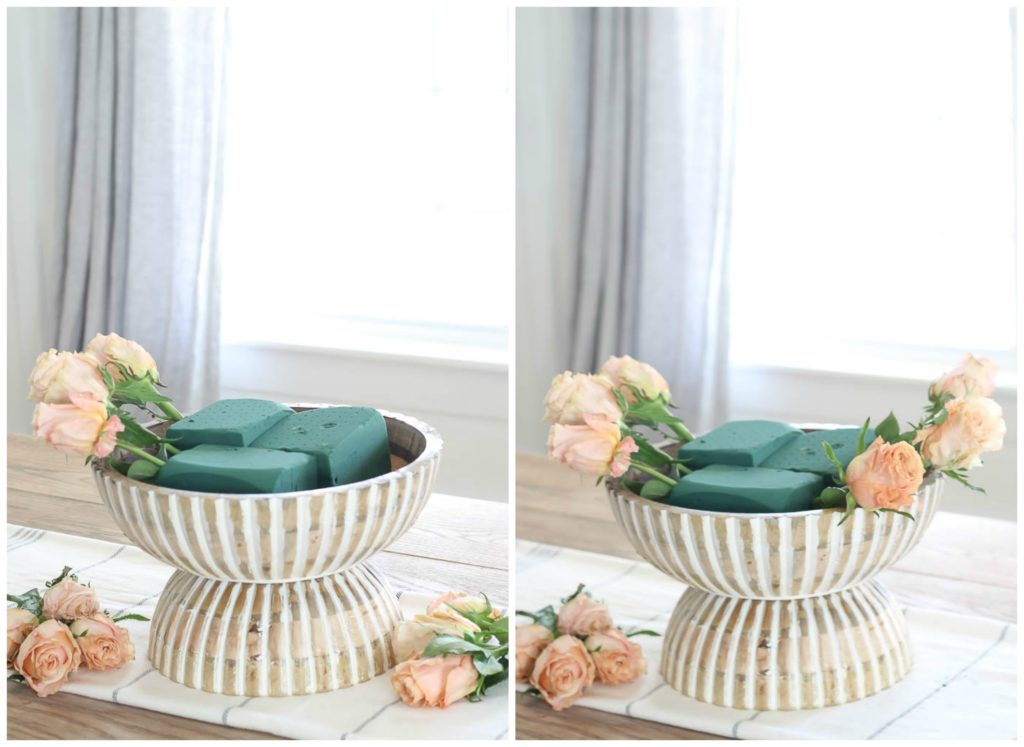
Then I began by placing my roses in first. I placed three stems on one side, and then three stems on the opposite side. I finished my bottom circle of roses by placing two more on the back side, and then two more in the front.
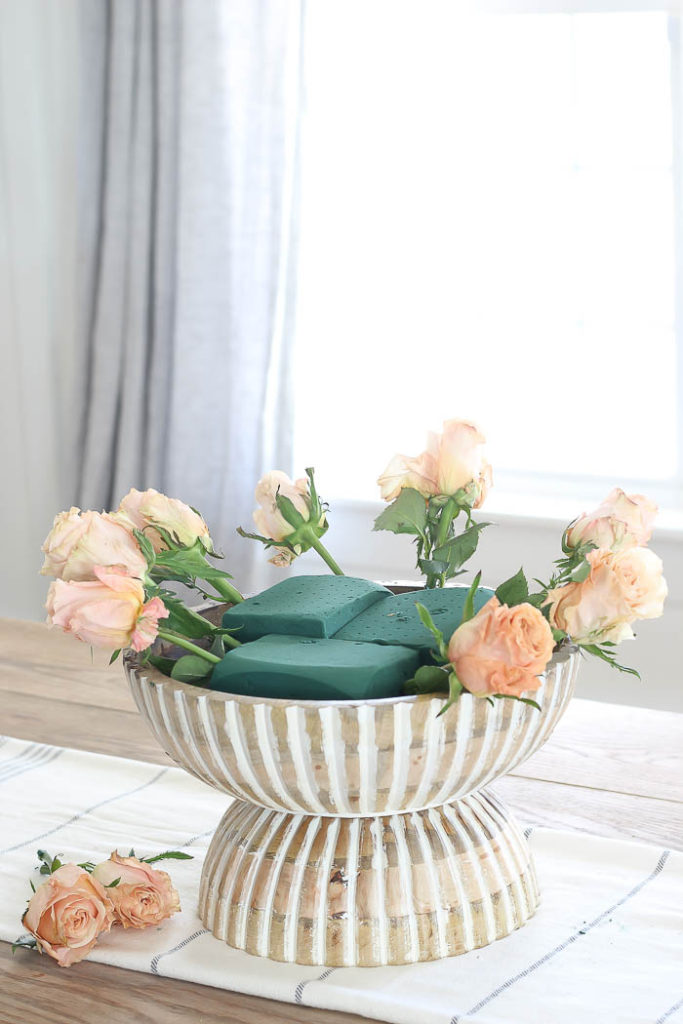
This gave me a circle of roses as my bottom layer ~
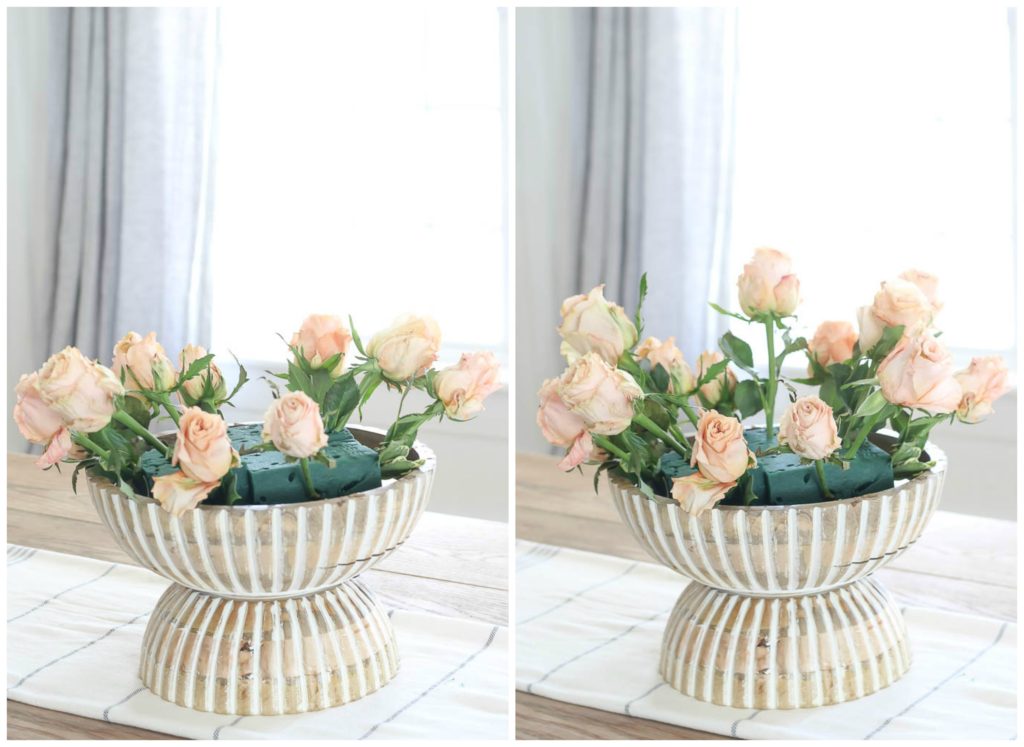
Once my bottom circle was complete I staggered in 6 more roses to create a “2nd row” or “inner circle” of roses on top.
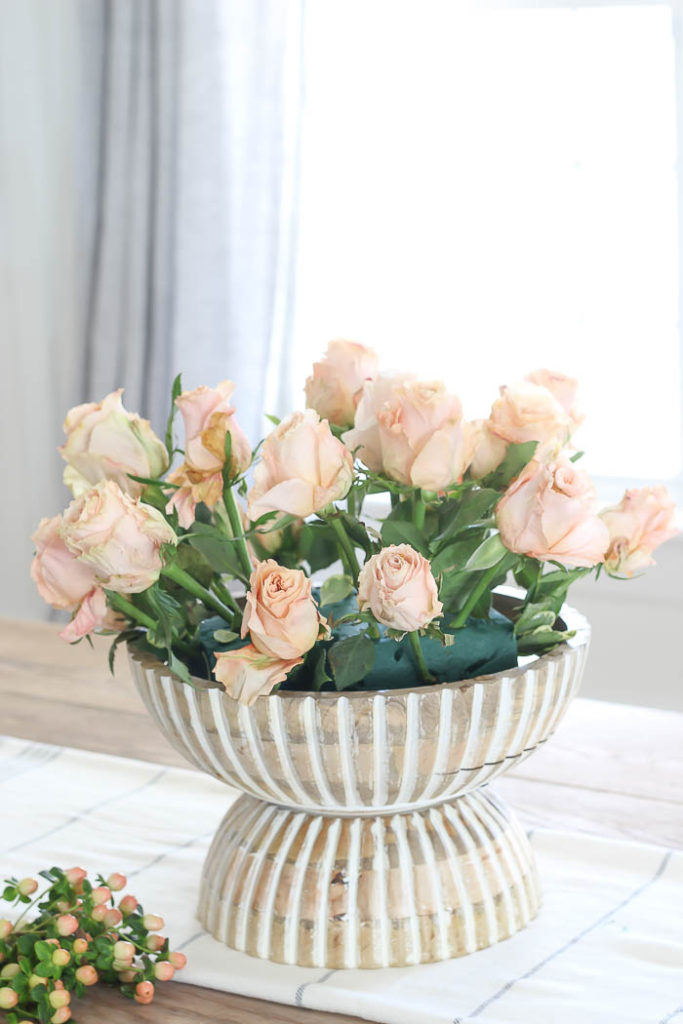
Step 2
Then I began to fill in around the roses with hypericum berries.
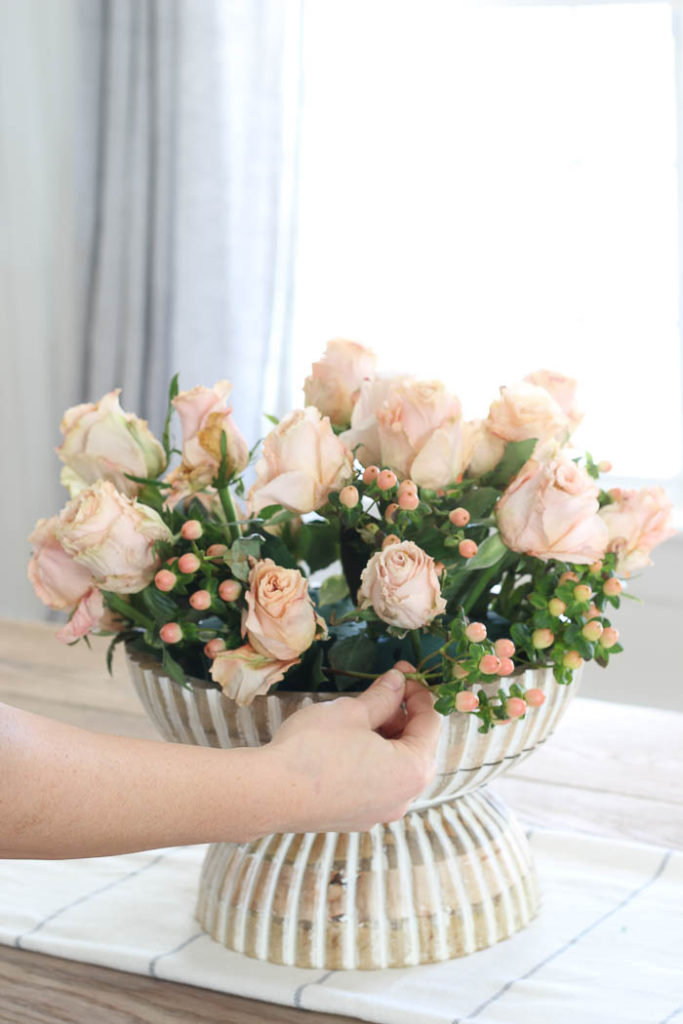
Step 3
Next, to fill in around the roses and berries, I used variegated pittosporum as my “green filler” for this arrangement.
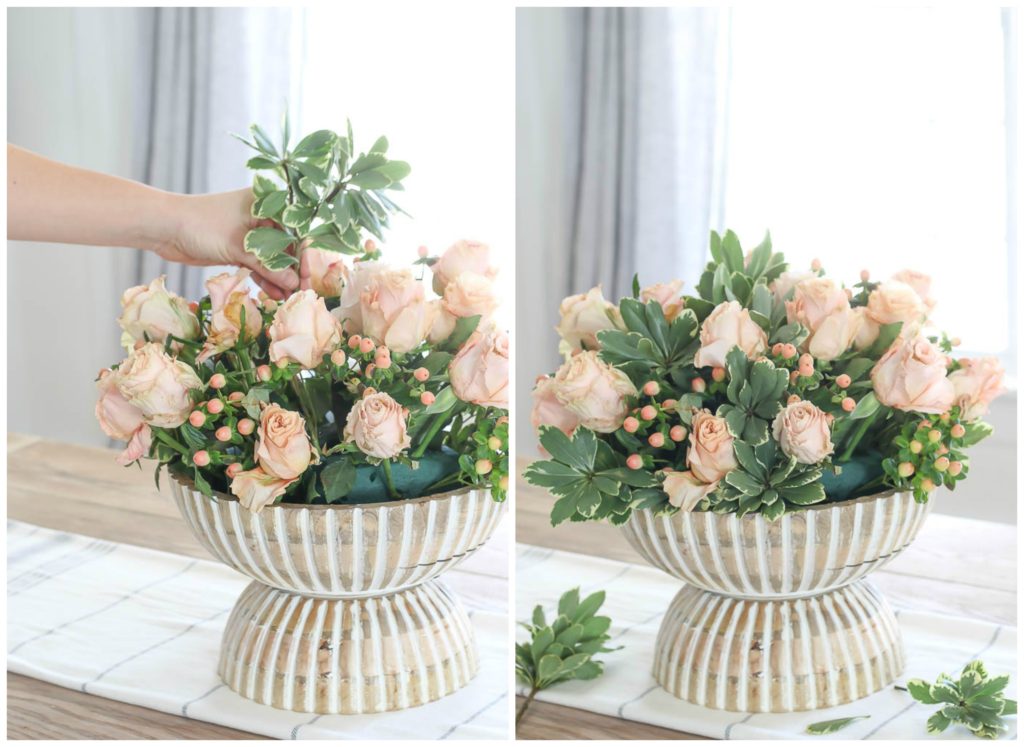
Step 4
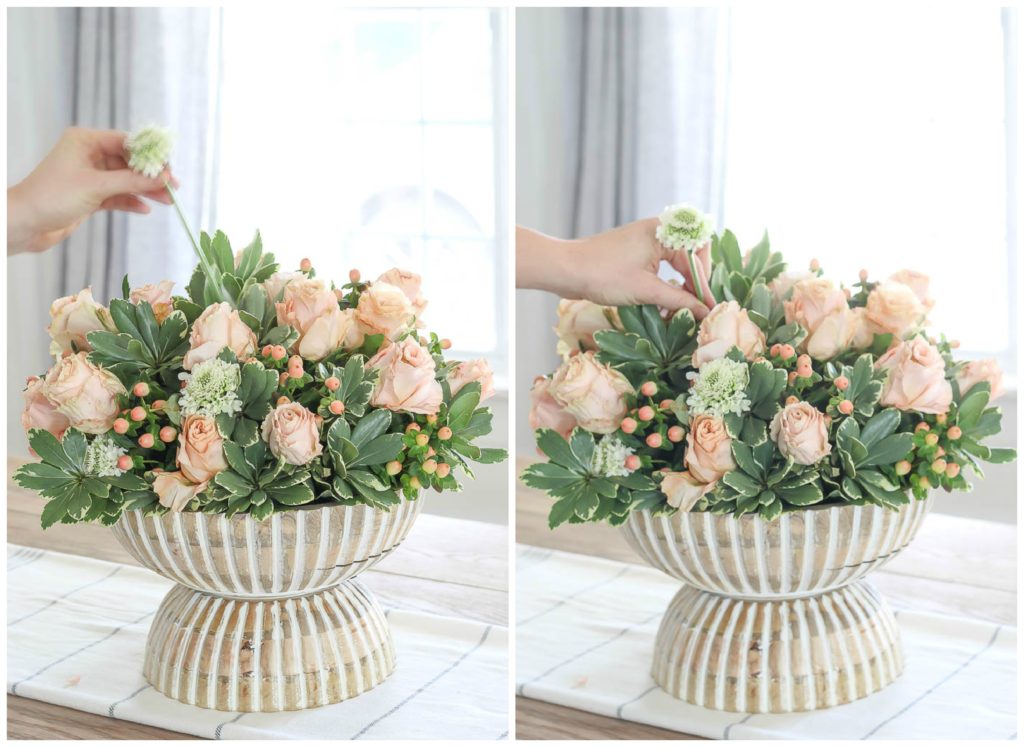
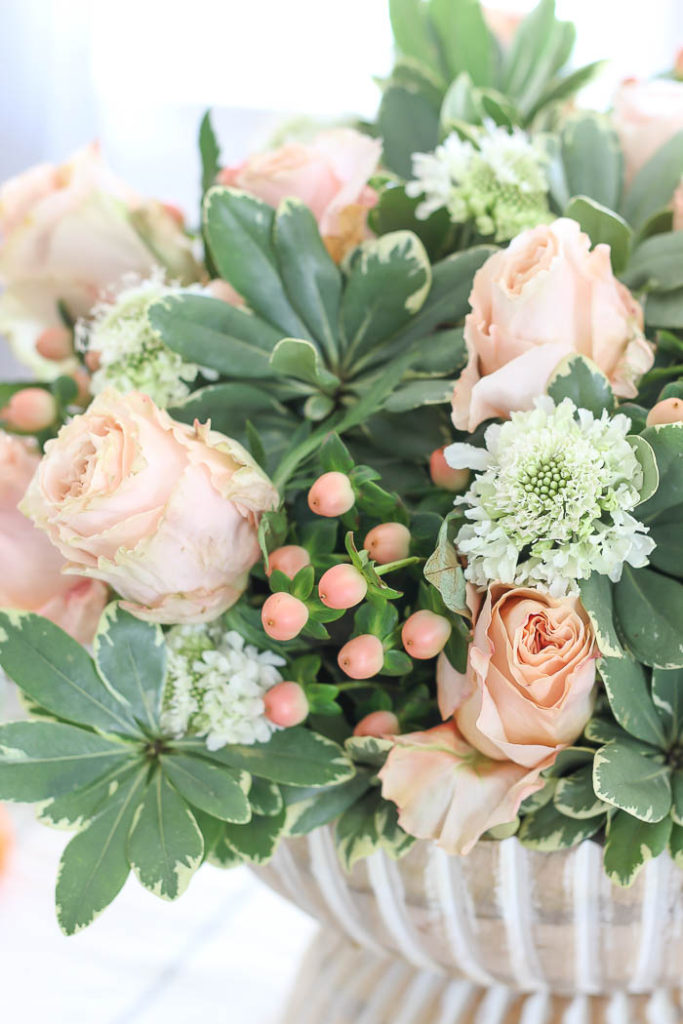
Lastly, to add a little variation, I added some white scabiosa. This was the flower I had the least amount of stems, so I added it in to my arrangement last to add a tiny pop of white throughout.
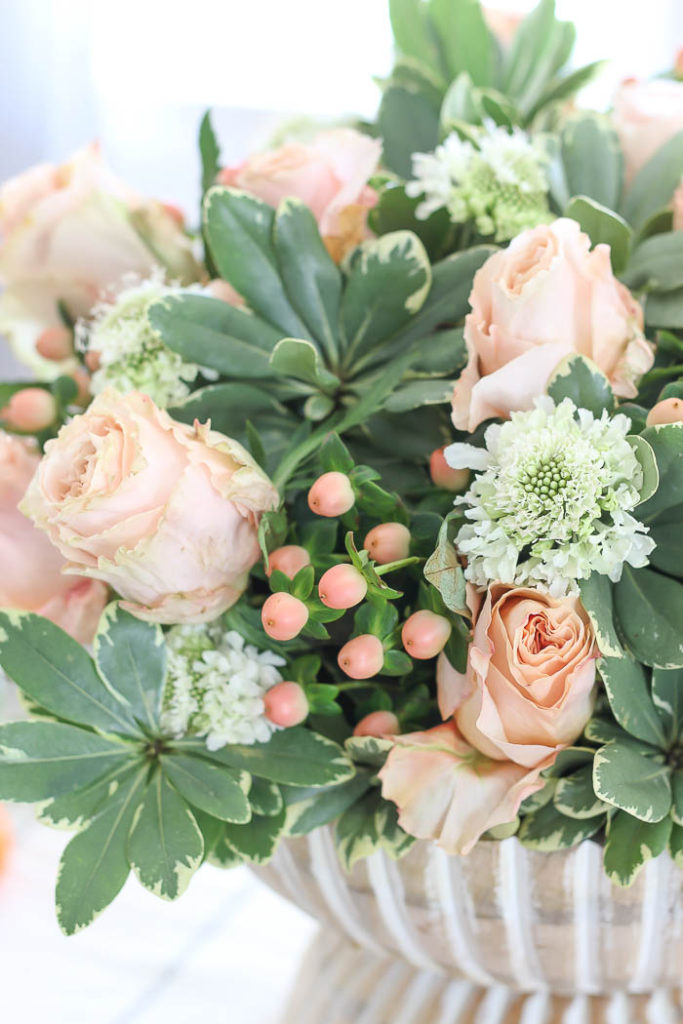
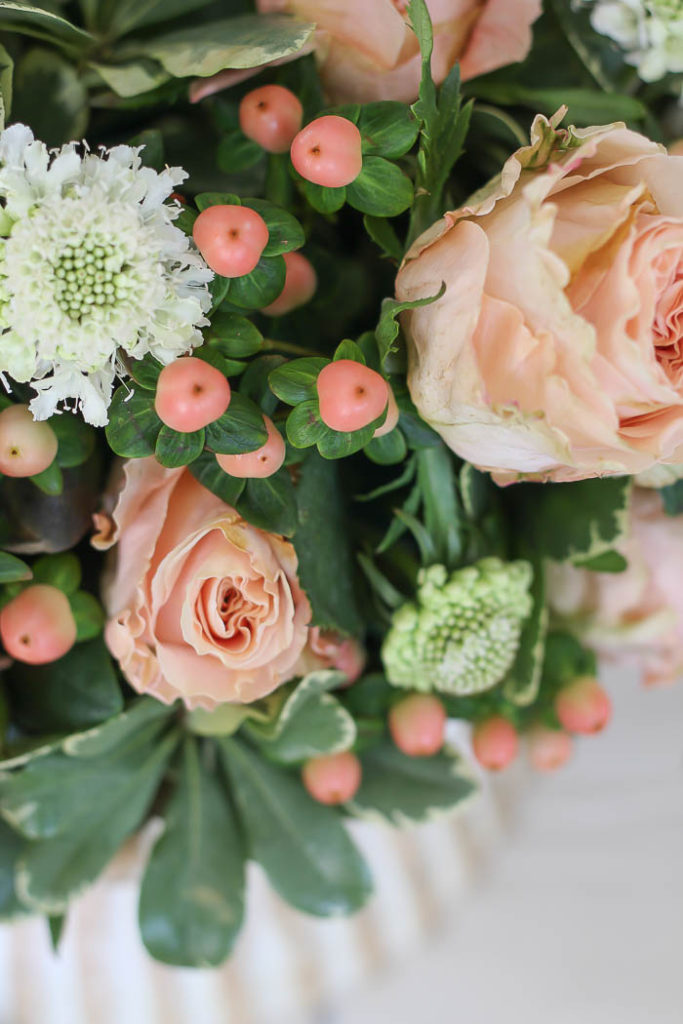
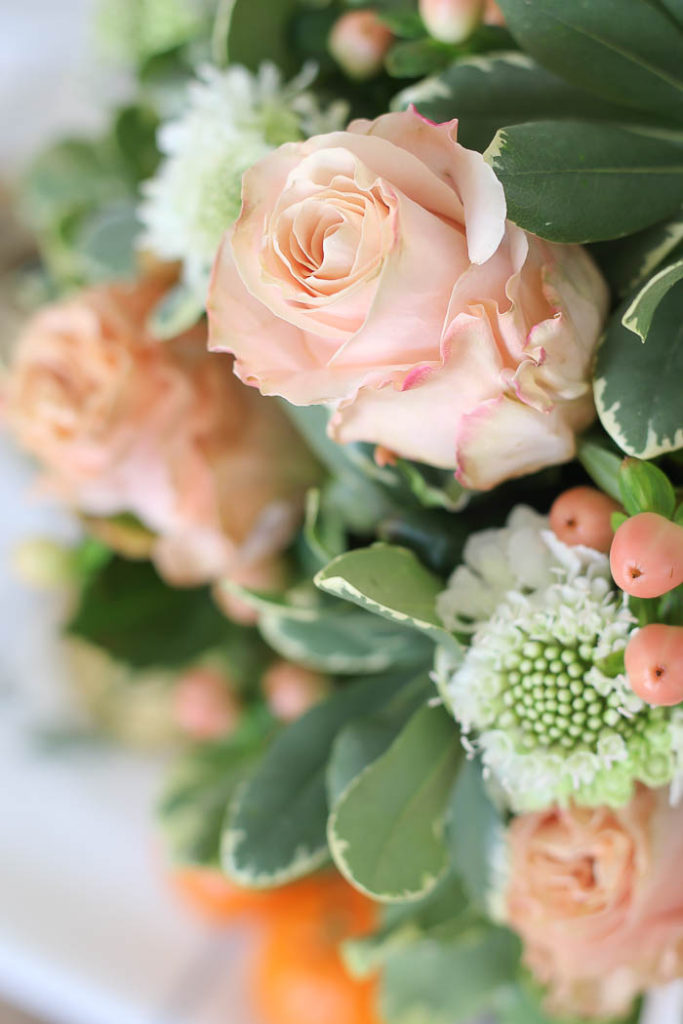
I love the soft pink shade of these roses, and the slight peachy-pink the hypericum berries add to the entire arrangement. It was just the color pallet I was craving for spring.
Here are some more Spring Crafts my friends are sharing ~

On Sutton Place | Designthusiasm | Shabbyfufu

Craftberry Bush | Town n Country Living | StoneGable

Rooms for Rent | My 100 Year Old Home

THAT is just beautiful and oh so creative! You have such an artistic eye for color and form. You most certainly cold be a florist.
Oh, thank you so much Deb! It is something that I truly enjoy 🙂
A stunning centerpiece! Thank you for sharing the “formula” to create a lovely professional looking floral arrangement! You can be sure I am pinning this for future reference! Your posts are always an inspiration
Best regards, Susan
Ohh Thank you so much Susan!! I’m so glad this tutorial was helpful 🙂 Have a wonderful day! ~Bre
That is beautiful, Bre! I love soft pink of the flowers with the green and white fillers. I’m not clear, though, whether you used faux flowers or real. If they are faux they certainly are lovely, real-looking ones. The container you make out of the two bowls is a perfect color and texture to go with the arrangement, too. Could you come over to my house and make an arrangement for me just like yours??
Thanks for the tutorial and the inspiration!
Thank you so much! And I know I’ve been sharing a lot of realistic looking faux flowers lately, but these ones are real 🙂
Gorgeous arrangement!
Thank you!
Absolutely beautiful, Bre! I’ve always wanted to volunteer at a flower shop, too, just to get training to make arrangements the right way. I’m way too intimidated by flower foam. I love that you showed the step by step. It’s so helpful!!
Ohh Thank you Lory!! It is definitely something you get comfortable with the more you use it 🙂