We did it friends!! If you’ve seen any of my IG stories over the last week than you know recently we’ve been working on installing a new gravel patio in our yard, and I’m so excited to share this project with you today! We are 98% done with this project, with only a tiny area by our back door to finish, but I get so many questions on how we installed the gravel patio around our fire pit area, that I wanted to share how we installed our new gravel patio area next to the house. I took a ton of photos along the way – so beware! This post is photo heavy, but sometimes it’s easier to let the photos do the talking, and I included a full budget breakout below. So here we go!
Come and see our new gravel patio!
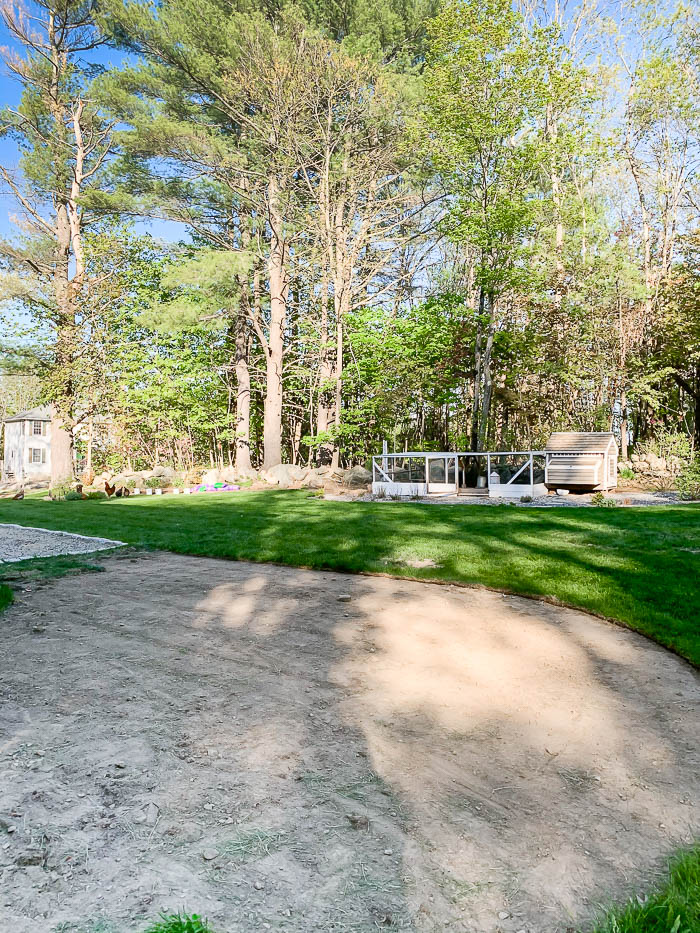
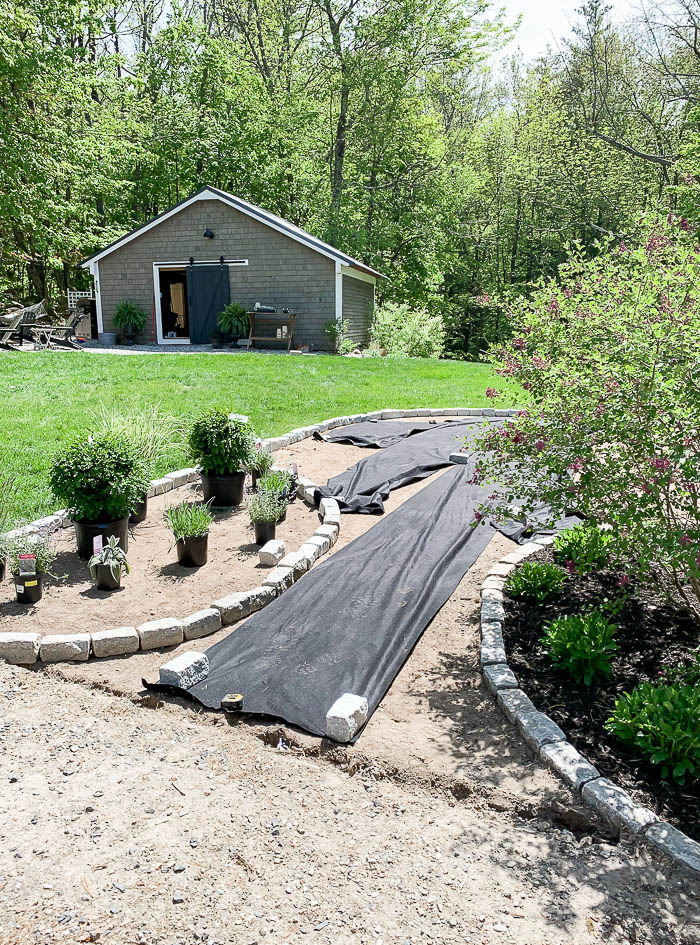
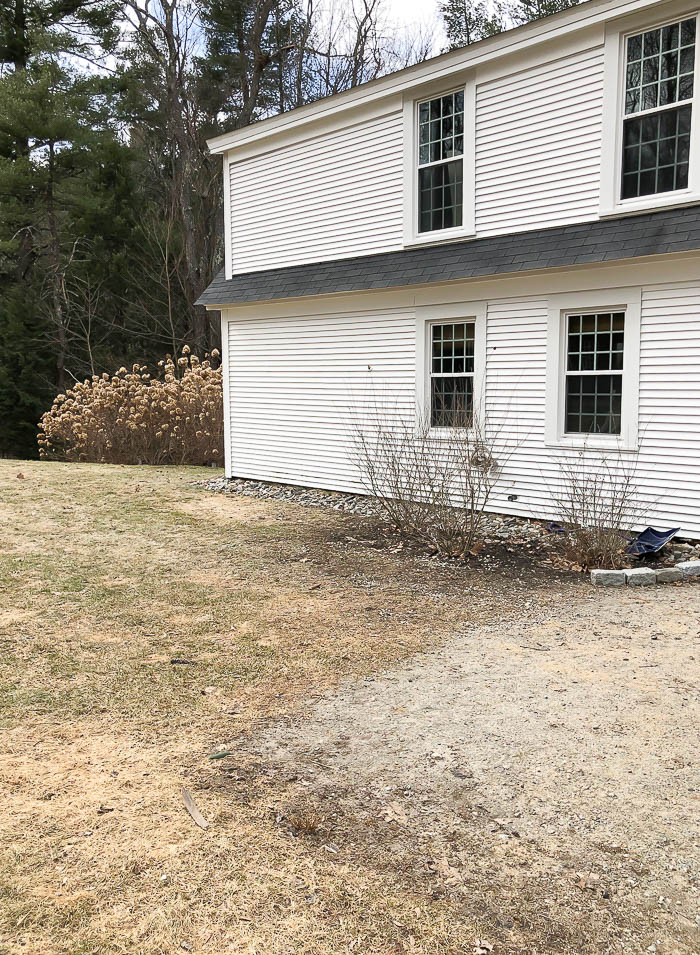
For starters, here is the area we worked on ~

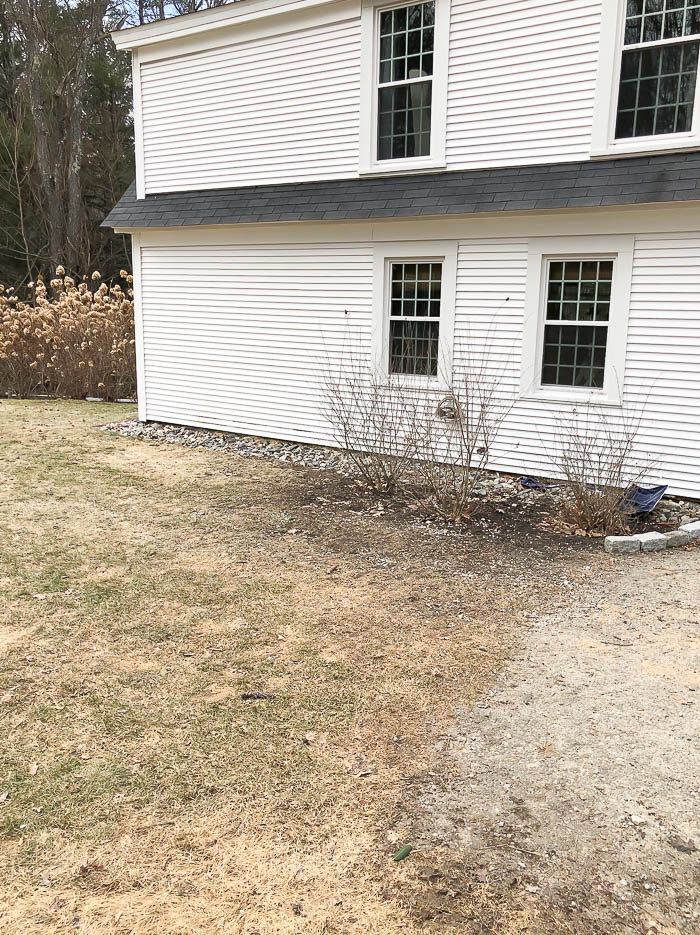
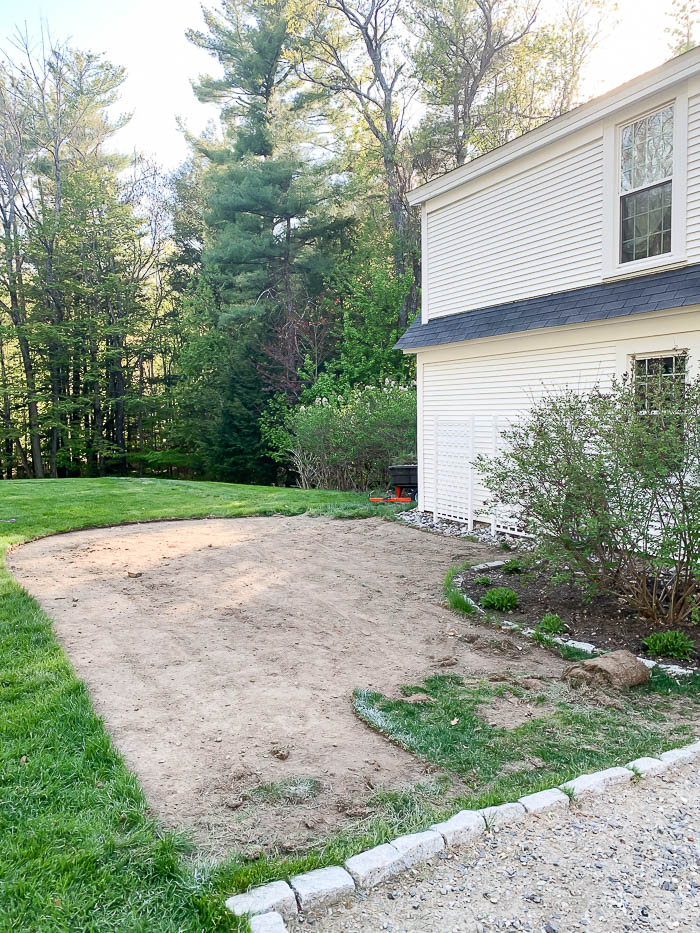
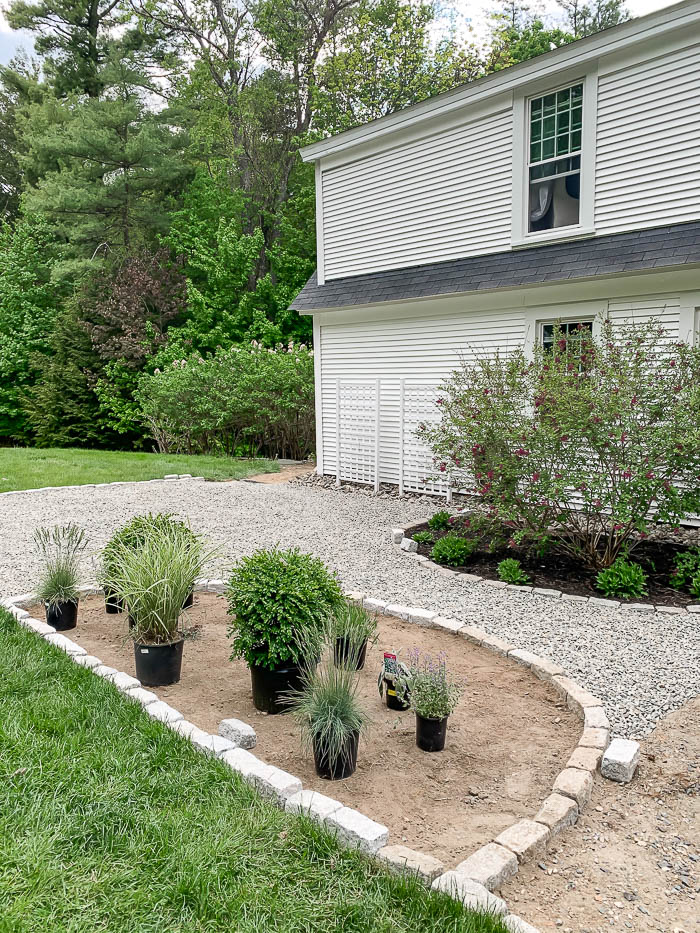
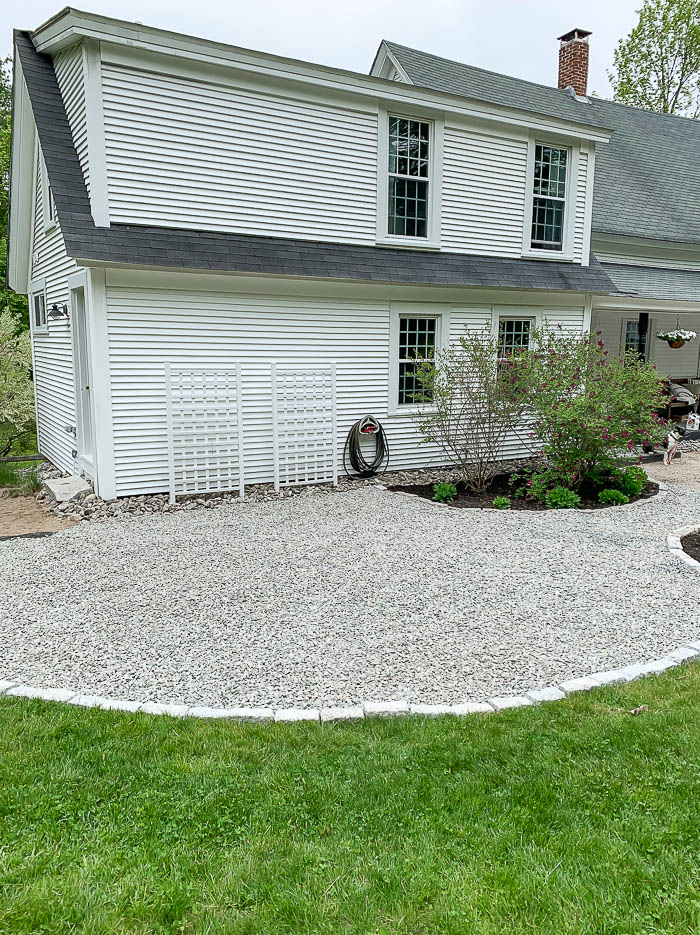
When you pull up into our driveway, we have this area at the end of the driveway, right off of our kitchen, where I have always wanted to install a patio area. Originally, I thought a pergola would make a nice addition to this space when I shared about it first HERE. And we still might, but for now the vision that I’ve had in my head for the past 8 years for this space has finally come to life!
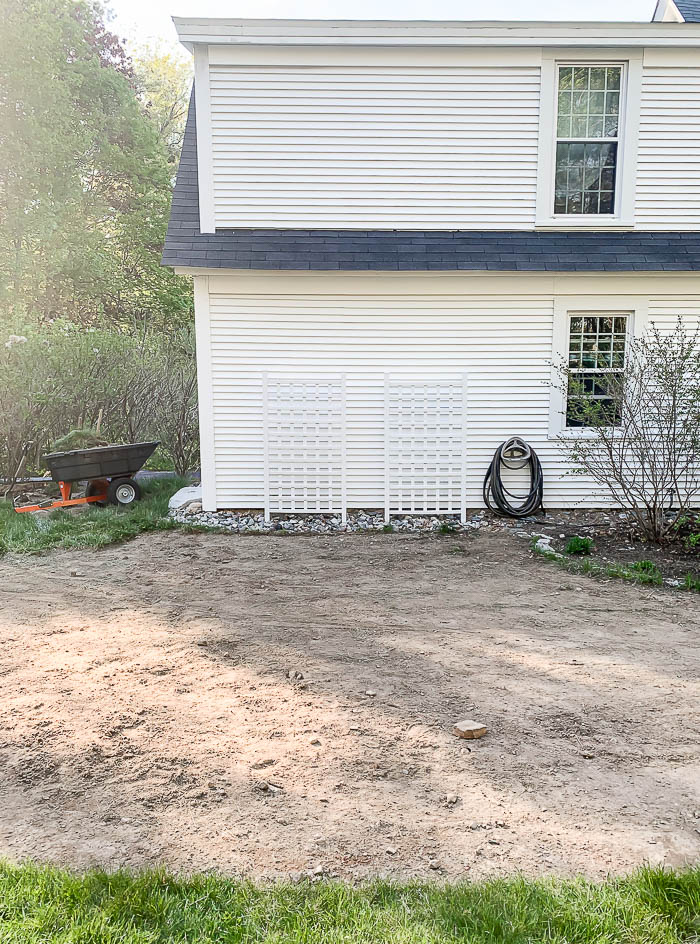
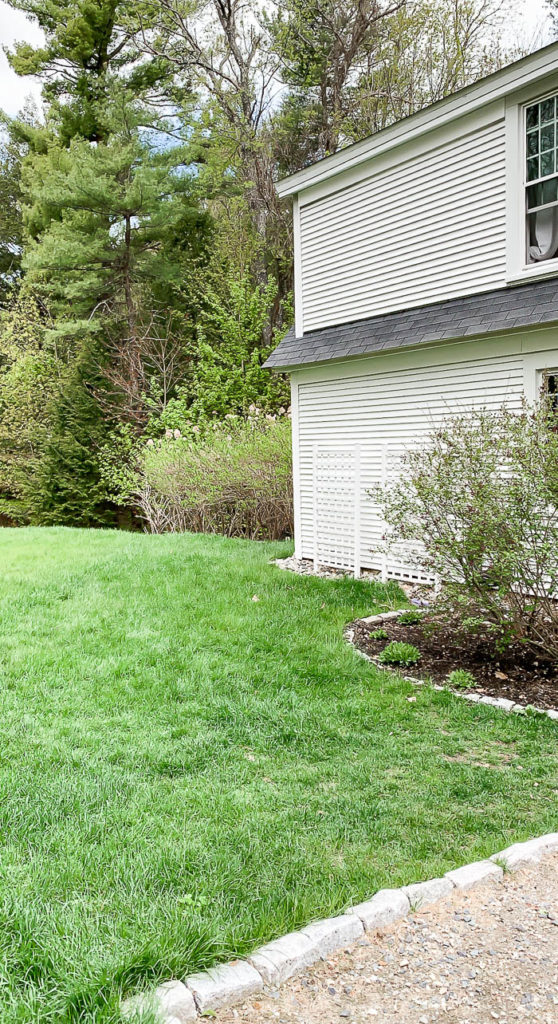
Here is what the area looked like 2 years ago. BEFORE we installed the first set of cobblestone pavers around the existing garden bed, or the white trellis on the side of the house, and winter had just ended :
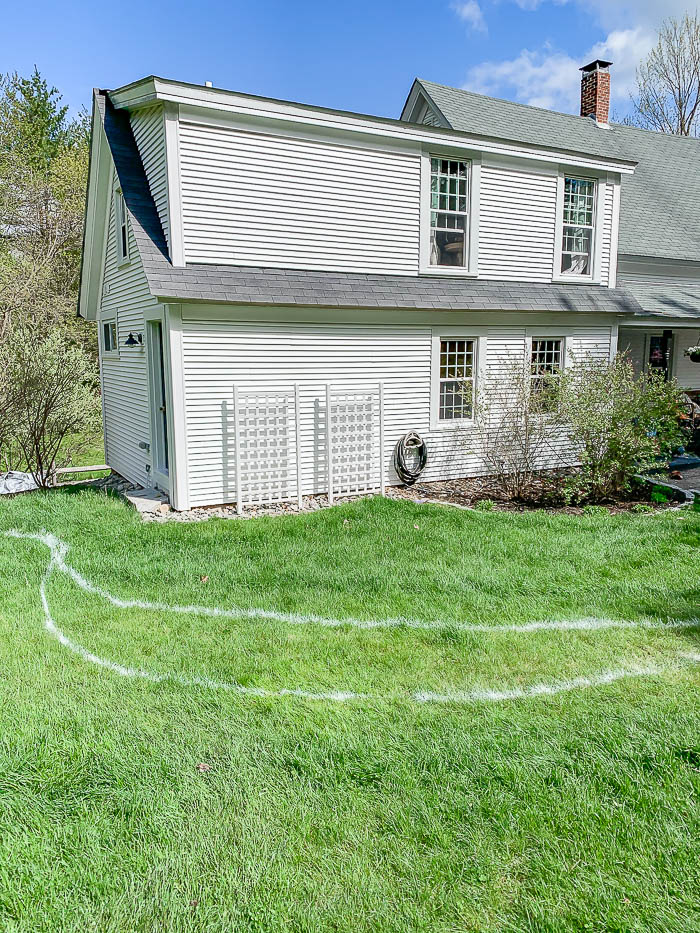
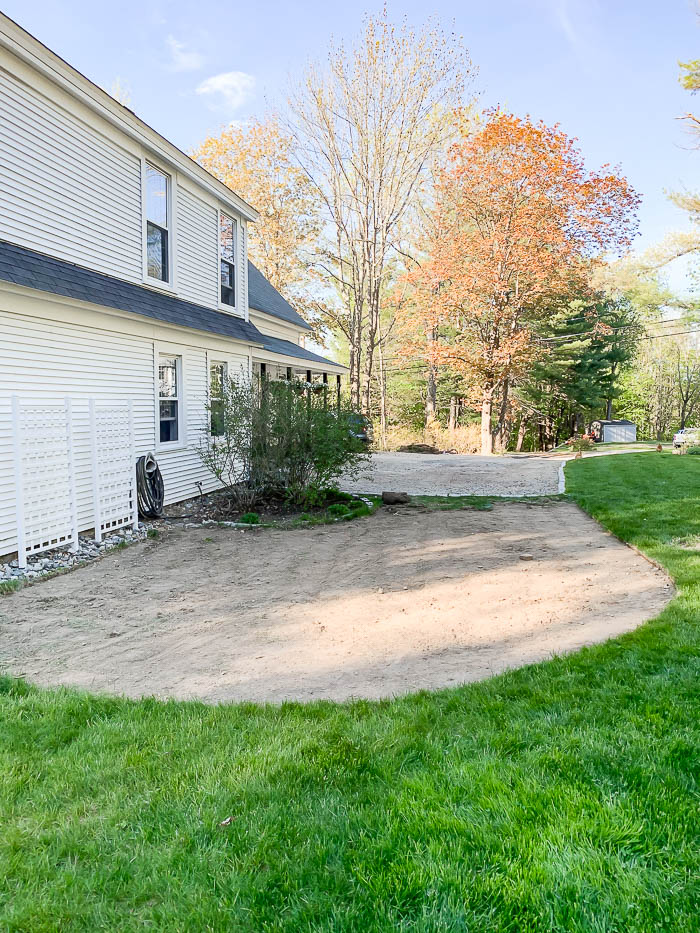
To get started, I used white spray paint to draw out lines that would give us a rough idea of the space we wanted to create.
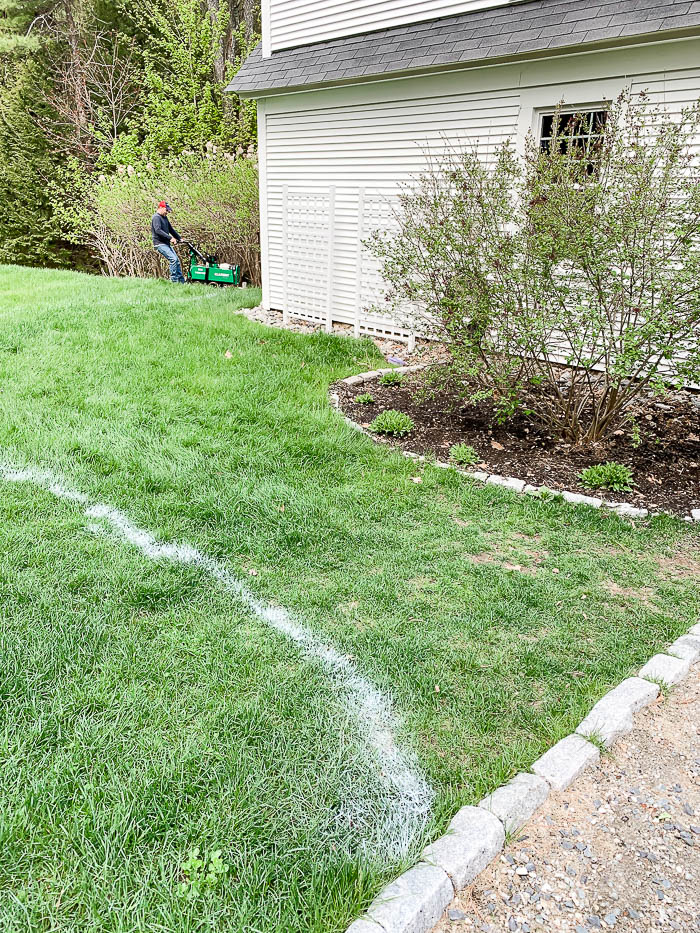
Once I had the initial space drawn out, we began removing the grass with a sod cutter we rented from Home Depot vs. digging it out all by hand, which is what we have done in the past.
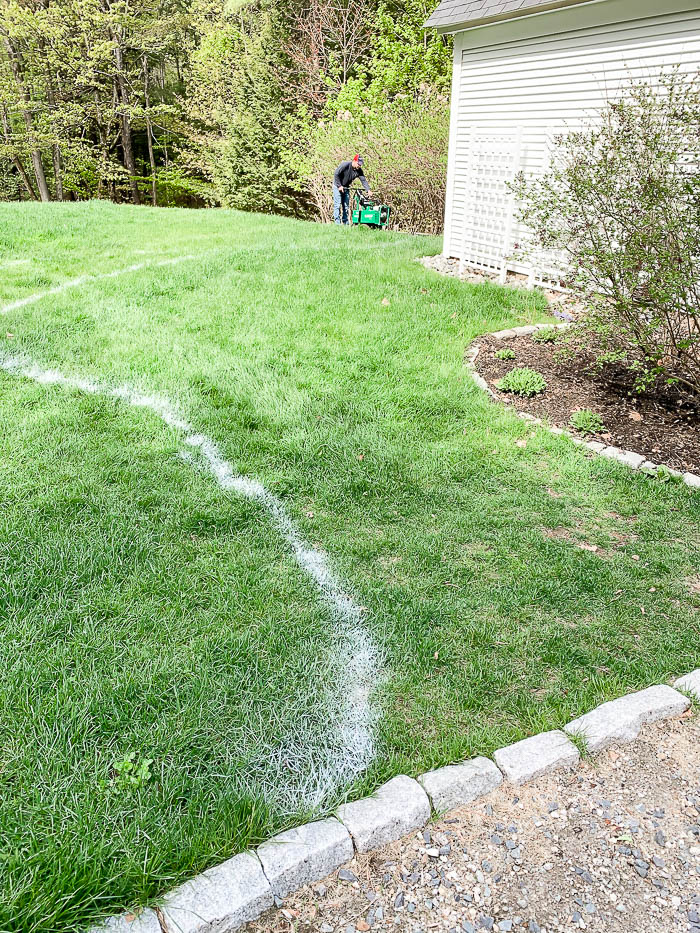
You can see below, the first curved line I drew wasn’t quite big enough, so I just expanded it a bit, by spray painting a larger curve for our new gravel patio area.
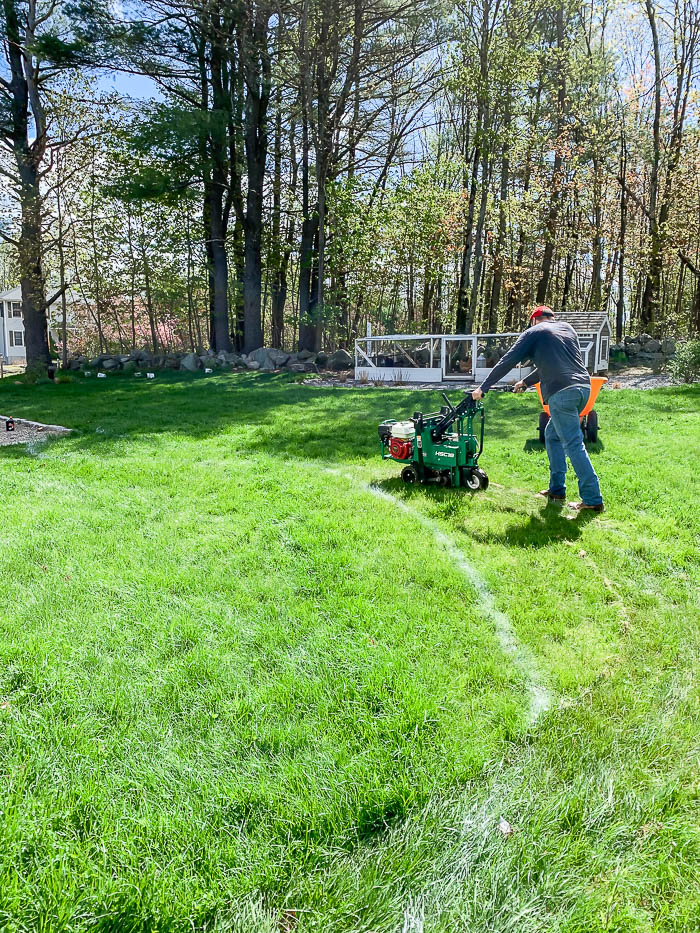
The sod cutter was pretty easy to use once we got the hang of it. My husband would cut rows of grass, and then we would cut the strips into manageable sections, then roll them up and remove them. We learned pretty quick just how heavy grass can be!
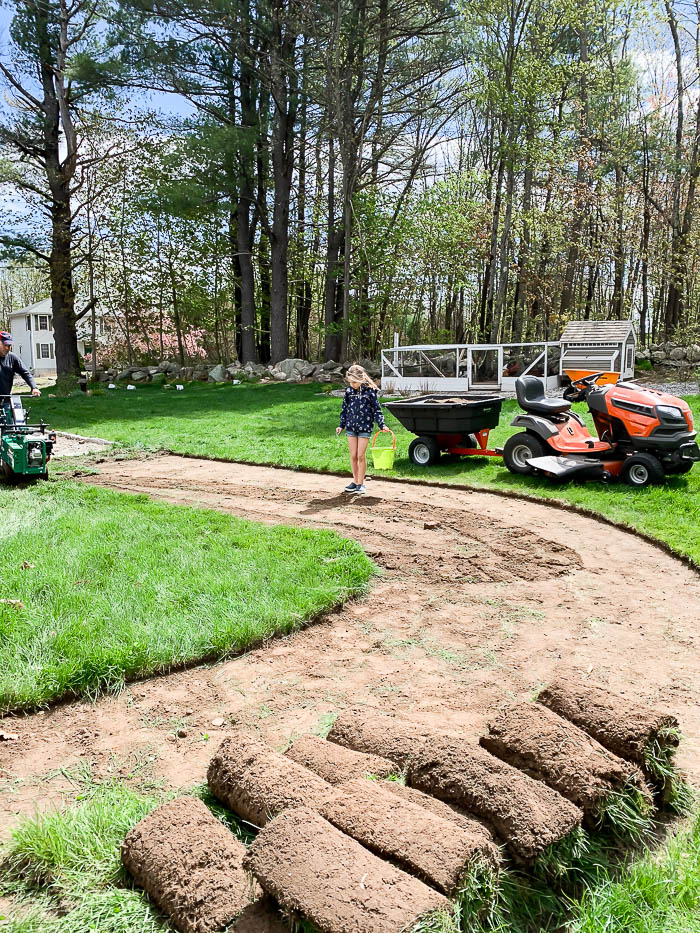
Using the settings on the sod cutter, we cut down 1 1/2 inches to remove the grass, which would give us enough depth to “set” the cobblestones in, and fill in with the crushed stone so it wouldn’t be too thin.
One tip we learned in renting the sod cutter vs. digging this out with a shovel. The sod cover left us with a nice flat, even surface to install the crushed stone on. One that we would have had to rake and manually level out ourselves, and that saved time and back labor!
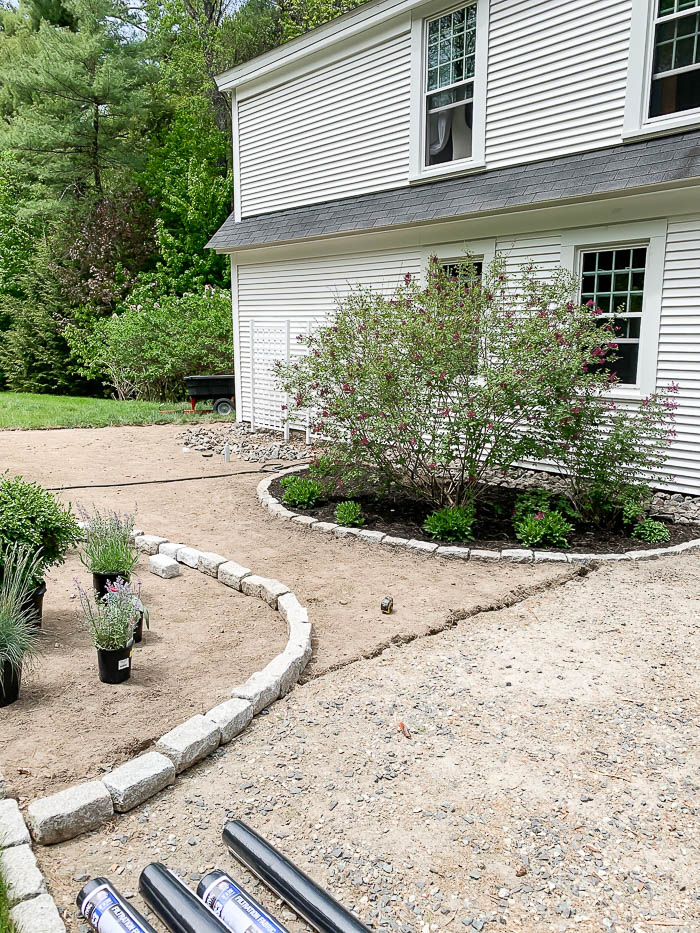
Now that the grass was all removed it was time to put down the cobblestone pavers. I wanted to create the same look as the first half moon garden bed we installed on the opposite side, with a curved pathway in between.
We removed the row of cobblestone pavers that went straight across the top of our driveway, knowing that the crushed stone would act as enough as a border for the driveway.
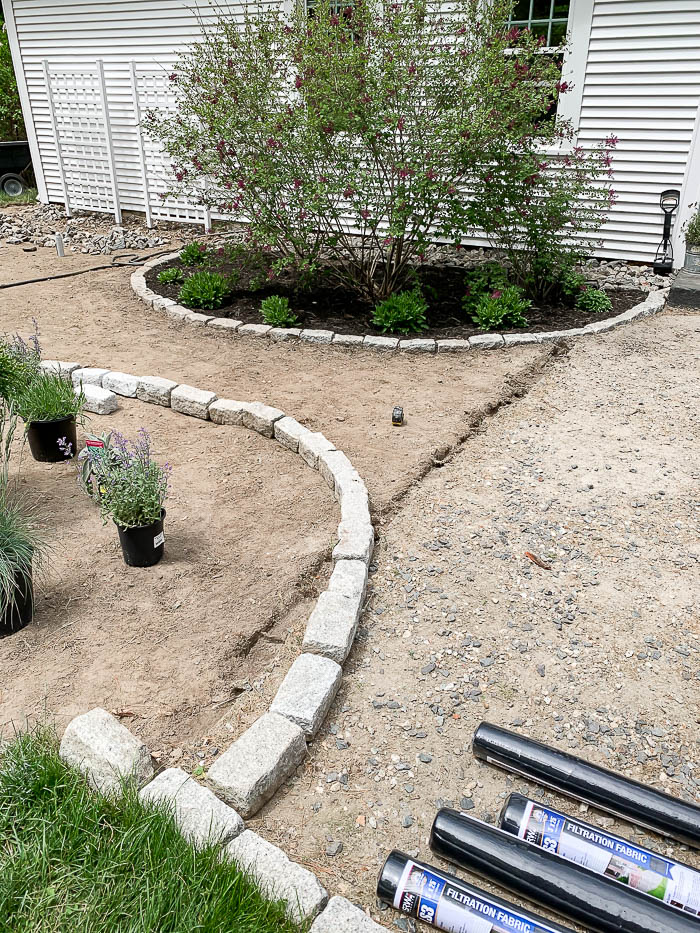
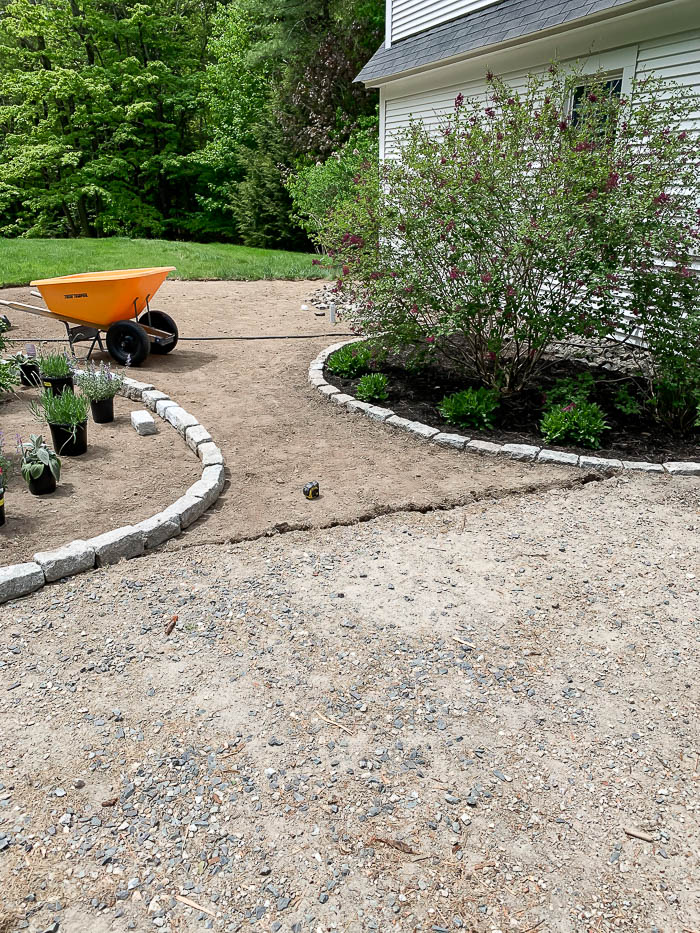
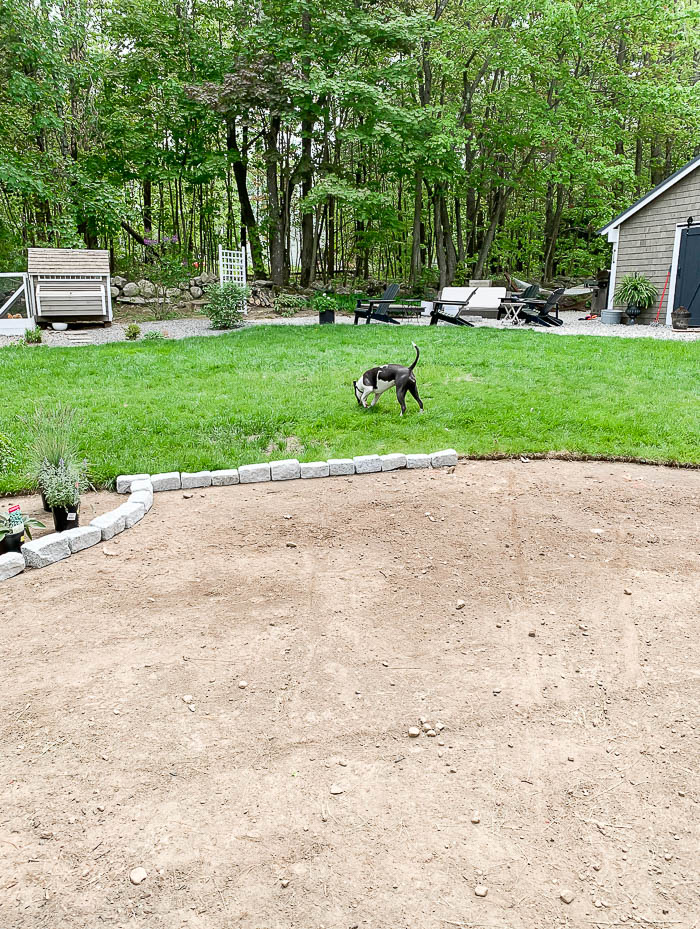
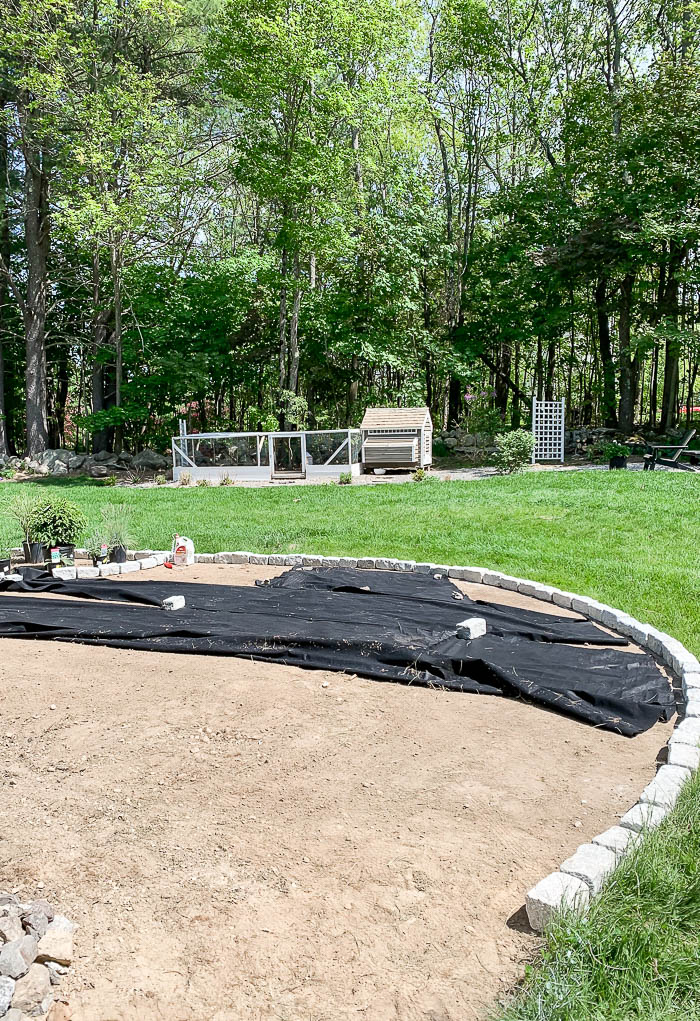
Once the new garden bed was edged out, we continued edging out the rest of the new patio area with cobblestone.
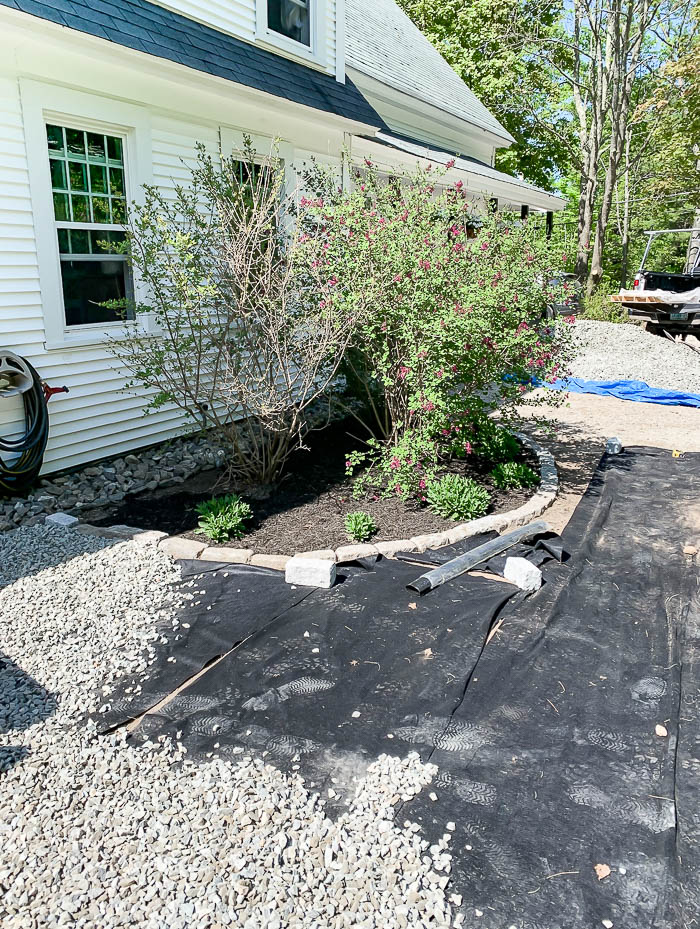
Next up, we put down Landscape Fabric to help prevent any grass from growing back up in this area.
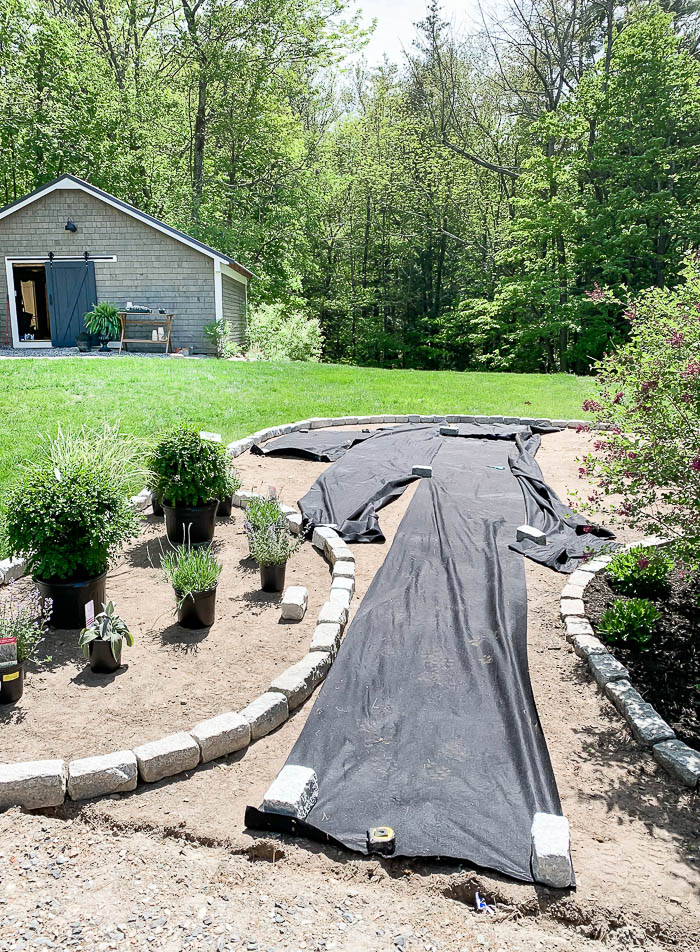
It was pretty windy, so it kept blowing over, we just made sure that it was all laid out flat right before the crushed stone went on it.
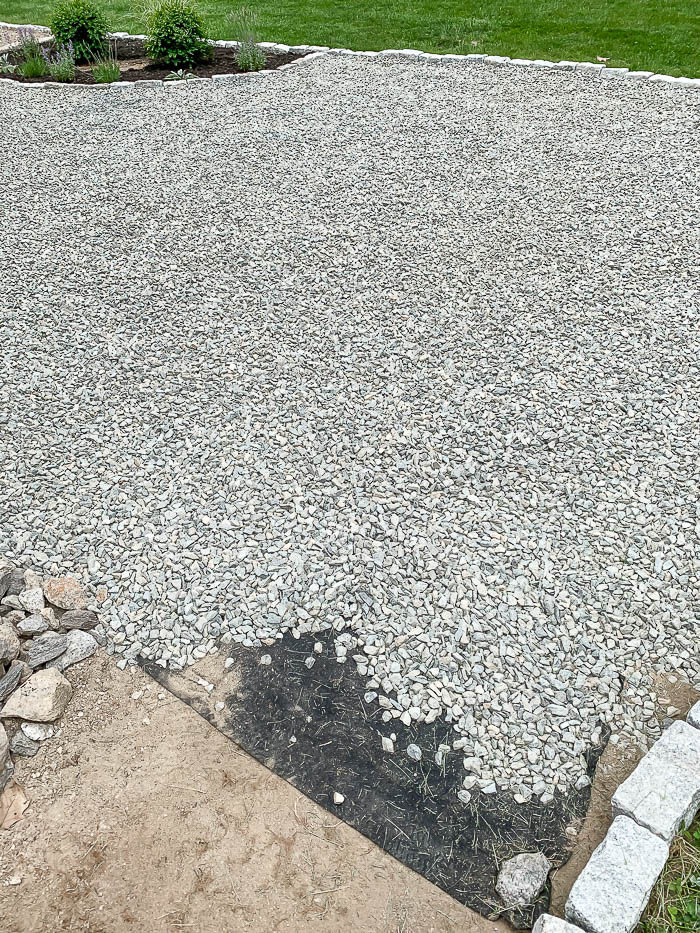
With the cobblestone in place, and the landscape fabric down, it was finally time to install the crushed stone. My husband hooked up our yard cart to his lawn mower so that we could move heavier loads at one time, but in the past we’ve also just used our wheel barrel.
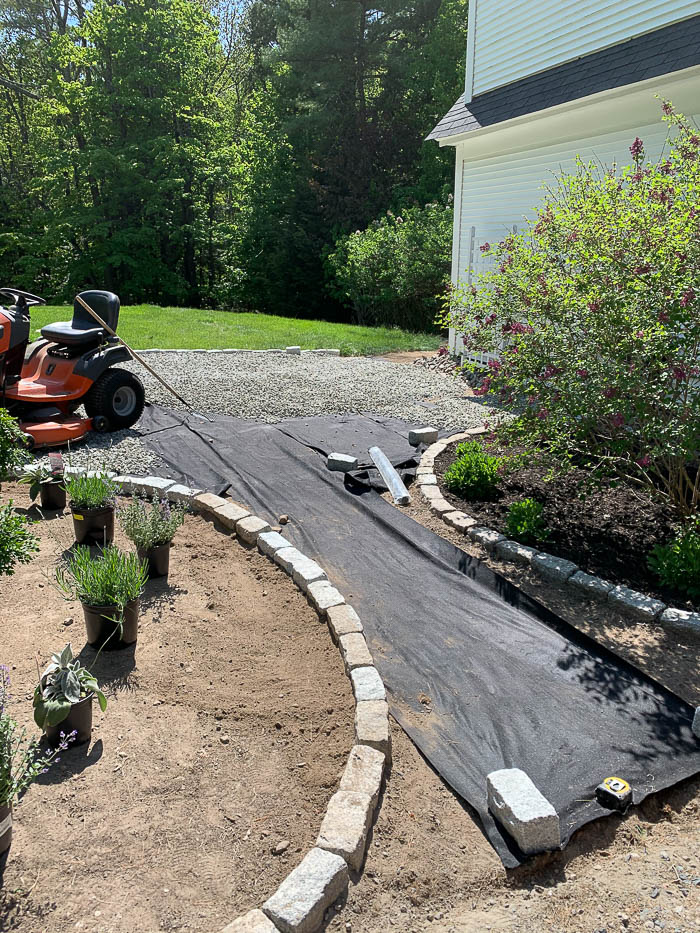
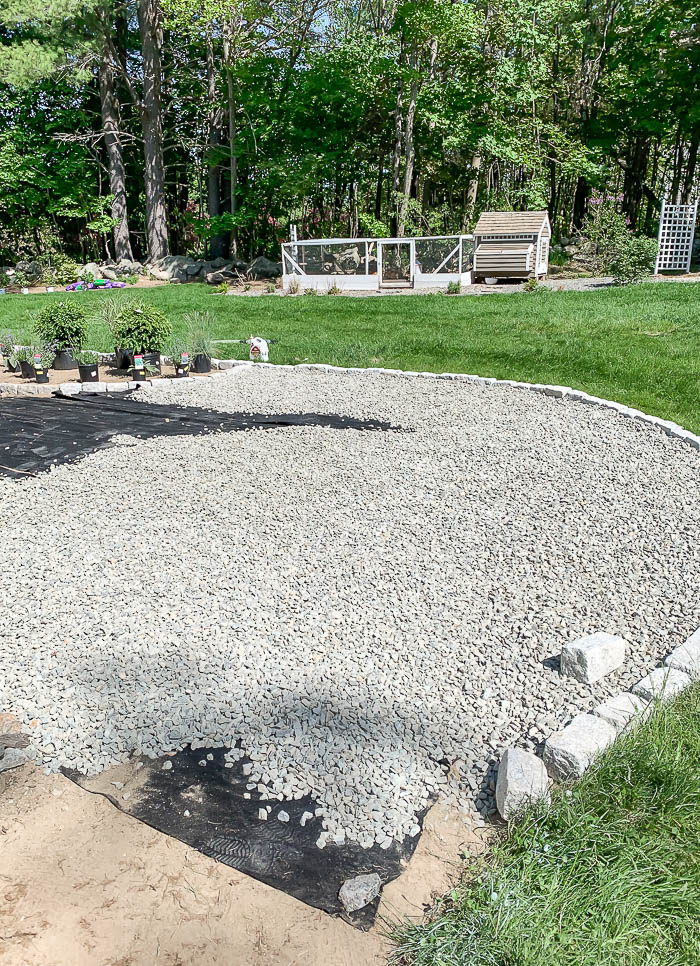
We started on one end, dumping loads of crushed stone over the black landscape fabric, keeping it about 1 1/2 – 2 inches thick, and spread it out with THIS TYPE OF RAKE.
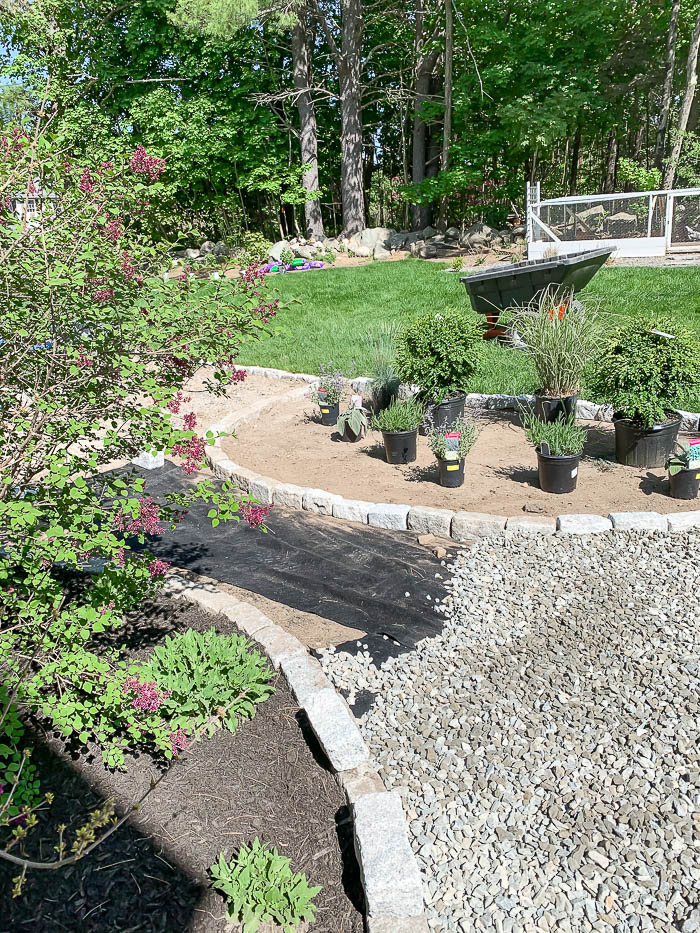
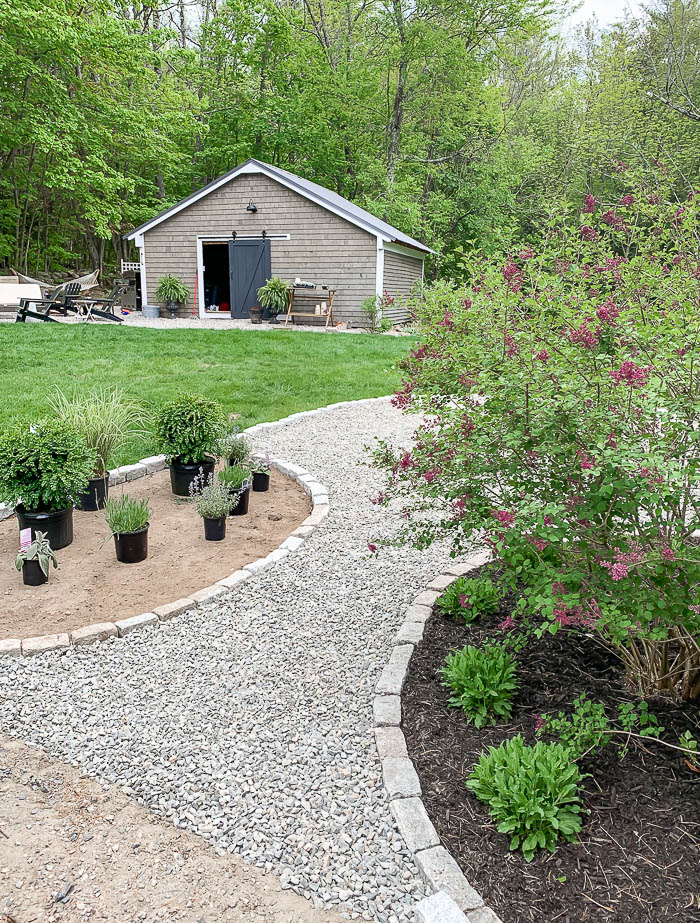
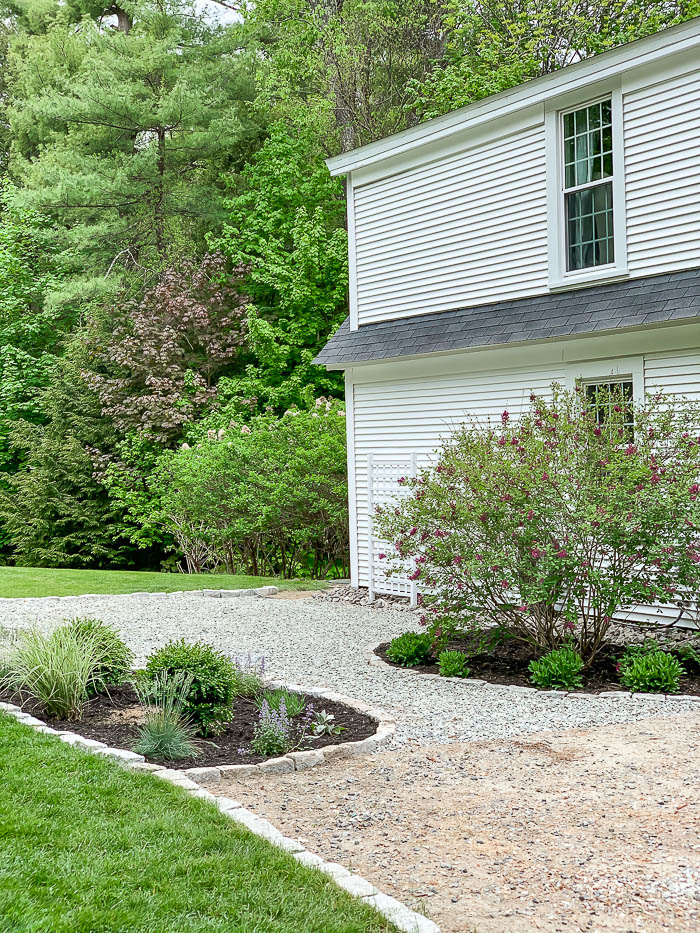
Once we finished installed the crushed stone, it was time to put the plants in my new garden bed. I will be sharing more about the landscaping around our entire yard next, including my favorite types of plants!
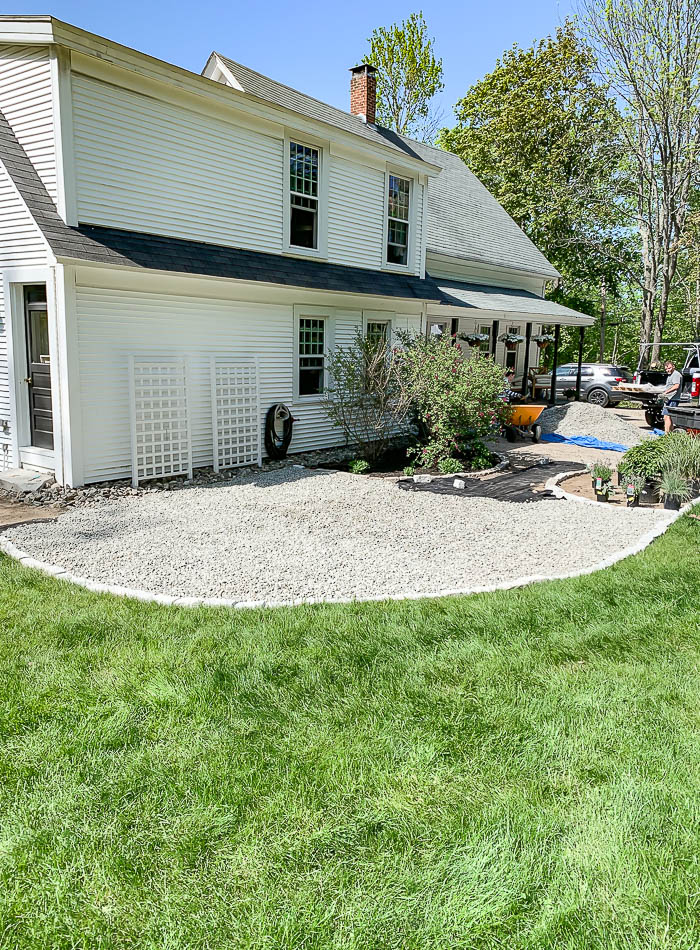
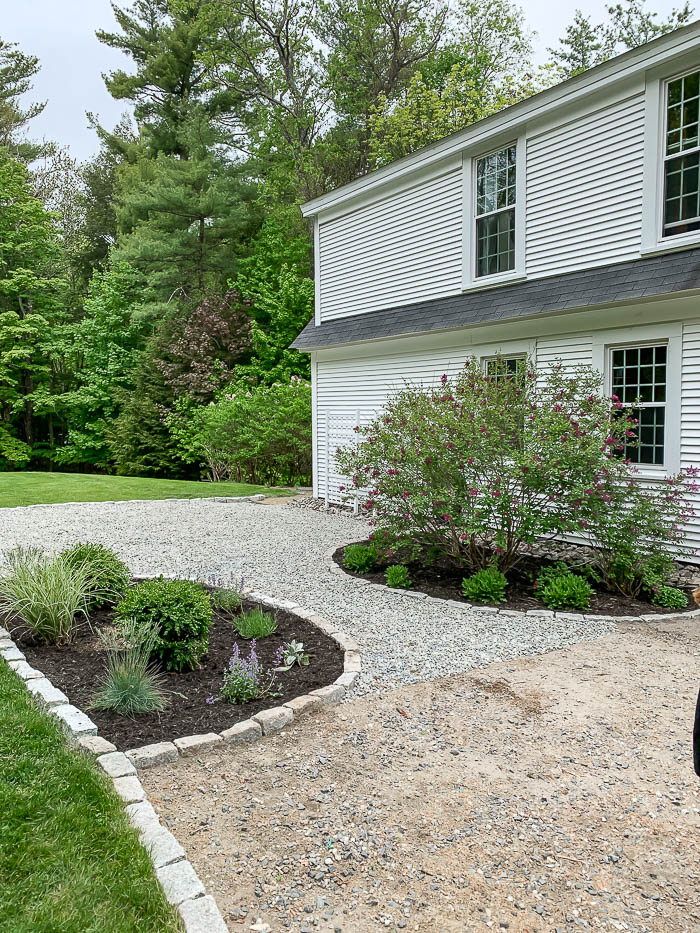
After
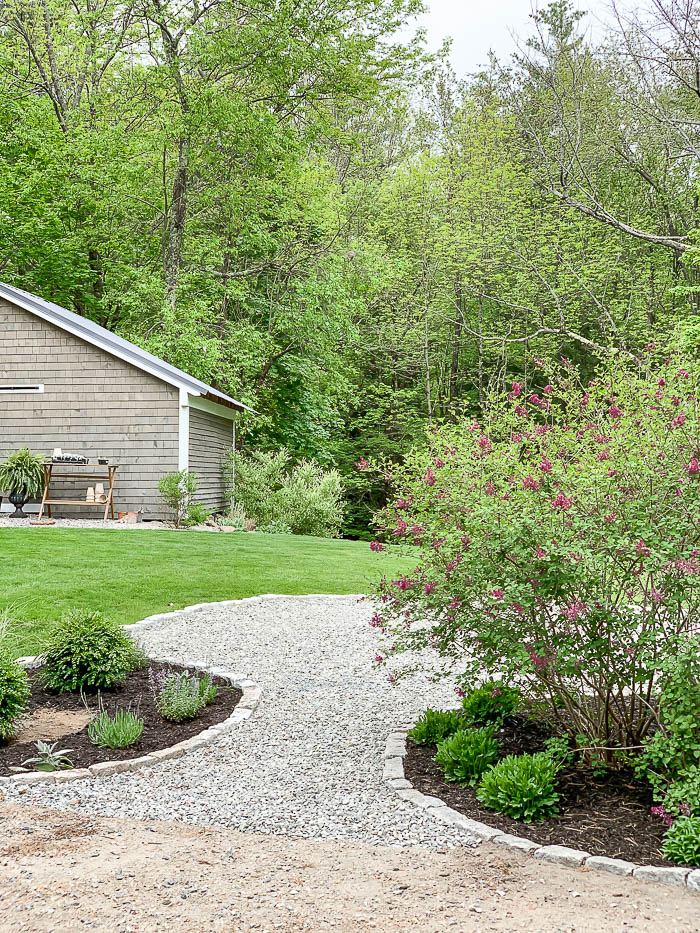

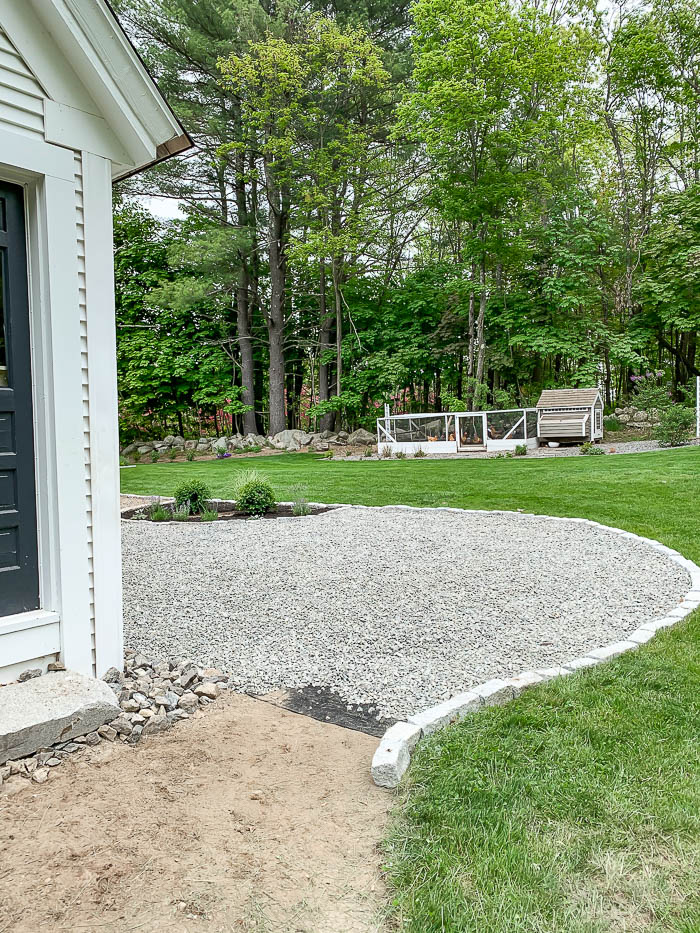
Now we have a beautiful walkway, leading up to what will be our new sitting area, that I hope to add some chaise lounge chairs too in the next couple of weeks. Below you can really get a feel for the new space.
We still have to continue installing the crushed stone around to our back door. Just need to pick up a few more cobblestone pavers, and we can finish this area up.
Here’s an overview of the Process ~

Before Grass Removed Cobblestone installed Crushed Stone Installed
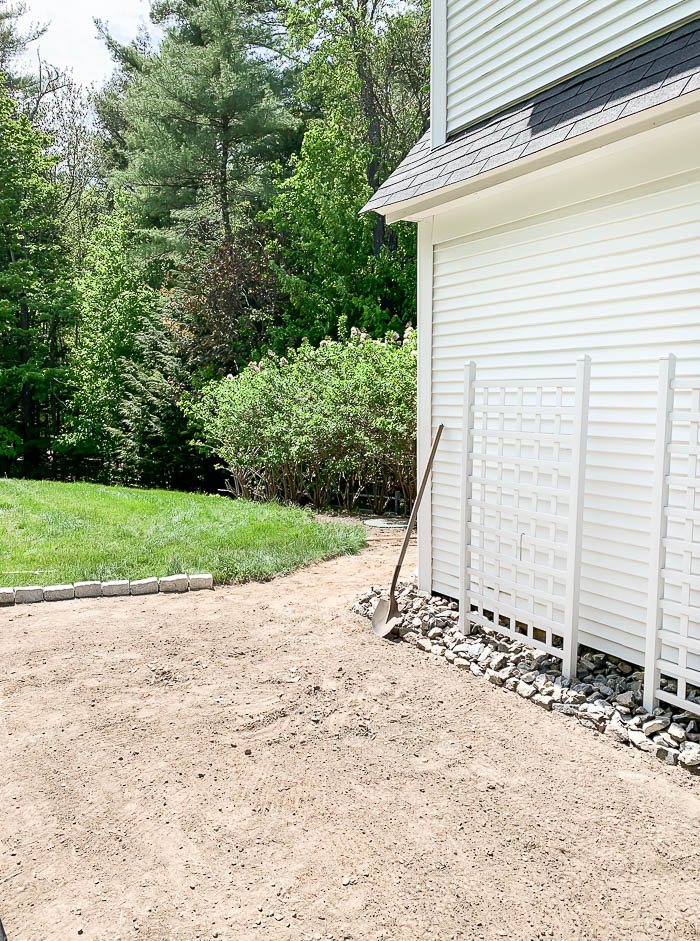
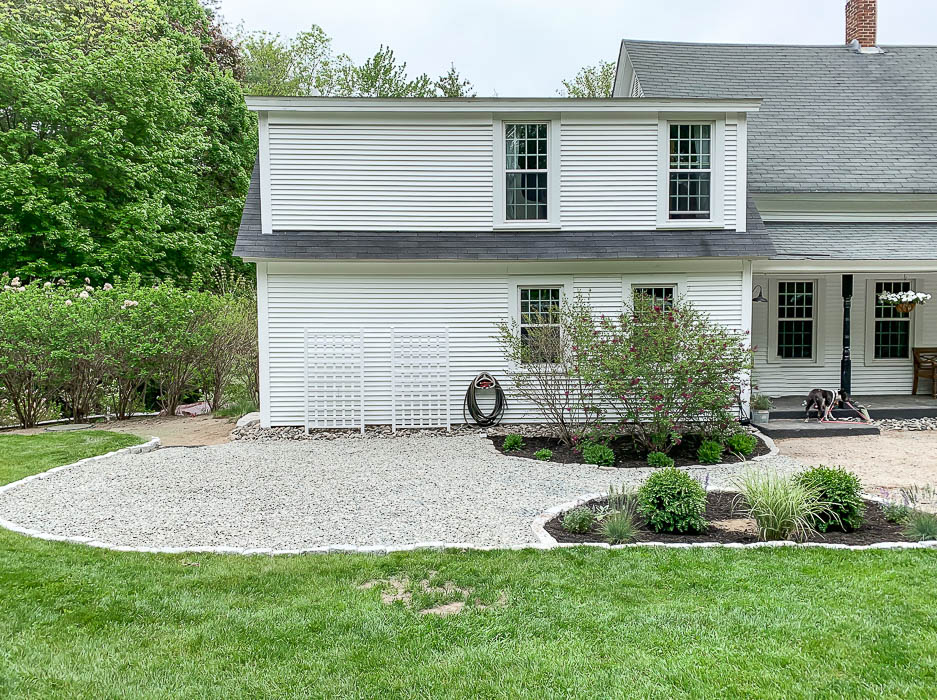
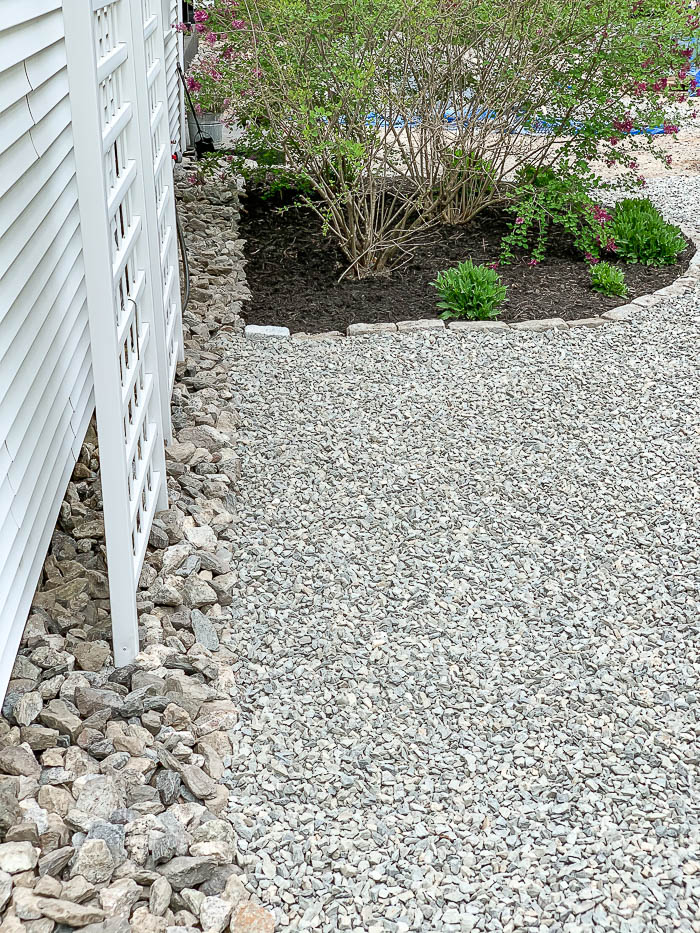
Below you can see the new crushed granite up against our larger granite rocks we use as a rain border around our entire house. This keeps the dirt from splattering up on our white siding every time it rains.
Before Progress After
One more BEFORE & AFTER
Here is a Budget Breakdown for this Project :
- Crushed Stone – 3 yards – $90
- Cobblestone Pavers – $300
- Black Landscape Fabric – $40
- Sod Cutter Rental, for the day – $120
- New Landscape Plants – $225
- 4 Bags of Black Mulch – $12
Total Cost : $787
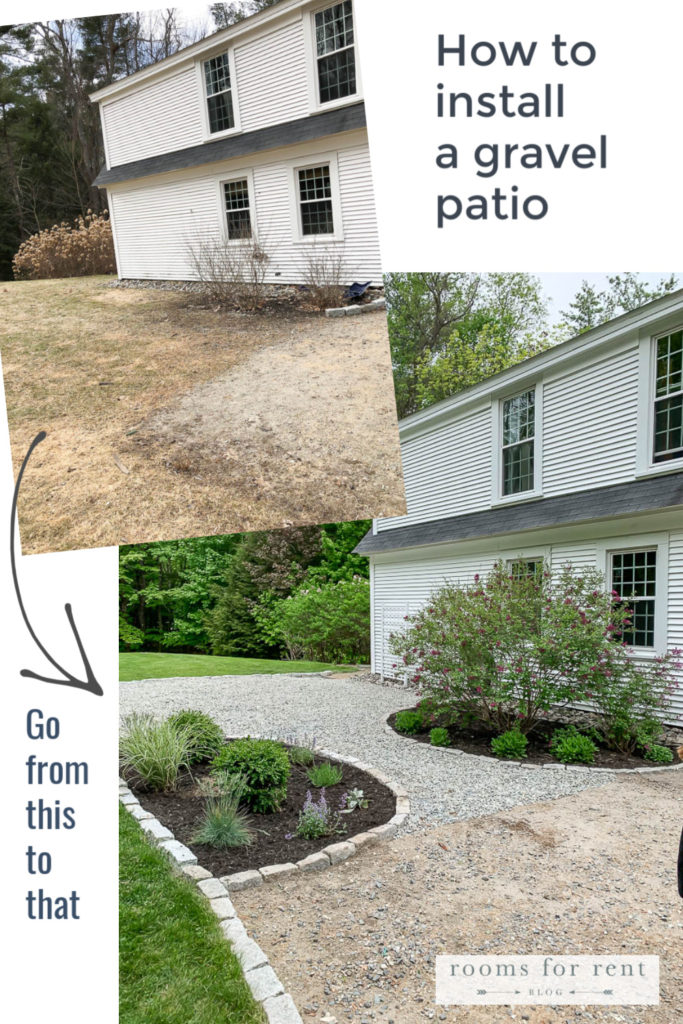
PIN IT –
to save for later!!

Wow! Looks amazing and so affordable too! Love it
Beautiful, I love it! Thank you for sharing❤️
Wow, you did a great job! I love the gravel. You made it a good size too. I use the same edging stones in my garden and mine have aged beautifully. Thanks for the lovely blog.
Whoa! THAT looks AMAZING!! You two do really good work and make an excellent team!
Pretty and practical, can I ask what state you live in? We were in Maine most of our lives and just moved to zone 9a in Florida. I have been landscaping and now making a gravel walkway around our garden, we are using 3/8 gray gravel. It going to be very pretty once you are completed. Love your posts.
Jeanne