Hello Friends!
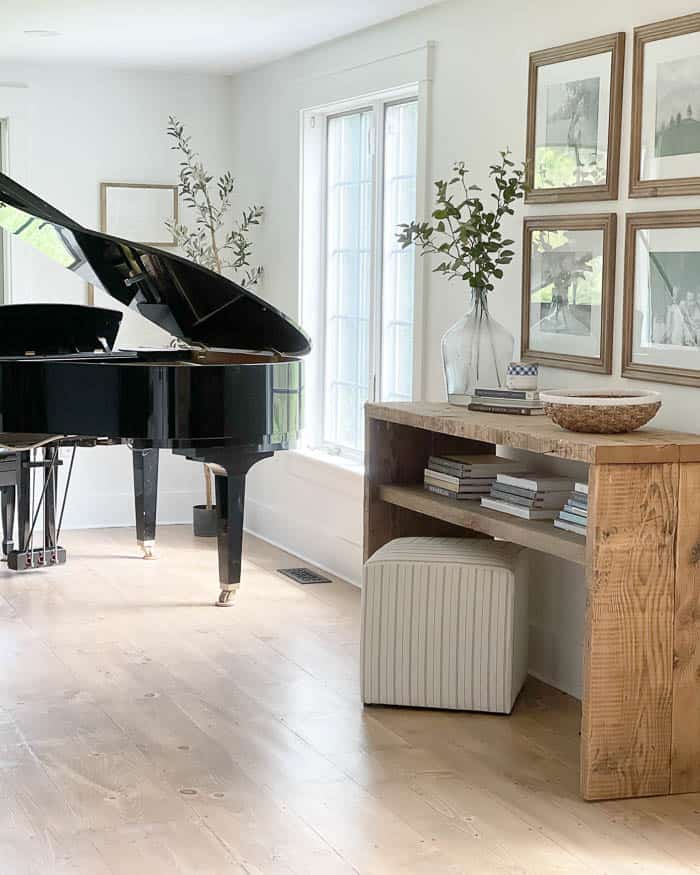
Thank you so much for all of your sweet comments on my post about Progress that I shared earlier this week! It’s so nice to know that others feel the same way, especially when it comes to not having everything perfectly finished. I’ve gotten many questions about the new console table in our living room (also shown in yesterday’s post), so today I’m sharing more about our new console table! It’s a funny story, I actually shared on Instagram, how after I sanded down the boards I wanted the table to be made from, I went to the store to run some errands and came back to the table being completely built. Thank you hubby for your prompt building skills! This table really was one of the key pieces in helping our living room feel more complete, and I’m so excited to share all the details with you!
Let’s Dive In ~
Barn Wood Before~
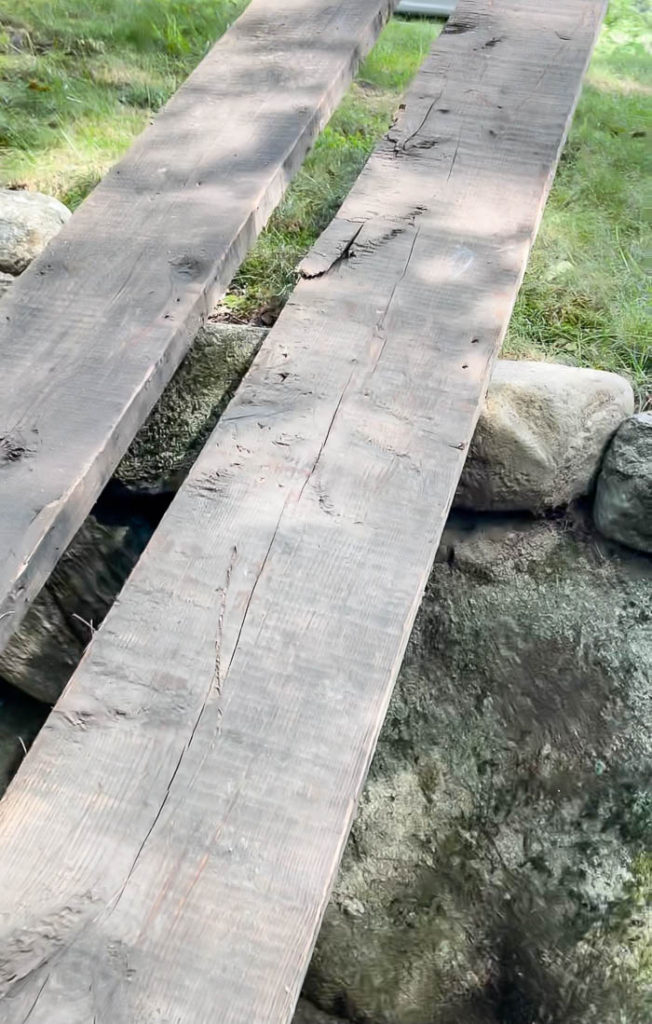
We made this table from some old barn wood that we had underneath the barn. I was so excited when we moved in to see some beautiful beams and old boards that were left, because I just knew I wanted to make some tables with them. First up our new console table.
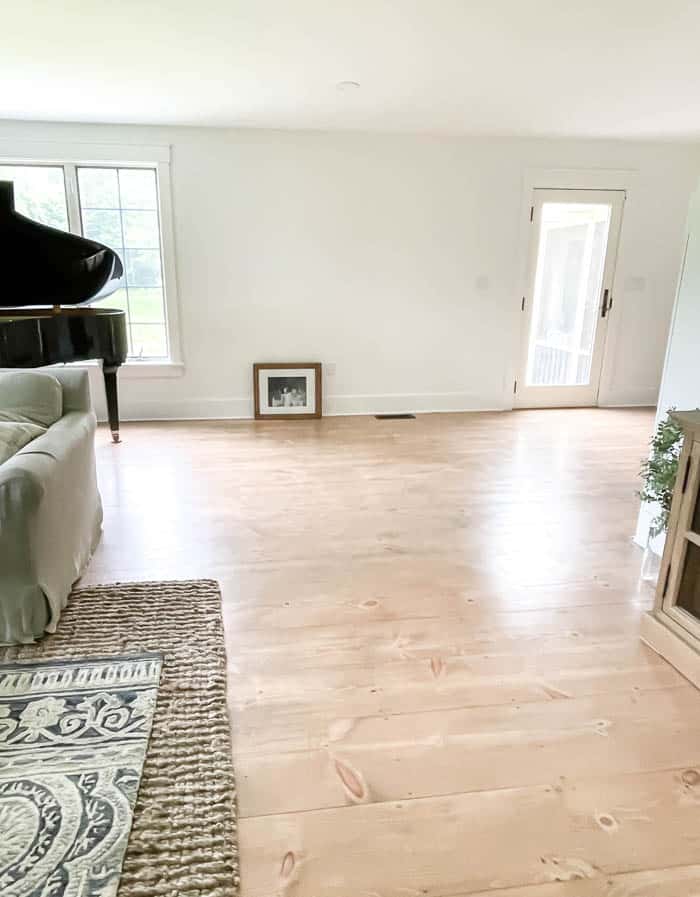
We have this long wall in our living room, that can otherwise feel awkwardly out of place. Our living room is sort of in the shape of a reversed L, so when you walk into the space it almost feels like a very wide hallway / smaller room, that opens up to the left, into the larger portion of the living room where the sofa and tv are placed.
I knew I wanted something for that wall, but it needed to have flexibility. Meaning, I needed something that wouldn’t take up too much space, and could also be moved around, since this is the wall where we plan to put our Christmas tree. The wall length between the door and the window to the left measures 10 feet. So it needed to be something that wouldn’t feel too small for the space either.
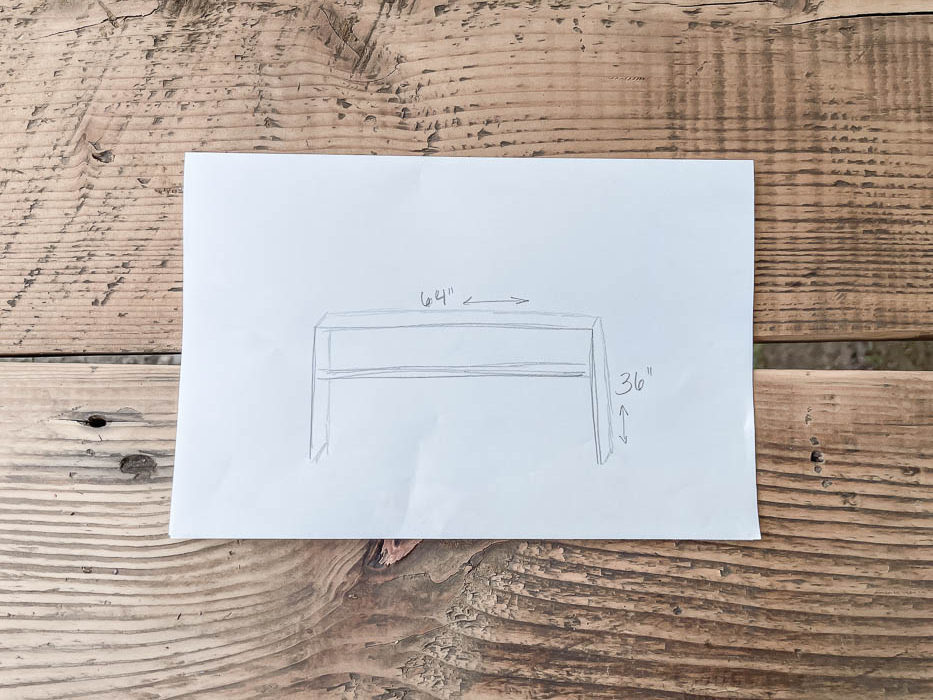
I also knew that I wanted to hang picture frames on this wall in a grid style gallery wall. I planned to hang some of the frames that we used to have hanging behind our tv in our old house, and each frame is a 16×20 size. Once I had an idea of the layout for the frames on the wall, I measured the empty wall space below it, to get a feel for what size console table would fit best.
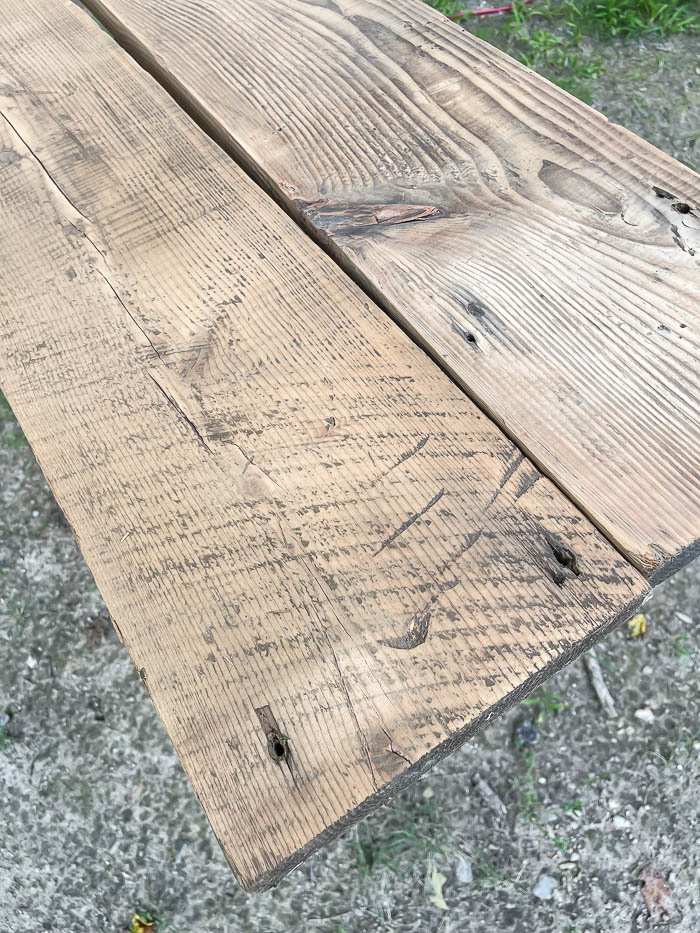
Now that I had the size table I needed, it was time to sand those boards. I knew from my experience in working with old wood before (shown HERE), that sanding off the outer layer was all that was needed for this wood to shine, not to mention reveal some beautiful character. And I was right! You can see the sanded boards below.
I shared in my Instagram stories, that unfortunately I don’t have any step by step photos sharing the table being built. Part of the reason I think my husband and I work so well together, is that our skills compliment each other. Meaning I can envision design ideas, and do the prep or finish work, while he has the building skills and can make those visions come to life. So while I was at the store, he built the table, and I came home to my vision brought to life lol. We both like to work fast, and that is one thing I will never complain about, but it also means I don’t always get those in-between photos sharing the process :p
So here are the steps he took to build the table.
Since he knew the height of the table, he cut the two boards used for the top first. Since the boards we are using are about 2″ thick, he wanted to make sure that he had the height first.
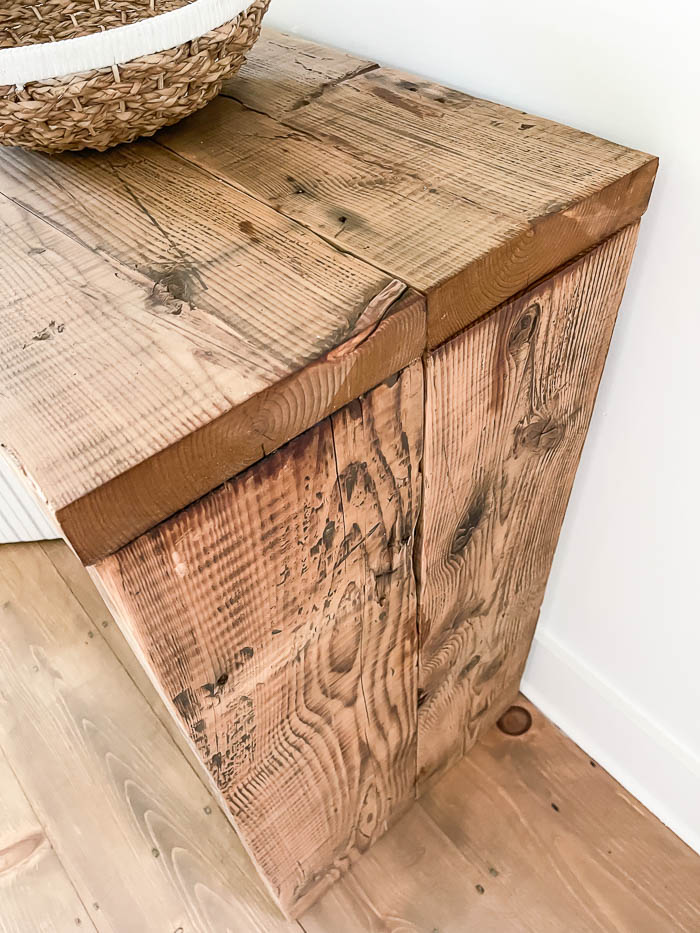
I also knew that I wanted the table to be deep enough that I could put a table lamp on it, or any other substantial decor piece, since again I needed it to feel like it wasn’t too small on this wall. He used a kreg jig to make pocket holes underneath and secured the two boards together creating the table top.
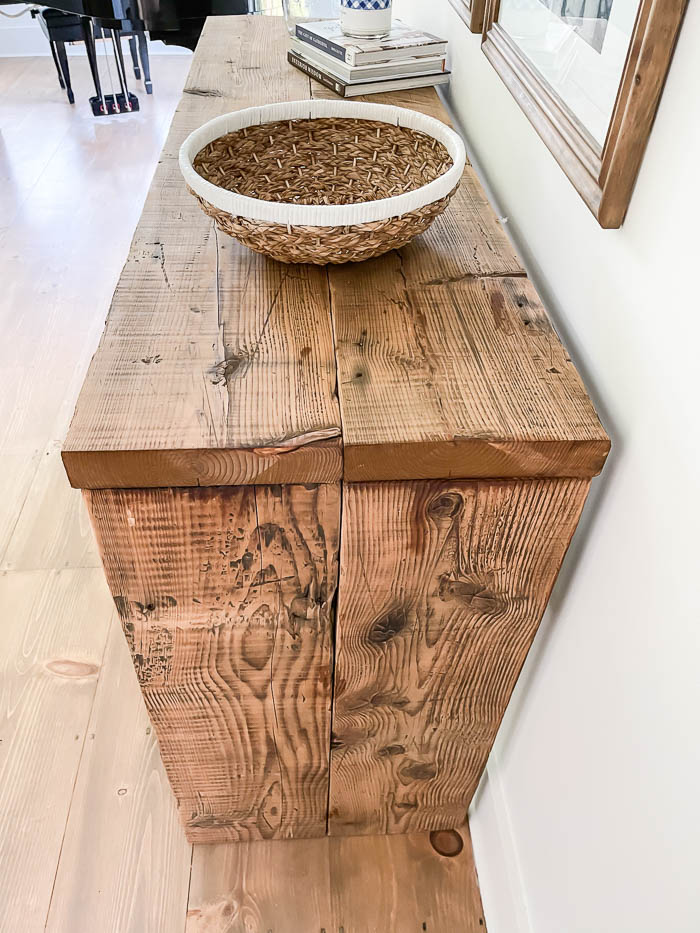
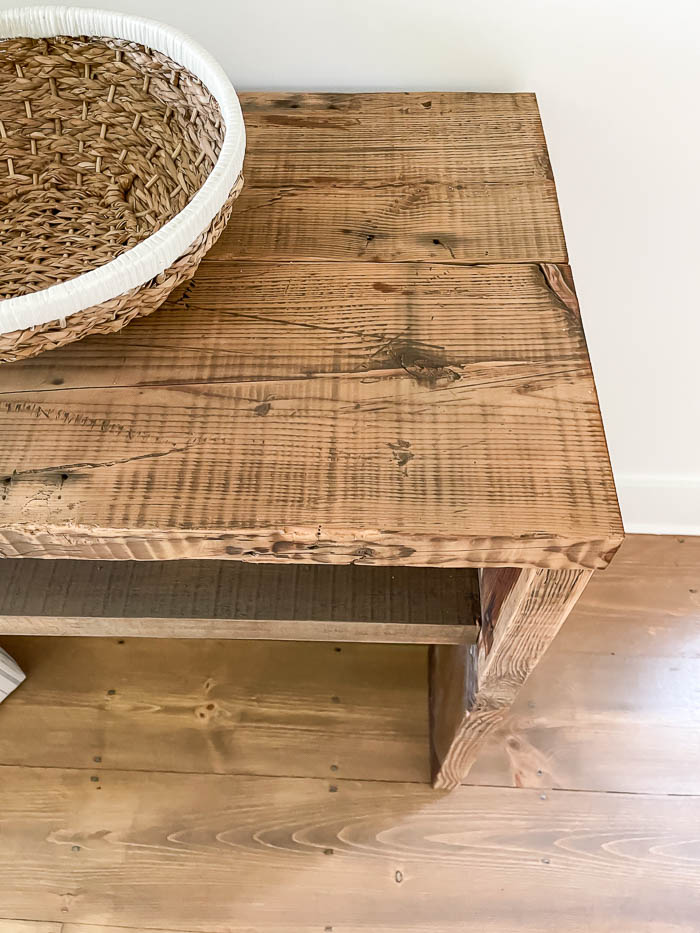
Once the top was made, he then measured for the legs on each side. Since I wanted the table to be roughly 36″ tall, he cut 4 boards to 34″, knowing that once he put the top on, it would add the remaining 2″ needed to make it 36″ tall. He used a kreg jig to make pocket holes on what would be the inside of the table, and secured the legs to the top.
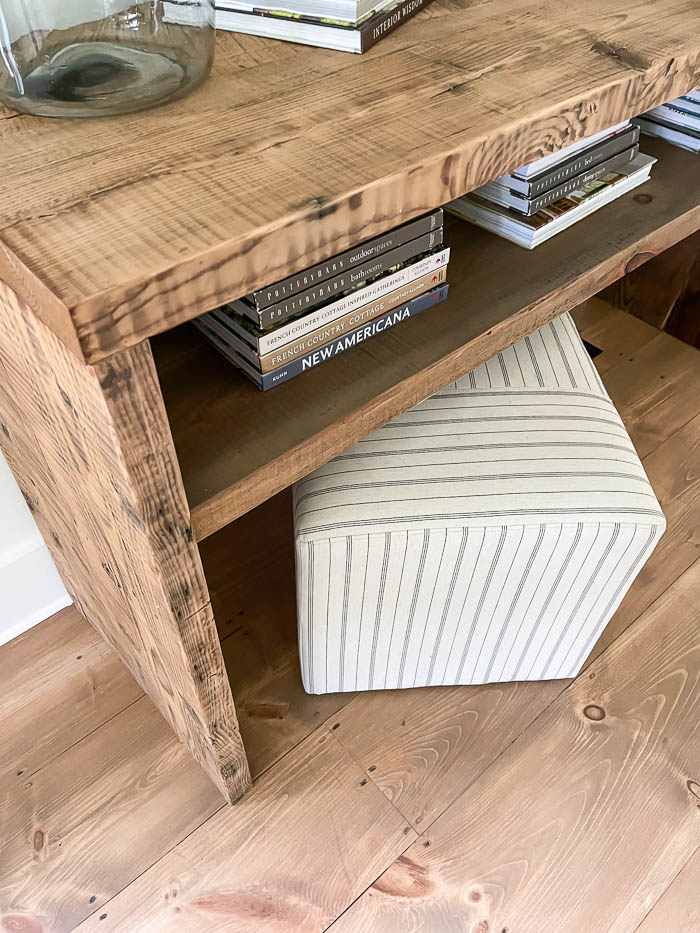
Next up the shelf. I wanted a shelf to add some interest to the piece, so it didn’t just look like some random boards put together in the shape of U. I also knew this would give me a spot to display some of my coffee table books, for a little added decor. He measured the distance between the legs and cut two more boards to length. He then put pocket holes on what would be the bottom of the shelf, to attach the shelf to the boards.
Table Dimensions – 64″ L x 36″ H x 19″ D
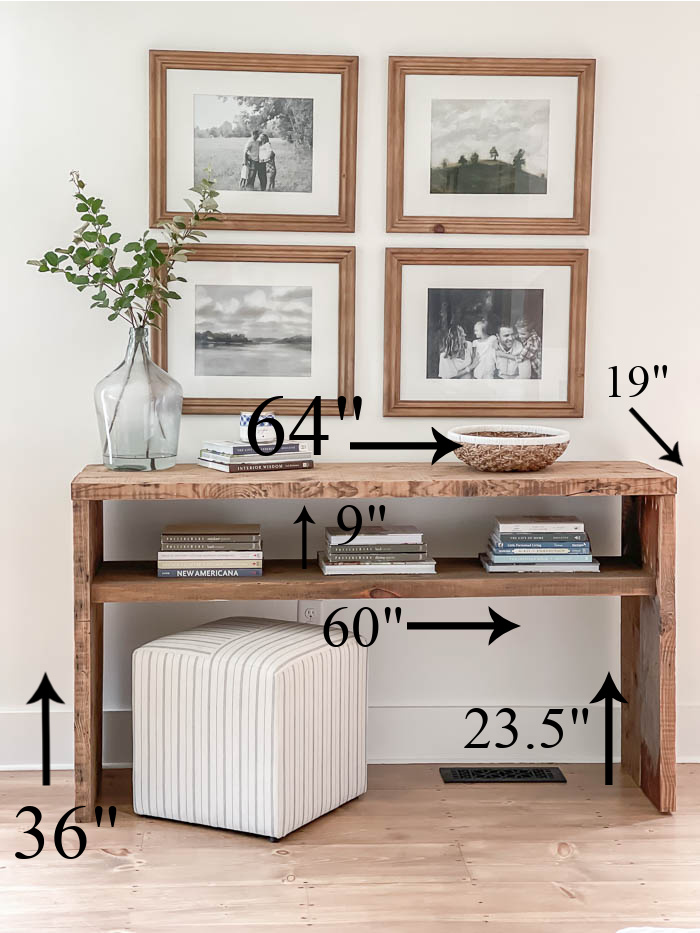
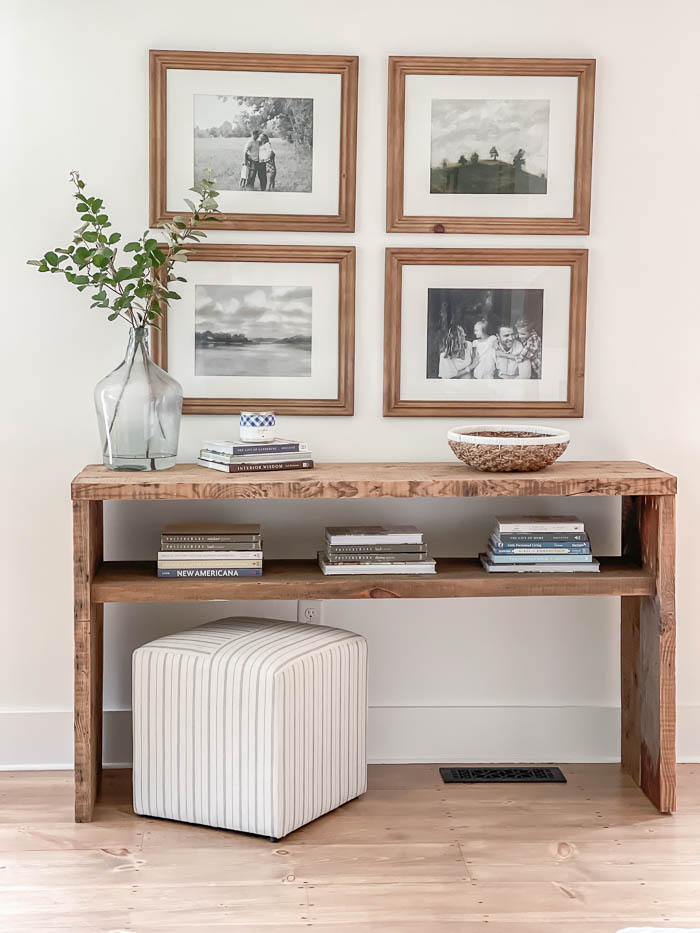
I had been waiting to hang any pictures up on the wall, until I had the console table built for underneath it for spacing. Once the pictures went up, it instantly started to feel like home. It’s amazing how hanging photos on the wall, whether it’s family pictures or artwork, can instantly make your space feel more personal and come alive.
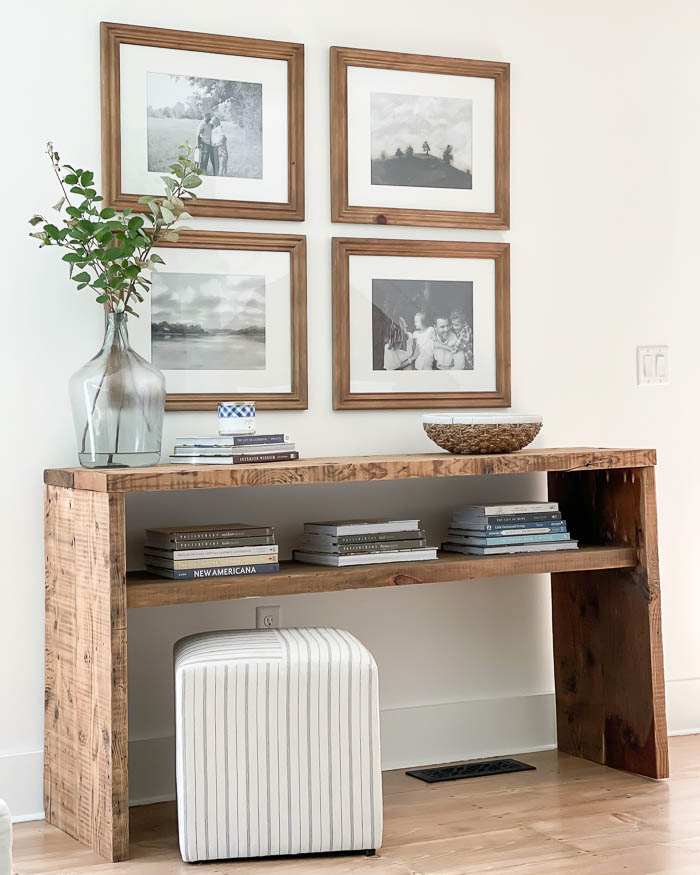
Now we are just one step closer to our living room feeling complete. Next up curtains!!
