Hello Friends!
If you have been following along on moving journey this year, then you know this year I have no shelves to style for Christmas. Our open shelves in our kitchen at our previous home were one of my favorite areas to style for Christmas. In fact it was usually the first place I would start to decorate, and I just loved the added touch the Christmas decor would add to my already favorite spot in the whole kitchen. If you haven’t seen how I styled the shelves in our old kitchen for Christmas, you can check it out HERE. However, this year instead of styling shelves, I have a new hutch to decorate! The hutch in our dining room is all decked out for the holidays, so today I’m showing you how I styled our hutch in the dining room for Christmas.
Come and see ~
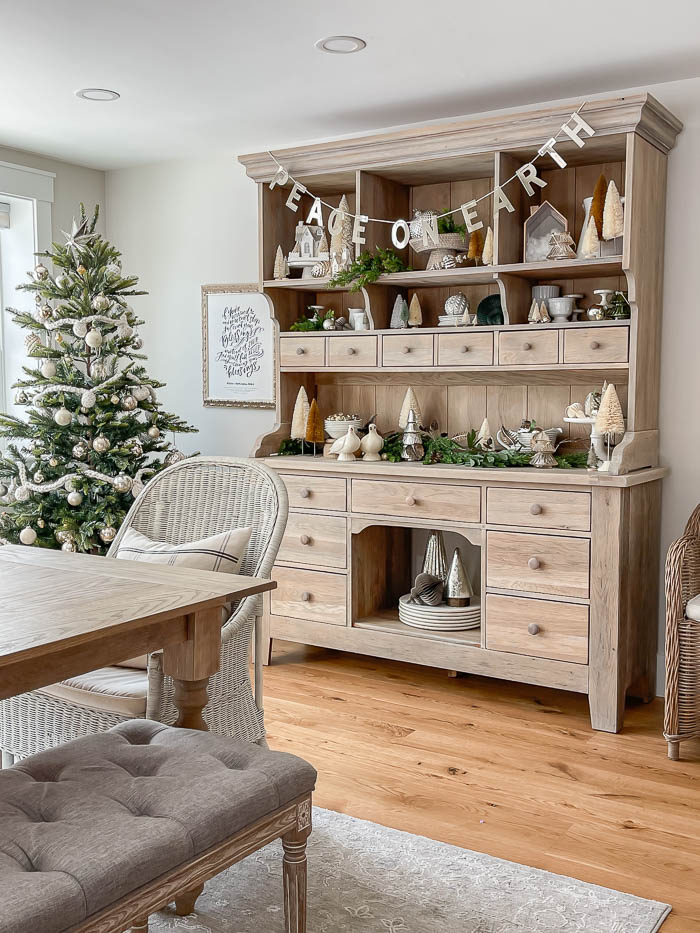
I honestly couldn’t wait to decorate our hutch for Christmas! I think like anything though, it will take me few years to tweak and see what I really love. Just like with the shelves in the kitchen, once I find a display I really like, I just stick with it year after year, slightly tweaking the items that I use.
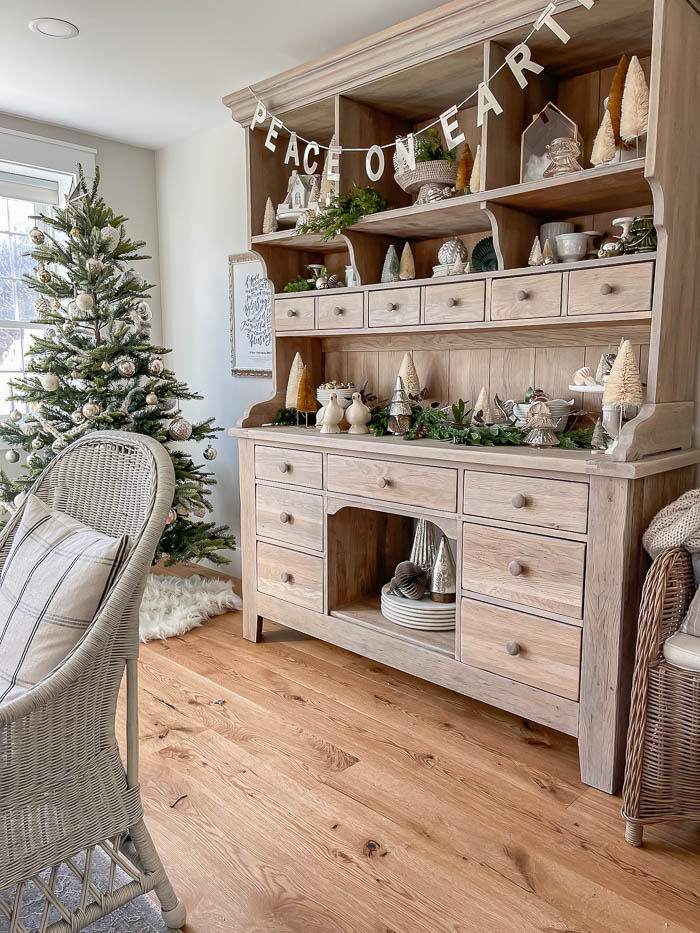
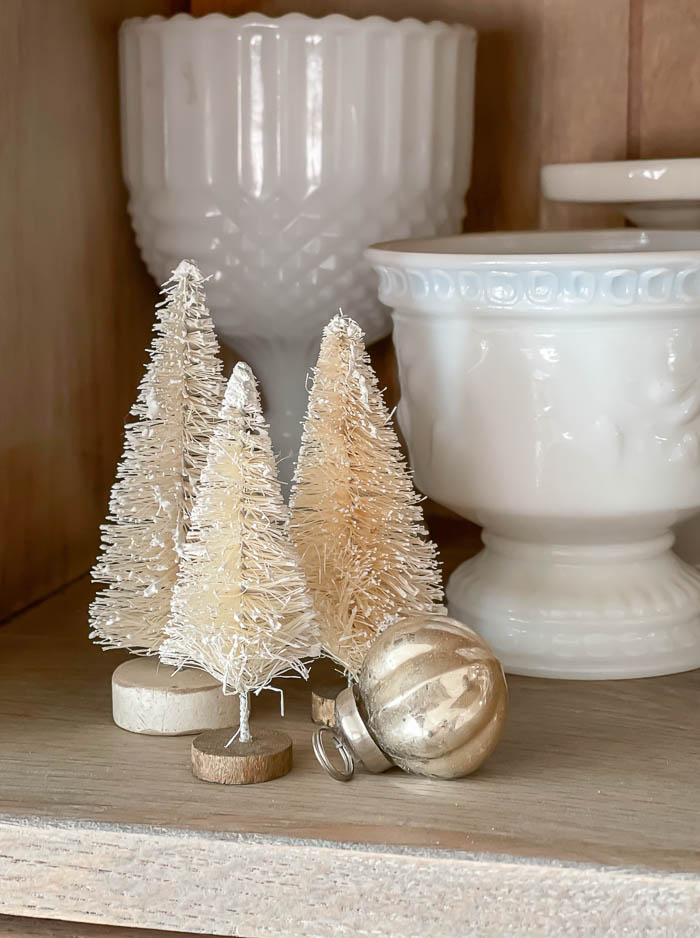
Of course I used a variety of bottle brush trees when I styled the hutch for Christmas this year. I have them sprinkled all throughout our home, and I find when I use the same style of decor throughout, the consistency it adds brings a cohesive feel that for me feels more calming and less chaotic.
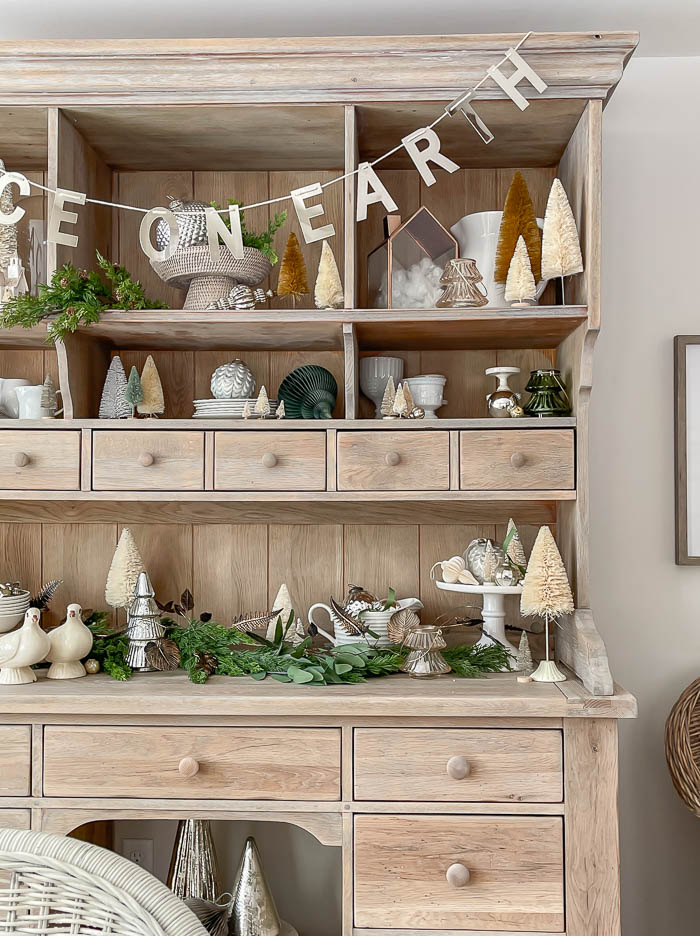
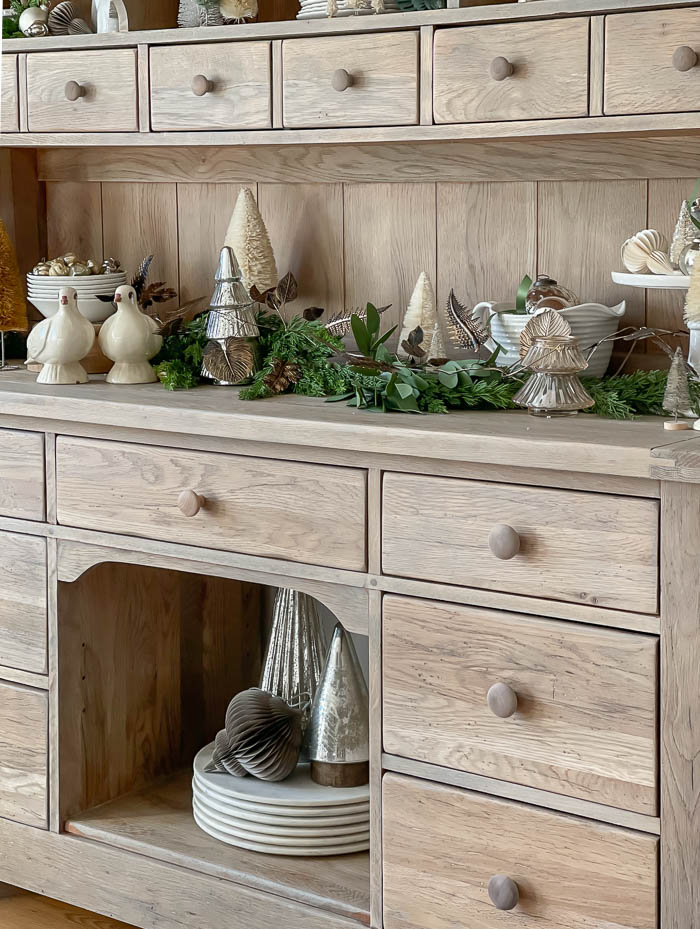
I kept some of my go-to serveware pieces on the hutch, and used them to elevate my Christmas decorations so that it would not only balance out the Christmas decor I used, but also add height to the overall vignettes.
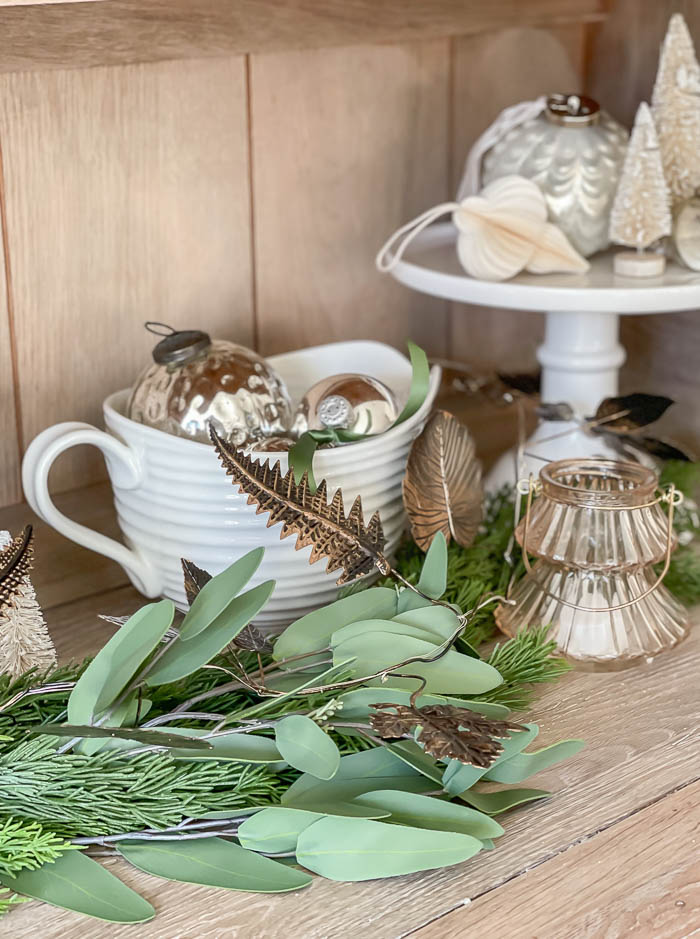
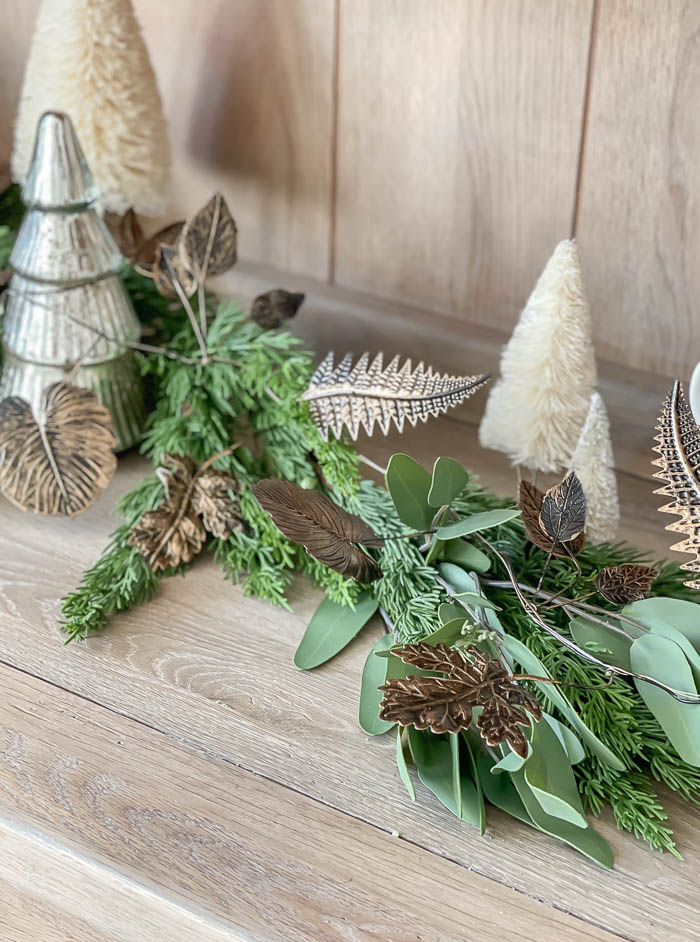
I added ornaments to bowls, and used faux winter greens to really emphasize the decor of the season that we are in. Pretty much everything I used I already had, with the exception of this metal leaf garland I found at Michaels. It lights up, which is fun at night, but I love the botanical embellishment it adds, which is something I might include more of next year.
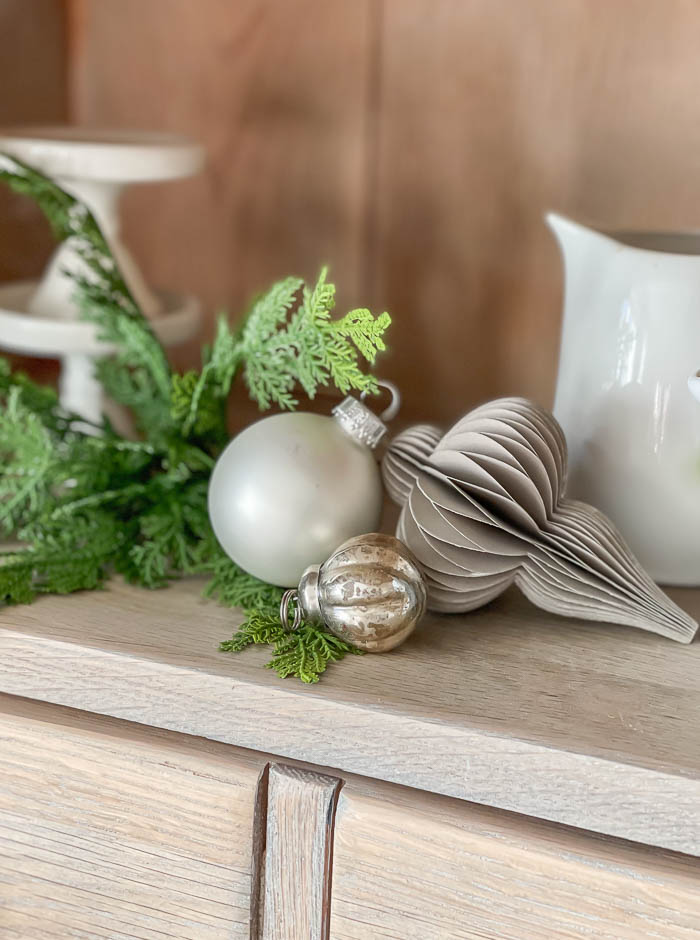
On the smaller shelves above, and tiny cubbies, I added a few little ornaments in different sizes and textures, grouped in threes, along with some faux green picks to help the smaller ornaments stand out.
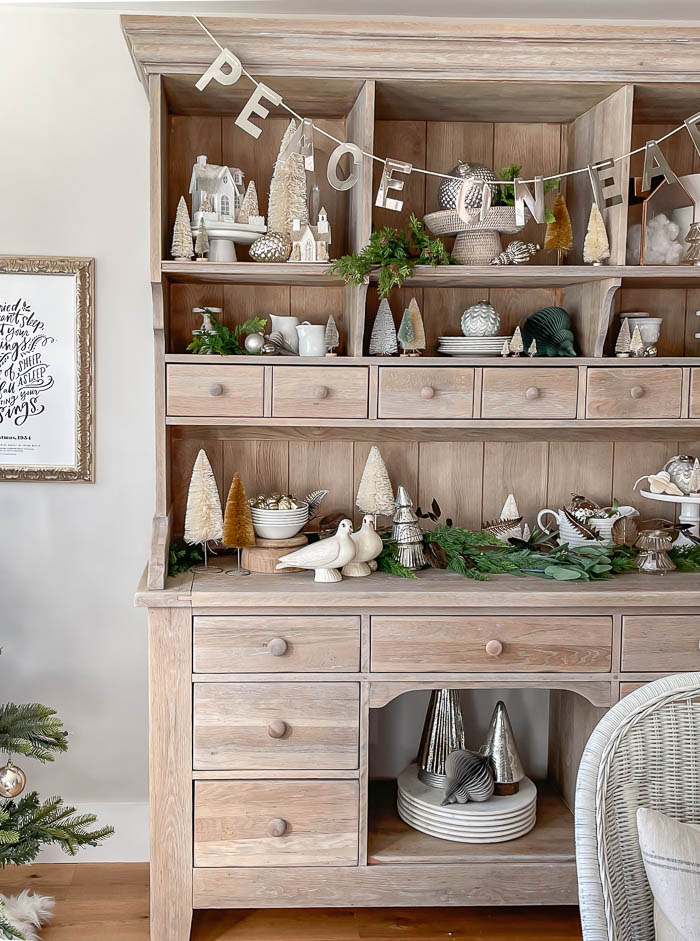
I finished off the look by hanging a metal ‘Peace on Earth’ banner that I had picked up from Target a few years ago. It compliments some of the other shiny metals that I used to style the hutch.
When it comes to styling areas like shelves or built ins, or in this case our hutch, there are a few things that I look for. Adding height – in this case the variation of bottle brush trees staggered throughout in different sizes. Bringing in different textures – here I used a mix shiny metal ornaments, and glass tree tea light votives, mixed with paper ornaments and bottle brush trees, and the natural texture from the faux greenery to incorporate three different textures. And lastly, color. I kept to the same three color tones and used pieces in the tones styled throughout the hutch for a cohesive look.
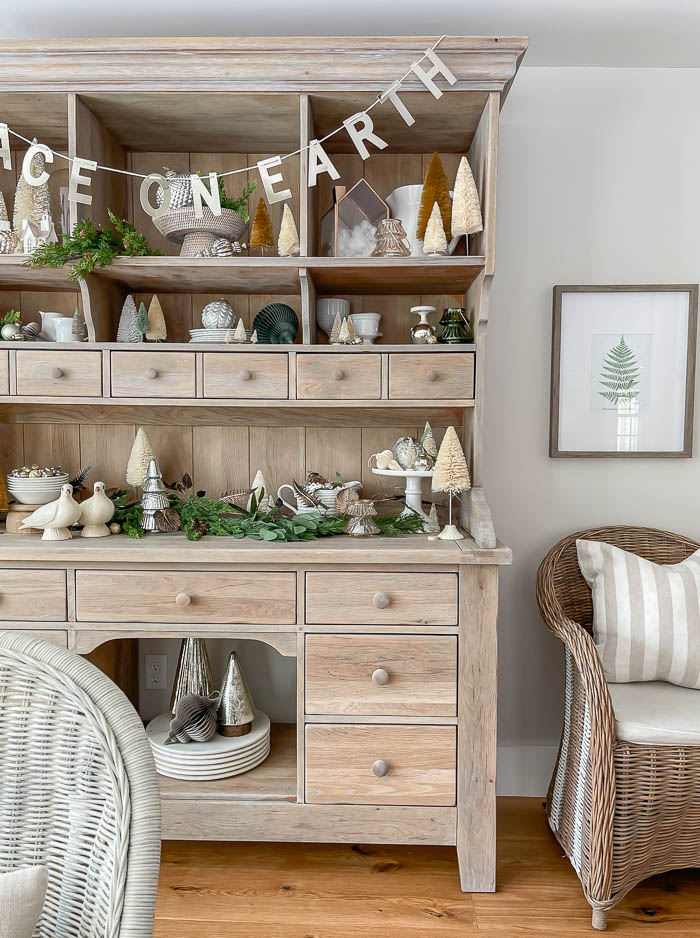
You might not have Christmas decor that is all the same color, or varies in height to use in styling a space in your dining room or kitchen. But one go-to trick of mine when it comes to styling for Christmas is sticking with a certain collection. Whether it’s bottle brush trees, tiny houses, santa mugs, or simply filling bowls with shiny ornaments. It takes the guess work out of what to use, and gives your overall styling a more cohesive feel 🙂 Plus it’s something fun you can add to each year.
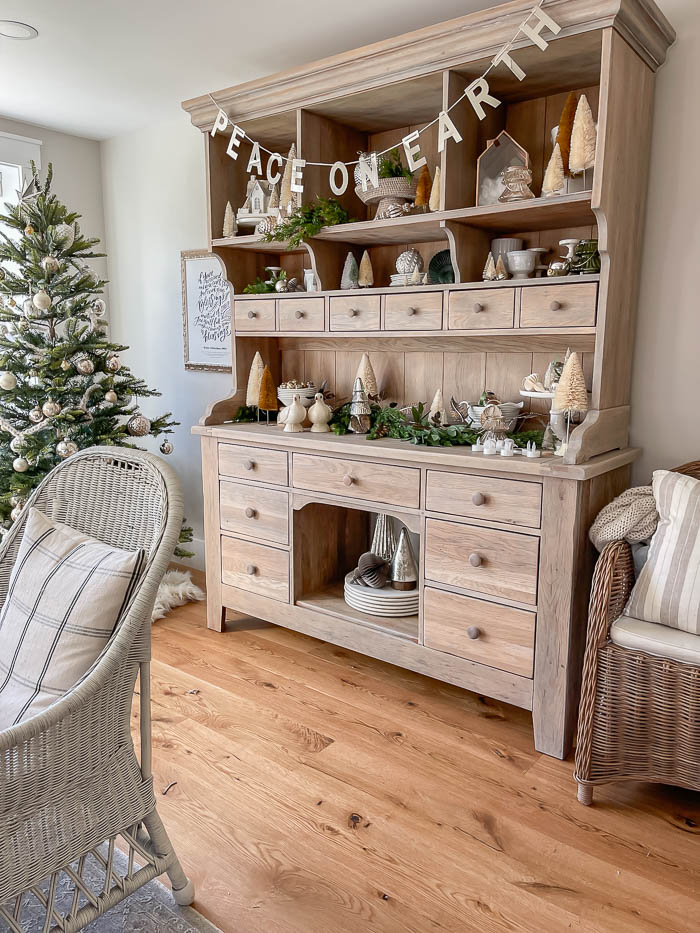
I hope you found this post helpful when it comes to styling an area in your home for Christmas this year, and in the years to come!
