Hi Friends!!
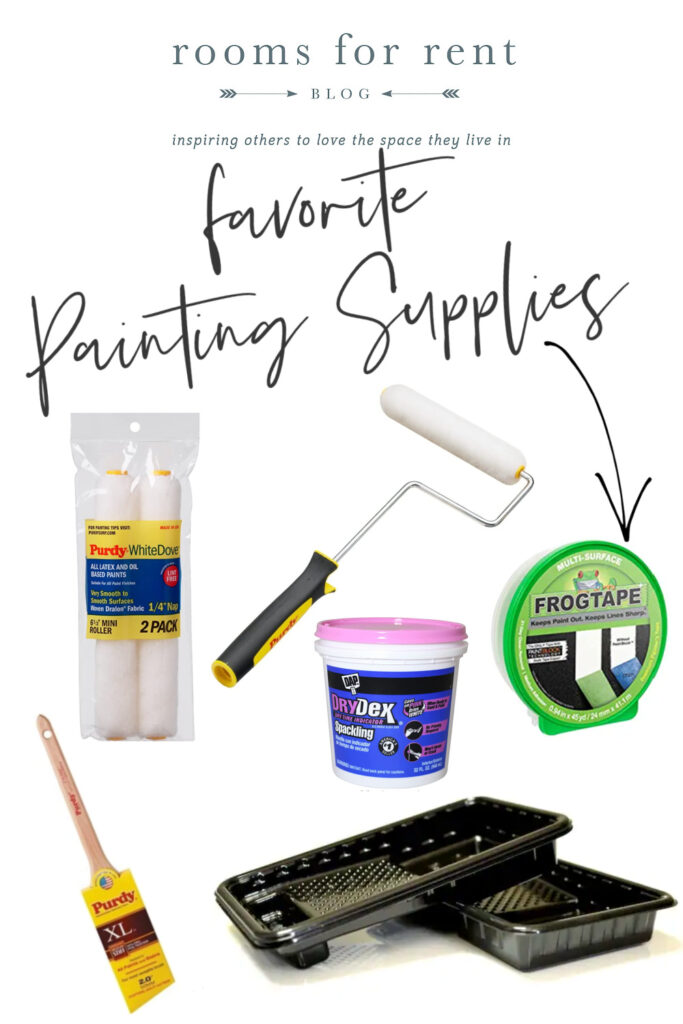
I don’t think it’s much of a surprise around here for you to know how much I love to paint. Not only is it my favorite most inexpensive way to transform a room, I also thoroughly enjoy it. Like really enjoy painting, lol. For me it’s therapeutic. I love to grab my paint brush, put on a good audio book or podcast, and getting lost with my thoughts. However, I know painting isn’t for everyone, but I also know that having the right kind of tools can help make the job go a whole lot smoother. So today I’m sharing with you my go-to painting tools. These are my tried and true first picks. The tools I reach for every time I go to paint, and I’ve rounded them all up in todays post.
Come and see ~
*This post contains affiliate links for your convenience, which means I make a tiny portion of the sale with no additional cost to you whatsoever.*
Favorite Paint Rollers
My friend Anne introduced me to these mini rollers years ago. Back in the day when my husband and I were living in our old victorian apartment, pre-kids. Yes, I even loved painting back then, just as much as I do today. My friend and I share this common love, so when she came over to help me paint our apartment one day, shortly after we moved in, she brought with her some new rollers. I will be honest at first I was completely skeptical. How could this tiny roller cover the same amount of wall space as their larger predecessors? Sure enough they did! And because they were much lighter to hold, I could paint longer without having my arm or shoulder get sore. I’ve been buying mini rollers ever since. Every once in awhile when I’m helping someone else paint, I have to use one of the larger size rollers, and I’m reminded all over again when I love these mini rollers. If you haven’t tried them yet, they are a game changer when it comes to painting. For painting smooth walls and/or ceilings a 3/8″ nap or 1/4″ nap works best.
Favorite Paint Rollers for Cabinets + Doors
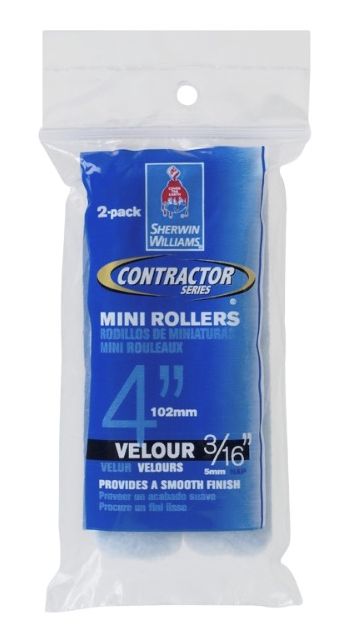
For painting cabinets and doors, my go-to choice for a paint roller is the 4″ Velour 3/16″ nap rollers from Sherwin Williams. If you are painting cabinets or doors with a roller than you want one made out of velour, for the smoothest finish you can get without spraying them. You might have read that when it comes to painting cabinets or doors that spraying them is the best way to go. And while you get a nice smooth finish with a paint sprayer, depending on the room you are working in using a sprayer might not be an option. Availability might also be a factor. Not everybody owns a paint sprayer, and renting them isn’t typically an option either. These velour rollers will give you an ultra smooth finish that looks as though you used a paint sprayer.
Favorite Painters Tape
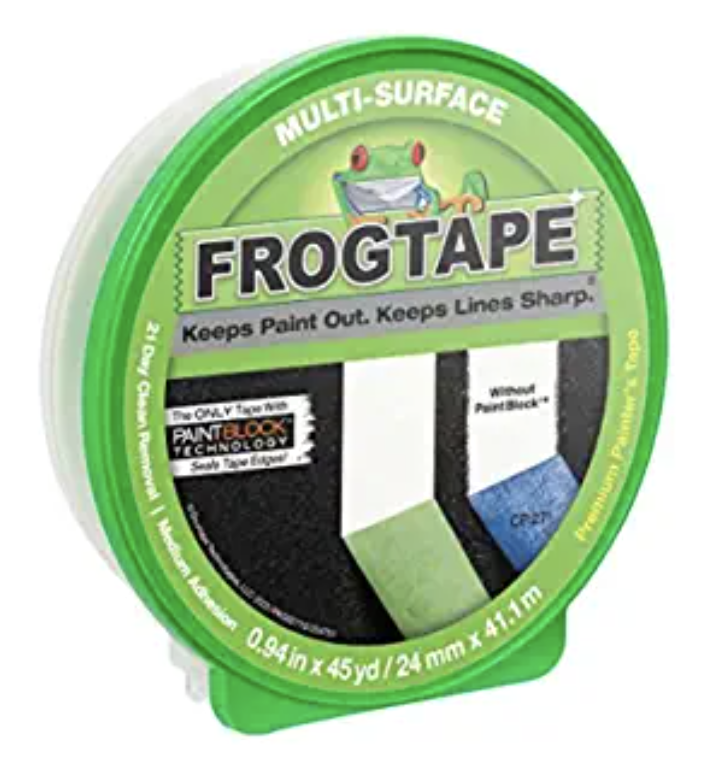
One would think that all painters tape would be equal. Trust me when I tell you this – they are NOT! While I don’t typically use painters tape when I paint, there are some scenarios that call for it. And this is not one of those areas you want to fail on you. You are taping off for a reason, and there is nothing I hate more than when paint bleeds through the tape. I have tried multiple different options, and hands down every time without fail the painters tape that proves to be the best is frog tape. Yes it’s a little bit more, but I promise this is not an area you can skimp on. While I use it most if I have a tricky corner to paint, or mostly when I’m painting the trim on stairs. I’ve also used is for special paint projects like painting stripes (more than once!) and it keeps a nice crisp line every time. Other painters tape have failed in this area, but every time I use frog tape it steps up to the challenge.
Favorite Paint Brushes for Cutting
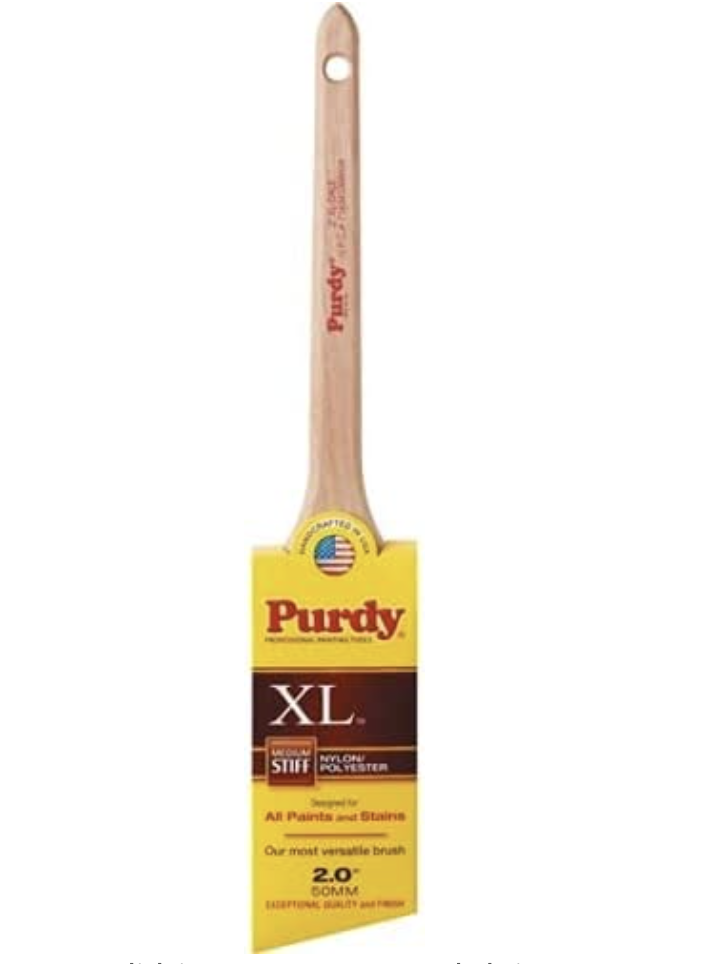
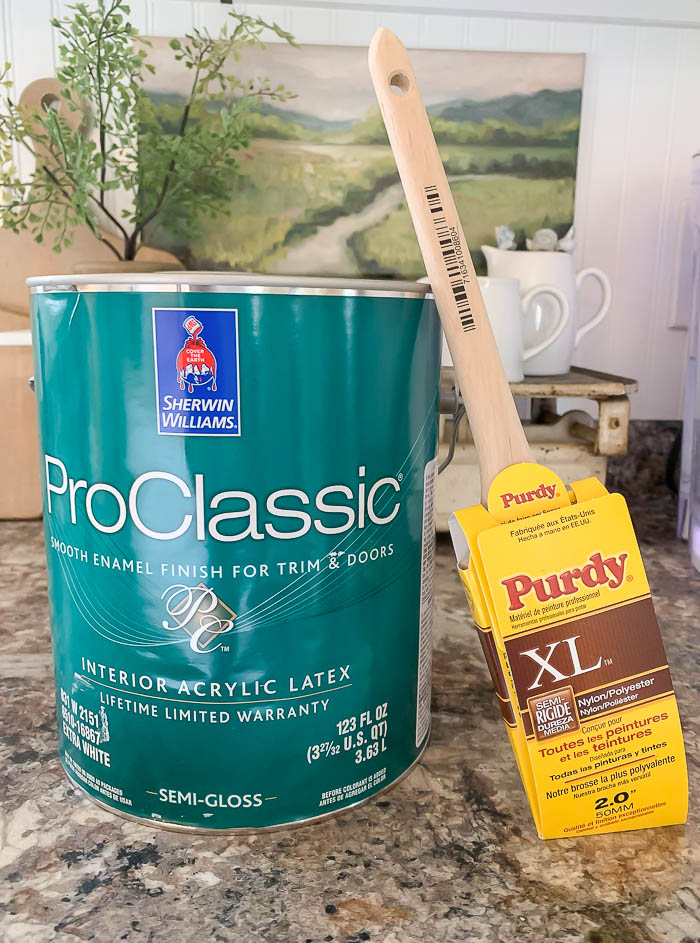
My favorite is the Purdy 2″ angular brush. Especially with it comes to cutting in.
Hands down my favorite paint brushes to use are Purdy. I’ve tried quite a few out there, and there is a reason these brushes have a reputation in the paint industry. I mentioned above that I hardly ever use tape, and that is because of this paint brush. My favorite size Purdy paint brushes are the 1.5″, 2″, and 2.5″. You can paint just about any area in those sizes, and always make sure you are using an angled brush with you are cutting in paint. It really helps you control not only the amount of paint, but where it goes on the wall as well.
Favorite Tool to Patch a Hole
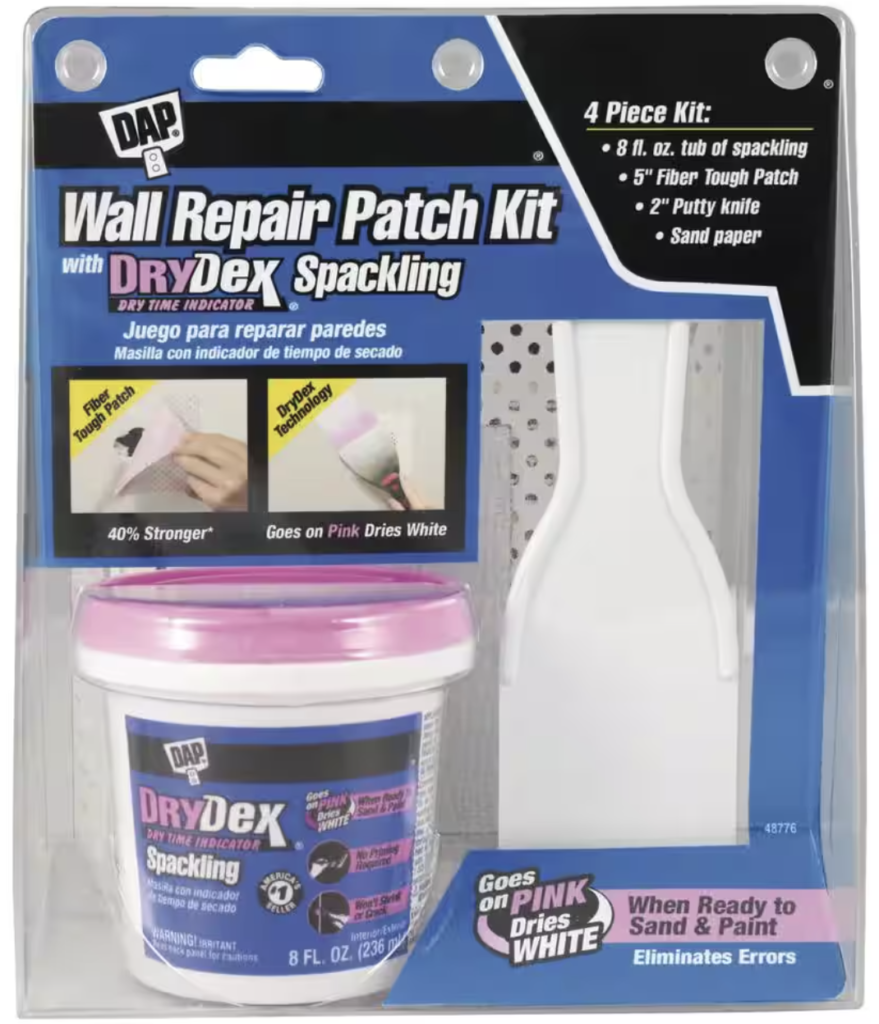
In my early days, I had been known for skipping this step. I used to just fill the hole in with paint, and think you would barely notice it. Wrong! You might be able to get away with that for one tiny hole in the wall, but trust me when you have more than one hole in the wall from nails or screws, or maybe even bigger from trying to rip out said nail or screws (yep – I’ve done that too!) then you need to take a minute and properly fill those holes in, so that your newly painted walls will look their best. I love this stuff because not only does it change color to let you know it’s dry (goes on pink, dries white!). It also dries fast. Now here my when I say this – this lesson took me a while to learn much to my husbands dismay. Sometimes, patching holes or scratches in a wall requires more than one coat. Which means you need to sand your first application, using a 220 grit sandpaper, before applying another one. The finished product should always leave your walls feeling smooth without any bumps or divots when you run your hand over it. I am totally guilty of being impatient when it comes to painting and not taking a minute to prep my walls first. But trust me – it’s that step that is the difference from your walls looking like they were painted by a professional or an amatuer. Learn from my mistakes. Do the prep work. Your spouse will be most appreciative 🙂
Be sure to also check out my blog post all about my favorite Trim Paint. I use this paint on all the trim and interior doors throughout our home. – Click HERE
Thank you!! Love this!