Hi Friend!!
It finally feels like spring is on it’s way here in New England, and I couldn’t be more excited! While we are still waiting to see spring bulbs pop up from the ground, our grocery stores have been filled with a variety potted spring bulbs. I think it’s no secret around here that I love setting a beautiful table, so with all the spring inspiration around me, I wanted to share 3 different spring centerpiece ideas with you to celebrate the arrival of Spring. Each centerpiece is completely different, but I think you will find all 3 ideas have one thing in common – spring bulbs! I’d love to know which one is your favorite? So come and table a look, and be sure to let me know in the comments at the end of the post.
Welcome Spring ~
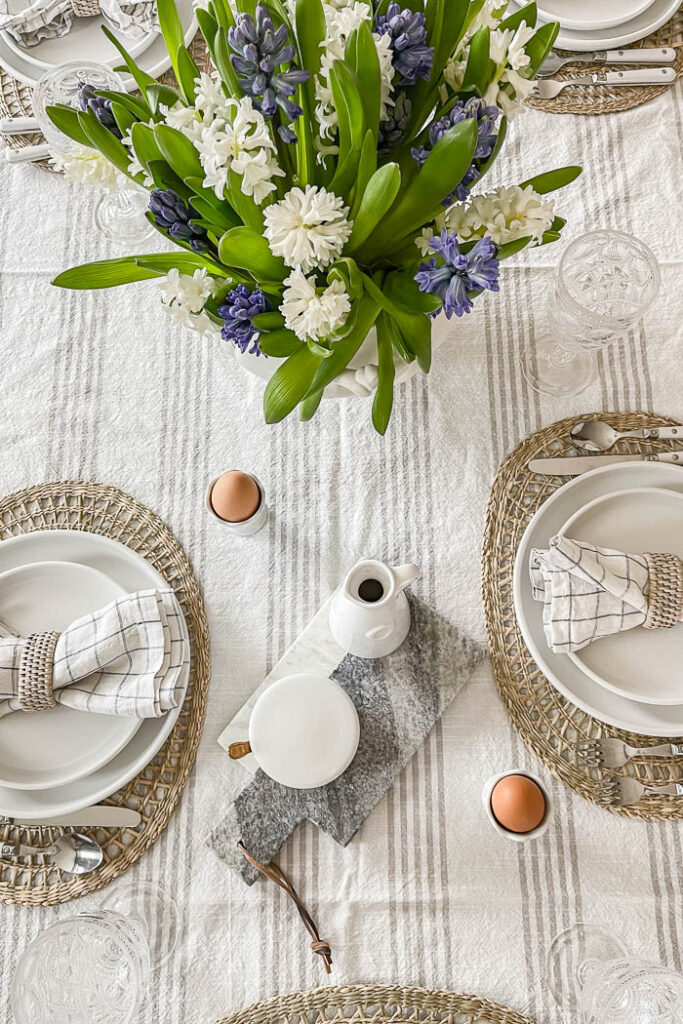

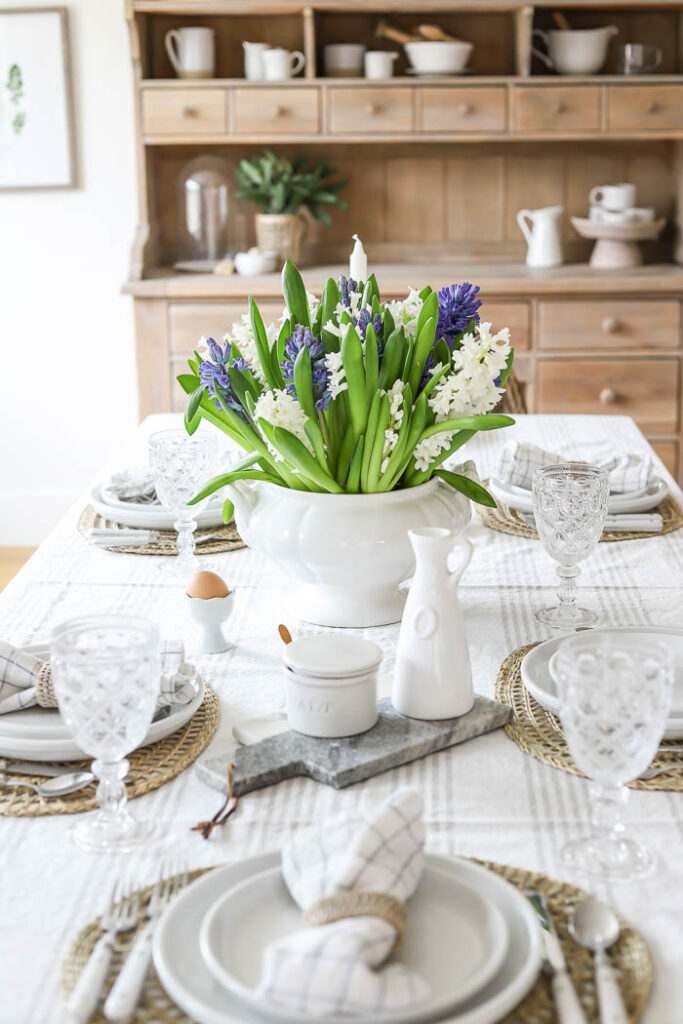
Here’s what I used :
- 3 bunches of white hyacinth
- 2 bunches of blue hyacinth
- 1 urn / vessel of your choice
- chicken wire
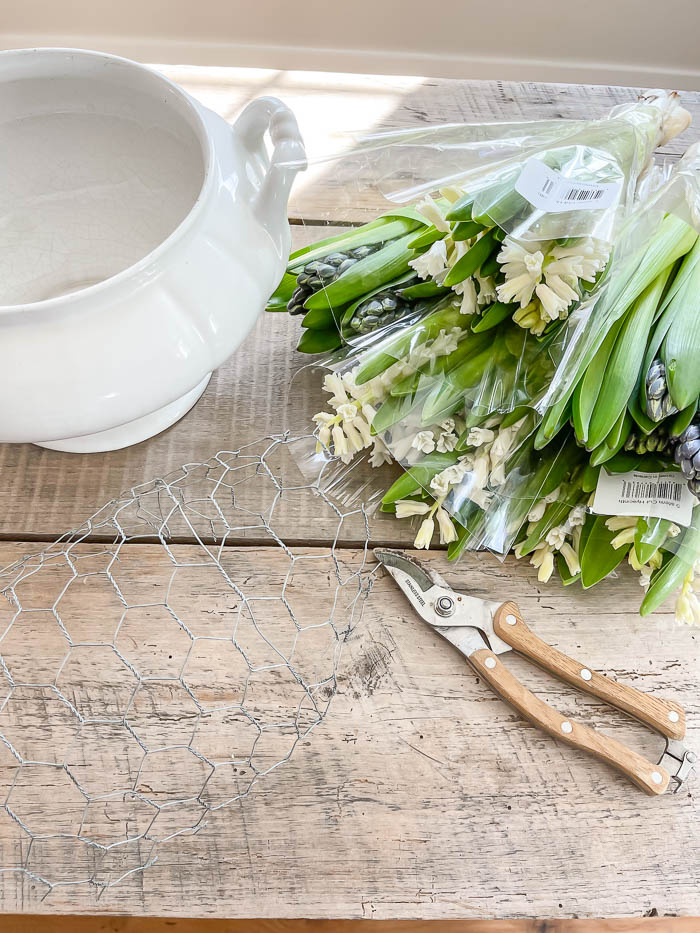
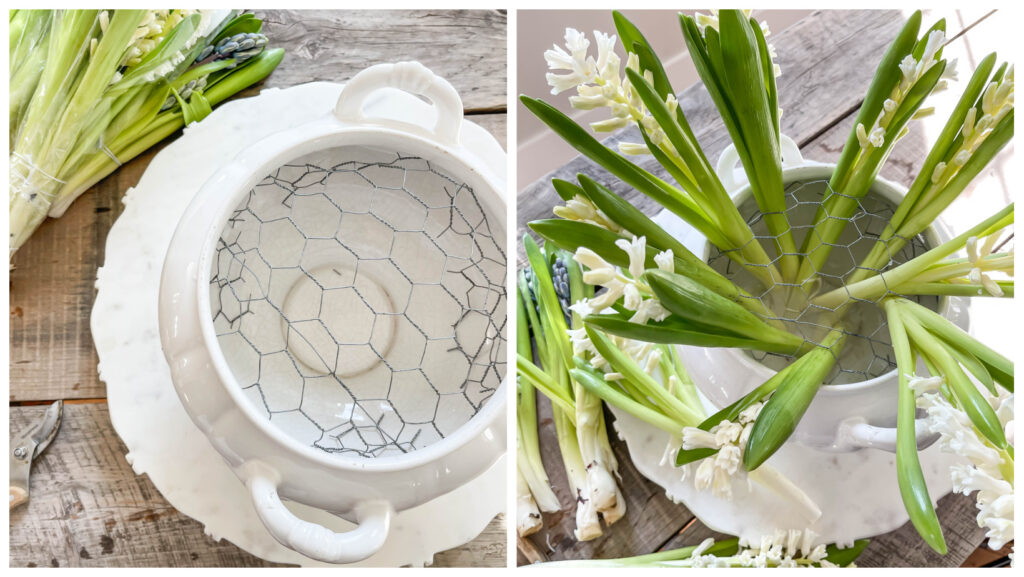
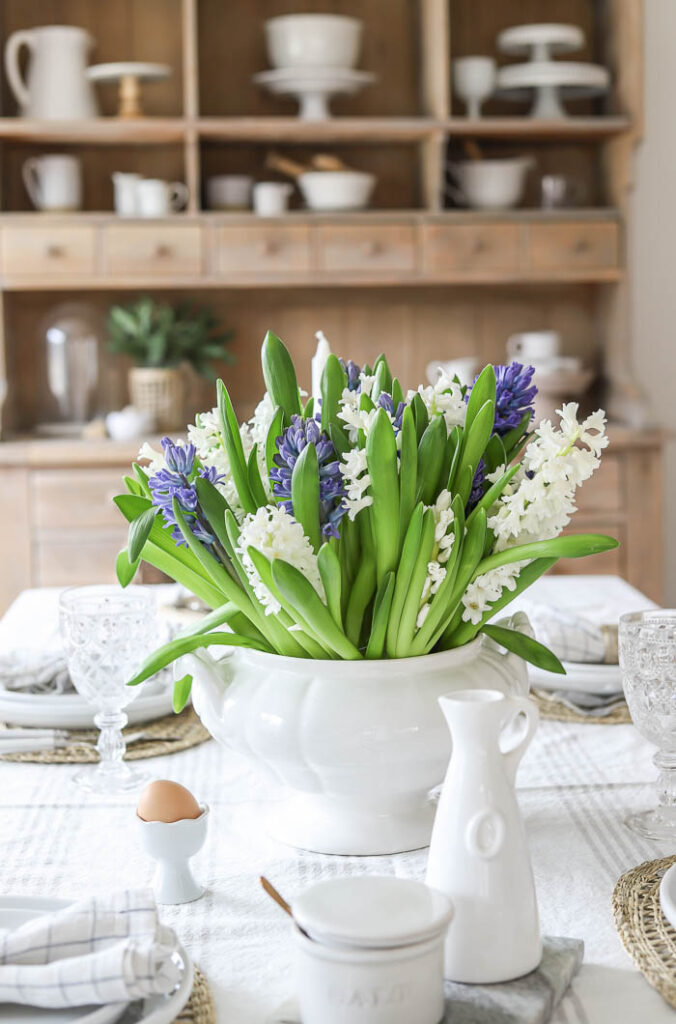
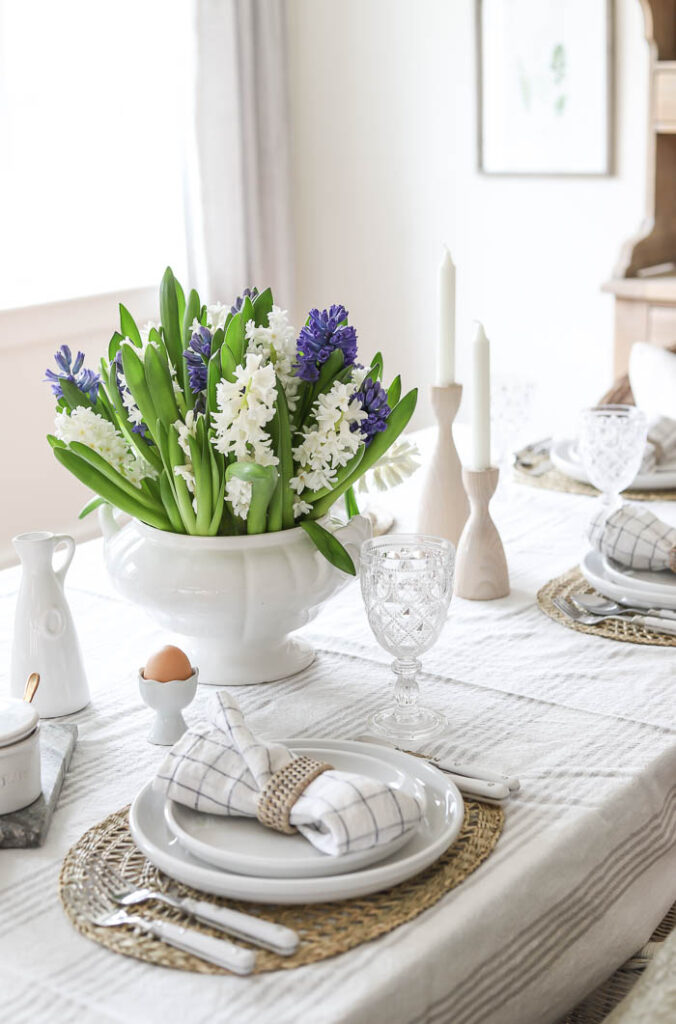
First I started by placing the chicken wire in my urn. I used wire cutters to cut out a piece of chicken wire that I could securely place in the opening of my urn. Next, I began by placing the white hyacinth in a circle around the outer opening of my urn.
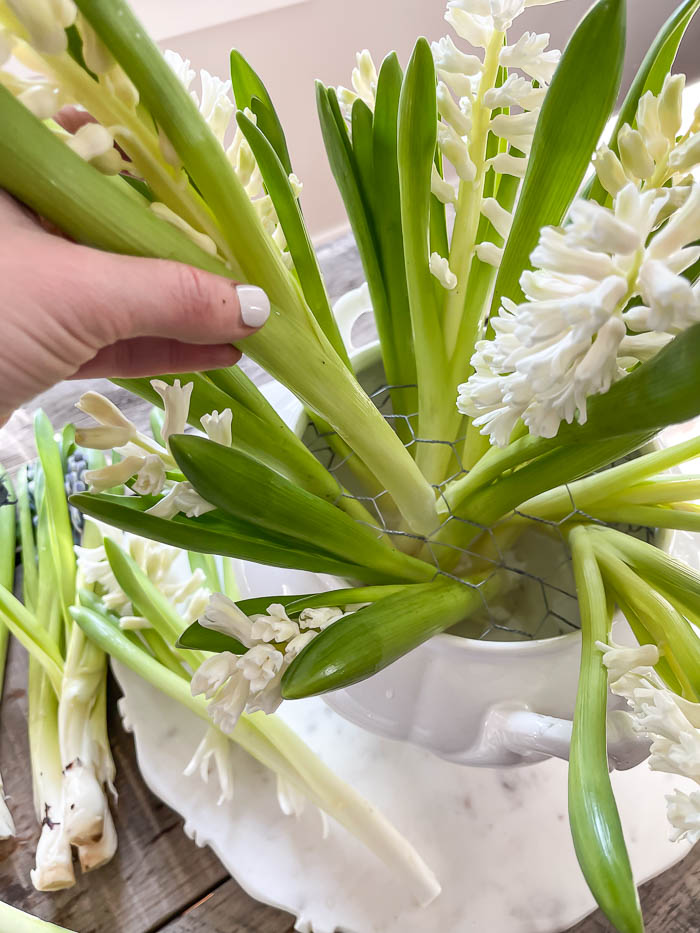
I chose to use chicken wire for this arrangement instead of wet floral foam for two reasons. I know the hyacinth stems were quite larger than other flower stems and not as sturdy as say hydrangea or roses. Therefore they wouldn’t easily stick into the wet floral foam. I also knew that these stems were a bit heavier, and would need support to stand more upright. Using chicken wire also meant I could place the stems exactly where I wanted them to be in my arrangement without fear of them falling over. I have a spool of chicken wire I keep with my gardening tools, that way I have it on hand when I need it for certain arrangements like this one.
Since I had more bunches of the white hyacinth, I decided to put those in place first. That way I could fill in the empty spaces I had left with the blue hyacinth stems.

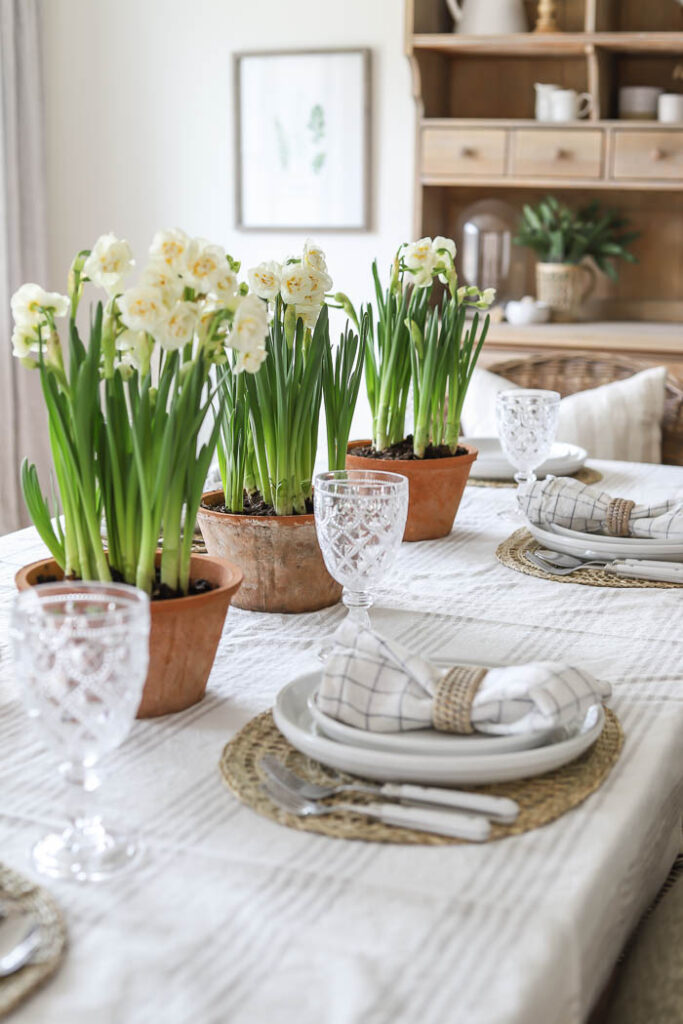
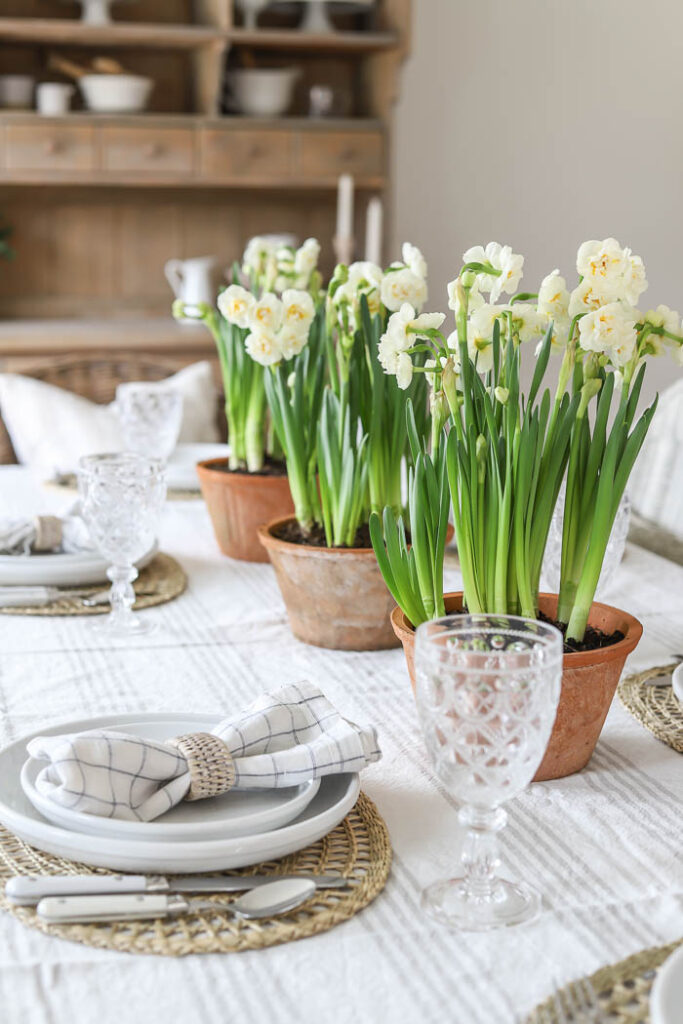
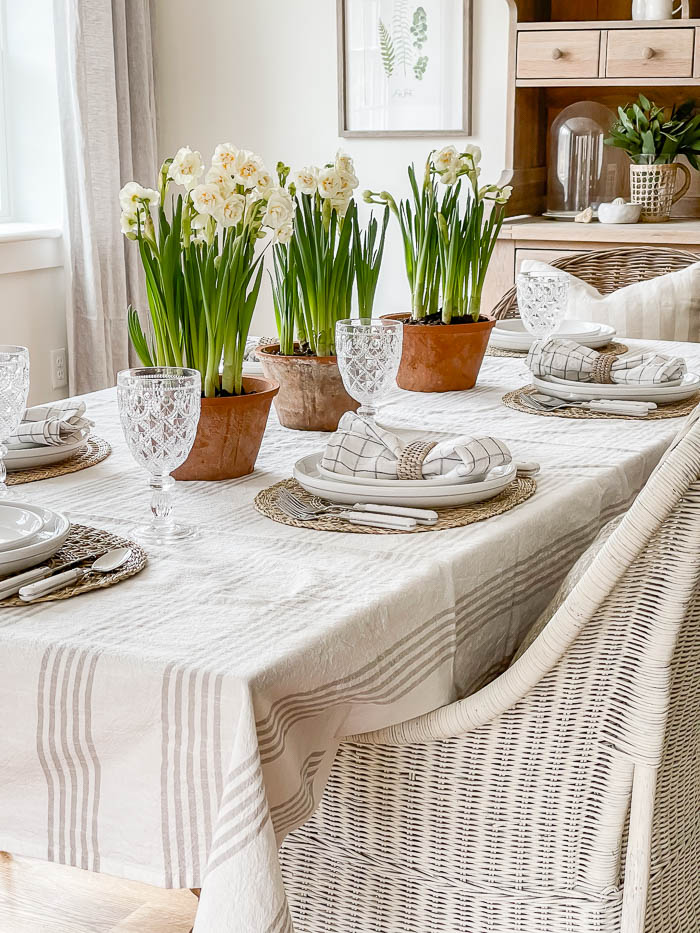
This is my favorite centerpiece idea when you need something in a hurry, or aren’t feeling confident in your flower arranging skills. Sometimes with all the planning around the meal, the grocery shopping, the prep work, the cooking, it’s nice to have a quick and easy centerpiece idea that still adds a lot of beauty to your table.
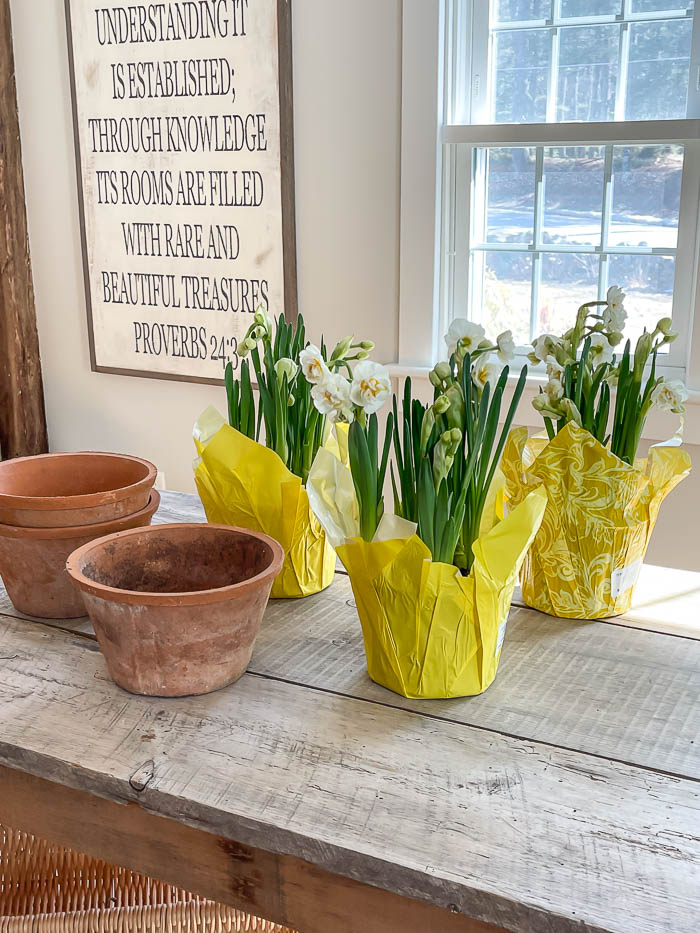
Here’s what I used :
- 3 potted spring bulbs. This could be anything from tulips, to daffodils, to hydrangeas, to hyacinth, or even plants like ferns. Use what your grocery store or local nursery has in stock.
- 3 pots.
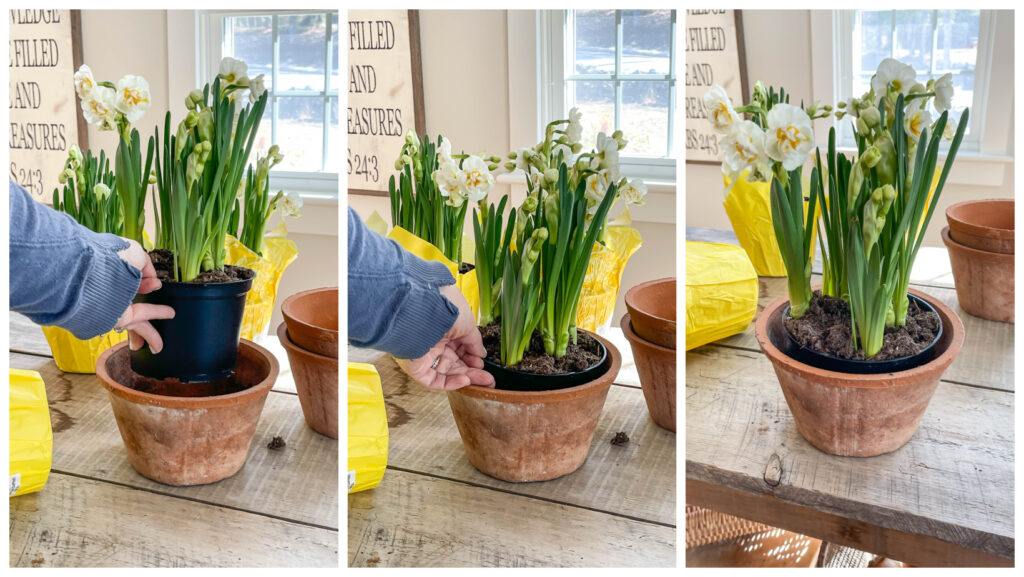
Simply remove the colorful plastic sleeve, and place each potted plant into a planter pot or galvanized bucket. If you have the time to remove the potted plant from the black plastic pot, transfer bulbs or plant directly into your vessel.
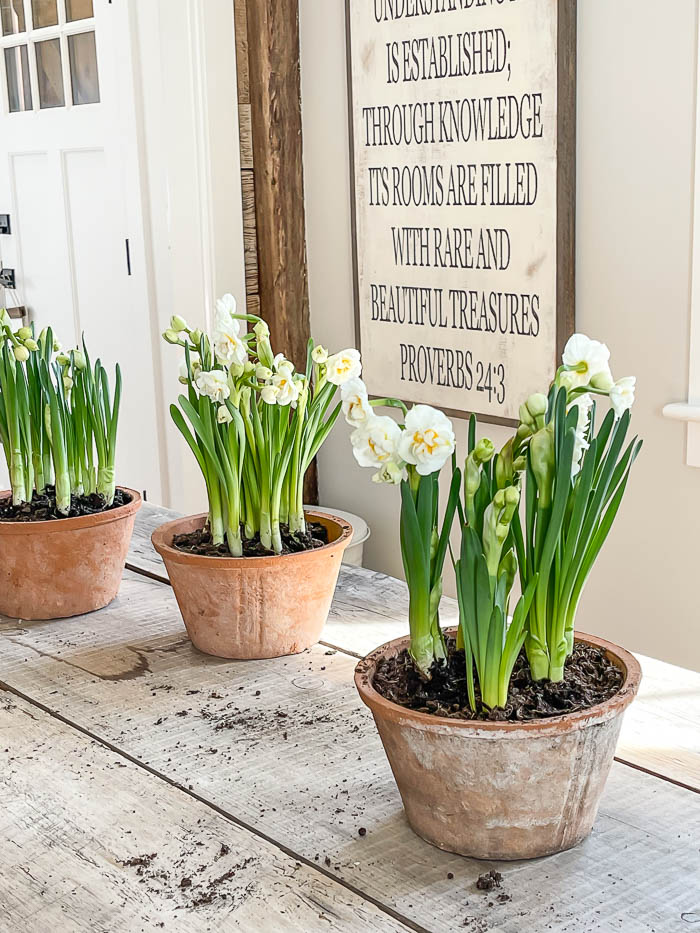
*TIP* – If you are short on time, then simply place the plastic pot into your vessel. You can hide the plastic pot by placing reindeer moss, or spanish moss around the top of the planter. If you don’t have pots that fit, remove the colorful sleeve and wrap the black plastic pot with a cloth napkin, or wrapping paper, and secure with bakers twine or ribbon.

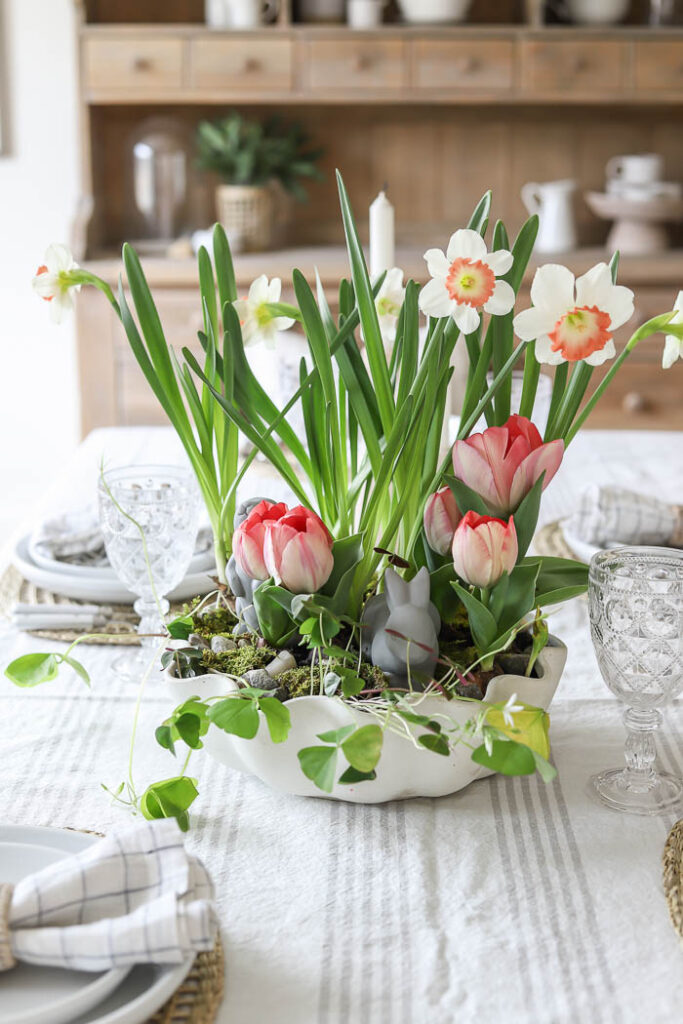
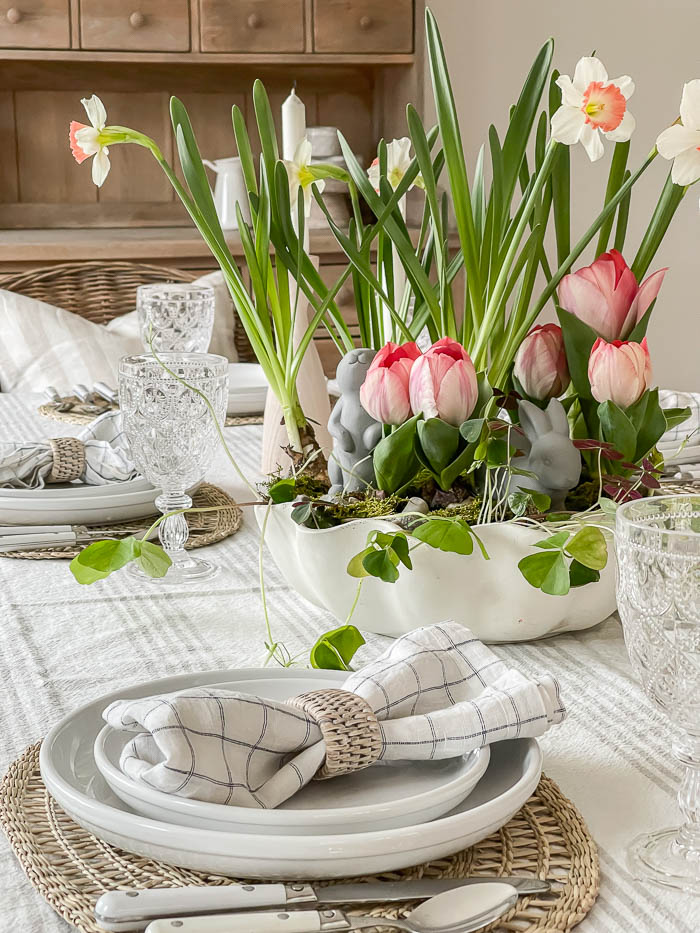
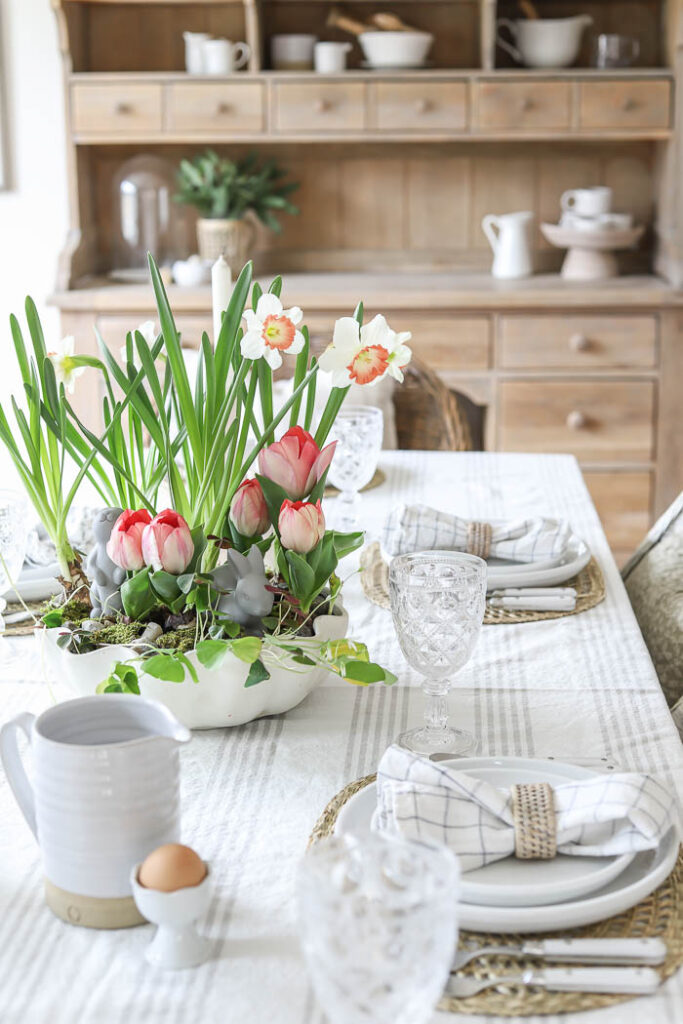
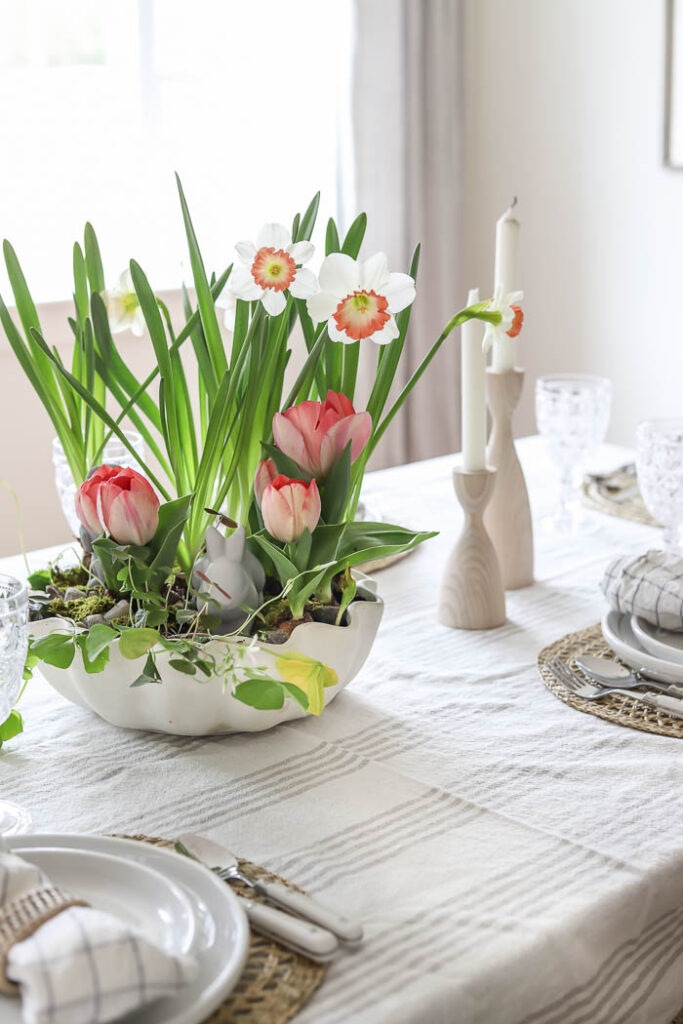
This final spring centerpiece idea came when I stumbled across these pink and white daffodils. It was the only pot left at the grocery store, but I was so taken by it, I just knew I had to create something with it. With the pink and white daffodils in my cart, I then grabbed two small potted pink tulips, and a small pot of shamrock for filler. I’m pretty sure the shamrock was left over from St. Patricks day, but I loved the whimsical structure of it compared to the straight upright structure of the tulips and daffodils.
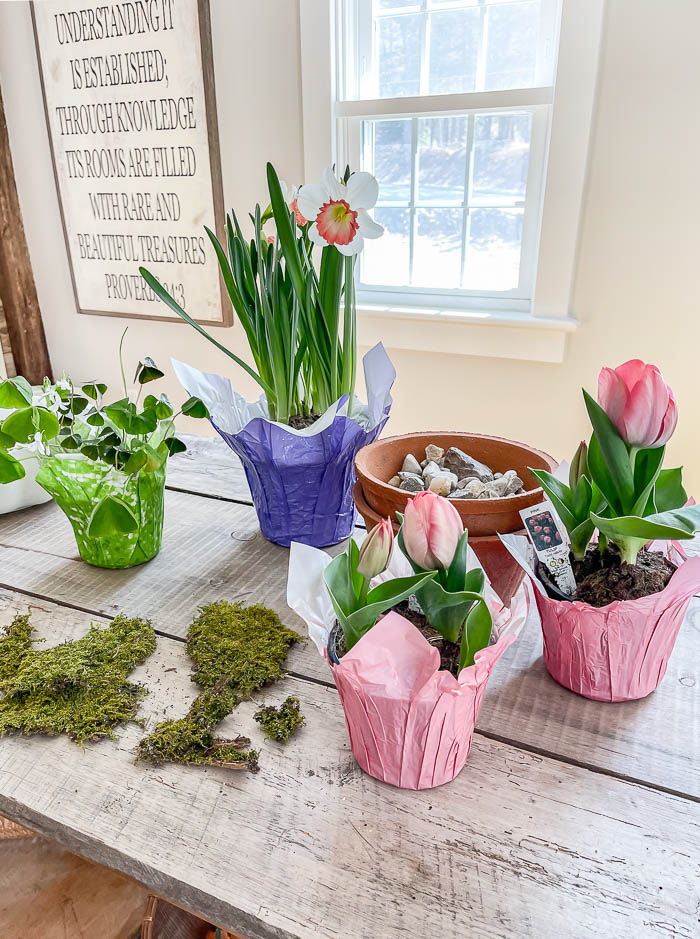
Here’s what I used :
- Pink & White Daffodils (5 stems total)
- Pink Tulips (4 stems)
- 1 cluster of Shamrock
- Reindeer moss & small rocks for filler
- 1 large bowl / dish
- 2 bunnies
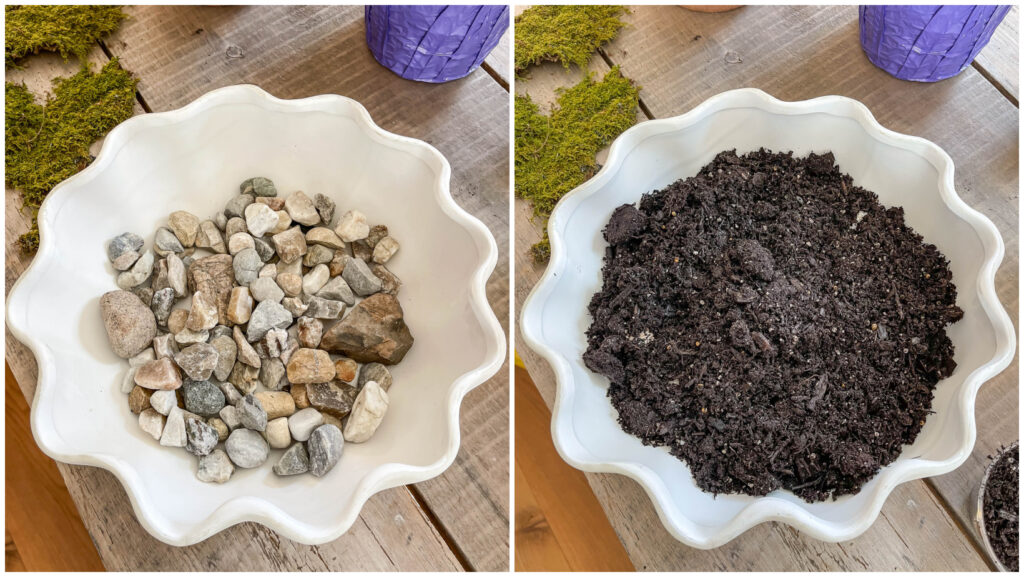
First, I began by putting a layer of small rocks at the base, to help the water drain. Next I put a few scoops of potting soil. I started by placing the daffodils first since they were the tallest, keeping them to one half of the bowl. I carefully removed them from the plastic pots they were in, so I could remove any access dirt since the bowl I was using was shallow.
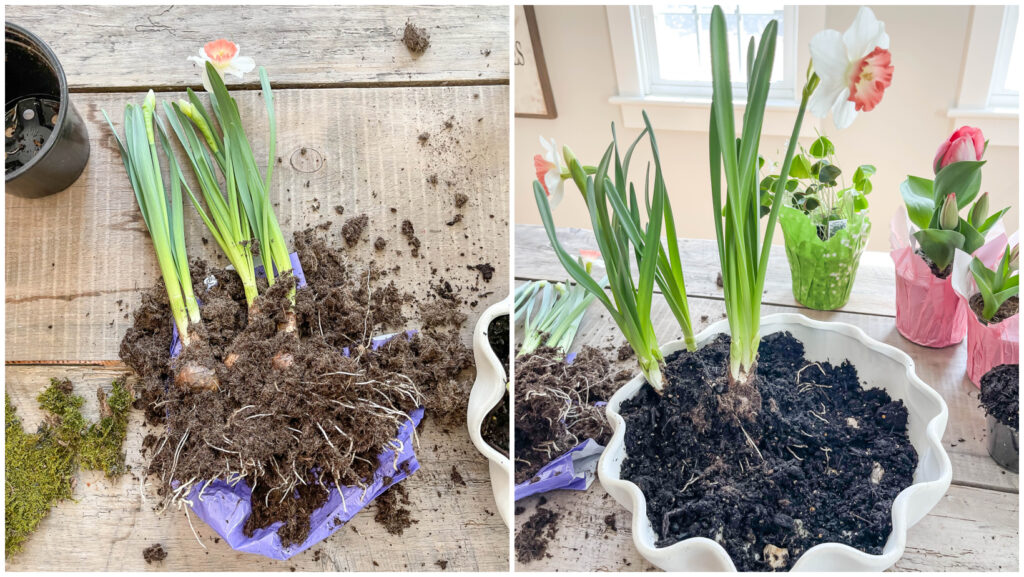
Once my daffodils were in place, I placed the tulips in the bowl in front of the daffodils, using the same process to remove any access dirt. I filled in around each bulb with a little more potting soil to keep them securely in place.
With all my flowering bulbs in place, I removed the shamrock from the plastic pot, and used it to fill in the rest of the bare spots in the front of the bowl.
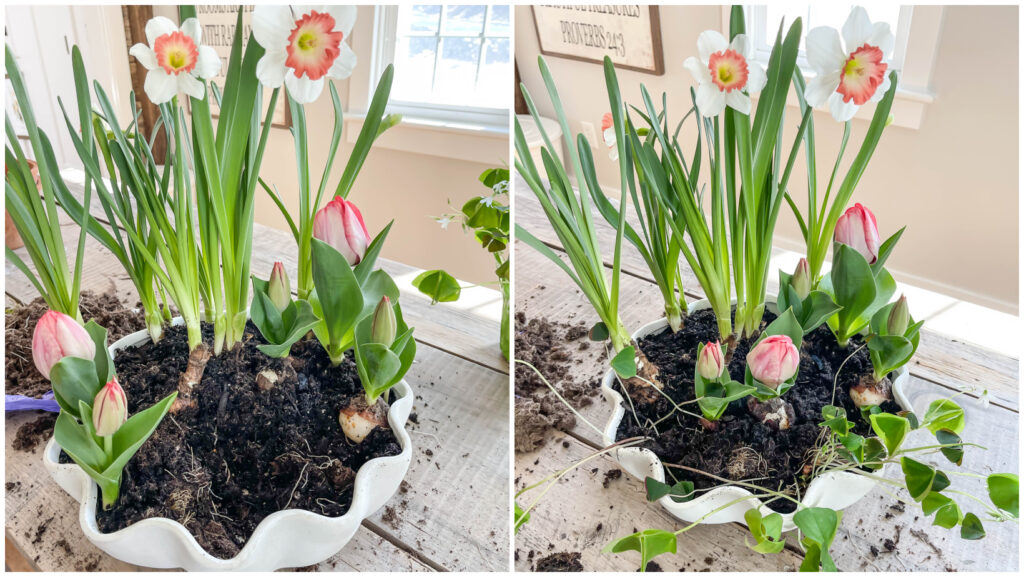
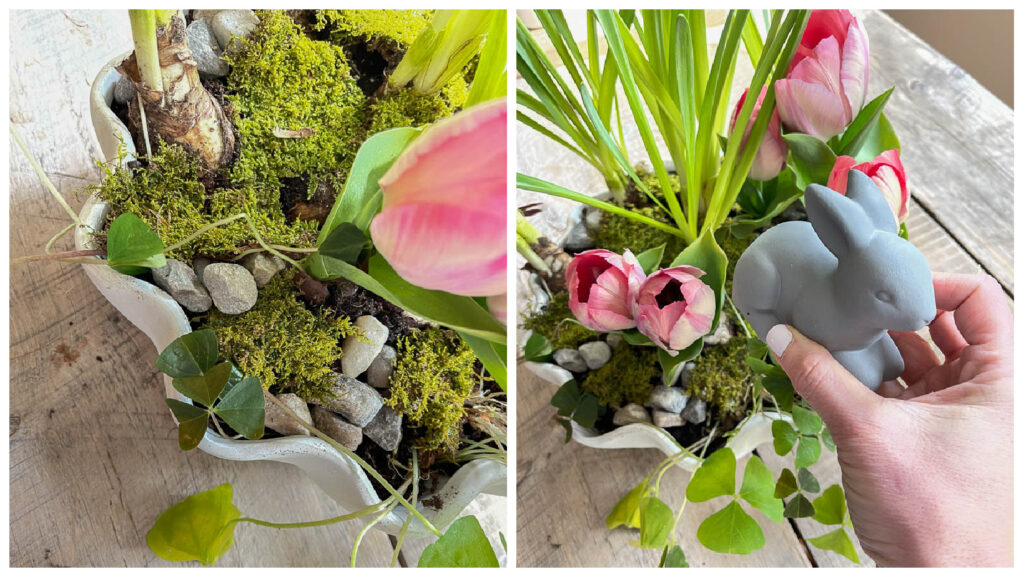
Once all my plants were in place, I covered up the dirt and filled in any bare spots with a few small rocks and some reindeer moss. I could have stopped there, but then remembered I had picked up 2 small bunnies from the Target dollar spot a few weeks back, and to my surprise they fit perfectly nestled in my arrangement.
Do you have a favorite?


Be sure to let me know which one is your favorite? And I’d love to know if you give one a try 🙂
Also, check out my Easter hosting tips below ~

Love these ideas! Obsessed with those terracotta pots! Will you share where you purchased them? I’d love to recreate the look. Thank you!
Hi Janeen!! That you so much!! I got the pots from Michaels a few years ago, and sadly I haven’t seen them since. I know Terrain has some similar aged terra cotta pots, and I also found these on Amazon – https://amzn.to/41vhZBC . Hope that helps 🙂
It just wouldn’t be Easter without you sharing you centerpieces. Have a blessed time with your family.