Hello Friend!
Yesterday I shared the beginning phase of our fireplace demo! And oh my word was that a messy process. Tearing out brick and mortar is no easy task, and involved all hands on deck. We hung plastic up to try and contain the dust. Put drop cloths down to protect the floors, but nothing prepares you for removing brick piece by piece. It was a messy job, but a necessary one if we were going to be able to give our fireplace the makeover we were longing too! Today we are picking up where I left off – the fun part! Or as I like to refer to it as the “pretty” part, where we begin to rebuild the front of the fireplace into the look we are wanting.
Come and see ~
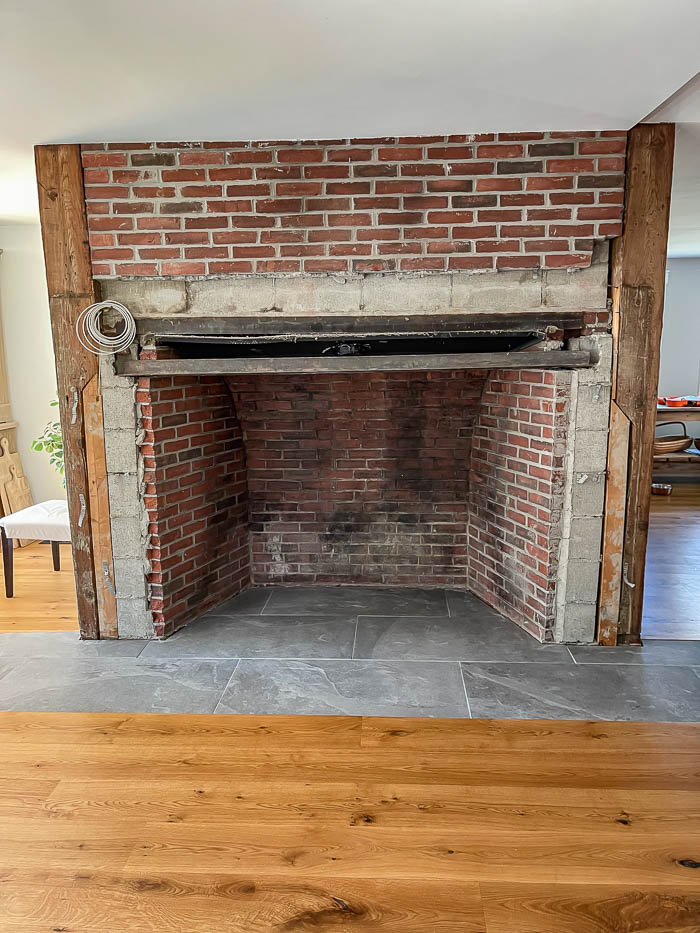
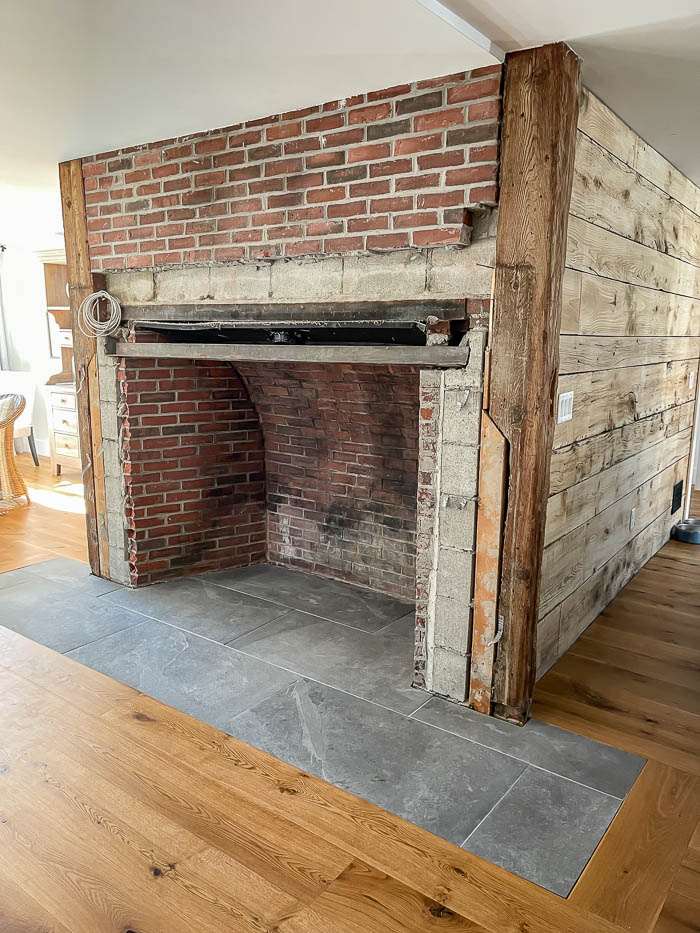
Where I left you off yesterday was we had demoed the front part of the fireplace, lowered the mantle support beam, and had just installed the new hearth for the fireplace floor. This was a tricky part of the makeover, because we had to pick something that would be heat compliance for a wood stove, but also remain flush with our hardwood floors. Because of wide the hearth is, and how far past it extends on both sides from the fireplace opening itself, we didn’t want to install anything that would stick up and be a potential tripping hazard.
You can read all about the tile we chose to go with in my previous post – HERE. My husband also ran the electrical wire (coiled up on the left), knowing that we planned to put in two sconces above the fireplace.
Then we cut a new fireplace mantle, using a wood beam we found in our barn, to the entire width of the fireplace. This would give us a clear stopping point for the stone we were refacing the bottom half of the fireplace with. Then it was time to build the board and batten piece we wanted for the top.
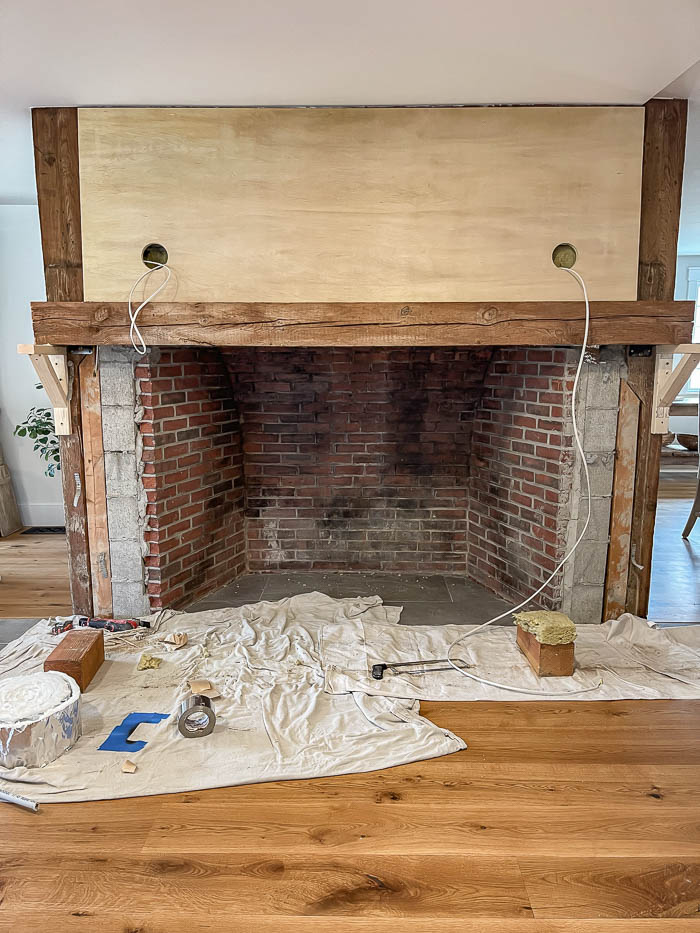
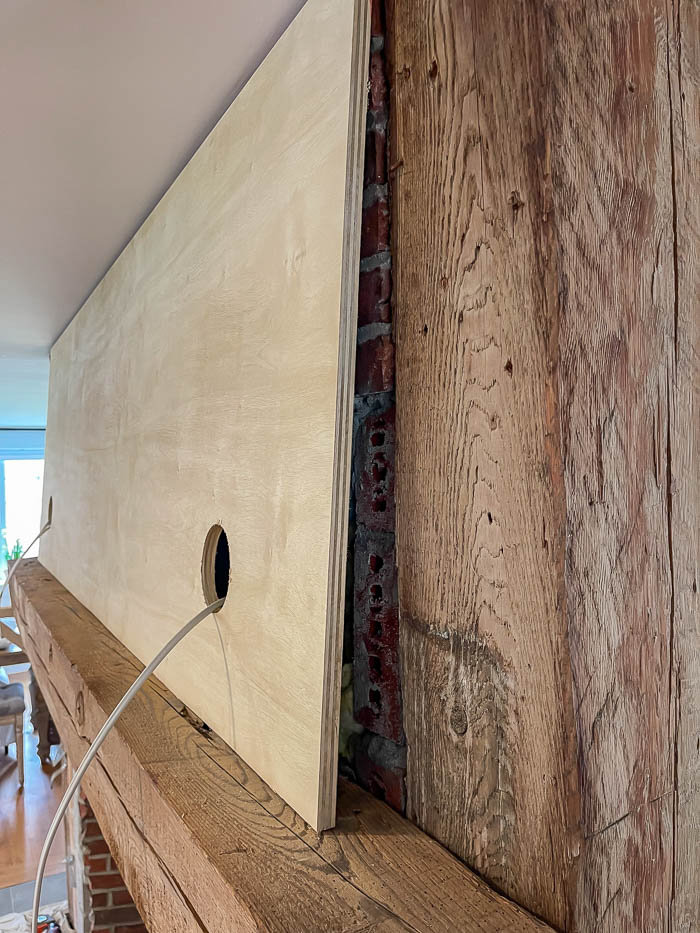
We used 3/4″ plywood, and ripped it down to size so it would fit above the fireplace mantle. Once it was in place, my husband then cut out two holes for the sconces.
We used 1×3 pine boards to frame of the plywood, and placed two vertical pieces to create that board and batten look.
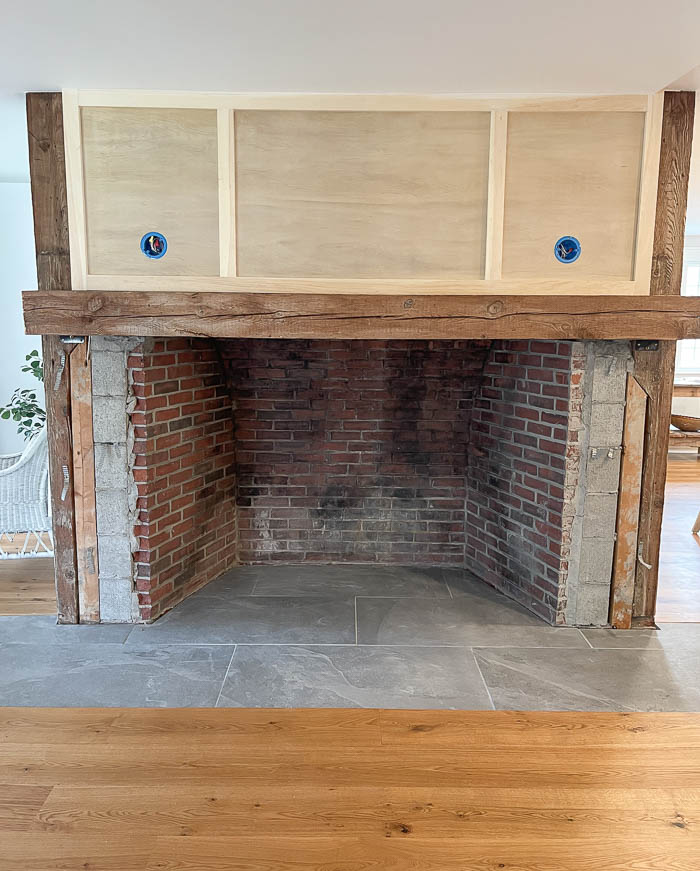
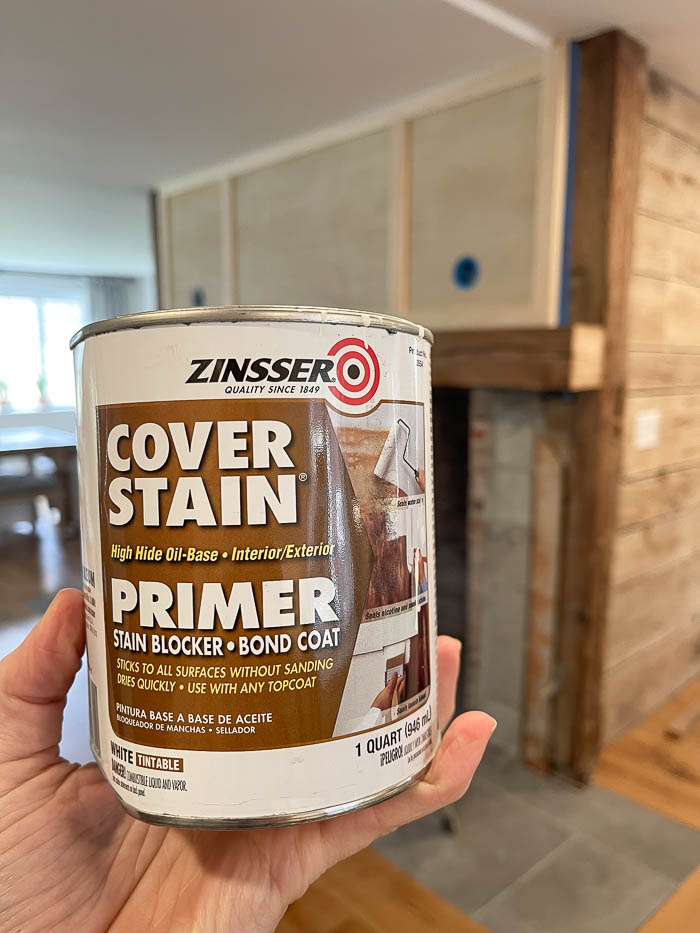
Once it was secured and in place, it was time to paint! Even though the wood we used didn’t have any knots to cover, I still primed the wood first so that it would be easier to paint. Once it was primed I applied 2 coats with my favorite white trim paint – shared HERE.
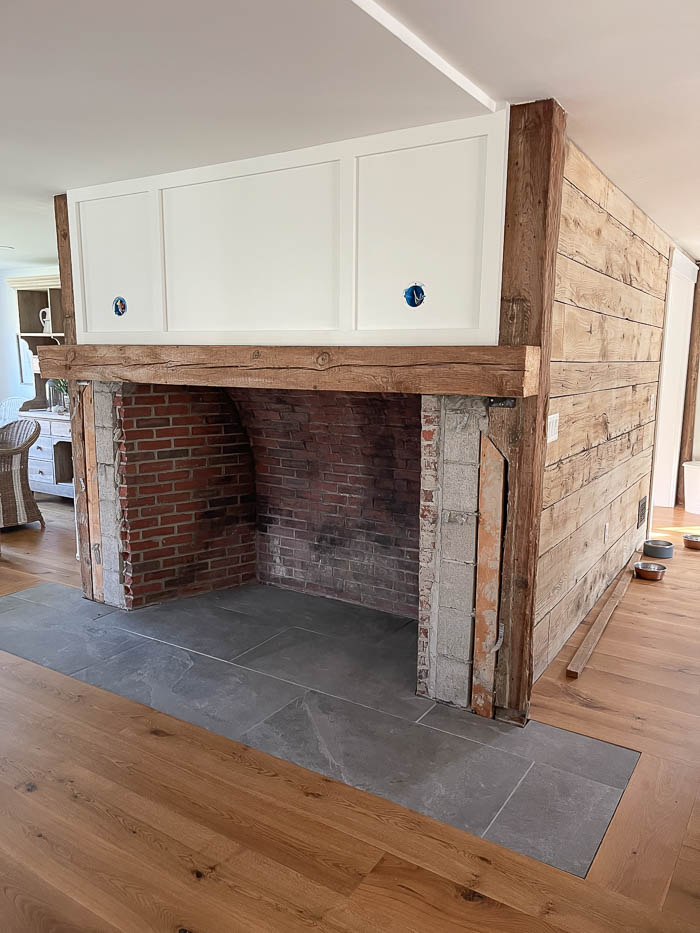
Instantly it felt so much lighter in the space! Something I had been longing for since we moved in. Once the paint was dry, it was time to install the sconces. I found these sconces on Amazon, and had them saved for a long time because I love the clean lines, paired with the linen lampshades.
Sconces found HERE.
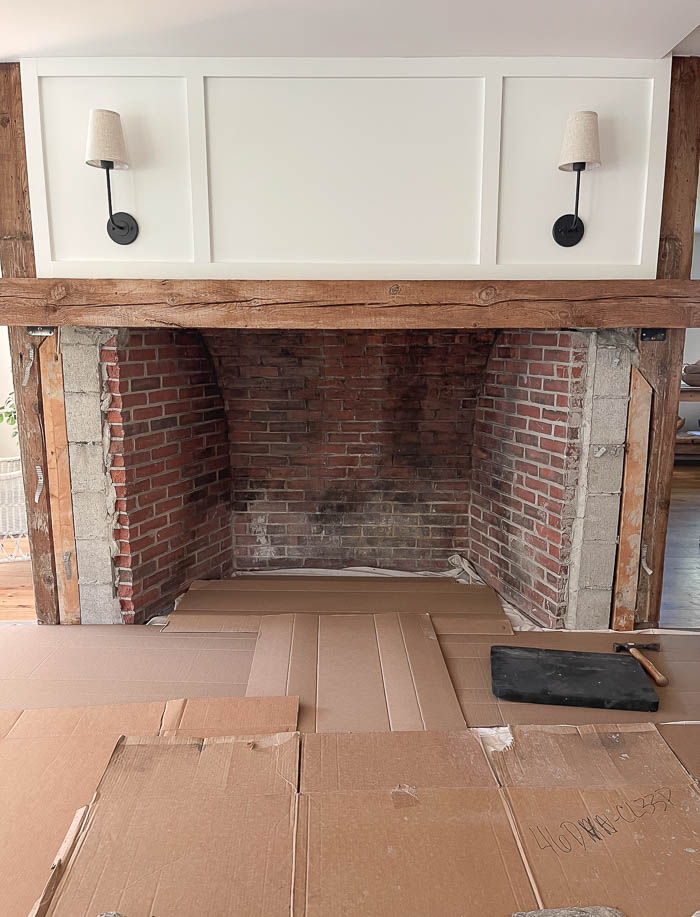
With the sconces installed, the only thing left to do was to install the new stone, and finally cover up the last of the brick.
I had waited so long for this moment, so trust me when I say this, I was completely excited and nervous at the same time. Hoping that I didn’t make a mistake. Hoping that all this hard work would pay off and that we made the right choice. I was so worried that our makeover wasn’t going to look original to the house. And while I wanted our fireplace to look refreshed, I still wanted it to feel like it belonged in our 1775 colonial.
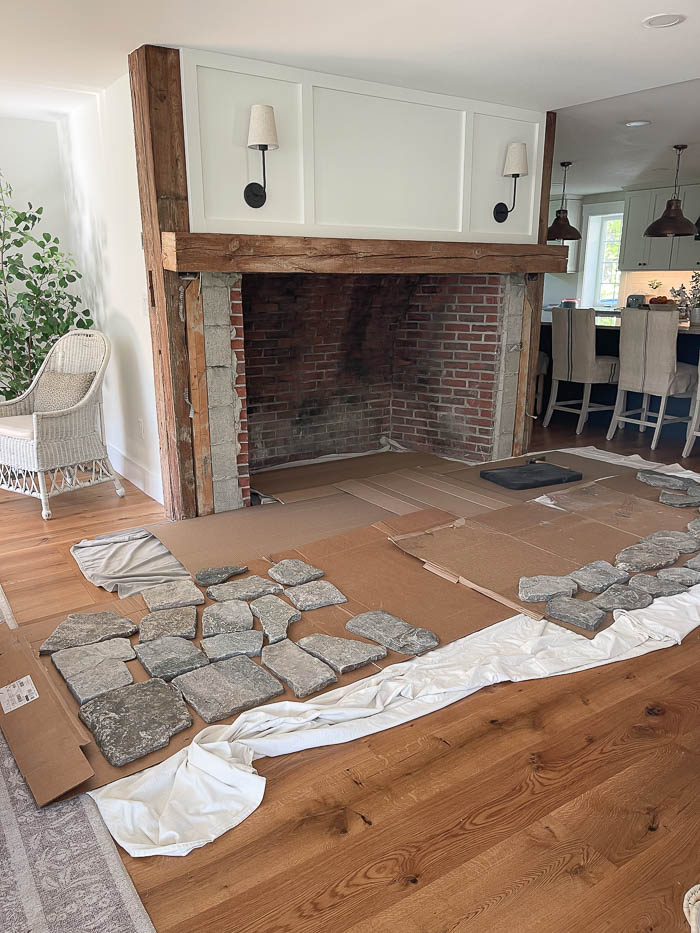
And then this happened. We started working on the front two sides first, and after the first couple of stones went up I knew I had made the right choice!
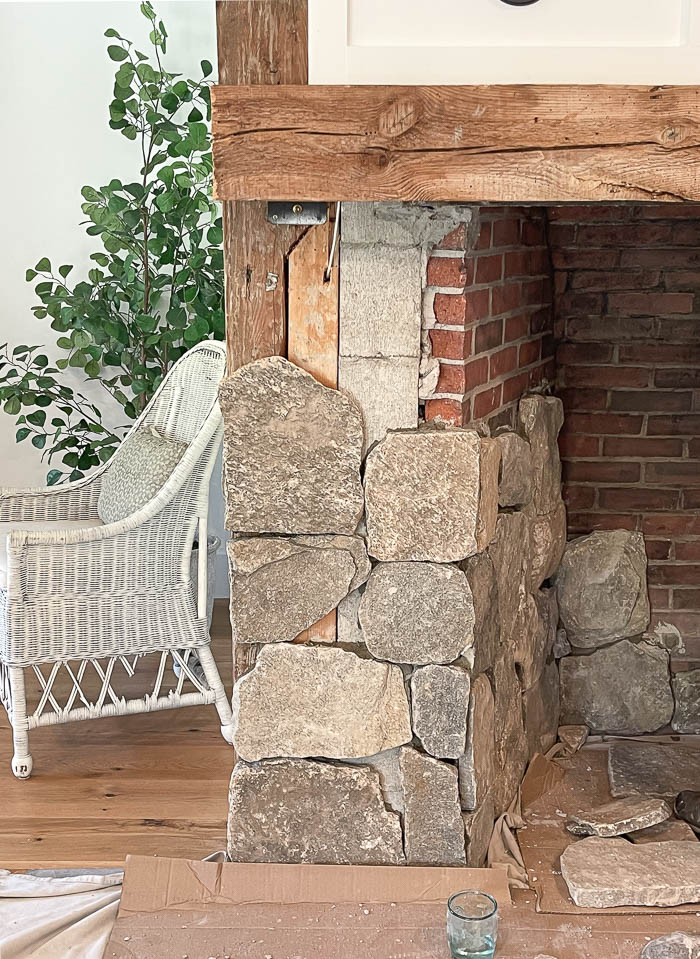
While my husband would have preferred the square and rectangle style since he was the one installing the stone, I really like how “natural” the mosaic style felt. There are a no instructions when it comes to putting the stone up, you just fit them together one piece at a time. But I love that I got to hand pick each stone, and that we worked on this project together to create the exact look that we desired.
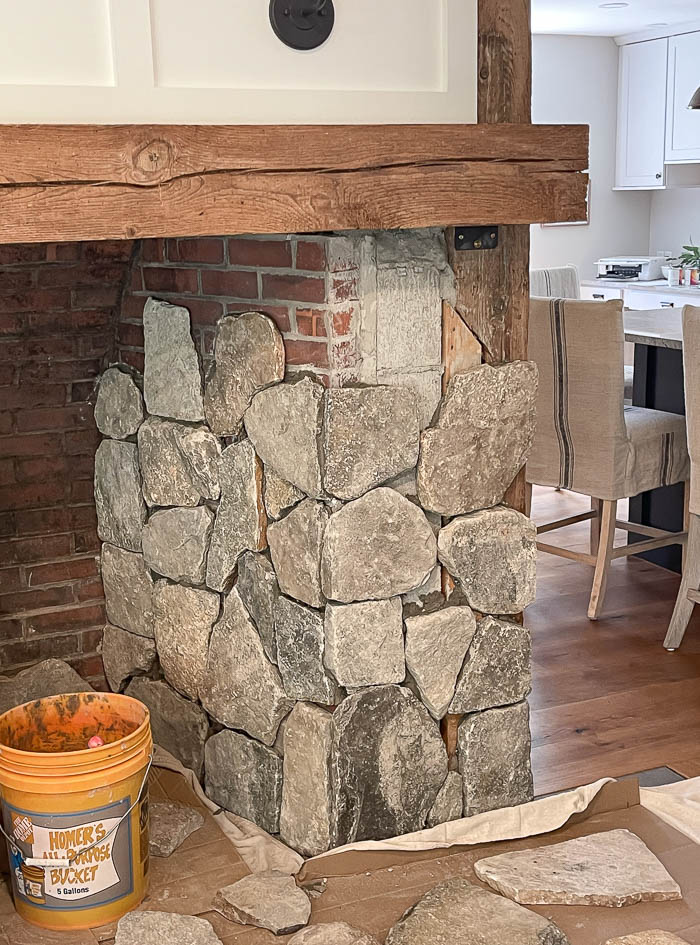
The stone is from Stoneyard, and I chose the color Boston Blend which is a mix of grays and browns. At first glance you would think this stone has too much brown. But I knew after my experience with trying to find the right stone for the floor, we needed warm tones that would compliment all the wood tones we had in the space.
Plus if I went with something that was all gray, it might appear to look too new, or too modern for our historic colonial. I really wanted to make sure that any material we used complimented the age and era our home was built in. Knowing that I would be the one hand picking each stone we put up, I was able to weed out any stones I didn’t like or that I felt were too much on the brown side.
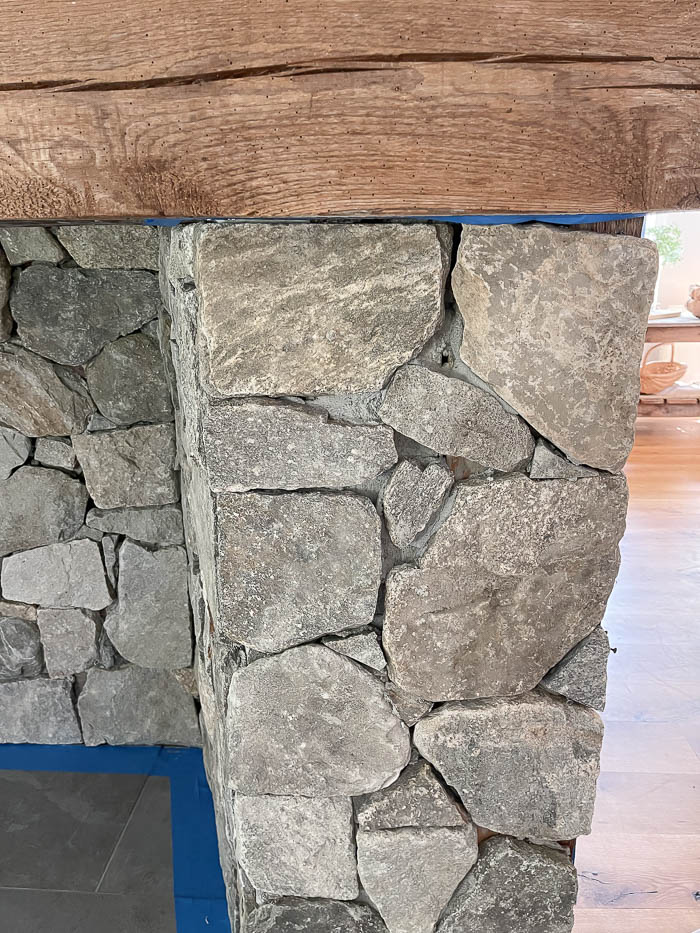
We placed all the larger stones up first, and then my husband went back and filled in any gaps with smaller pieces of stone that he would break apart. This part of the process took about two days to complete because we were so specific in the placement, and let’s face it – I might have been a tad obsessive about which stones we used and where they were placed. A huge shout out to my husband for graciously letting me take my time and have a say during this process.
With the stonework done, it was time for grout! Below, you can see it still wet which is why it appears darker than the stone.
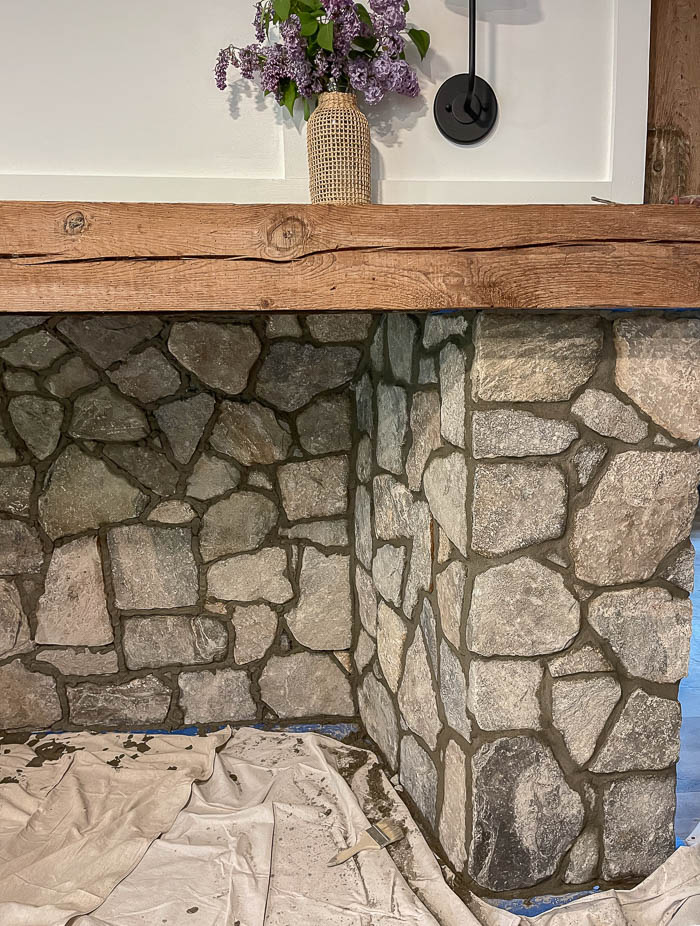
I can’t wait for you to see the final reveal! I will be sharing next week, so stay tuned!!
To read Phase 1 of our Fireplace Makeover – click HERE
To read about Phase 2 of our Fireplace Makeover – click HERE.

Ahhh looking so good!!! Can’t wait to see the final look!🥰❤️
I have been watching every renovation you have done in your new home! This fireplace is looking wonderful. Kudos to you and your husband for taking your time and getting exactly what you want. Can’t wait to see it when you put your decorator’s touch on it.
That wood stove heat is going to keep you toasty warm and look great in the process!
Awww thank you so much Dot!
It looks so good!
Very lovely so far! Great choices you made too!
It looks so wonderfully old just like your home. Love all the materials you used, great job!!
Thank you Marlene!!
It turned out beautifully. Such a timeless look. Can’t wait to see the reveal.