Hi Friend!
Today I’m sharing part 2 of our Fireplace Makeover – the demo! If you haven’t read the first post about our fireplace makeover, I recommend starting there first. You can read it HERE, and then come back to this post 🙂 Have you heard the saying that goes something like “It has to get worse before it can get better” ? I feel like in most cases with demo that saying applies, it was certainly the case for our fireplace. I’m sharing the fireplace demo process with you, because it also helps explain a little bit better why we made some of the choices we did when for our fireplace makeover.
Let’s get started ~
Just in case you forgot, here is what our fireplace looked like BEFORE :
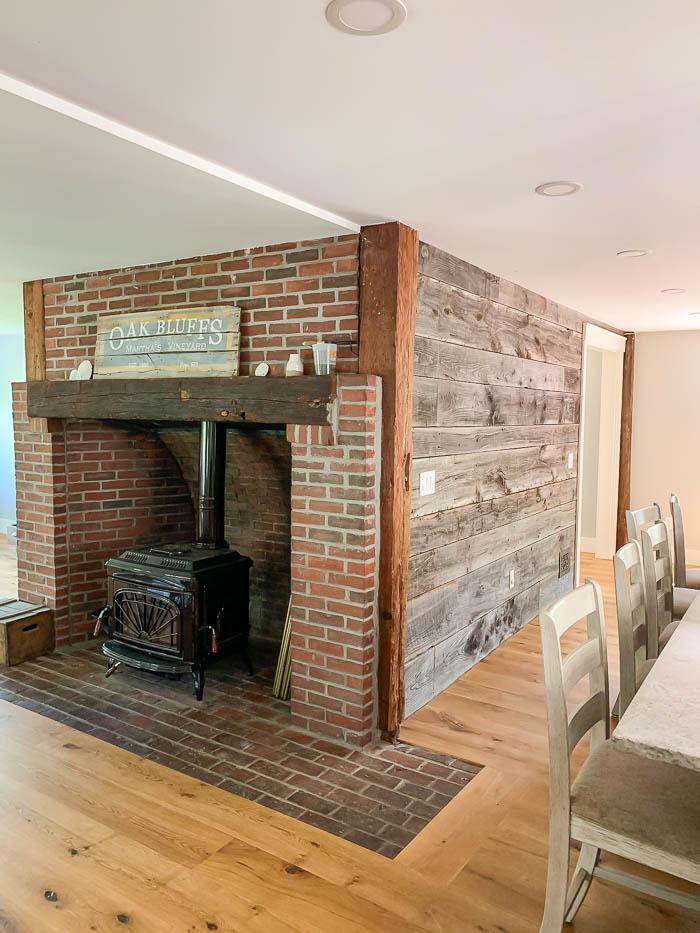
If you caught Part 1 of our Fireplace Makeover then you are up to speed. If you don’t remember you can read it HERE, where I explain our design plan for this fireplace makeover, and why we chose to go this direction.
We started demo by removing the two front columns of brick that framed the fireplace opening. We did this, because even though the plan is to reface the fireplace with stone, you would have still seen the brick if you were looking at the sides of the fireplace. This way the new stone can sit flush right up against the beams on either side of the fireplace.
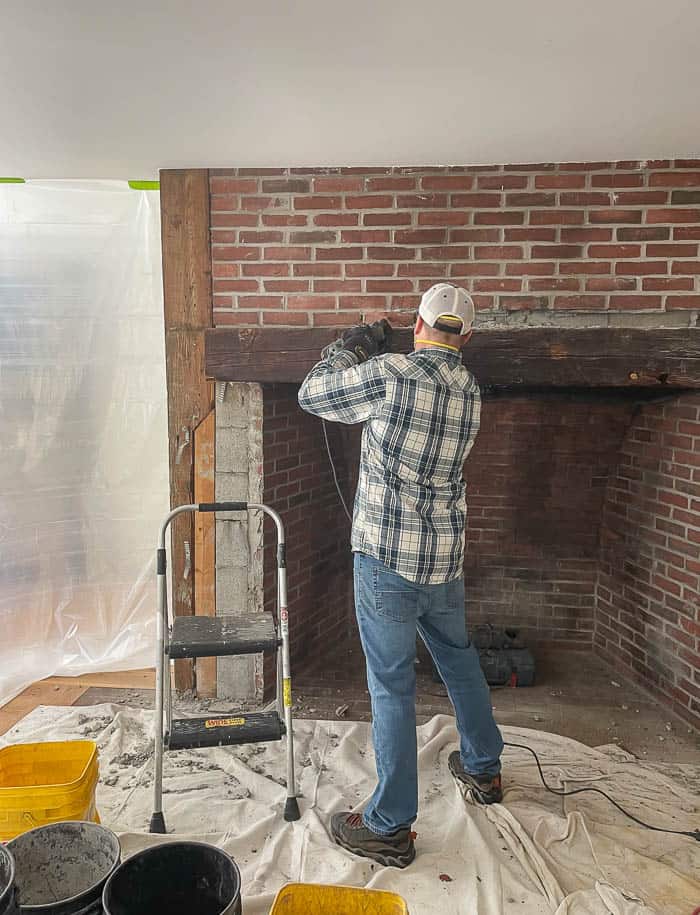
The new plan is to replace the existing fireplace mantle beam with another reclaimed beam that runs the entire length of the fireplace opening, giving us a clean stopping point for the stone to be installed underneath. We also wanted to lower the mantle a little bit, so it would be placed more proportionately on the overall fireplace. This will also give me more height when it comes to decorating on top of the fireplace mantle which was very small before.
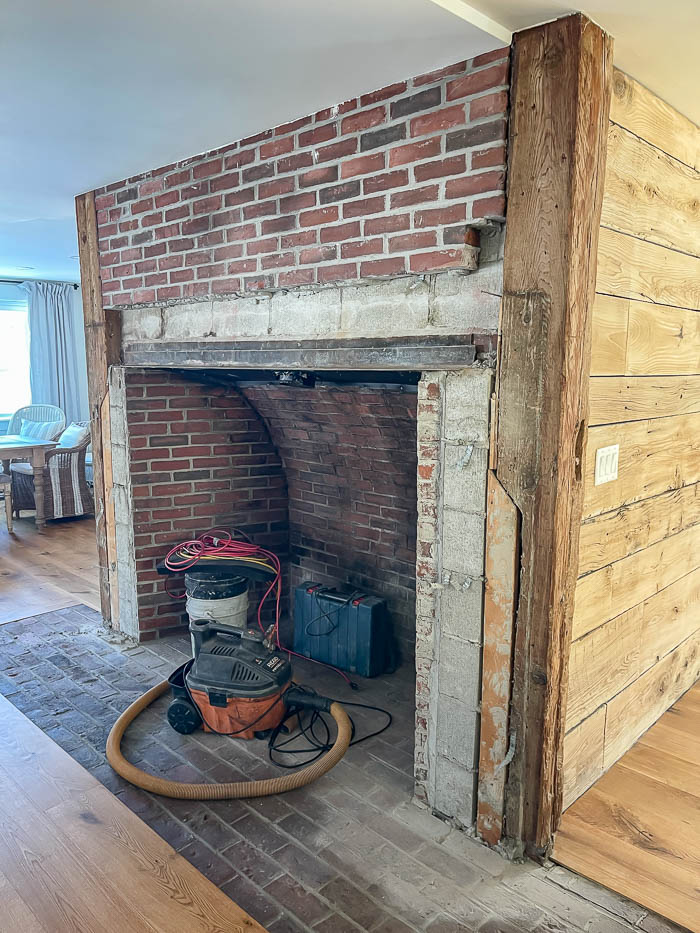
We removed a few rows of brick above the mantle, in order to be able to take down the old mantle beam. Once that part was done, we were able to lower the steal beam that was behind the old mantle for support, for our new mantle height so that we could reuse it for support.
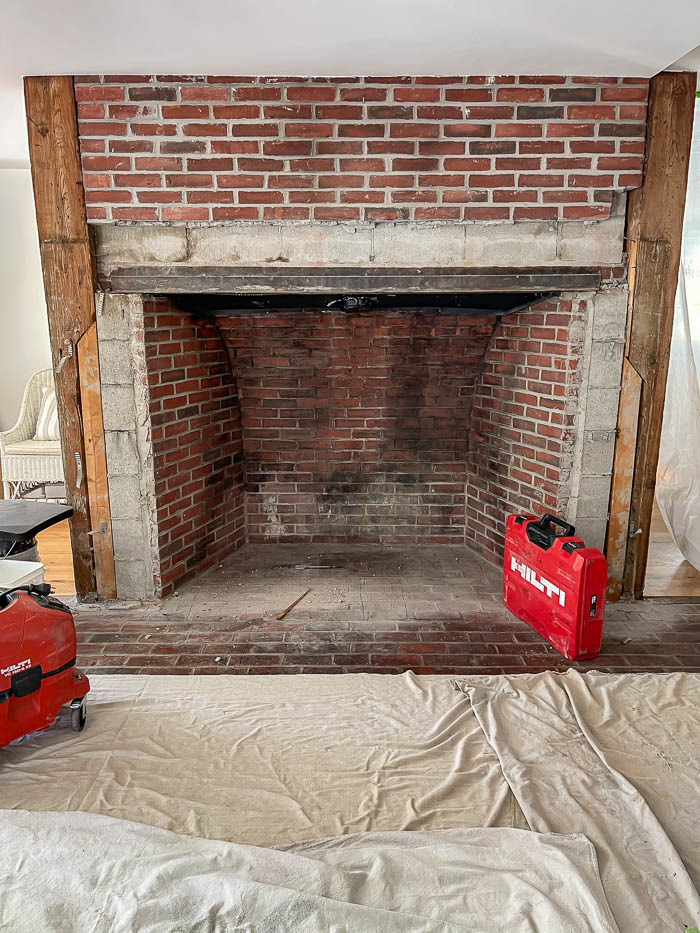
Once that was done it was time to tackle the brick in the fireplace floor. With the new stone chosen for the fireplace walls, I knew the brick in the floor would clash. So out it had to come. The tricky part was finding a replacement that was budget friendly, and didn’t look too new.
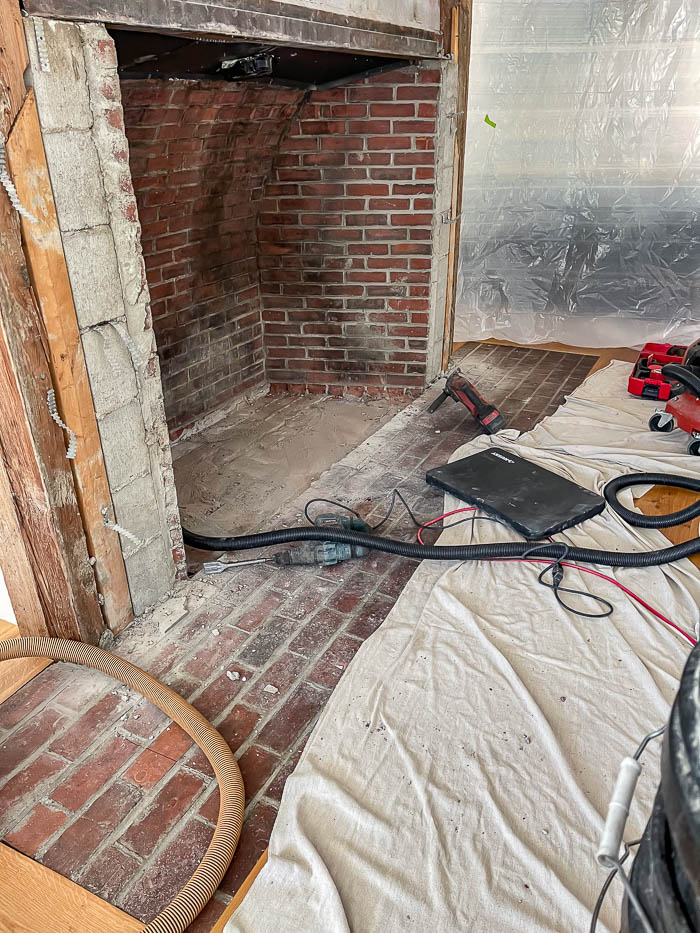
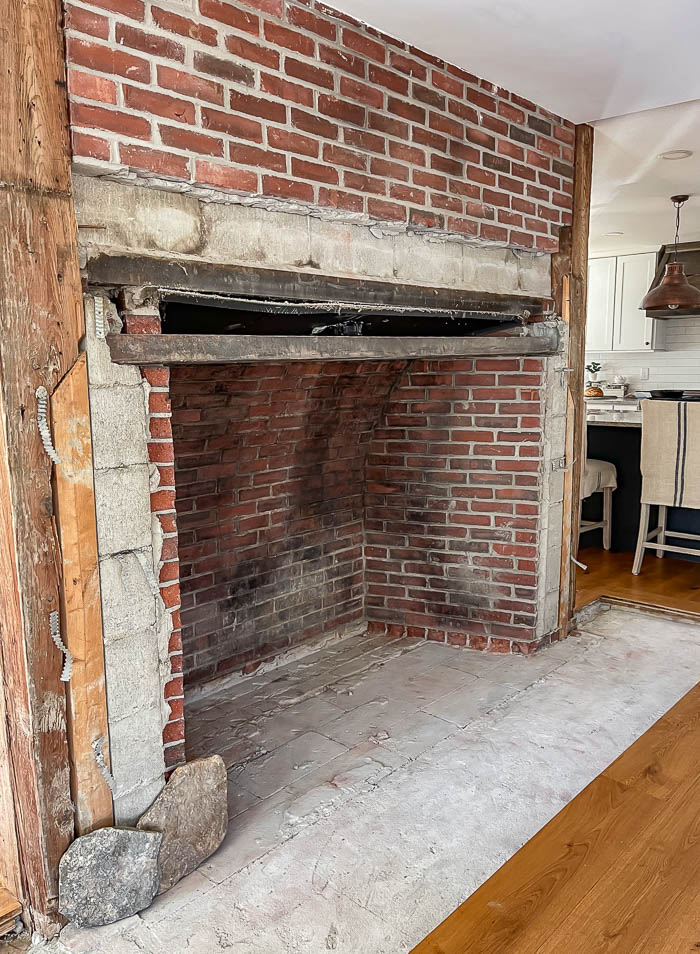
Another obstacle we had to work around was that our fireplace hearth extended beyond the two sides of the fireplace. To the right of our fireplace is the kitchen island. We needed a flooring option that is heat compliance for the wood stove, but also remain flush with the hardwood floor so nobody trips or stubs their toe walking by, or gets stuck trying to pull their chair out from the island.
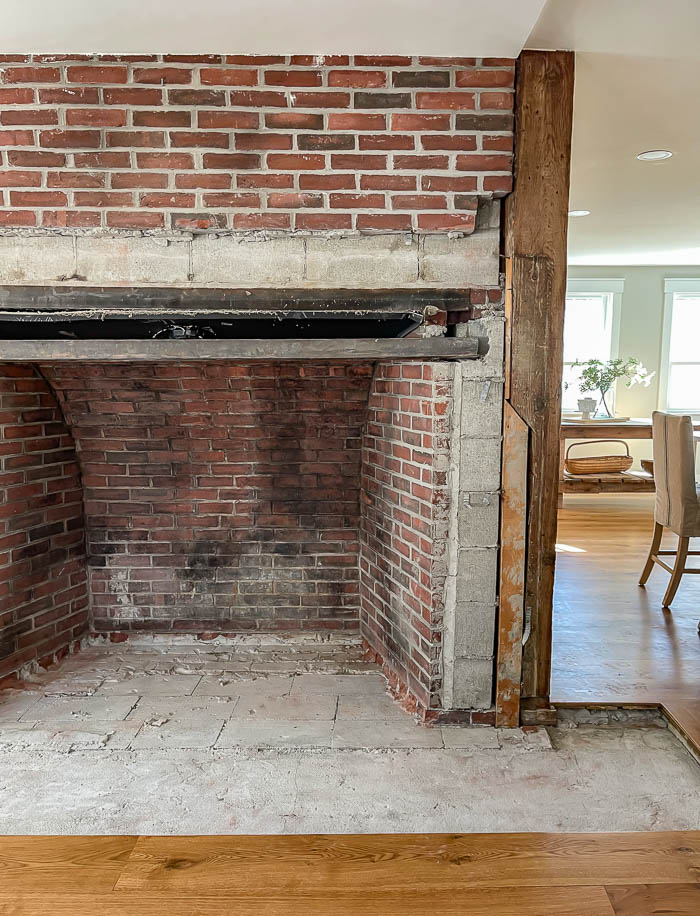
First, we tried a traditional bluestone slab that is a common choice for fireplace hearths. In the showroom it looked great, but once we brought home a sample and put it up against our warm toned hardwood floors, it ended up looking more baby blue/ light gray, and felt like it clashed with our floors (You can see what it looks like HERE).
Our next option was outdoor tile. Since it’s a bit thicker and larger than indoor tile, I was able to find one that looked and felt like natural stone, but was a lot easier to work with in terms of installing it, and would compliment the new stone as well.
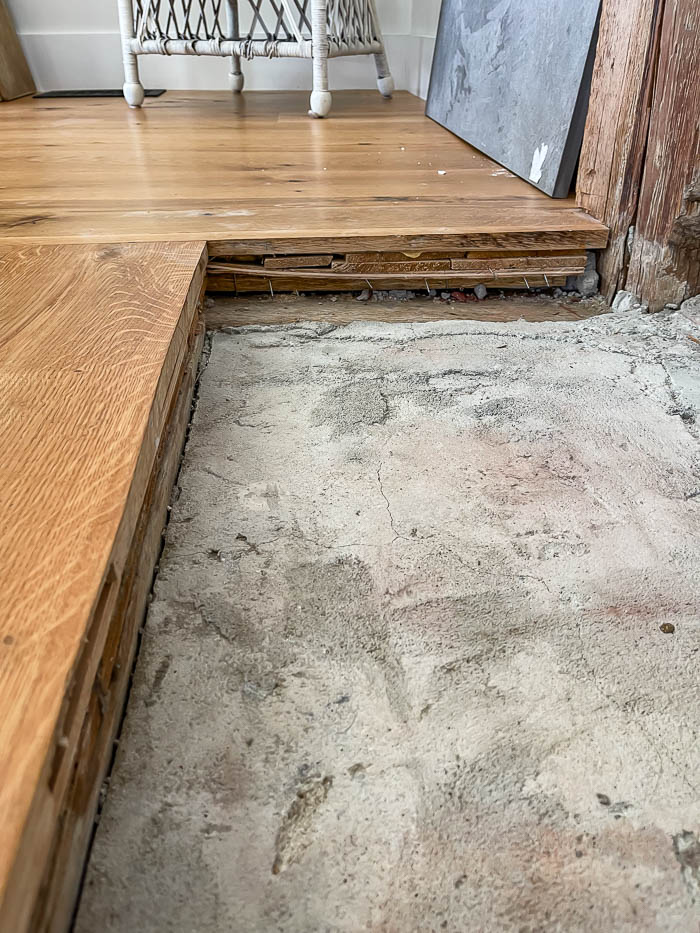
Before we could install the tile, we had to raise up the floor a little, so the tile would be flush with our hardwood floors once it was installed.
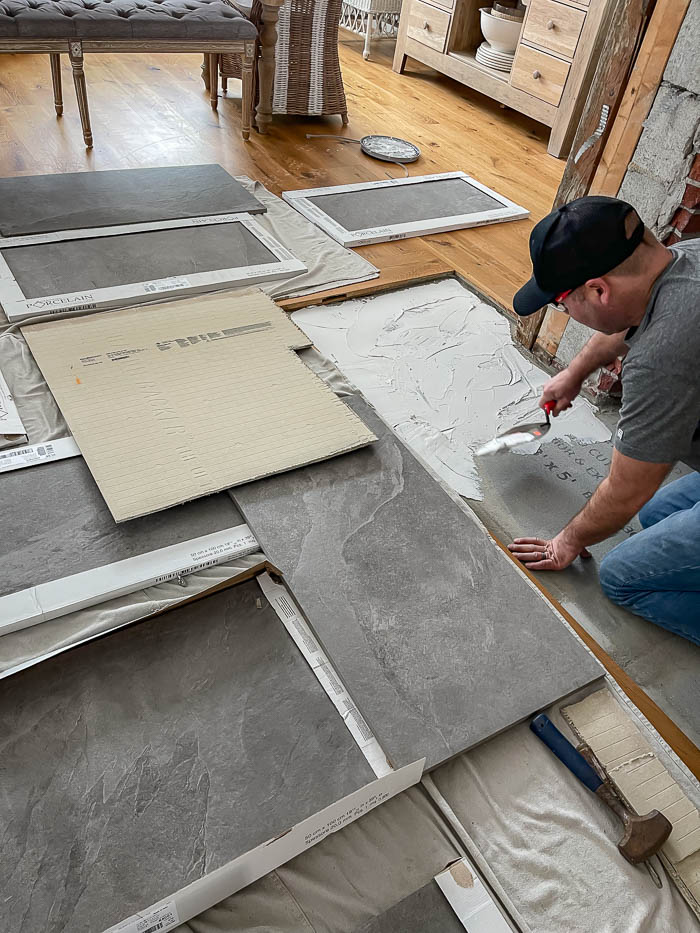
After bringing home a sample to confirm this was the right choice, we went with Delegate by Daltile in the light gray for the fireplace hearth. These are 20×40 indoor/outdoor tiles, and what I love is that they feel like real stone when you touch them. These felt like the closest thing to real stone looking that we could get, but flexible with the install to be able to cut around all the angles, and allow us to stay flush with the floor. It felt like a win win!
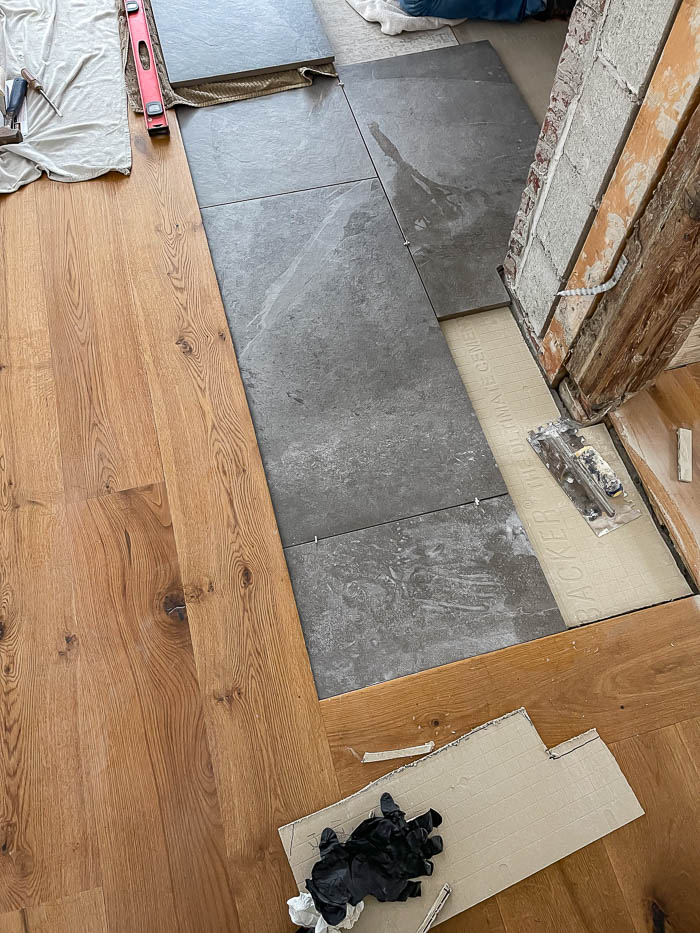
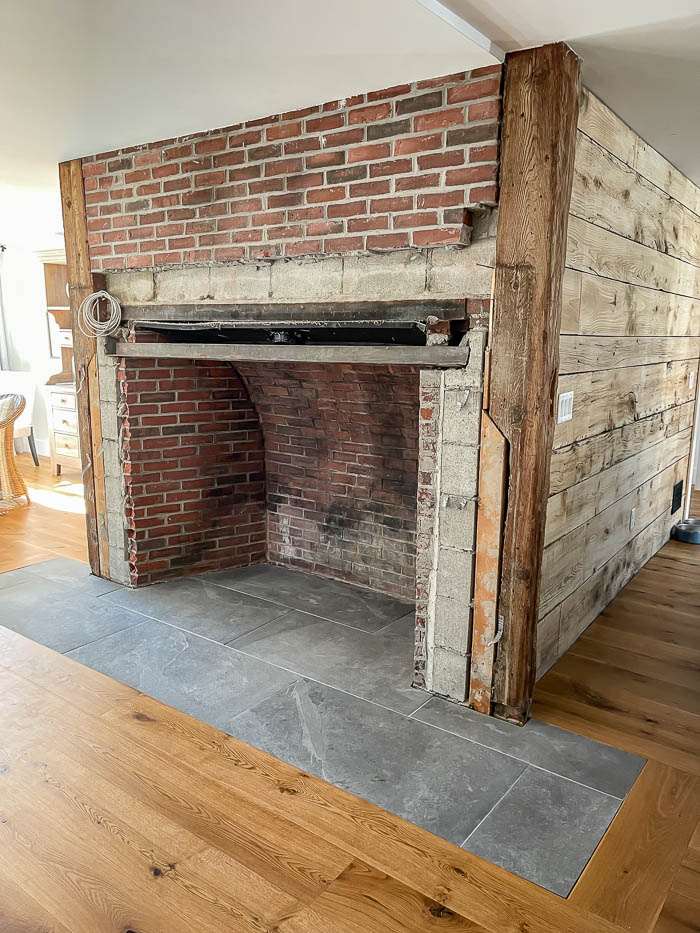
With the hearth floor now installed we could start putting the fireplace back together. Finally, the fun part – being able to see my vision come to life!
to be continued …
Well…hurry Bre….I’m anxious to see the finished results. Don’t mess it up now..It’s to beautiful to ruin.