Hello Friend!
Summer is in full swing here, and with comes some of my favorite kind of work – gardening! We have been chipping away at different areas of yard, since moving into our new home two years ago, and today I’m sharing some of the progress we’ve made so far in our raised garden bed. This space is actually one large rectangle, that has about a dozen blueberry bushes in it, some which are quite mature. So I refer to this area as our Raised Blueberry Bush Garden Bed.
Come and see ~
When we first moved in, our raised garden bed looked like this. Thrilled that we already had an established raised garden bed spot, with mature blueberry bushes, I was determined to transform this space into a little garden oasis.
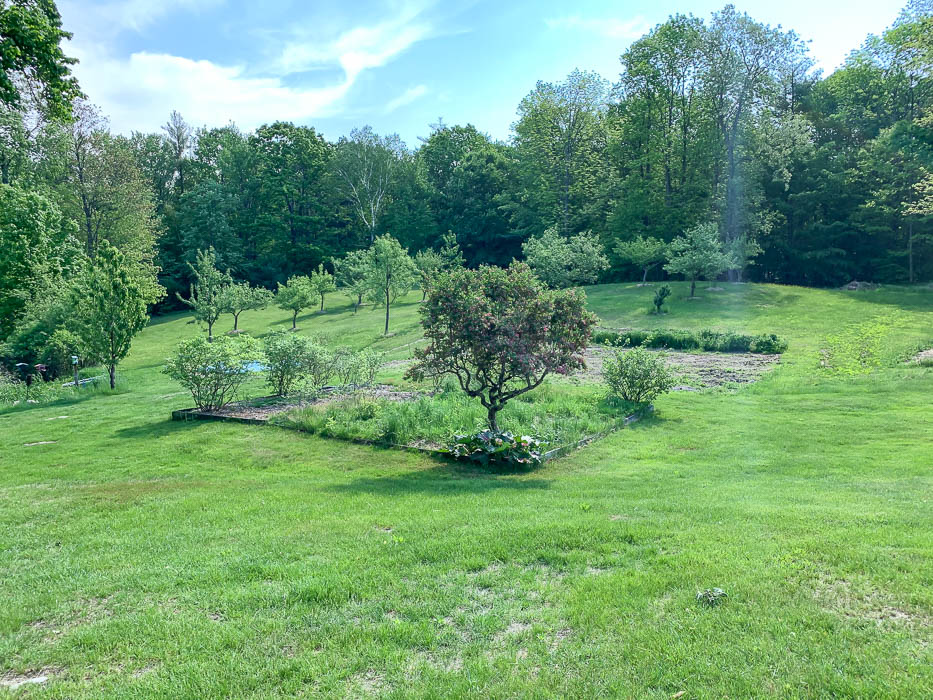
What I was not prepared for was how overgrown and established the weeds were as well. At first glance it was hard to tell the difference between what was supposed to growing there and what wasn’t. I wanted to add some structure to the overall look of the raised garden bed, and give it defined areas.
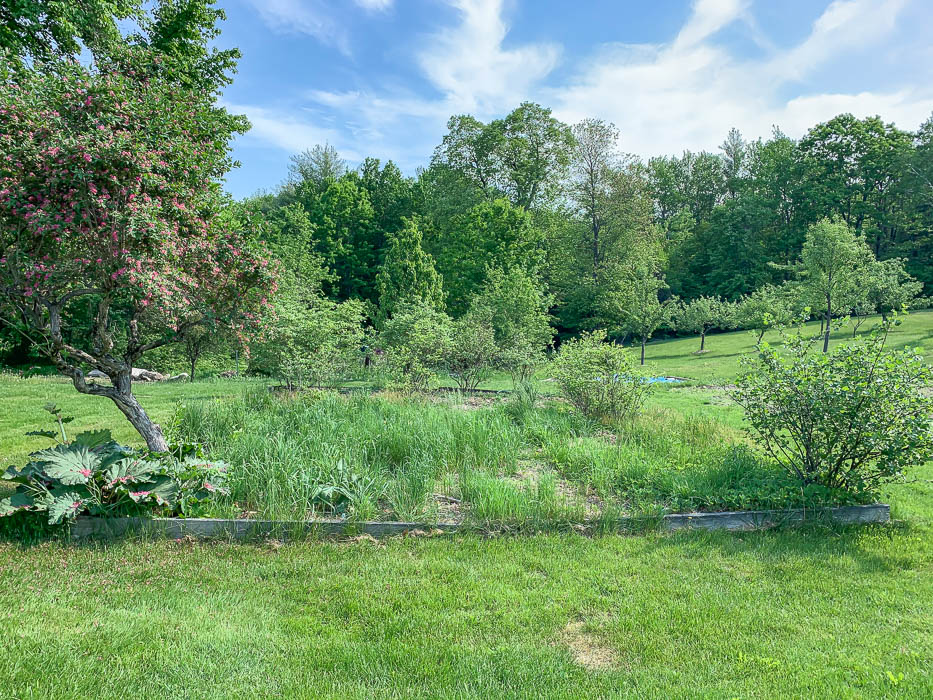
Step 1 – Weeding
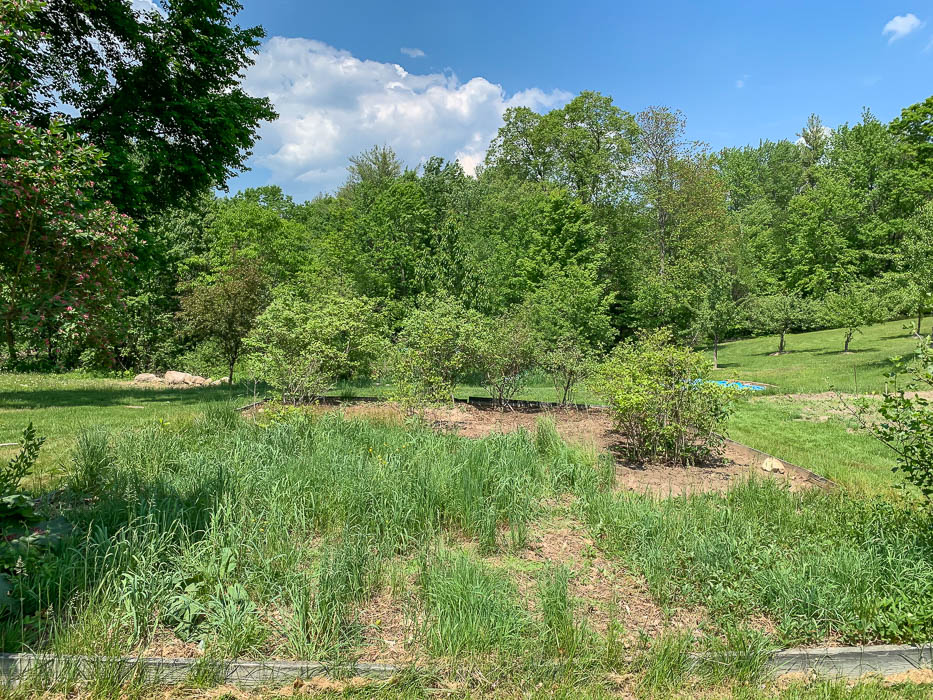
My sister graciously came over and helped me tackle weeding this large raised bed our first year here. Sadly that was all we had the time to accomplish that year. But I knew that landscaping takes time, sometimes more time than we realize.
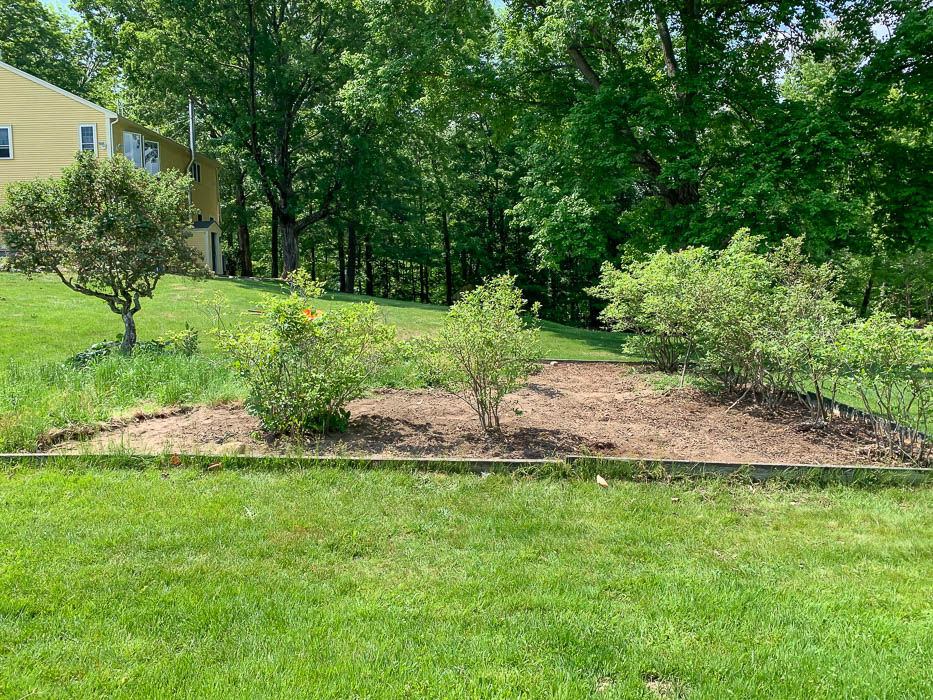
The following spring we removed the small tree that was in the front corner, allowing the rhubarb to thrive. I wanted to add some symmetry to the overall layout of this raised garden bed, and I knew removing the tree would help bring my vision to life.
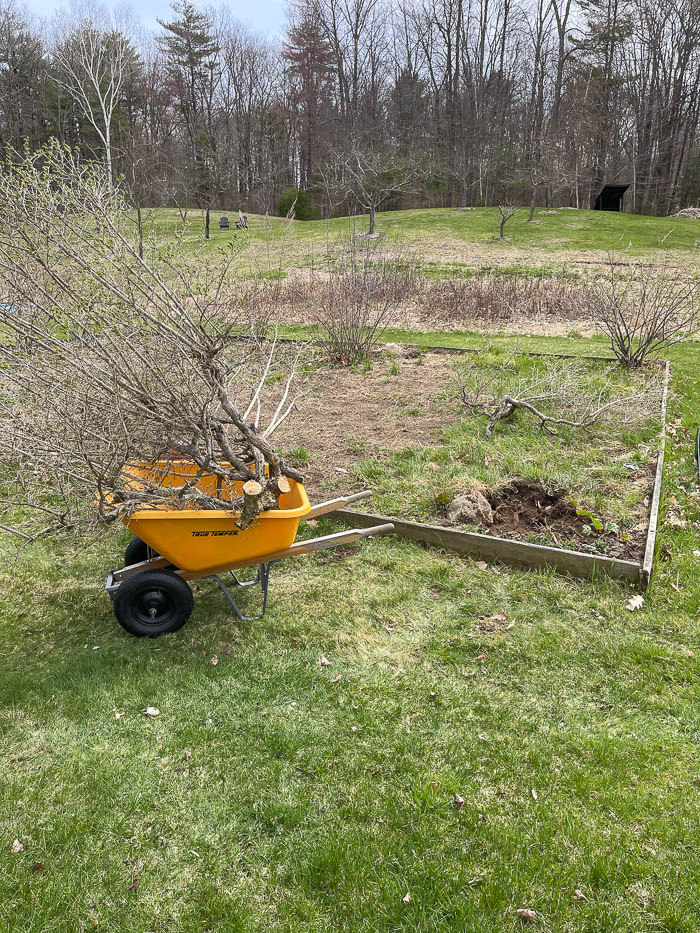
For the overall layout of this raised bed I knew I wanted to section off the right half to create two equal sized raised bed squares for vegetables, and for the left side create a horseshoe type shape where the blueberry bushes are.
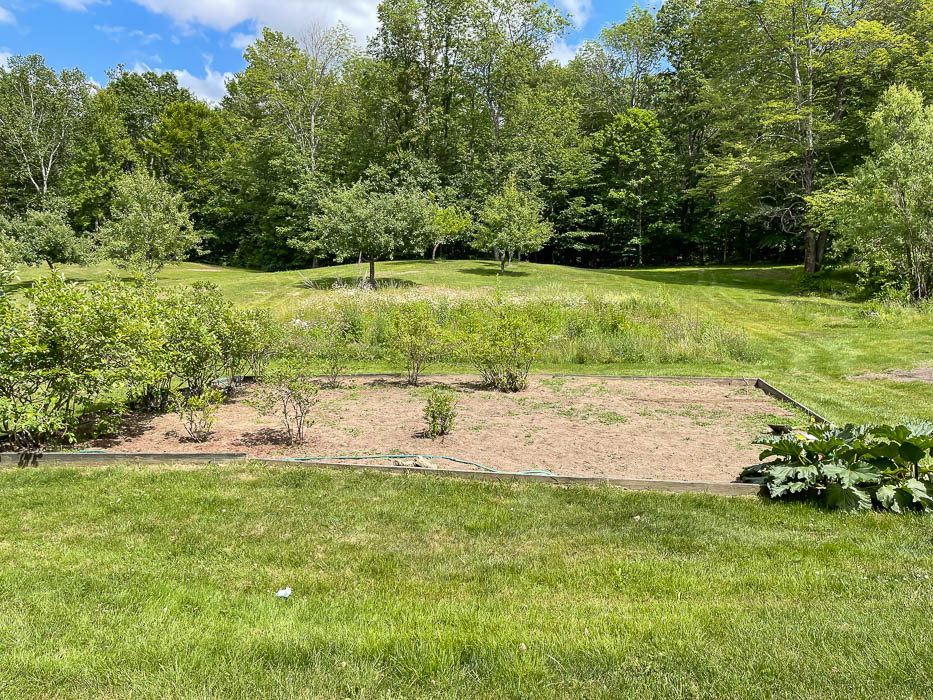
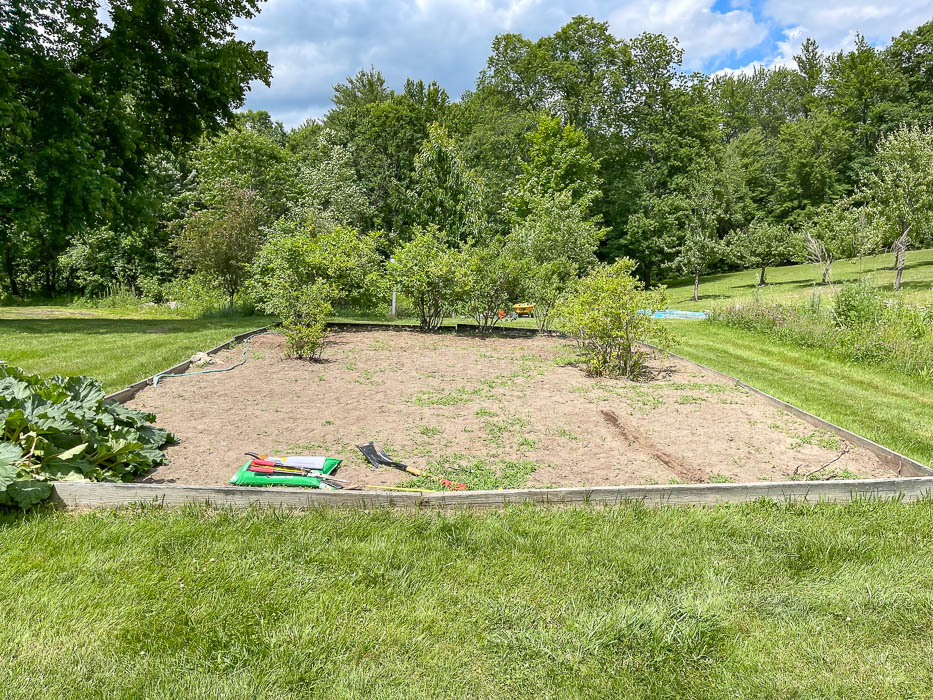
With the garden bed cleaned up, I could see more clearly the space I was working with. I started working on the layout for the pea stone walkway I wanted to create throughout the raised bed. I ordered this Aluminum Edging from Amazon in black to create a subtle border for the pea stone walkway.
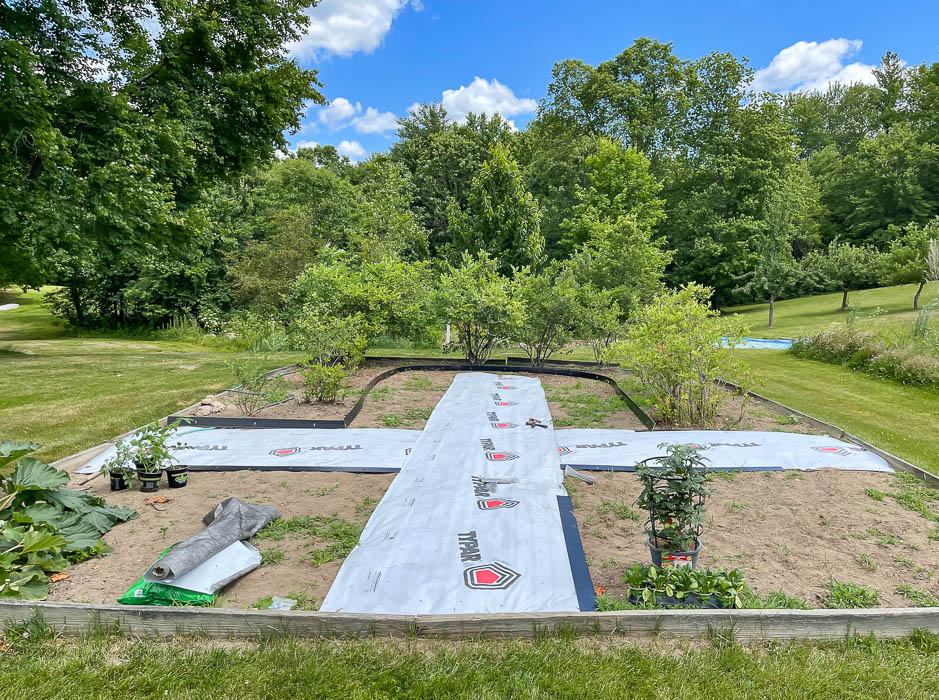
Once I had a rough idea on layout, I started securing the edging in place using the spikes that came with is. This aluminum edging is very flexible, allowing me to create the shape I wanted for each space. You can use it in straight lines like I did to create the front two square garden bed sections, or rounded like I did to create the horseshoe shape by the blueberry bushes.
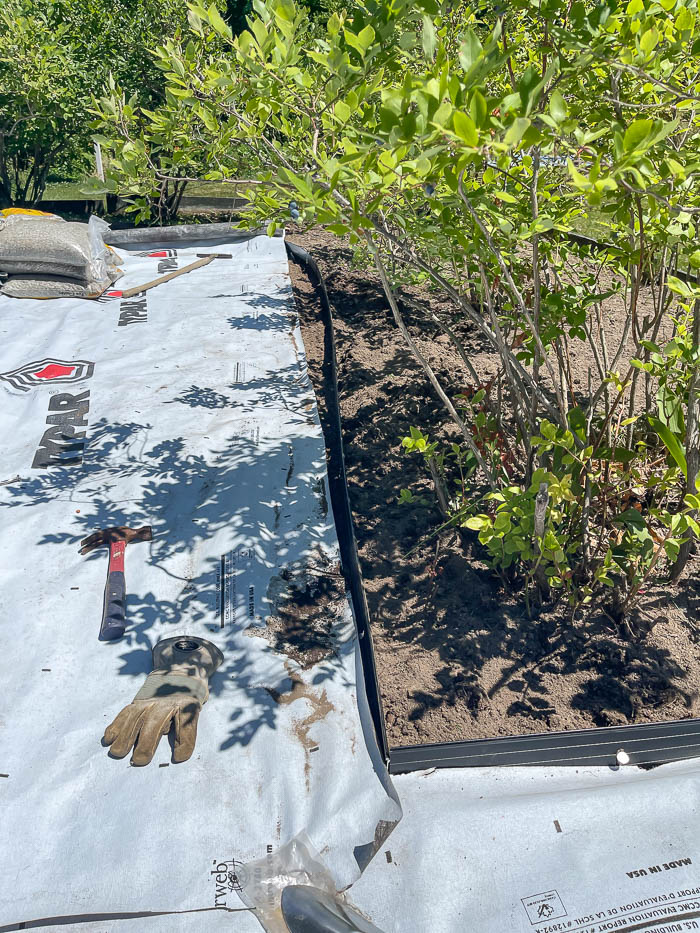
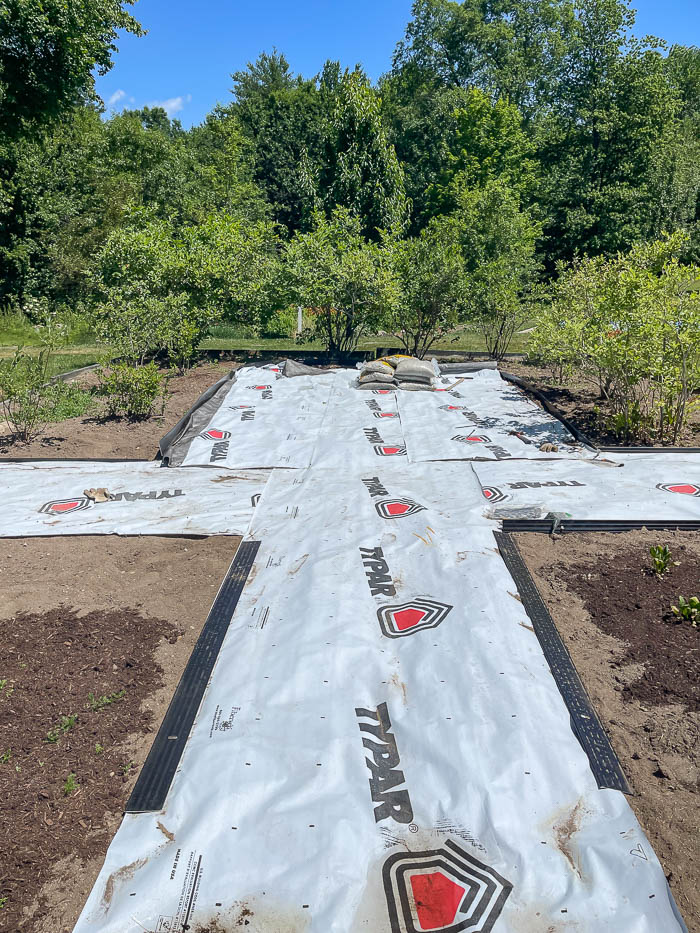
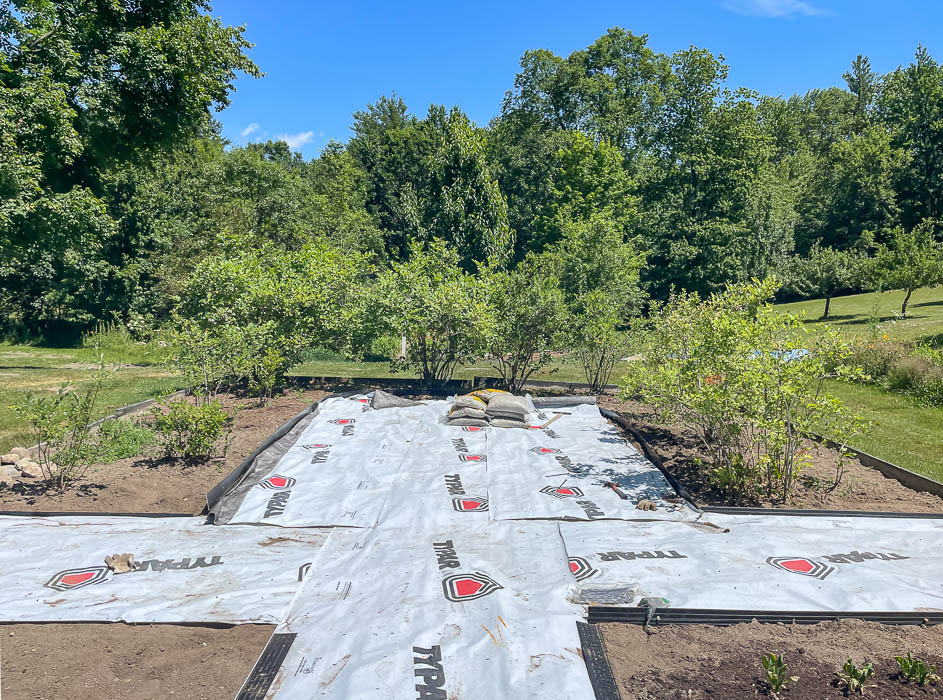
With the edging in place I used some leftover building materials as weed block to go under where I would be laying down pea stone.
Next up, the fun part, it was time to install the pea stone gravel. I purchased this pea stone from Home Depot, which took me about 30 bags to fill the area.
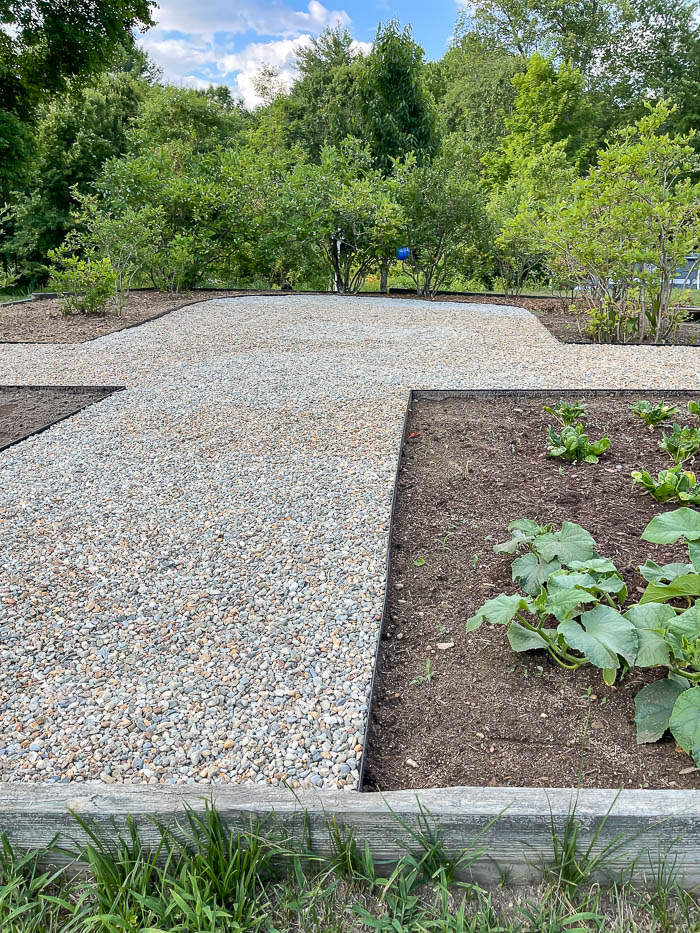
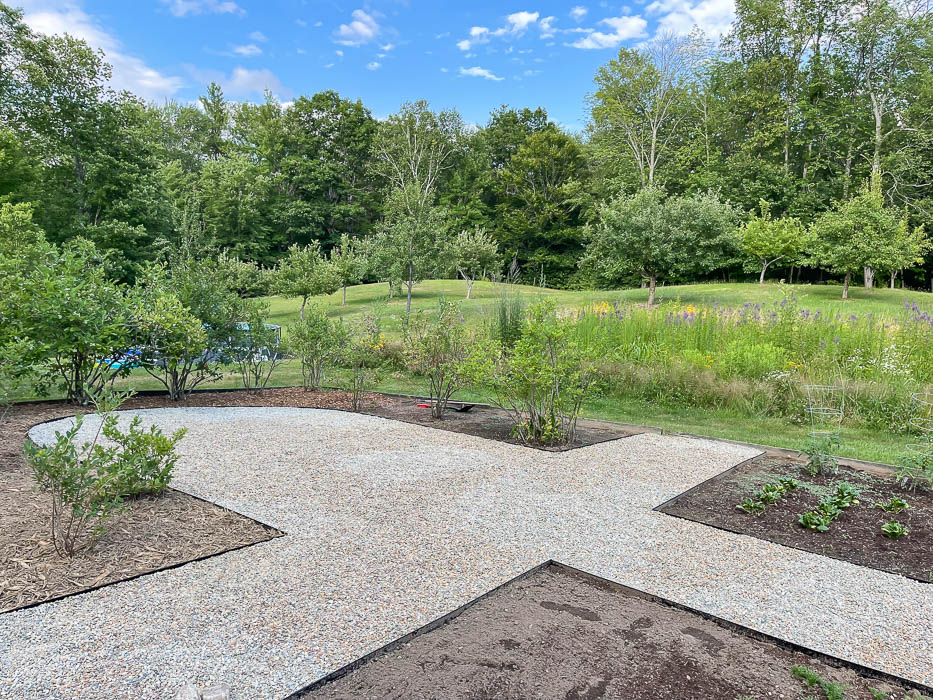
With the stone now in place, we laid some fresh cedar mulch around the blueberry bushes to help prevent weeds from taking over.
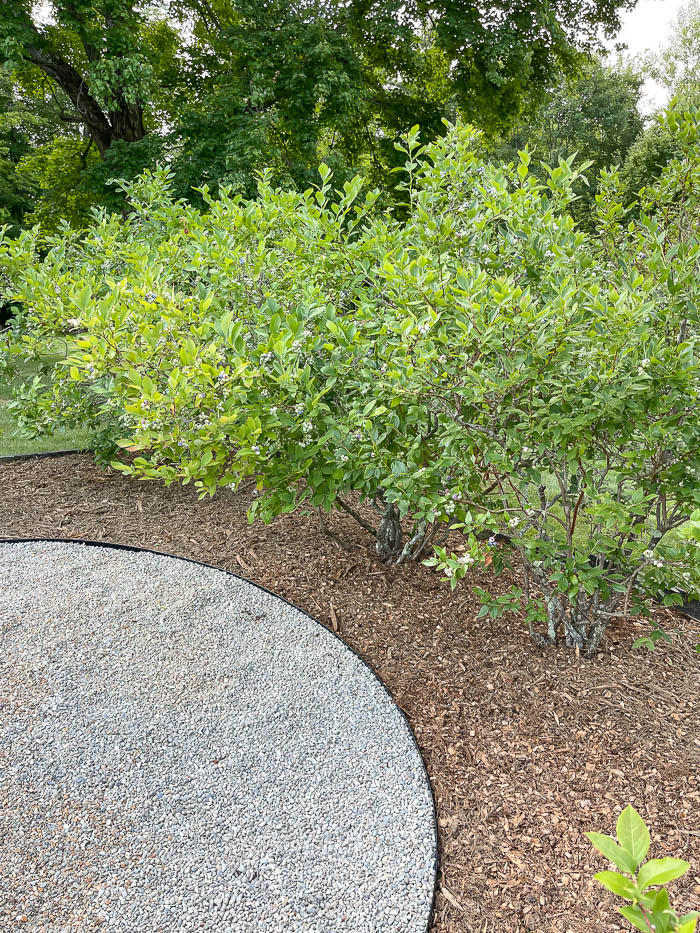
Below you can see what the raised garden bed area looked like last summer. I was able to plant some spinach, cucumbers, and cherry tomato plants in the front square sections of the garden bed. This gave me a good test run for what I planned on growing this year, and helped break the ice a little bit into vegetable gardening since this was my first real go around with it.
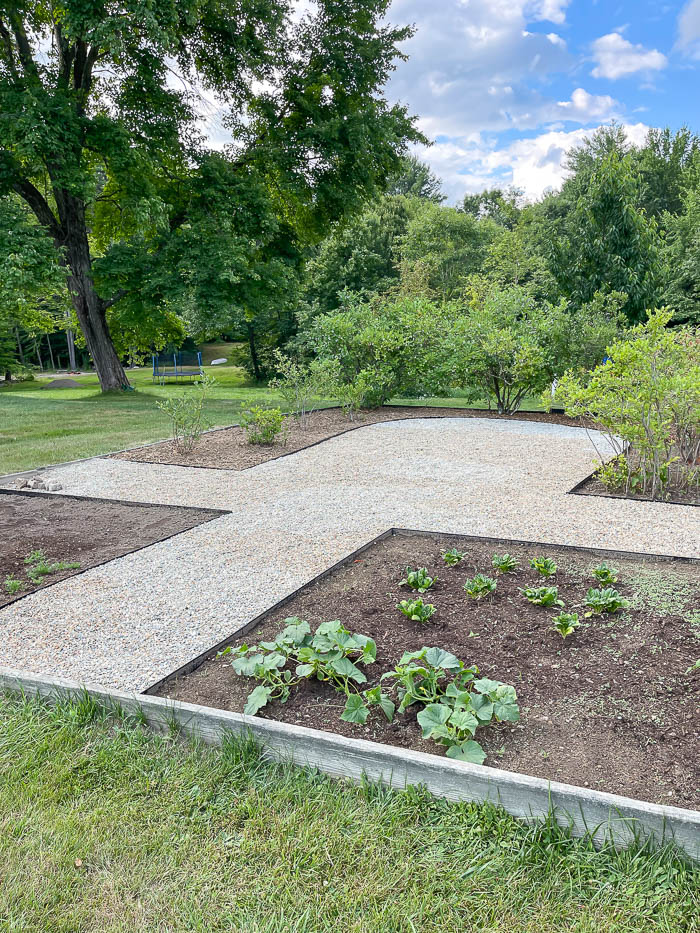
Below, you can see how things are coming in this year!
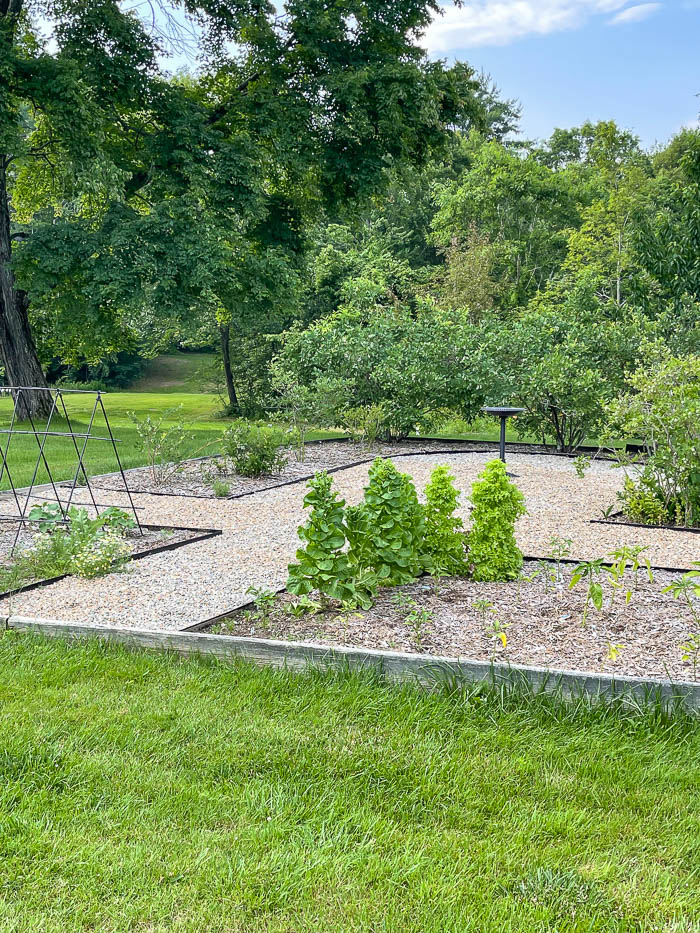
To the right I planted a few different varieties of lettuce, jalapeno pepper, and a few different types of bell peppers.
Below, you can see on the left we have broccoli, onions, cucumbers, and rhubarb (not seen in the photo to the far left) in the ground, along with some chamomile daisies and poppy flowers I transplanted from other parts of our yard that were already here.
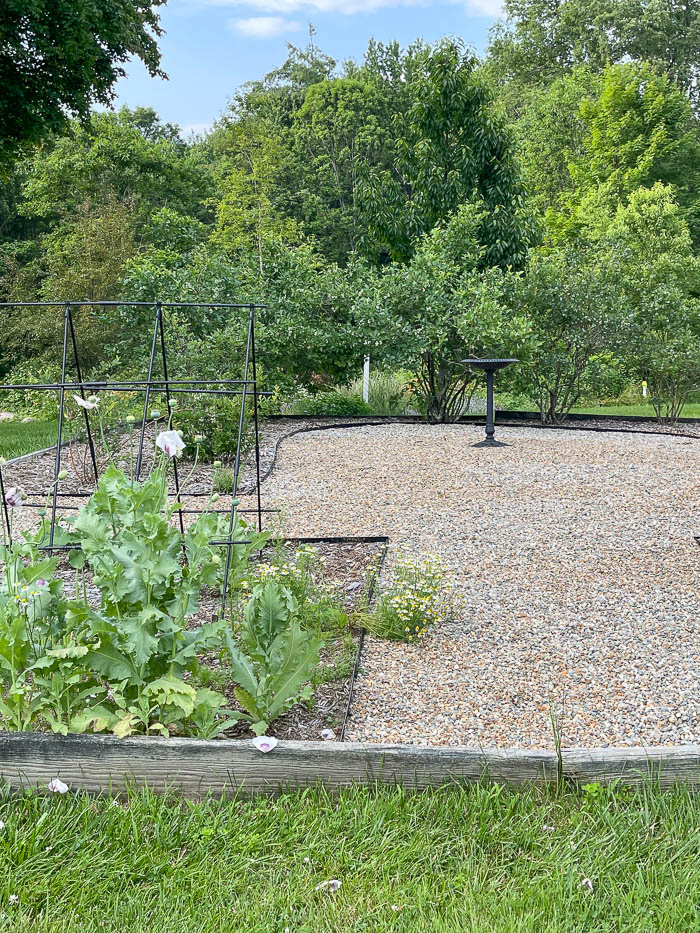
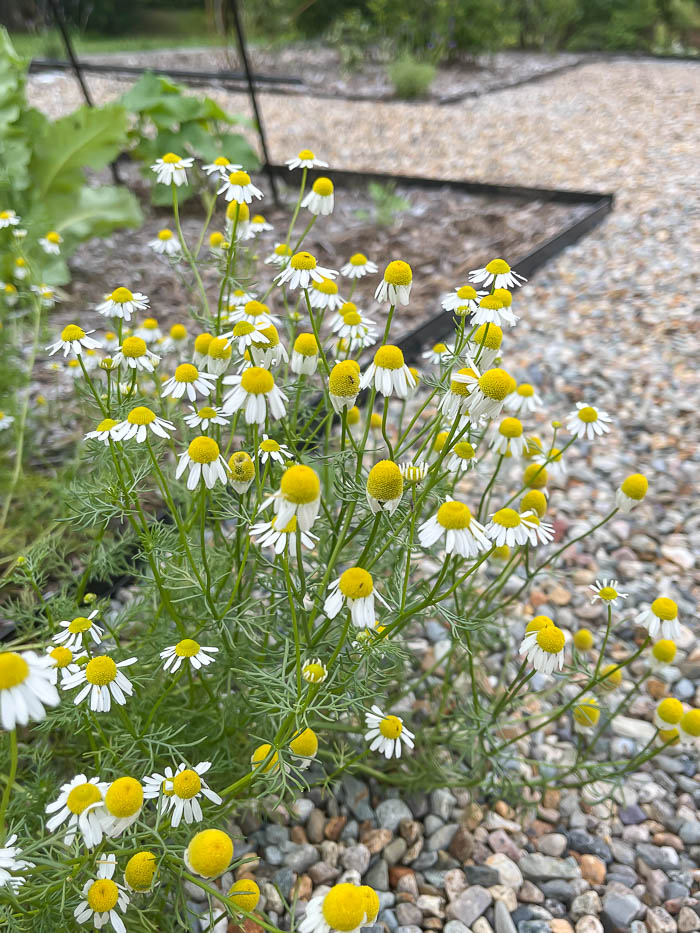
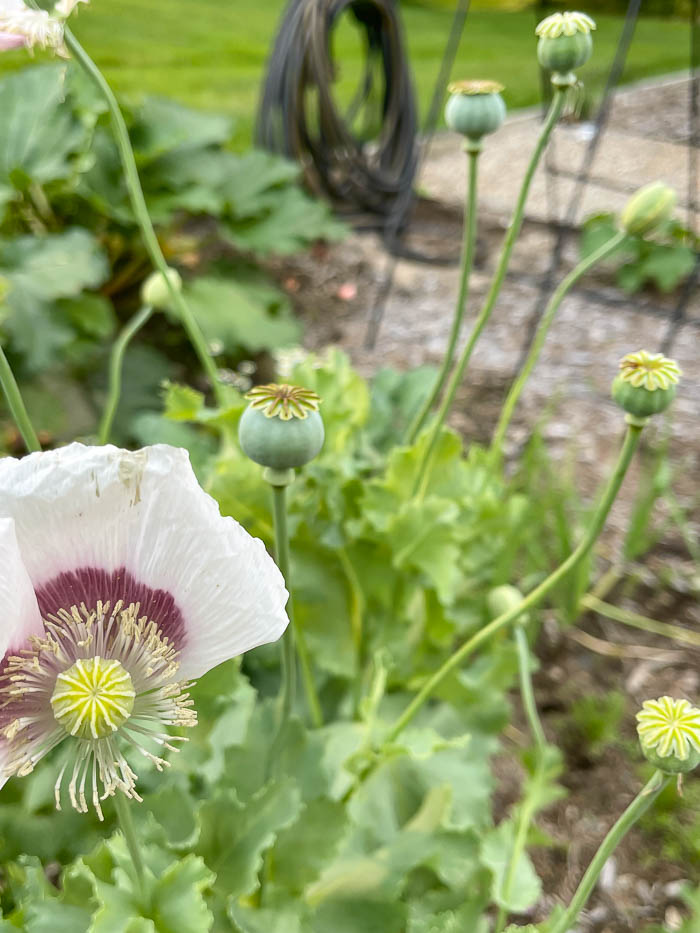
Below, you can see the area to the right of our raised blueberry garden bed area. We have plans to tackle this area hopefully next year, by adding smaller, individual raised beds with a pea stone walking path throughout the space. This year we cleared a section to plant two rows of tomato plants, so we will have plenty of tomatoes to make fresh salsa with!
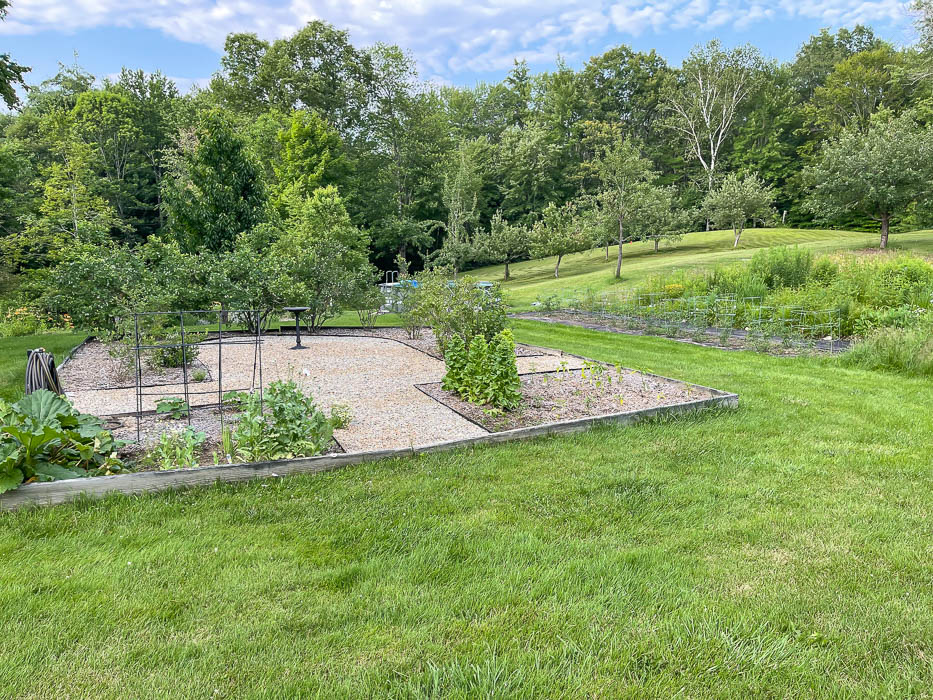
Before :

Progress :


After :
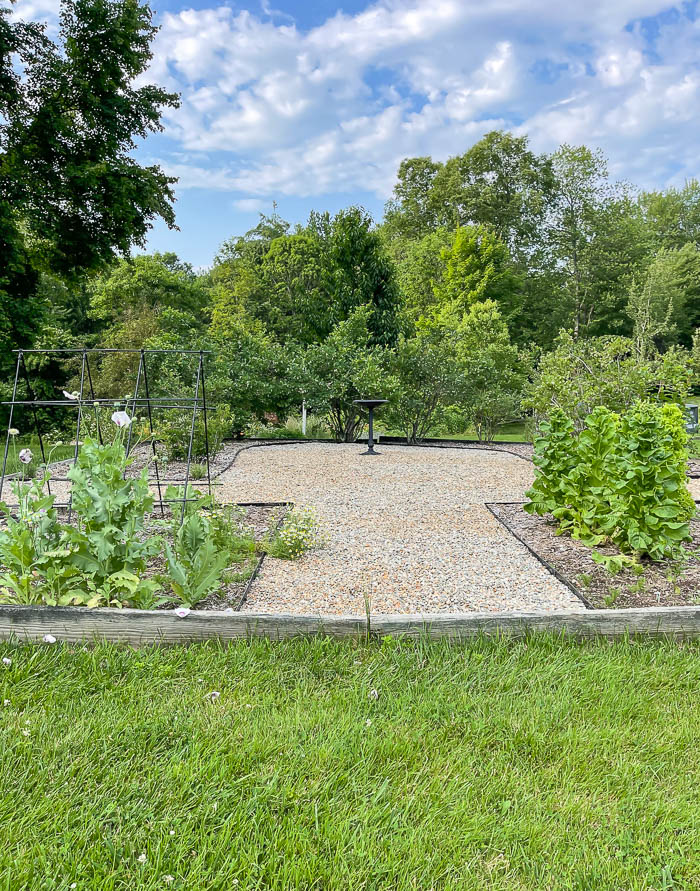
There were definitely moments in the midst of all that weeding that I thought we would never get there, but I am so glad that I didn’t stop. Even though this took longer than the original “weekend” I thought it would to transform this first raised garden bed area, I’m so happy with the progress I see today.
Here is one last view of the Before & After from our patio :

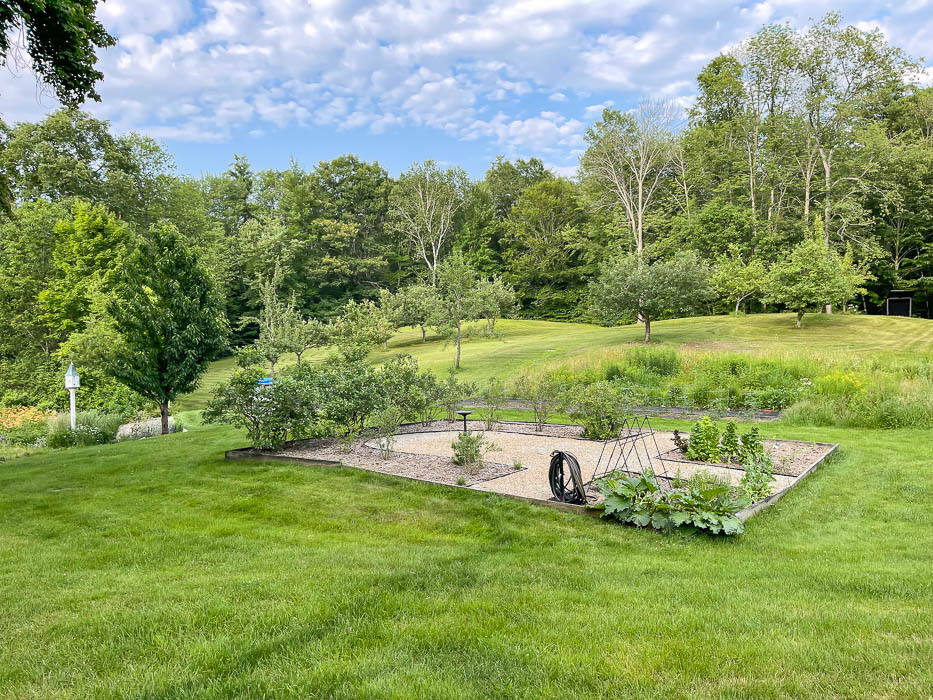
Sources for tools and materials I used for this project –
- Garden Bow Rake – Home Depot
- 4 Tine Cultivator (to break up really tough soil) – Home Depot
- My Favorite Weeding Tool – Amazon
- Aluminum Edging – Amazon
- Heavy Duty Weed Block – Home Depot
- Pea Stone Pebbles – Home Depot
- Cucumber Trellis – Amazon
- Hose Stand – Amazon
Check out this post below for more Garden + Landscaping Tips ~

Nice layout. Looks great. You’ll have to share your blueberry cobbler recipe when you make one from your next crop. BTW…what is your favorite weeding tool from Amazon that you mentioned in the list. Again, looks great, Bre.
Looks great, Bre! But I’m wondering if there is any wildlife in your area. How did you manage to avoid having the cute critters eat all your veggies without a fence or something?
Thanks Diane! So far the only wild life we have that come that close to the house are wild turkeys. And the dogs have helped keep them away when the blueberries are in season. We do get some deer, but they don’t come that close. Other than that we haven’t seen anything else in the two years we’ve been here. I do hope to add a fence in the future, but so far the threat has been minimal, so the fence has been put on the back burner until a greater need for it arises 🙂
What a beautiful yard and love your raised garden, progress is always so satisfying.
Thank you Sue!! I completely agree, progress is so satisfying!!
Wow. Quite a transformation. The veggies and flowers look so pretty together.
Thanks Becky!!!
It looks so good!! My garden is on the struggle bus after all the rain we’ve had this Summer.
I hear ya Jennifer!! My cucumbers and tomato plants are desperate for some sun!!