Hi Friend!
Have you ever painted a french door before? You know the ones where the grids are not conveniently concealed by the glass? I have always loved the look of painted interior doors, but painting a french door can feel a tiny bit daunting. Recently I tried something new, and it made painting the french door that leads into our home office a breeze! And here is the best part – it involved no taping! Yep you read that right. I’m sharing these tips today, in case you have a french door you’ve been wanting to paint as well.
Come and check it out ~
Two years ago I gave our home office a mini makeover. We loved the idea of having a designated home office when we moved in, but it was becoming more of a drop zone instead of a space you would want to work in. I knew I needed to breath new life into it – so that is just what I did. I cleared out the clutter, gave it fresh new paint color, and set up my office furniture with purpose, creating a space I now love to work from.
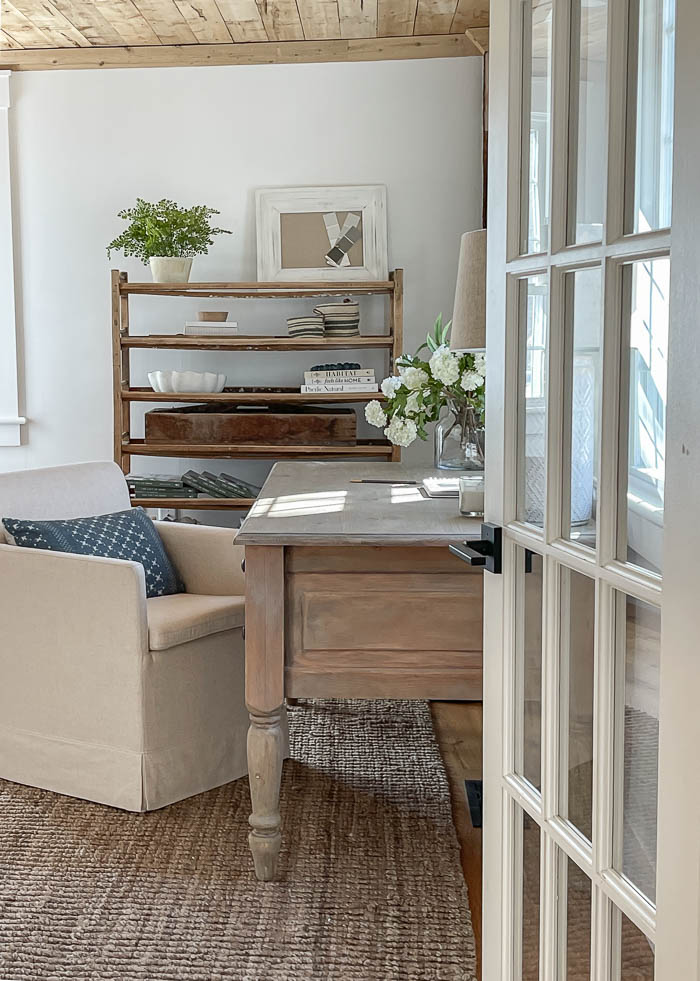
You can read more about that makeover – HERE.
Yet since painting our home office, I knew I wanted to paint the french door that leads into the space. I’ve always loved the look of interior doors painted a different color, and knew this french door would be the perfect place to introduce a pop of color. Yet the thought of taping off all 15 panes of glass to achieve a crisp finish on the grids left me completely unmotivated.
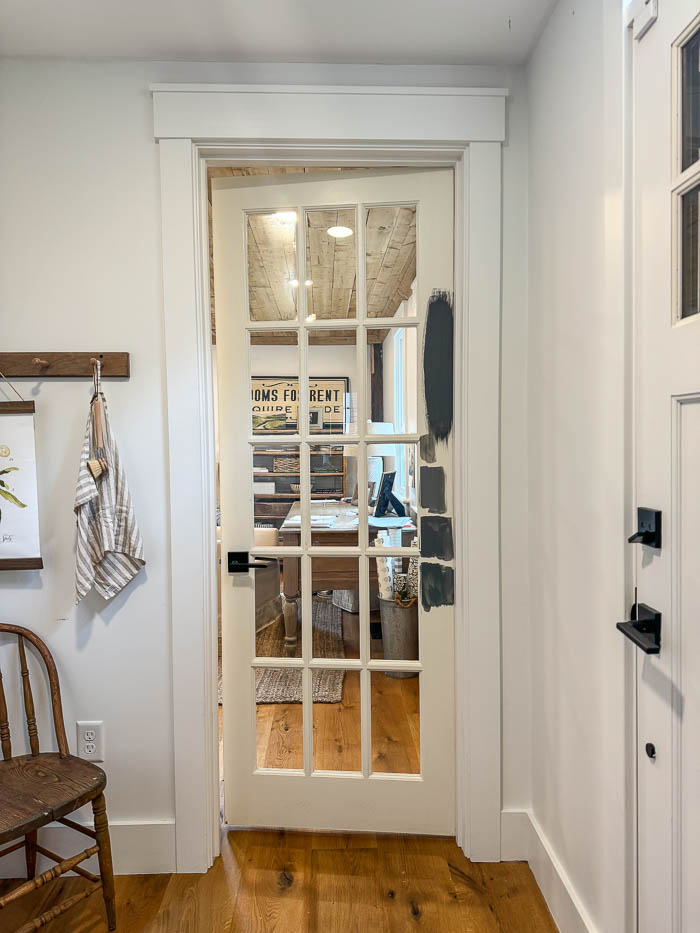
I thought if I put some sample colors up on the french door it would give me the motivation I needed to paint it, but it didn’t. It sat like this for a year until I finally decided to order this product I have seen other bloggers rave about.

Mask & Peel. I’ll admit I was a bit skeptic at first, but wanting to check this project off of my never ending to-do list, I decided to give it a try.
Simply apply Mask & Peel on all the glass, allow to dry completely, and you are ready for paint! It’s that easy. When you are done painting the door, you can then peel the mask right off the glass. See the steps below ~
Step 1 : Apply Mask & Peel with a paint brush.
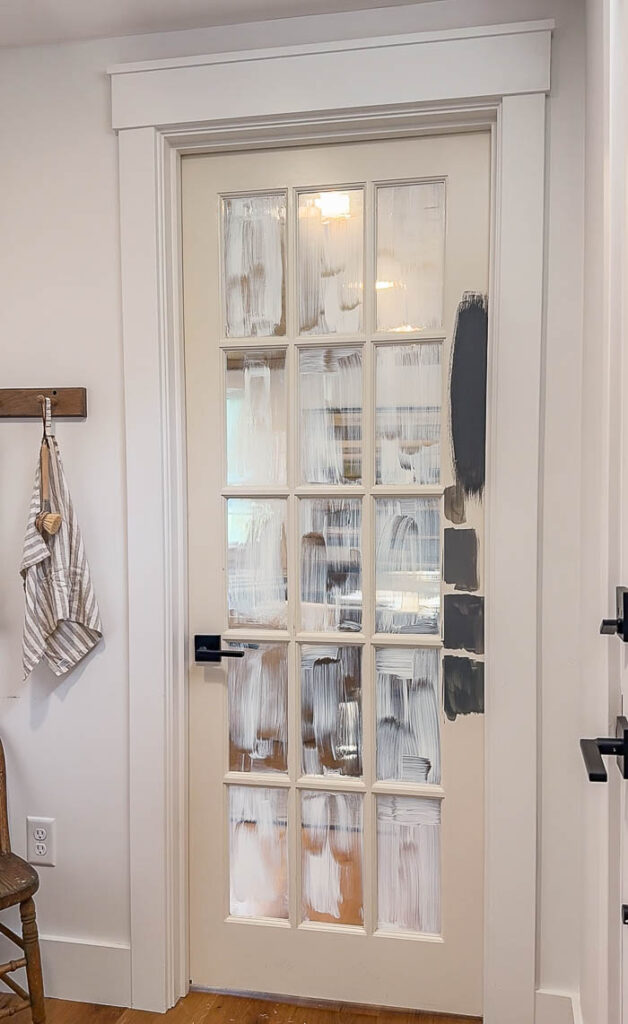
Mask & Peel is opaque when applied. It dries clear so you know it’s ready for paint! Don’t worry if you get it on the grids. When it comes into contact with sections of the door, it acts like a primer, and doesn’t leave any lines or marks behind.
Step 2 : Paint your French Door in the color of your choice.
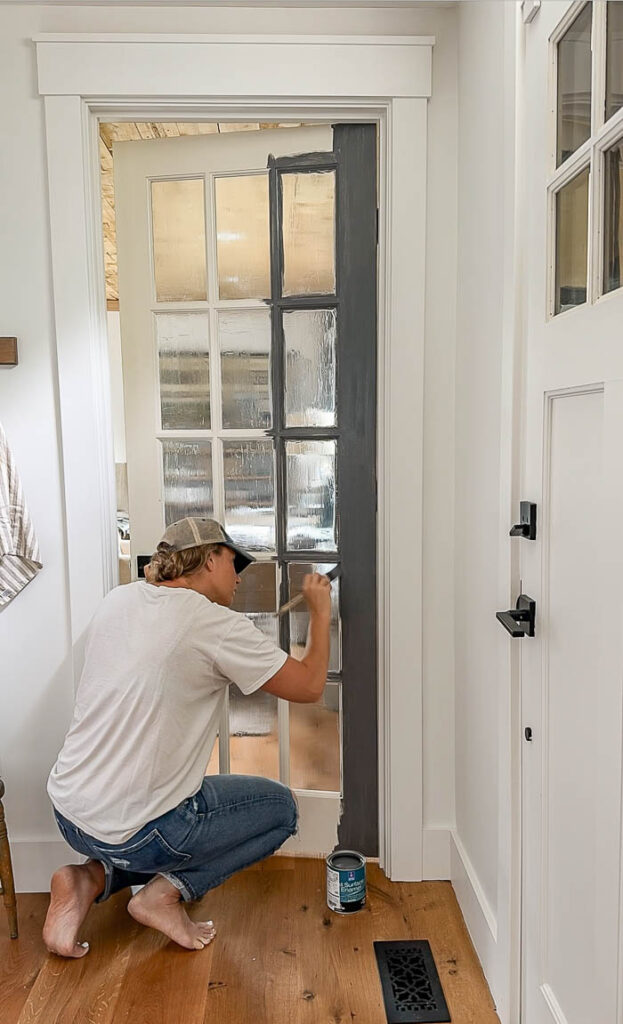
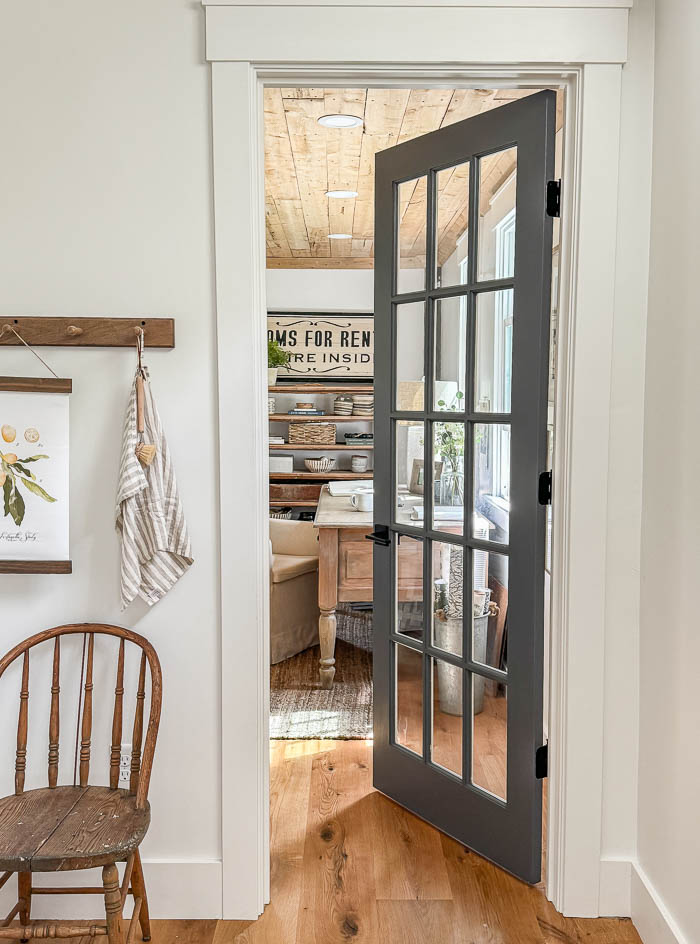
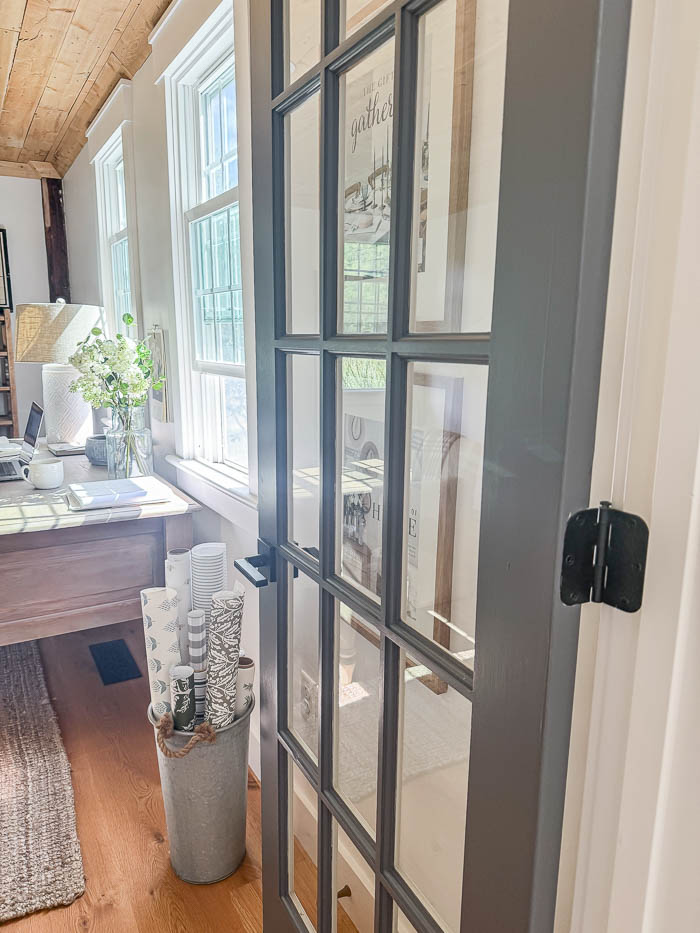
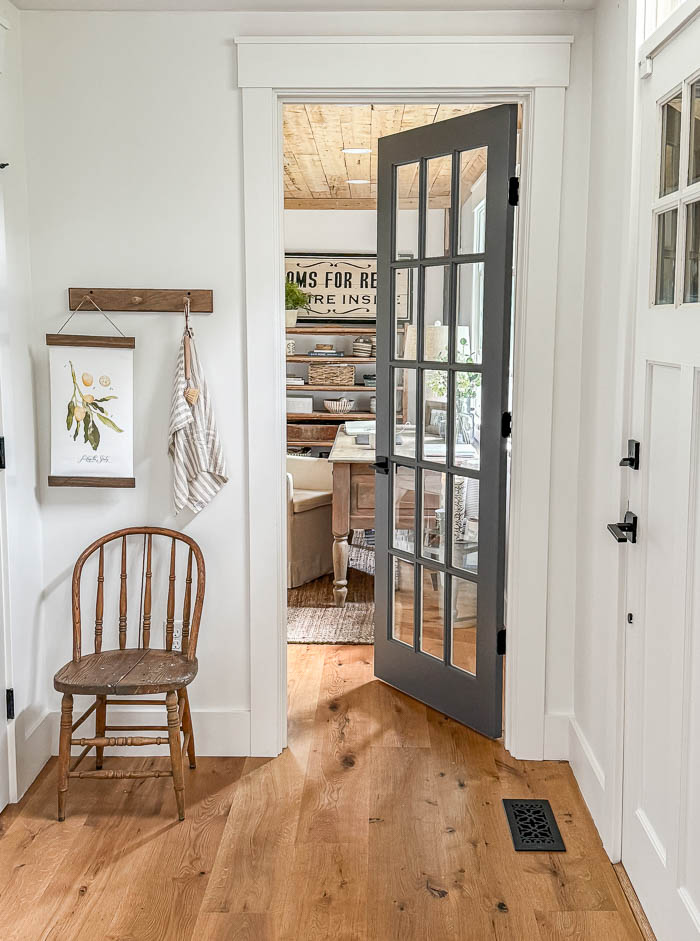
I painted our french door 2 coats of Charcoal Slate from Benjamin Moore. It’s a really pretty deep gray with blue undertones, but stays more on the gray side than the navy.
Step 3 : Score the Edges
Once your paint is dry, you then want to score the edges with a razor blade. This breaks the seal allowing you to pull off the Mask & Peel.
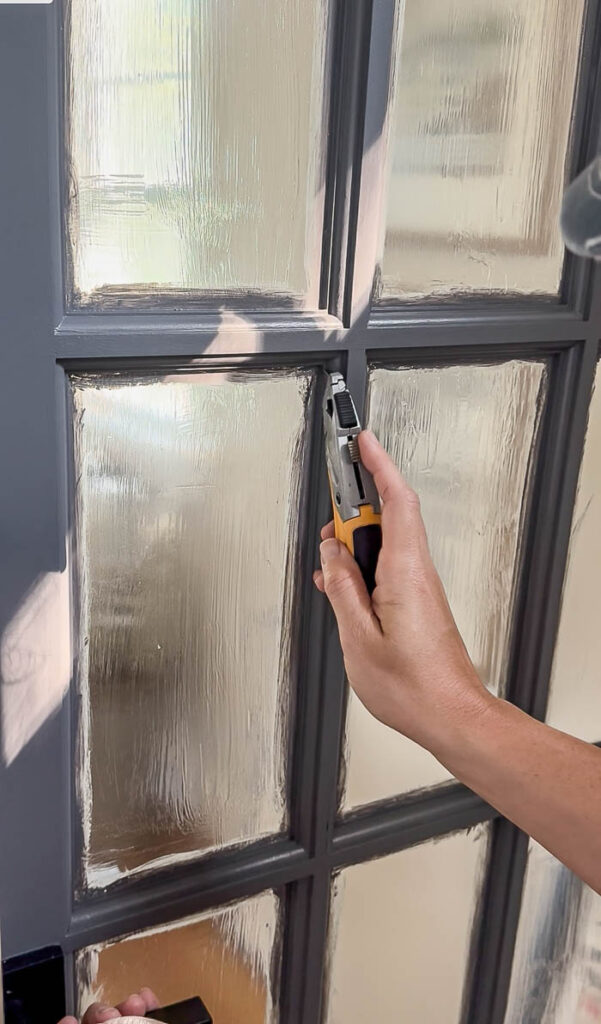
Step 5: Peel off the Mask (this is the fun part!)
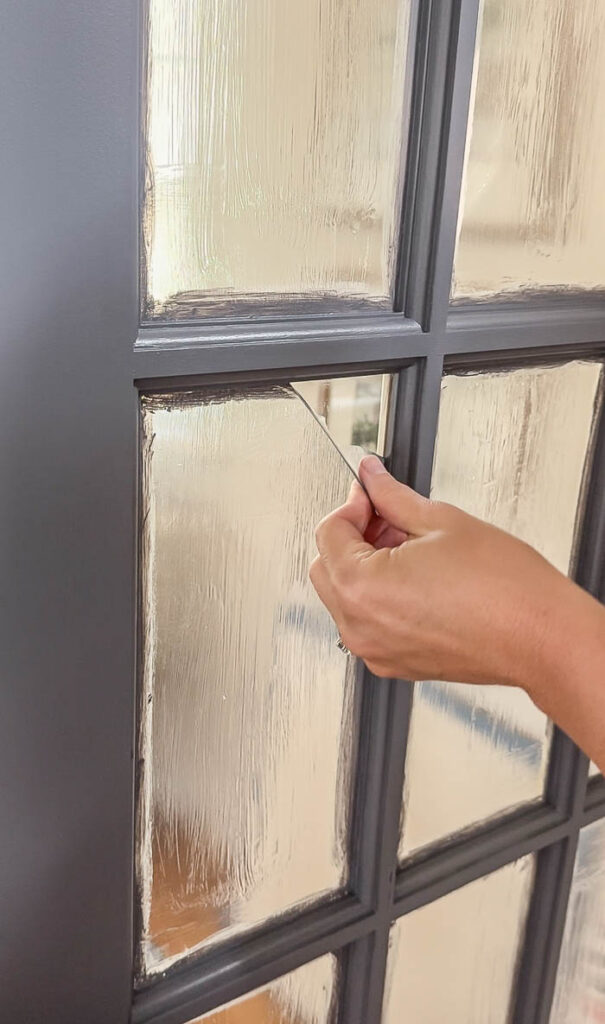
Start by gently peeling back from one corner (you may need to use your razor blade or utility knife to get things started). Once removed you are left with crisp clean lines, unlike the bleed through that can happen with painters tape. Or worse, tiny pieces of painters tape get left behind when trying to remove them.
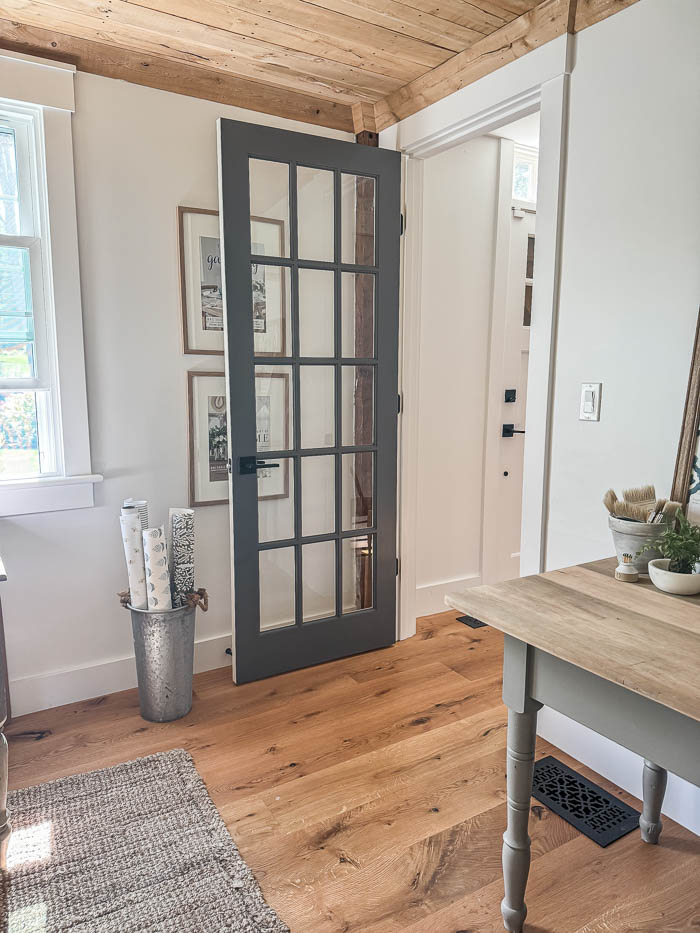
Here is the After !
Tips :
- I tested the application process in two areas at the same time for comparison. I applied two coats on our french door, and only one coat on an old window we have with similar panes. Applying two coats, or a thick coat of the mask & peel made it easier to peel off once I was done. The window where I only applied one coat didn’t want to peel off as one piece, but rather tiny pieces that I had to end up scraping off in some areas.
- I also found it easier to peel off mask if the entire window pane was covered with it versus just applying the mask & peel along the edges like some tutorials online show. This also makes it easier to remove the entire sheet all at once, for a quicker peel time.
KariAnne shared this today in Thistlekeeping, I knew it was your pic without even looking! That is legit the coolest DIY supply I have ever seen! I’m always in the “oh I don’t need to tape, I’ll be careful” camp and always mess up!!