Hi Friends!
We have been steadily working on our back deck renovation over this past summer. I shared our plans with you HERE, and our back deck appearance has changed quite a bit since then. If you’ve been following along in my stories on Instagram, then you have gotten to see a lot of the changes firsthand. But I thought it might be nice to share more of the photo progression here, especially for those who haven’t had a chance to see the progress yet. We aren’t finished with the back deck yet, but the progress is certainly noticeable.
Here is the progression of our renovation so far ~
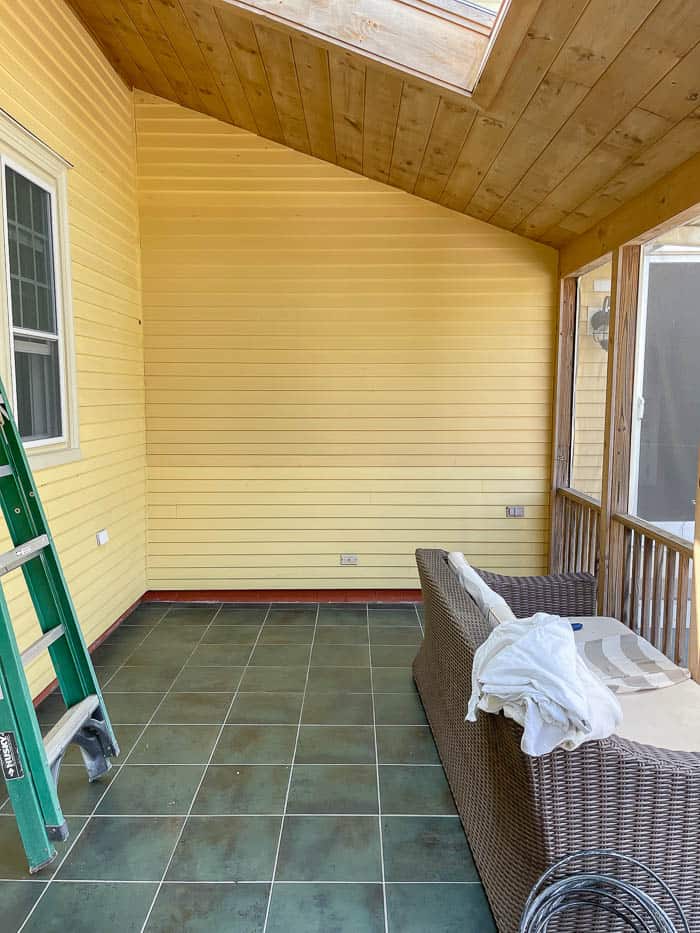
Last summer I painted the exterior walls of our screened-in porch white, knowing that the rest of the house will be painted at some point. This gave our porch a little mini refresh while we waited to tackle the rest of it.
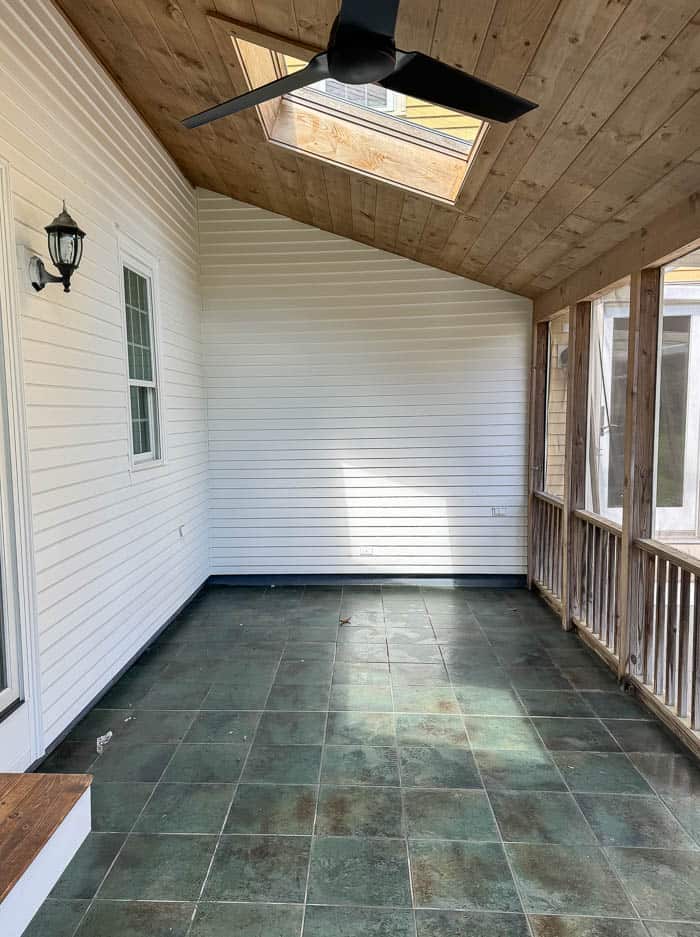
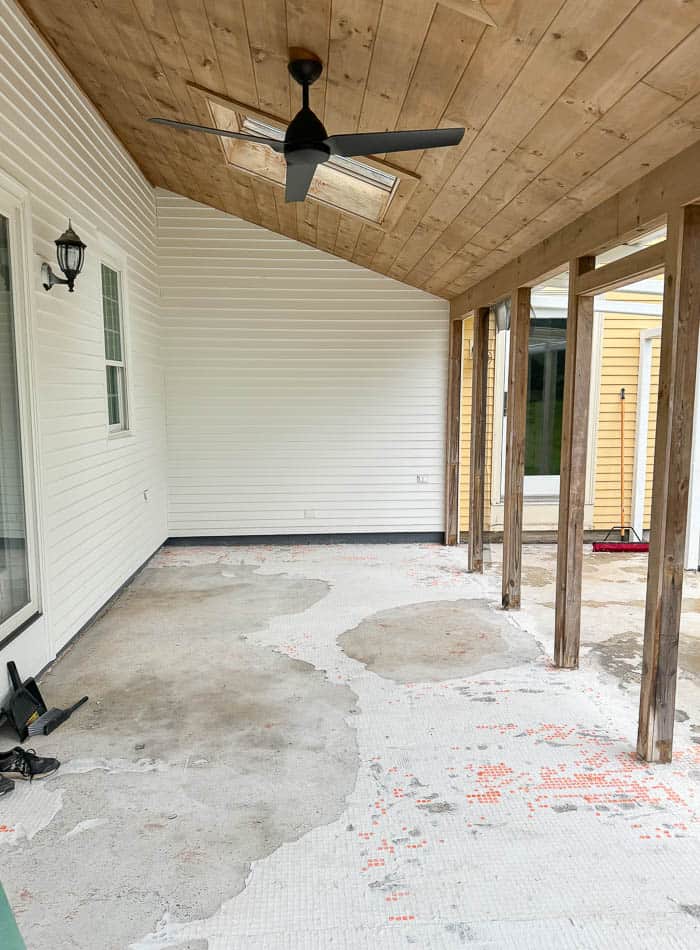
Once we were ready to start the renovation, it was time to remove all the railings and screens so that we could demo the tile and remove it to have new decking installed. I explained in my Porch Design Plan post why we needed to completely remove the tile before installing new decking vs. installing the new decking over the tile. Trust me, if we could have avoided this step, we would have, but sealing the concrete properly underneath this step could not be avoided. You can read more about why – HERE.
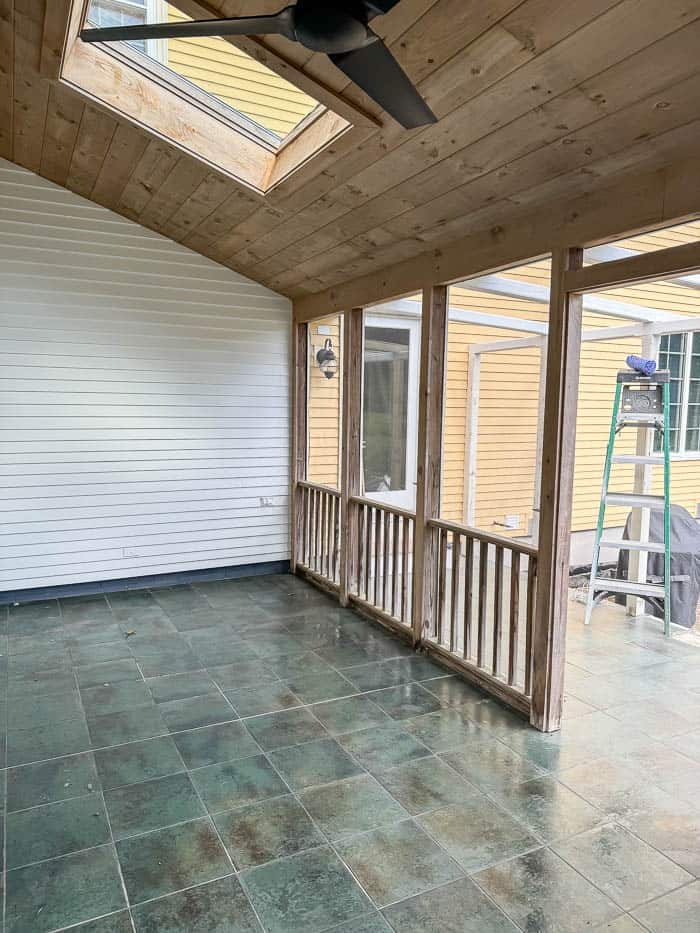

To how it looks today –
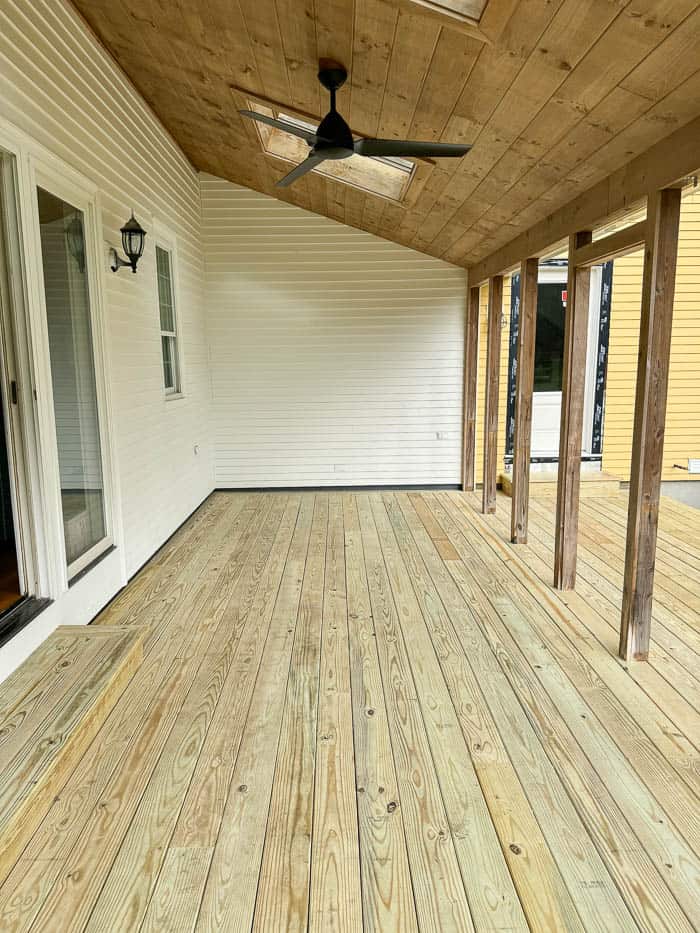
Here is how we got there –
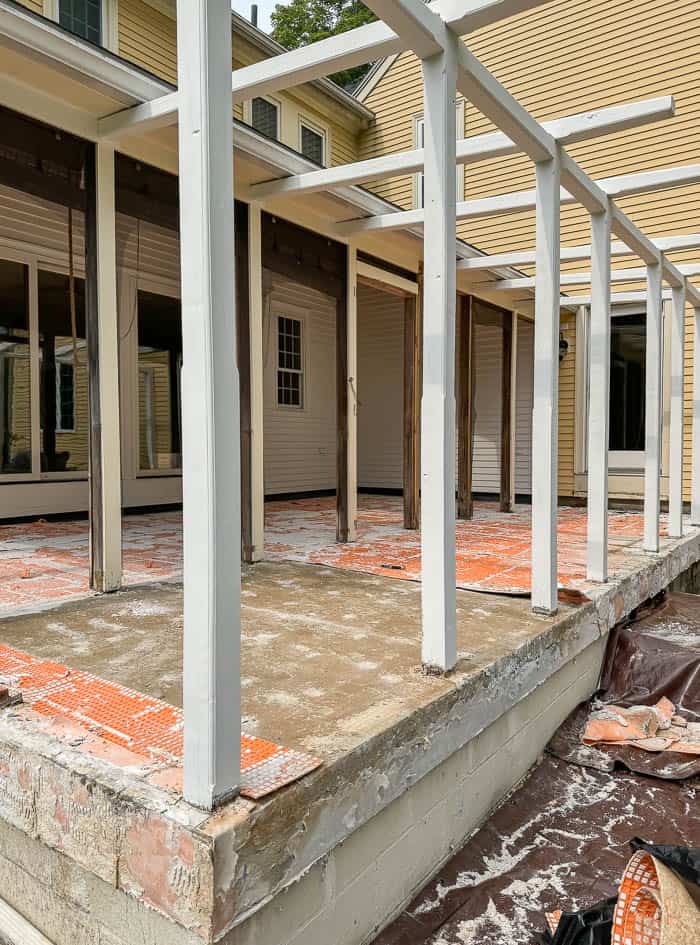
After the tile was removed and all the waterproof membrane underlayment, we could start installing the new decking. We hired a contractor friend to do this portion of the project. Installing decking over a concrete foundation required first building a platform to allow room with air and water to drain to prevent future wood from rotting.
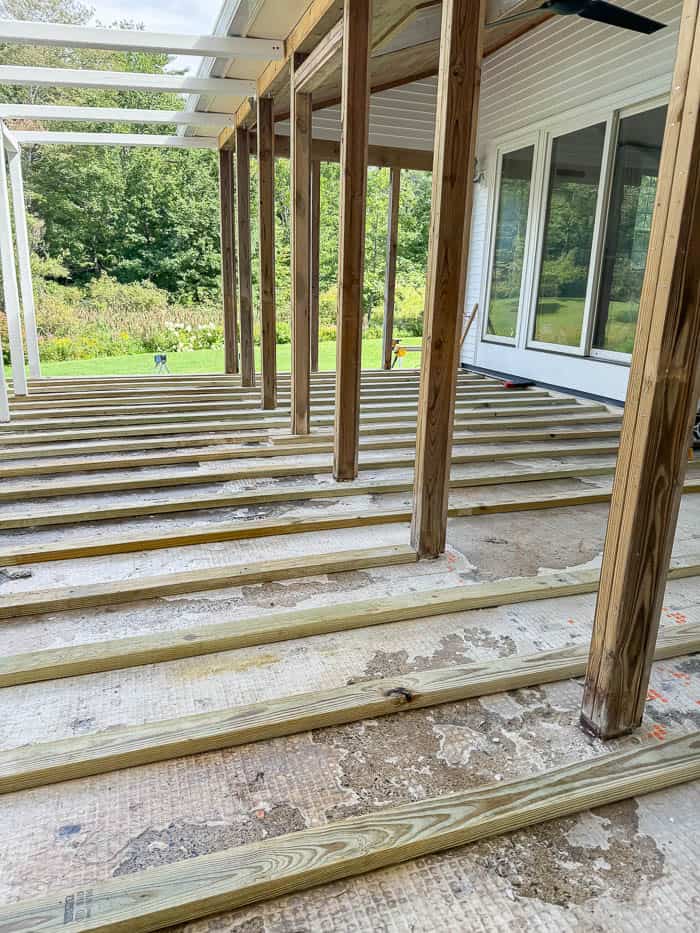
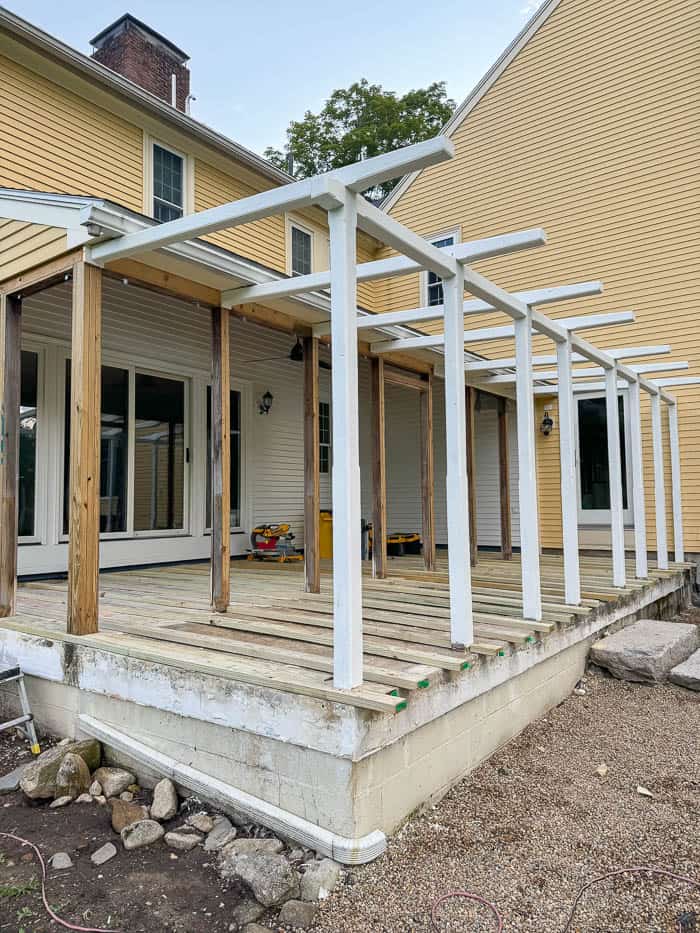
During this part of the project, we found out that the beams used for the pergola on the outside portion of our back deck were completely rotted. Despite my best efforts to bring the pergola back to life with a fresh coat of paint, the posts and beams were not going to last much longer. So, before our contractor installed the new deck boards, we made the decision to remove the pergola completely, which also meant we no longer needed to cut around the pergola posts.
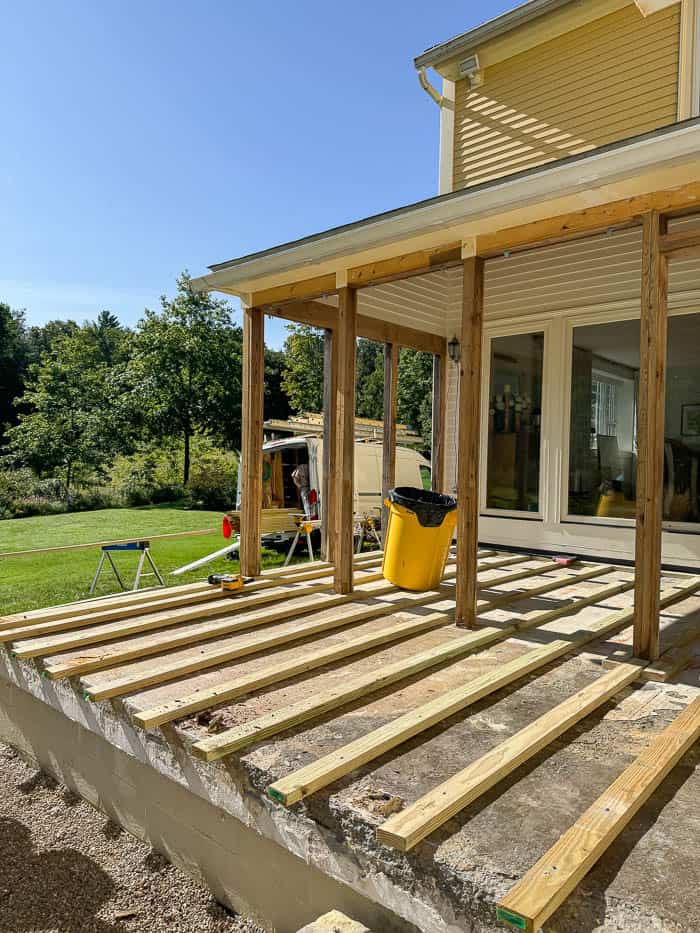
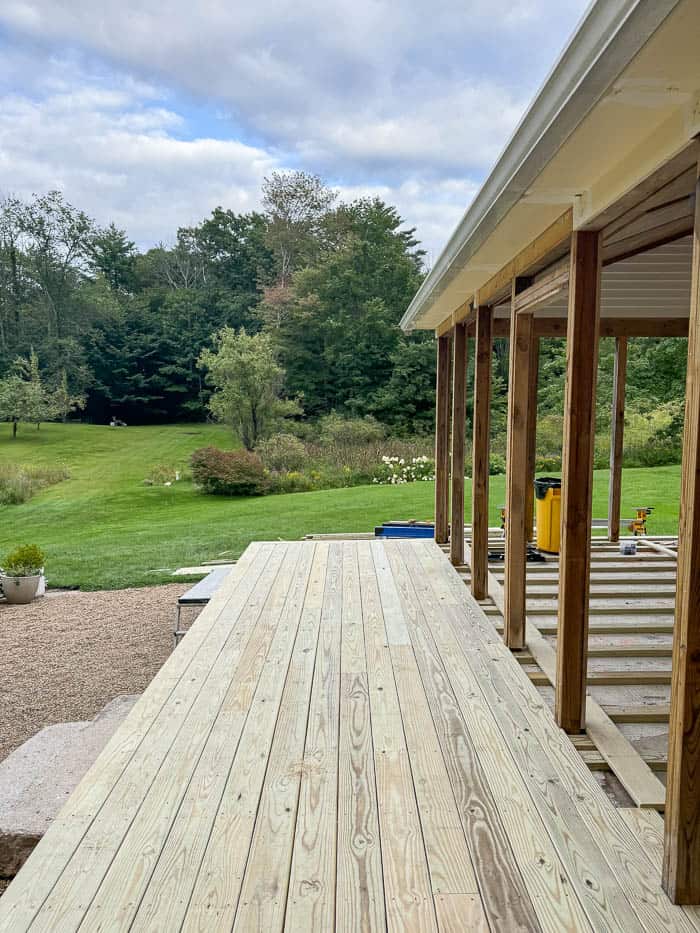
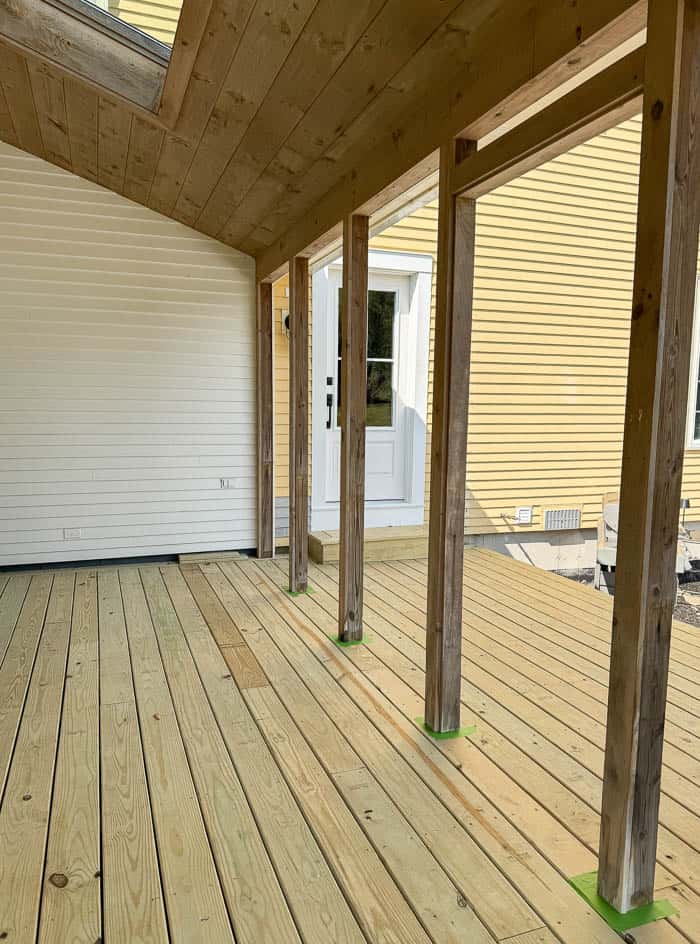
Where we started –
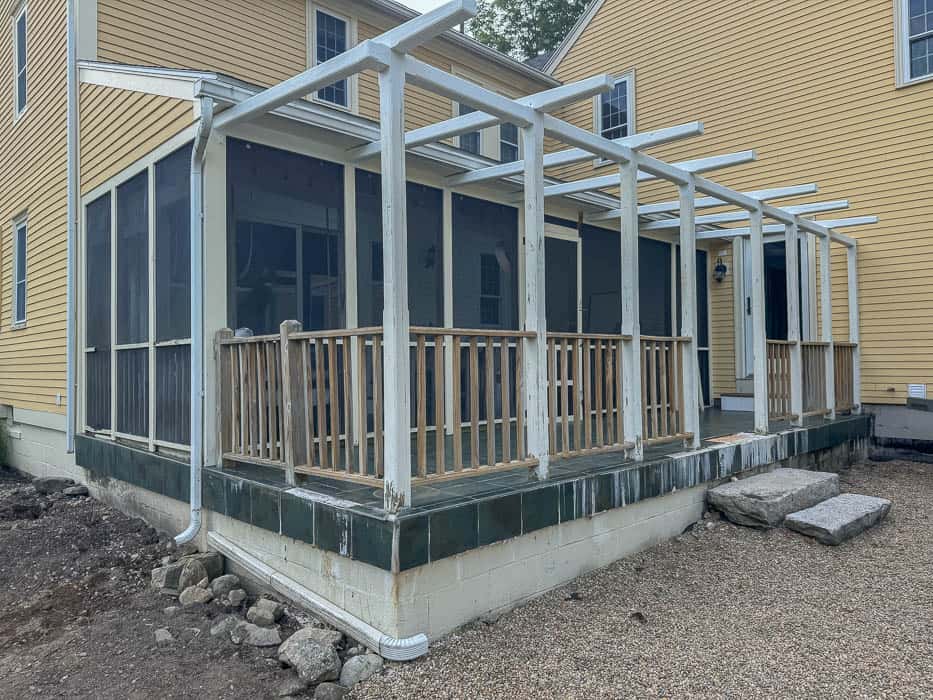
Where we are today – Progress
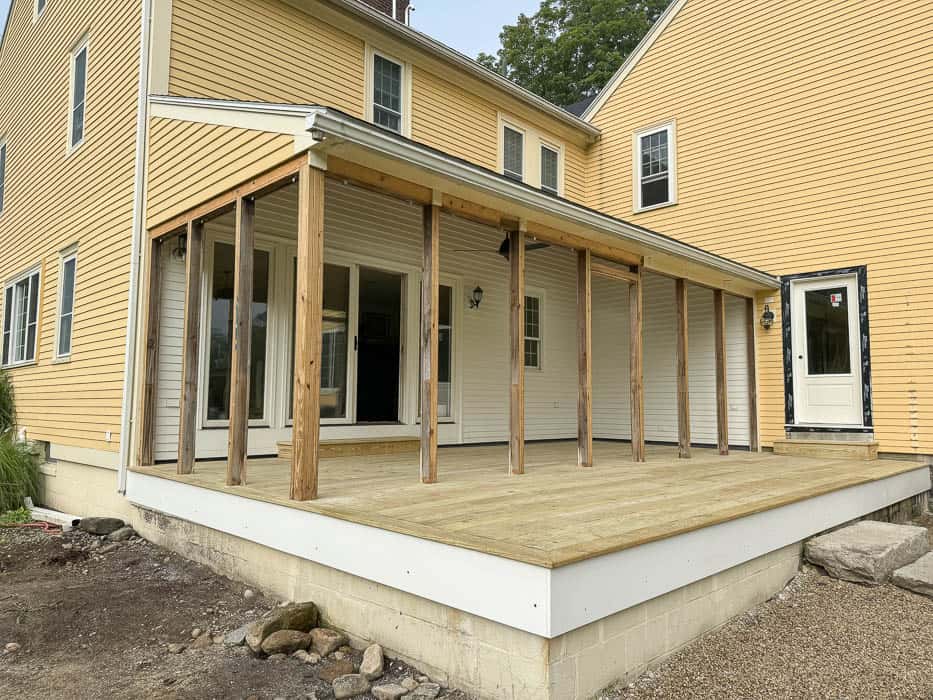
Then it was time to paint the posts.
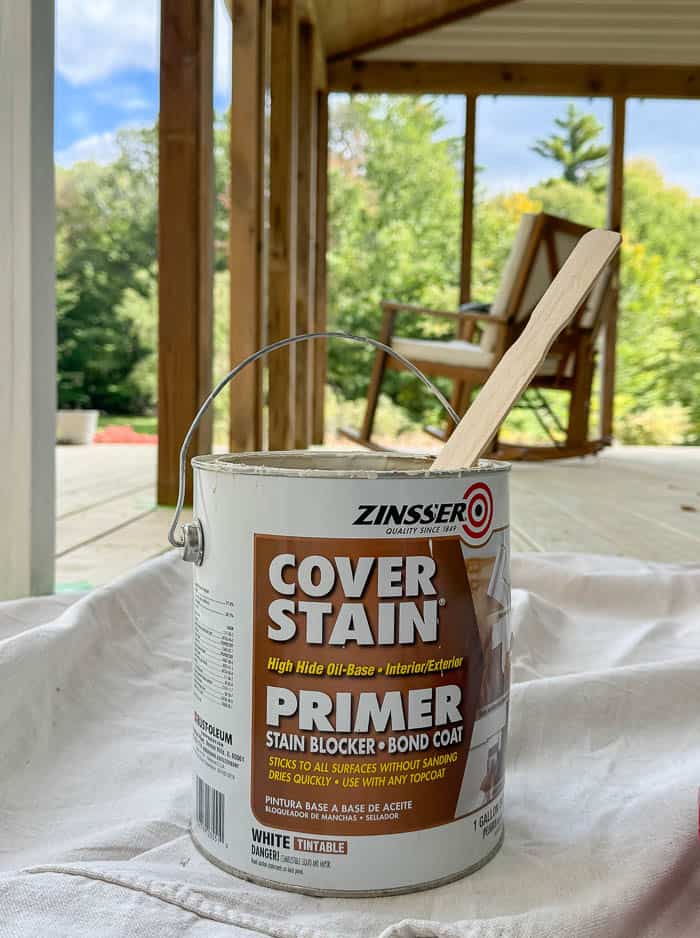
I knew it would be easier to paint the posts before we reattached the new screening, so I got to work last month on painting each post. I began with two coats of Zinsser Cover Stain primer, followed by two coats of Emerald Rain Refresh Exterior paint from Sherwin Williams.
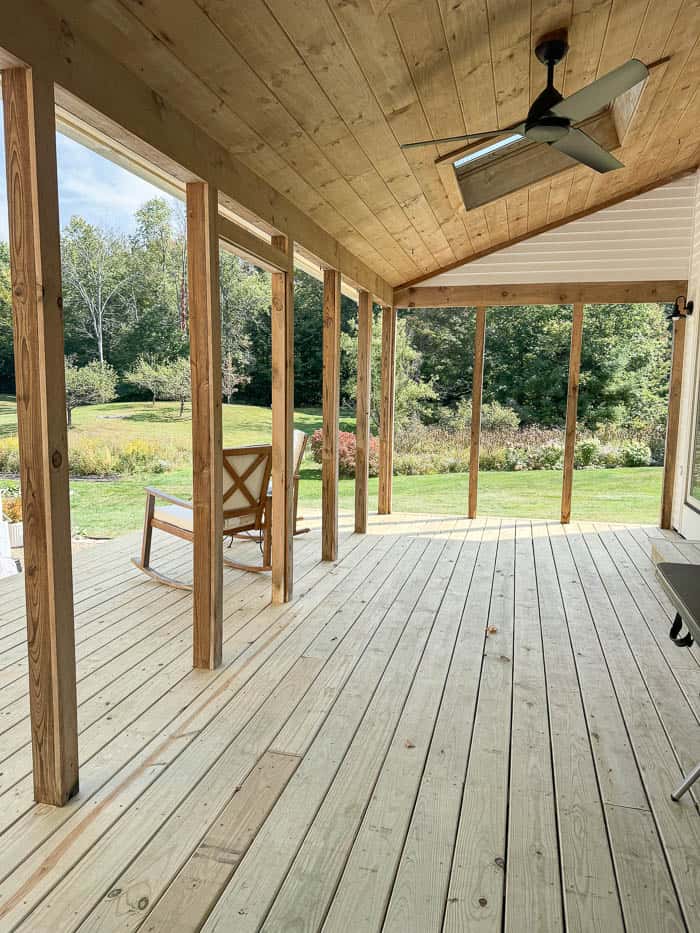
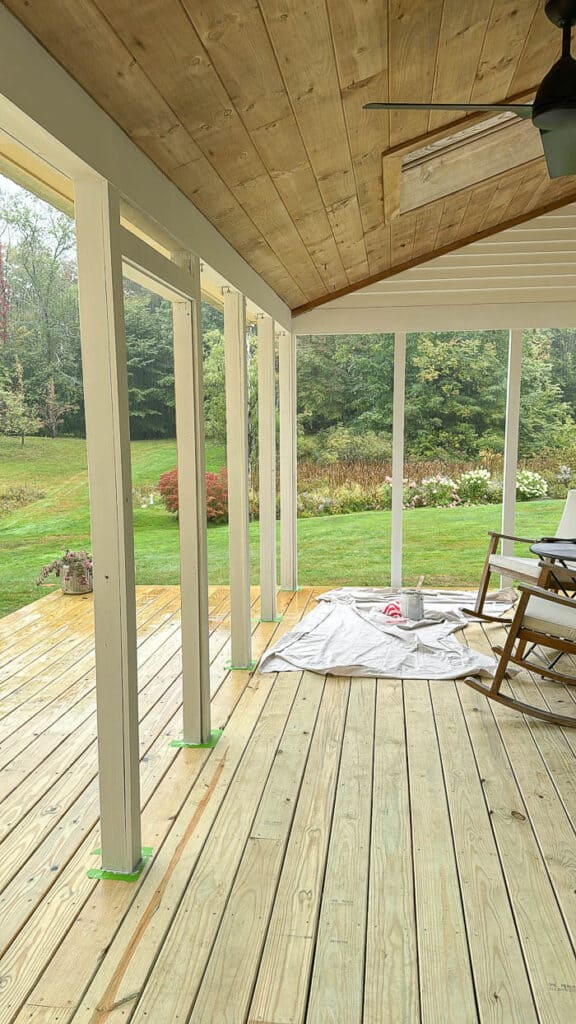
In the spring, we will install new screens for the screened-in portion of our back porch. Finish the exterior trim around the screens and build a new screen door, as well as stain the new deck boards once they are ready. We have certainly been enjoying the progress on our back porch in the meantime and are so excited to have this project nearly complete!
See our Back Porch here Decorated for Fall


Very nice pictures
Great renovation! You’re my favorite home improvement/decorator blogger. Keep up the good work.
I just love your home, at 68 years old and doing holidays for years I need a little peace and calm. This year I told my kids I will do holidays until I am 70 and then its up to them. Do you know what they said you cant do that this has always been the home for our holidays and now our kids holidays. ( Go ahead kids make me feel guilty) Kids they never leave.