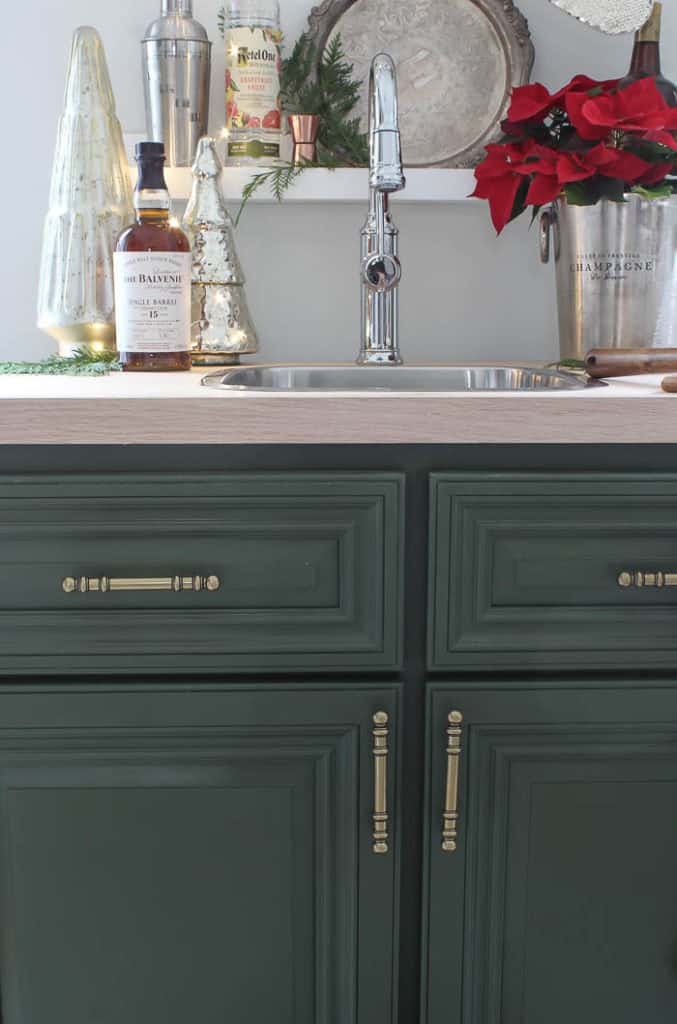
Hello Friends!! I am so excited to share how we built this Wet Bar area, perfect for any holiday entertaining you might be doing. I can also add that if you host or entertain even just handful of times throughout the year, you are going to love having a set up like this to do so! I’m always on the hunt for ways I can make entertaining easier, and incorporating pieces that make hosting smarter not harder. If you love to entertain, you are going to love how easy this wet bar is to create. Honestly, I think it sounds more intimidating than it is. So let me show you how we created our new favorite spot to make entertaining a breeze!
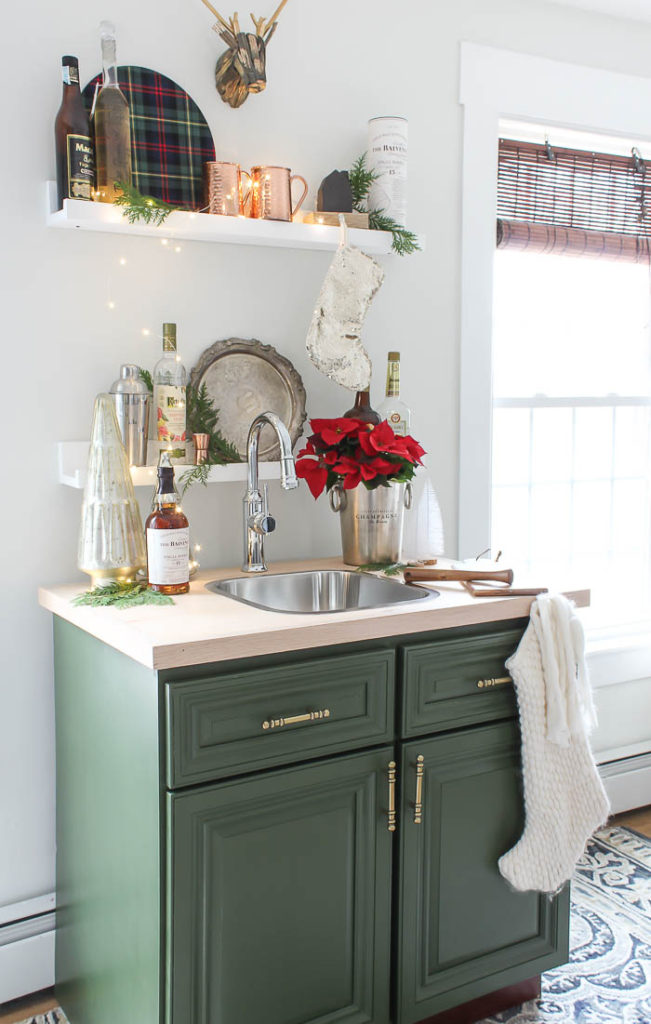
I partnered with BLANCO America to help me transform this little unused spot in our house into a fully functioning wet bar, just in time for the holidays. I loved their selections of sinks and faucets, specifically for the bar area, and I was so impressed with the quality of their products.
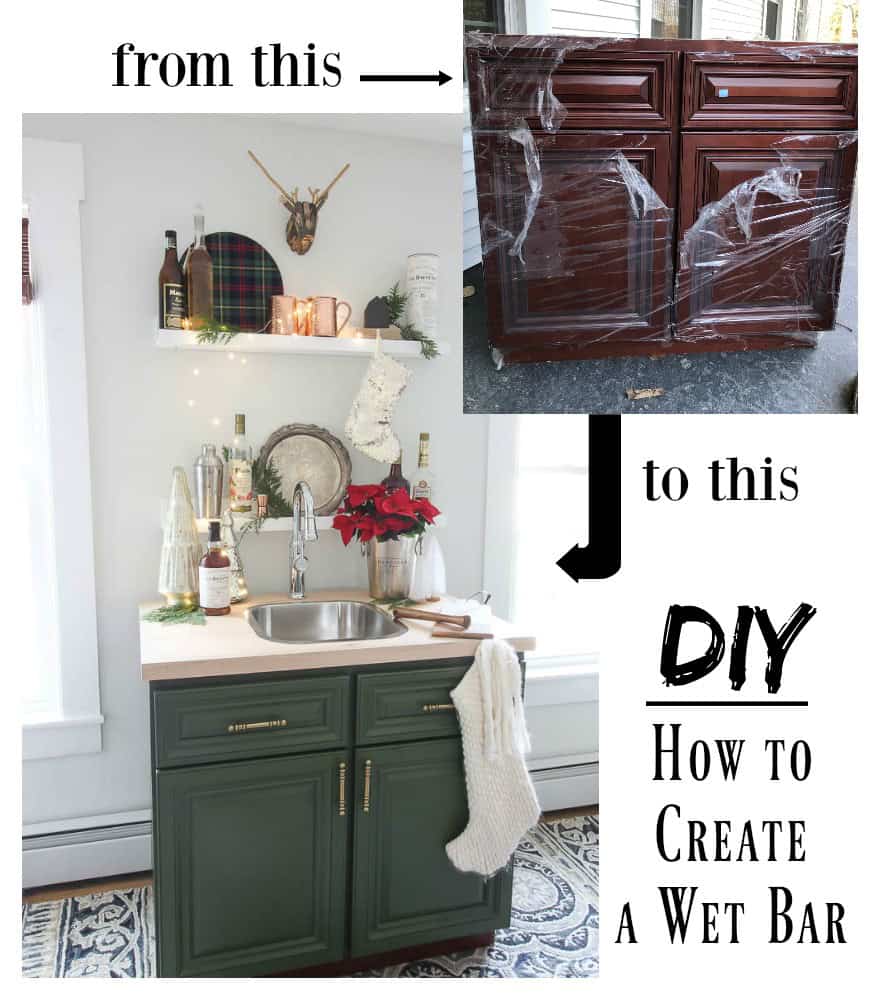
First we started with a cabinet we purchased at a local second hand store. The cabinet itself was actually brand new, it might have just been an extra in some one else’s kitchen reno, but their oops was our gain!
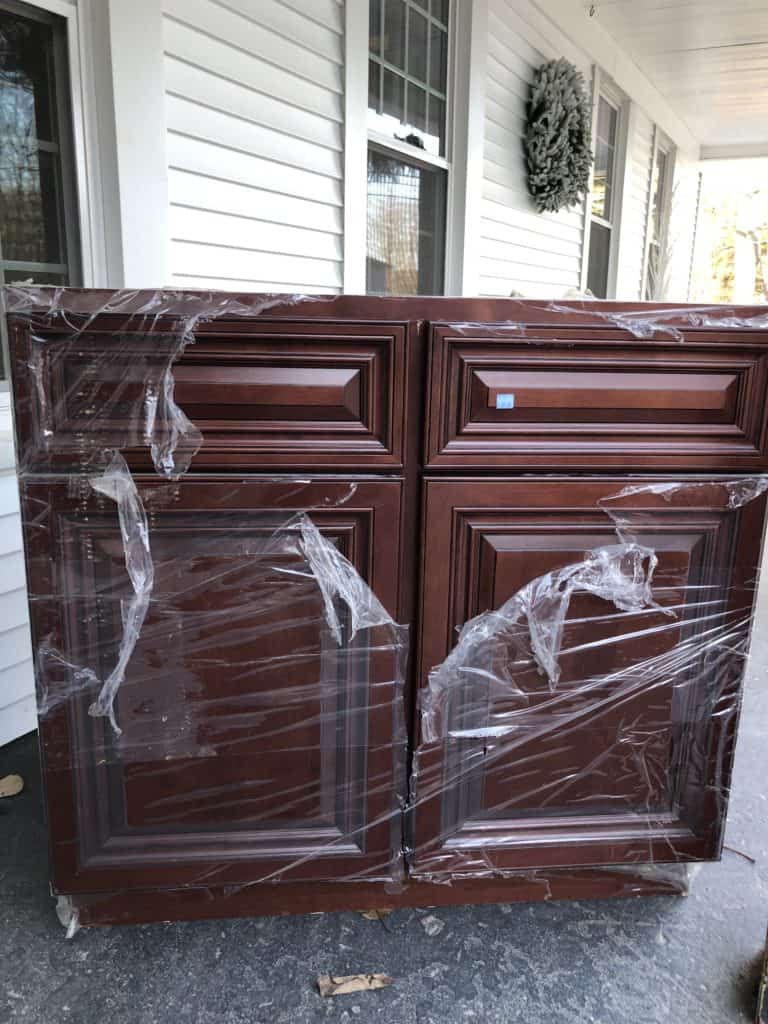
My main goal in searching for a cabinet was to make sure that it was deep enough for a bar sink, and that structurally it had clean lines. I already knew I wanted to paint whatever cabinet we ended up using, so color didn’t matter.
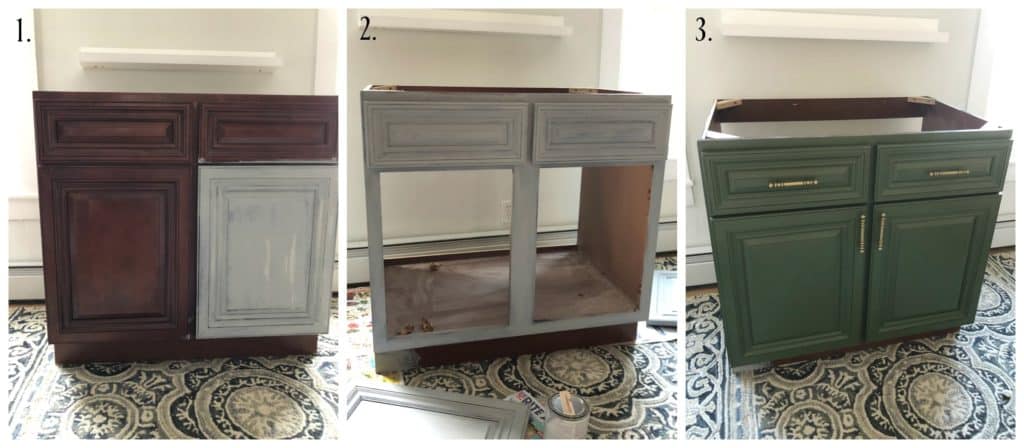
Once the cabinet was in place, I primed it with chalk paint. Since chalk paint requires zero – little prep, I knew this would make painting the cabinet easier. Once the entire cabinet had one coat of chalk paint on it, I lightly sanded it with a 3m sanding sponge, wiped down any dust, and painted it with 2 even coats of “Boughs of Pine” by: Valspar.
Once the cabinet was painted and the hardware installed, which I also found the hardware at the secondhand store, it was time to build the countertop! We purchased a 4ft. x 8 ft. sheet of 3/4” Birch Plywood, along with 2 – 1×2 Oak pieces for the trim.
We measured the cabinet, and cut the plywood down to have a 1” overhang on each side. Then attached the oak 1×2’s as a trim piece around the entire countertop to clean it up.
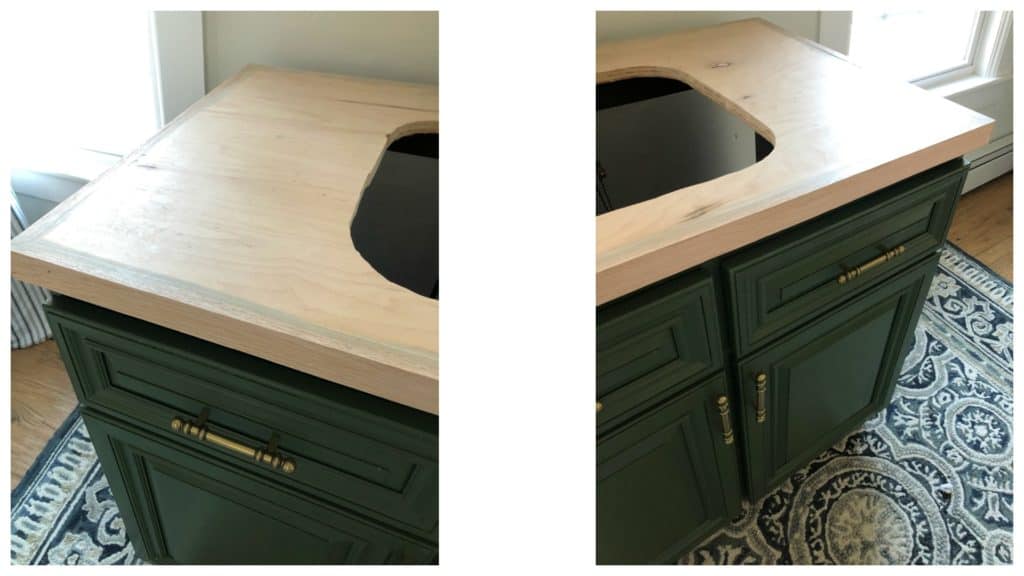
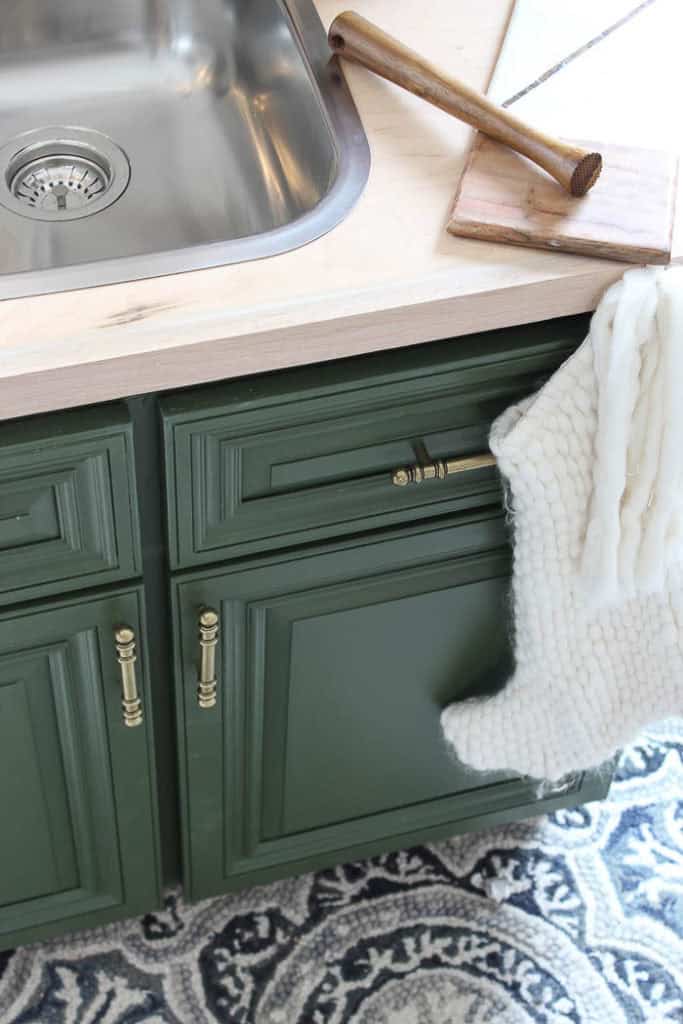
My husband then measured for the sink and faucet and used a router saw to cut out the size hole needed for both to be installed.
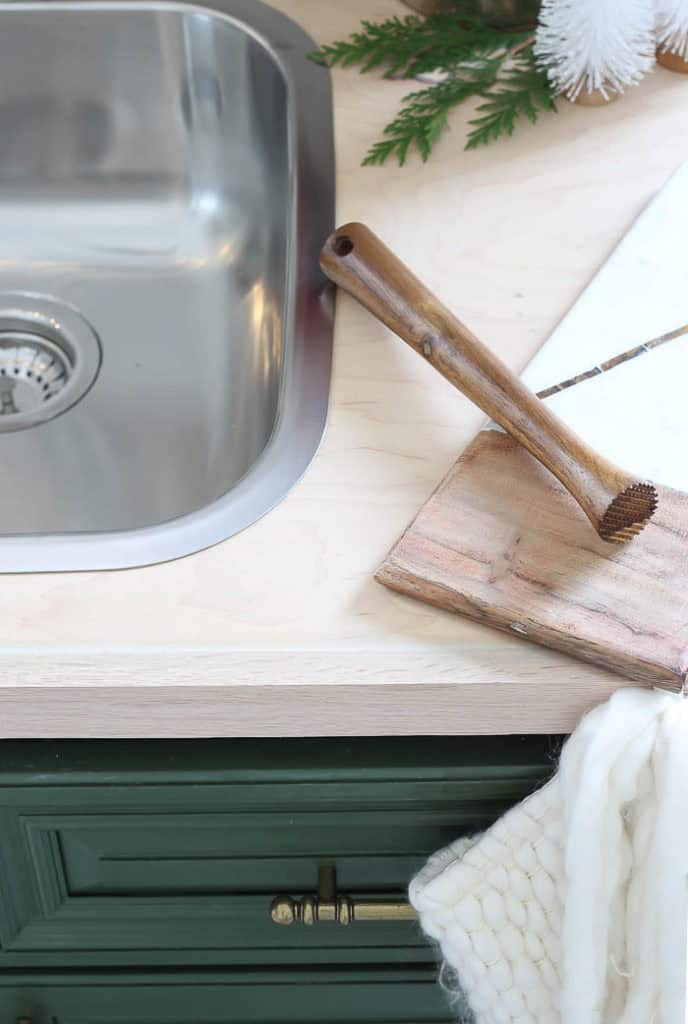
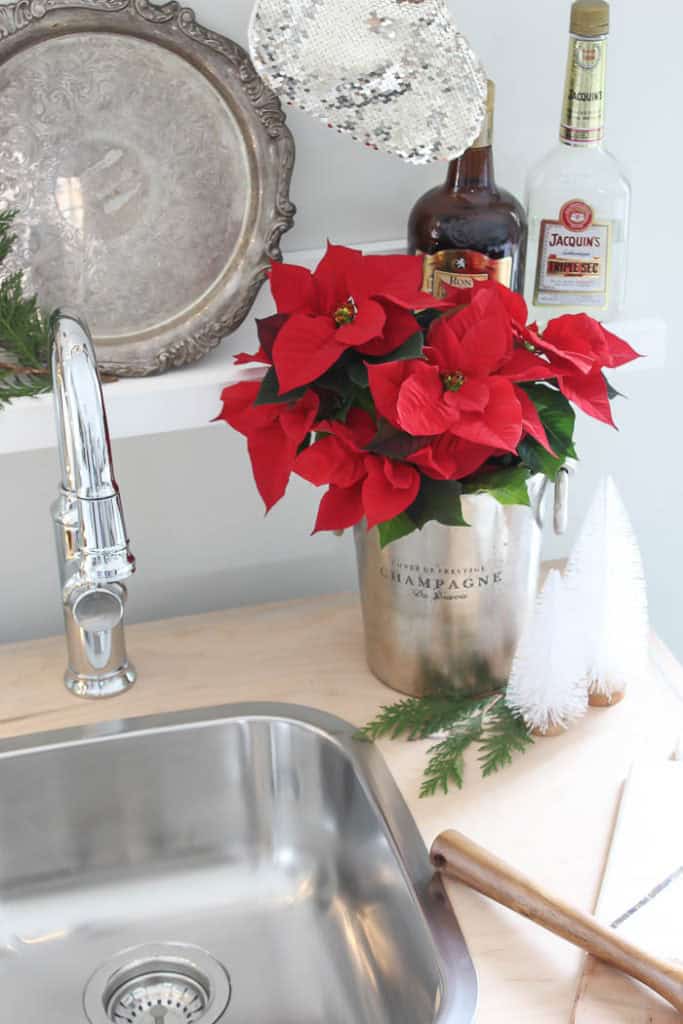
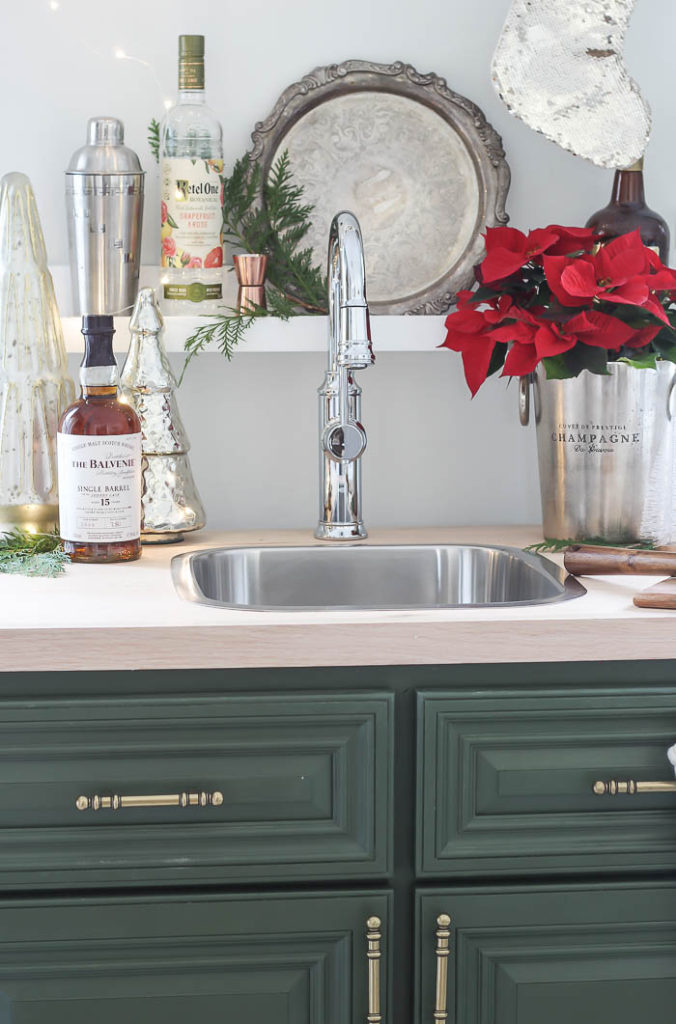
Once the plumbing was hooked up beneath the countertop, we were up and running! The sink came with mounting clips to make installation so easy. I chose the BLANCO Supreme 3/4” Bowl, and love having one large bowl to make clean up quick too!
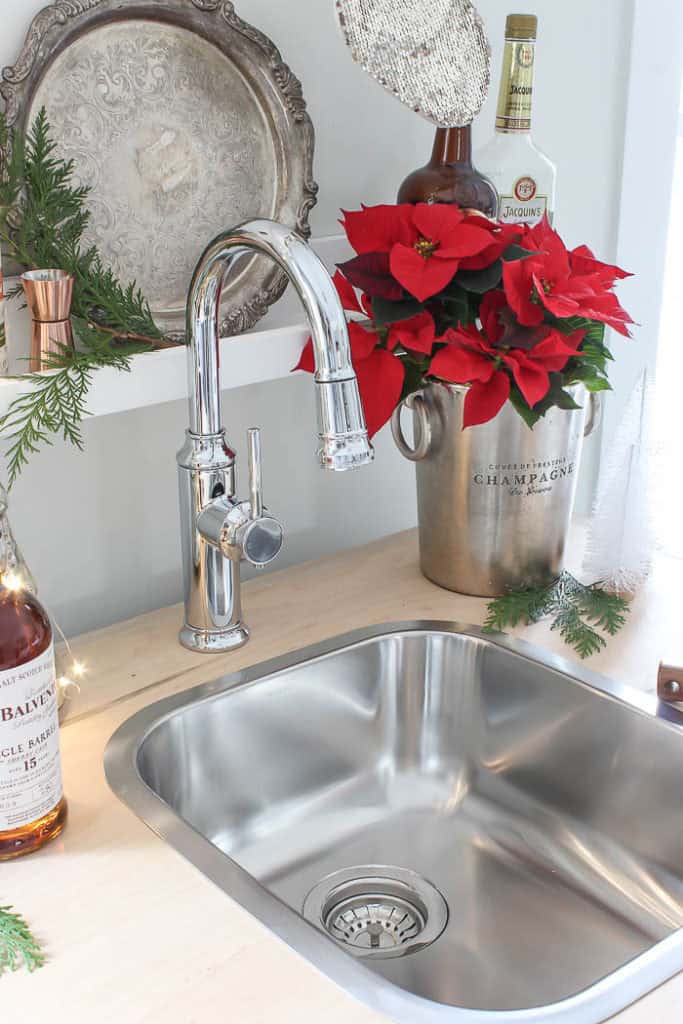
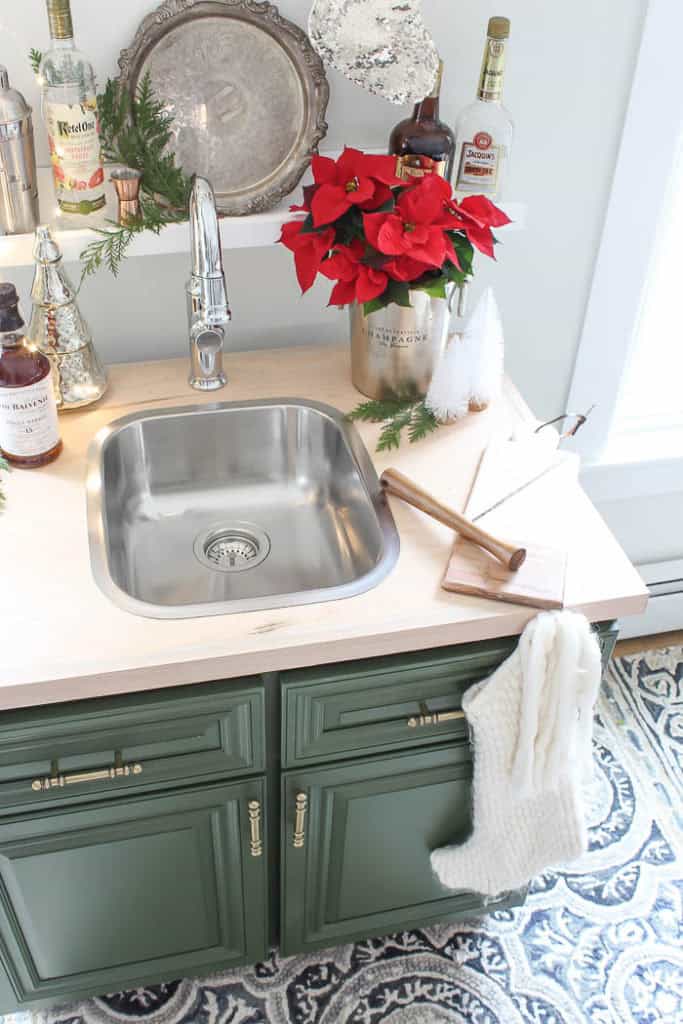
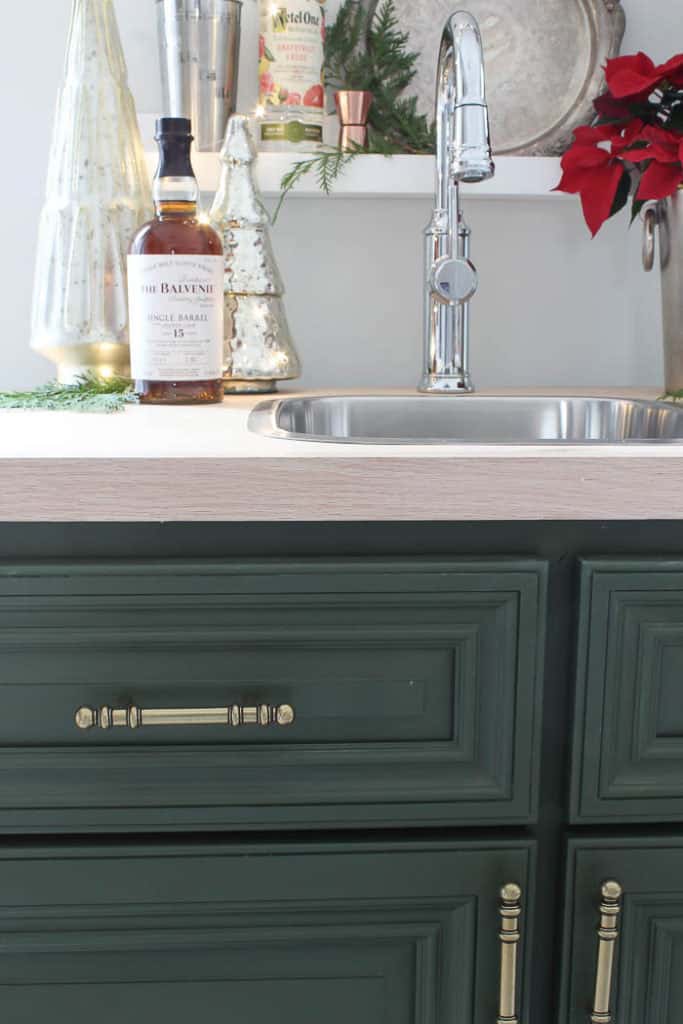
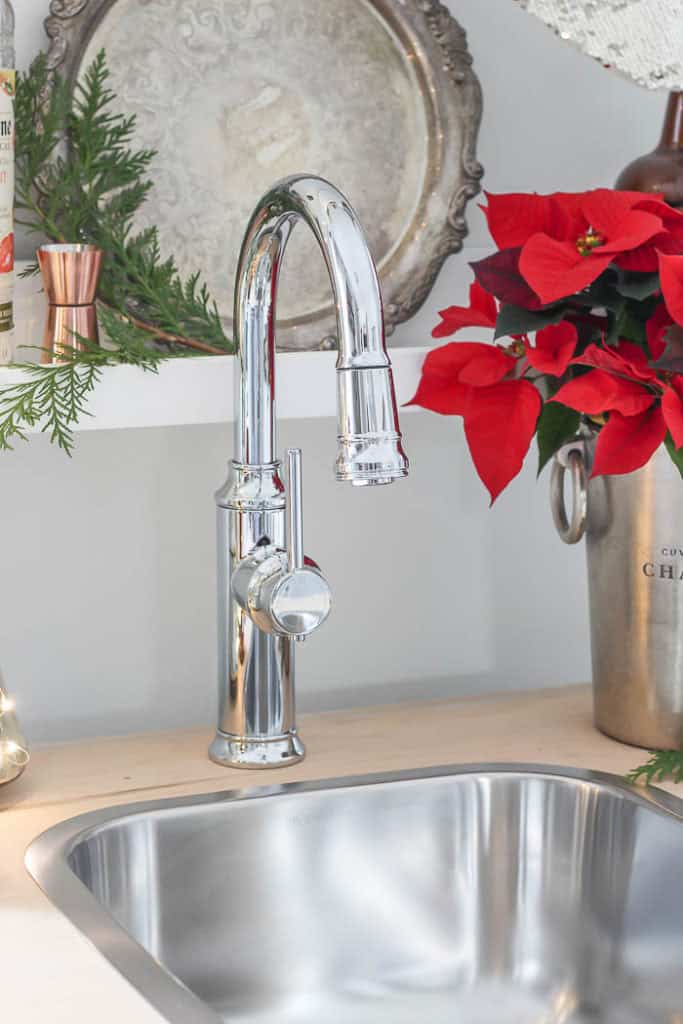
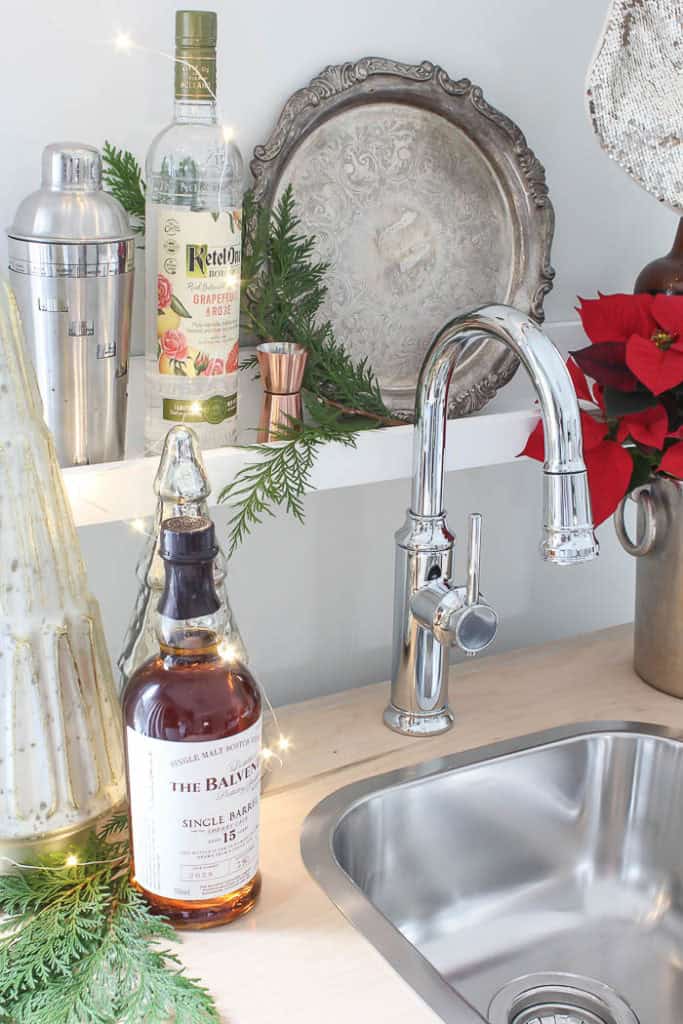
I love the vintage look to this gooseneck faucet, also from BLANCO. It’s their Empressa Bar Sink , I chose in polished chrome, for more of a high end look. But the quality alone speaks for itself once you touch it in person. It’s a timeless design, but full of modern ammeneties, like an easy pull down spray feature, making clean up most convenient.
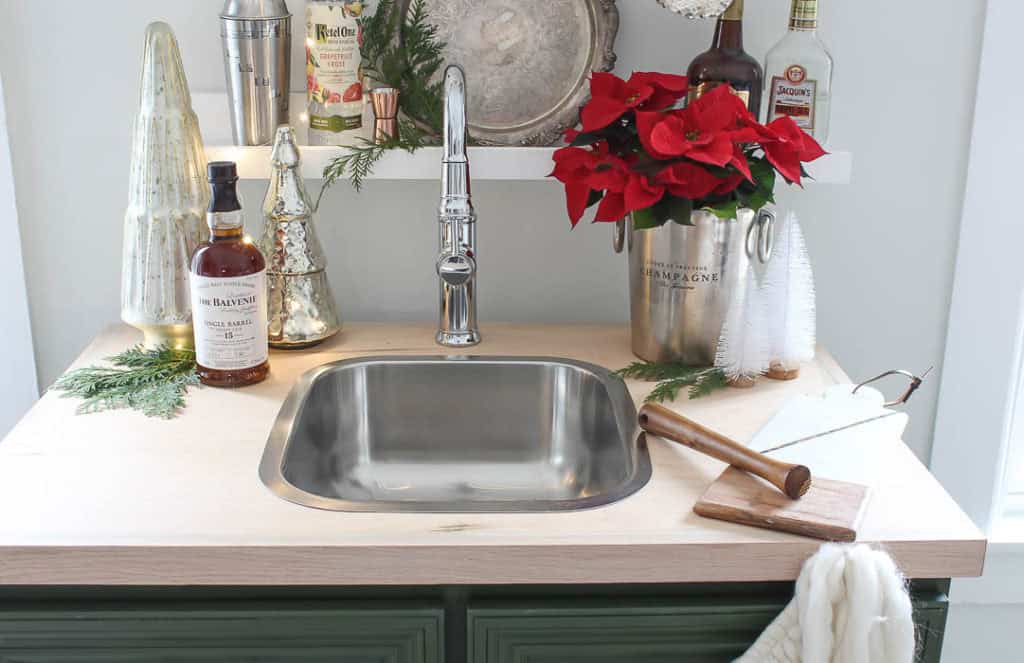
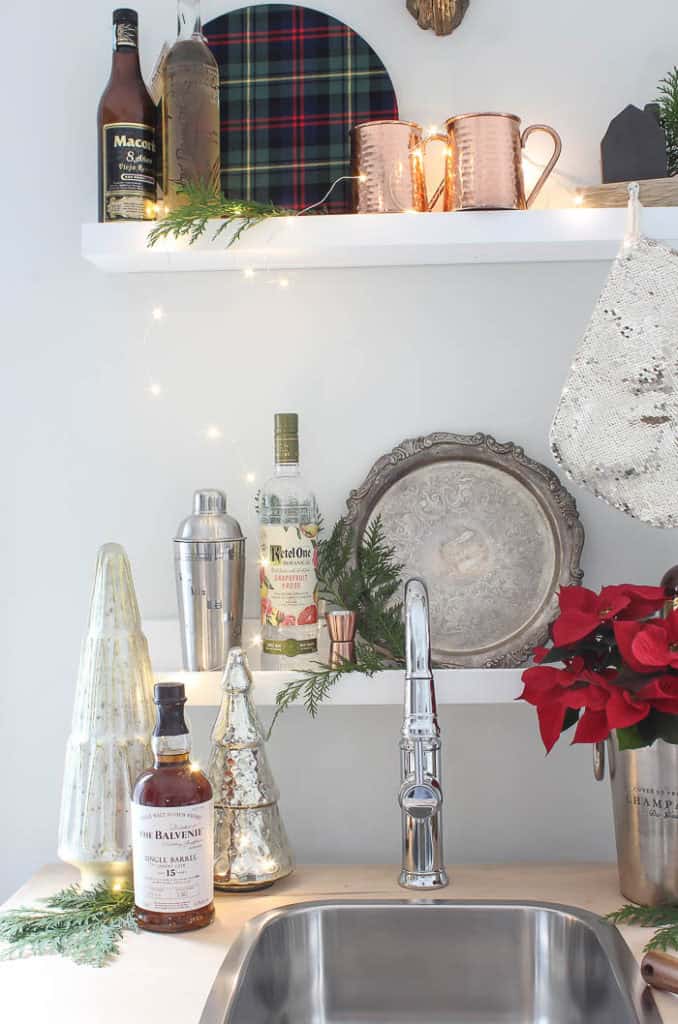
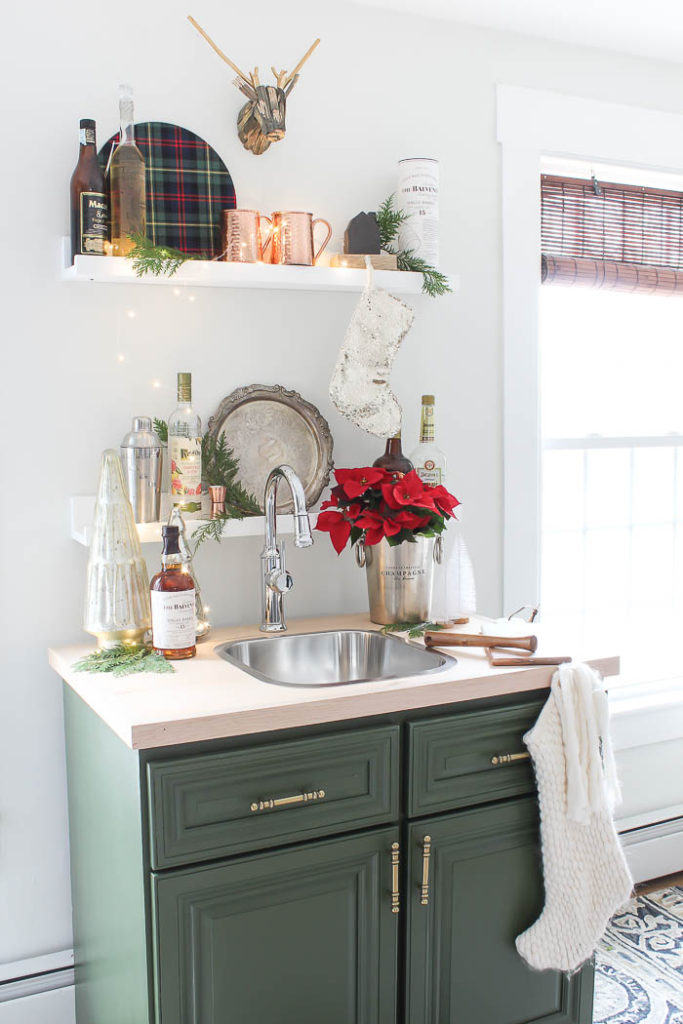
I’m so happy with how this area turned out, and of course a huge thanks to my friends at BLANCO for making this vision I had a reality. I can’t wait to entertain with ease now thanks to my new bar area.
You can see more of this space – HERE, along with a dozen other ideas for entertaining this holiday season 🙂
PIN IT – to save for later!

nice