Hi Friends!
Thank you so much for all of your kind comments about our new ceiling in our kitchen! We have worked on our kitchen little by little over the years to transform it into the space you see now. One of those transformations has been the countertop on our kitchen island. After I shared the reveal, I never got around to sharing the process of hw we built our countertop from hardwood flooring to look like butcher block. So today I’m sharing all the details on how we built our kitchen island countertop out of hardwood flooring. I’m sharing all the details on how we built it, to how we installed it over our existing countertop, to how I finished it.
Come check it out~

Why We Built Our Countertop from Hardwood Flooring
When we started our kitchen makeover, I dreamed of having a big wood countertop for our island — something that looked custom and warm, but didn’t cost a small fortune. The problem? Every butcher block option I found was either too short or way too expensive for the size we needed. So, we decided to get creative and make one ourselves!
Using solid hardwood flooring planks gave us the same beautiful wood grain as butcher block, but at a fraction of the cost — plus we could build it exactly to size. I love that this project gave us a totally custom look for around $300 instead of $3,000.
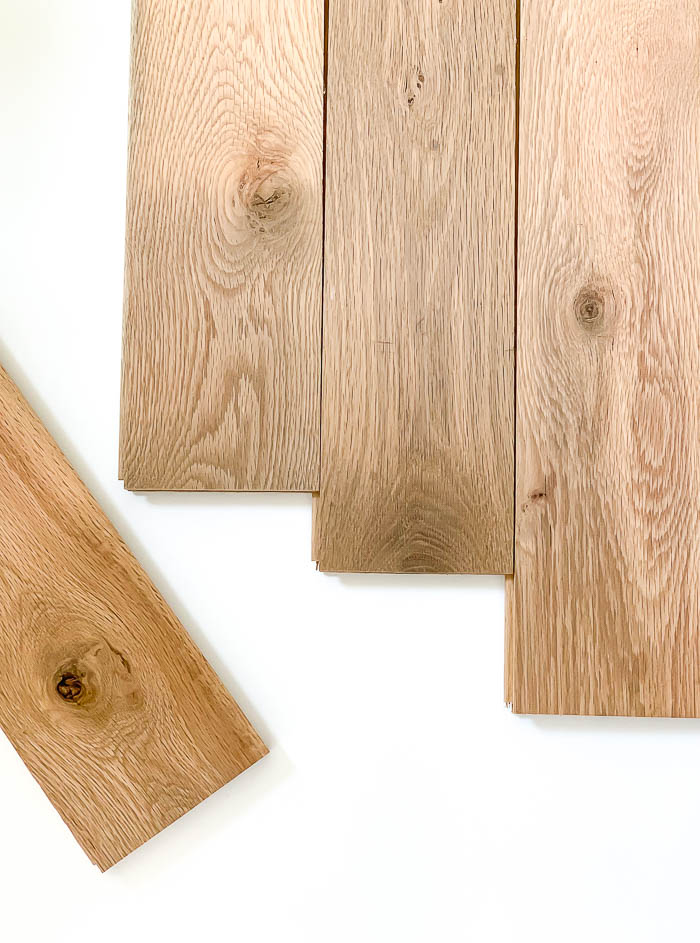
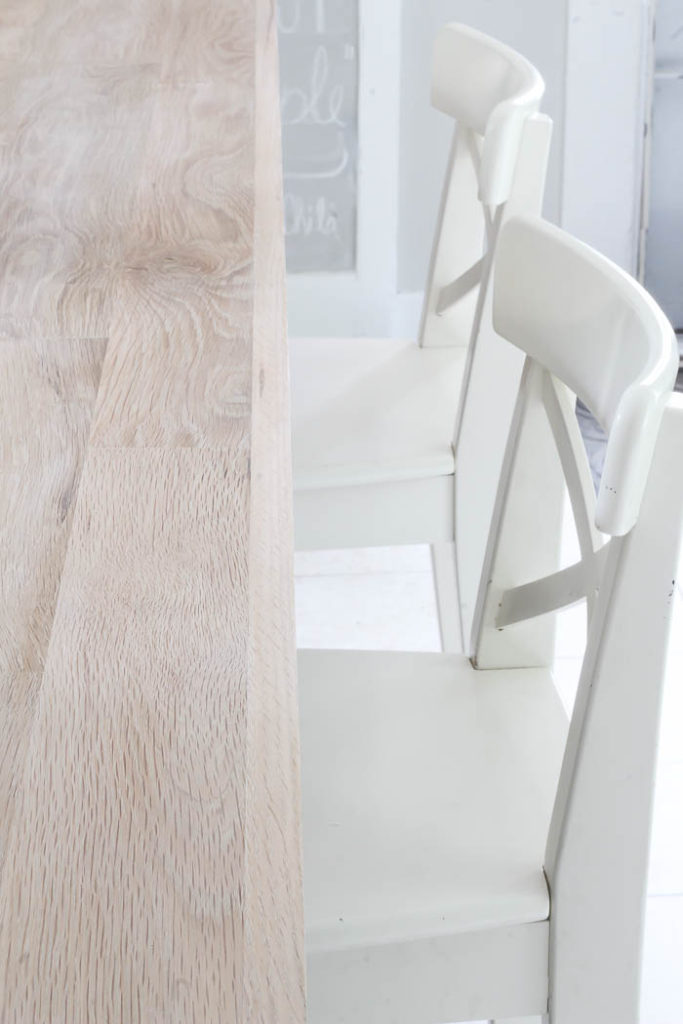
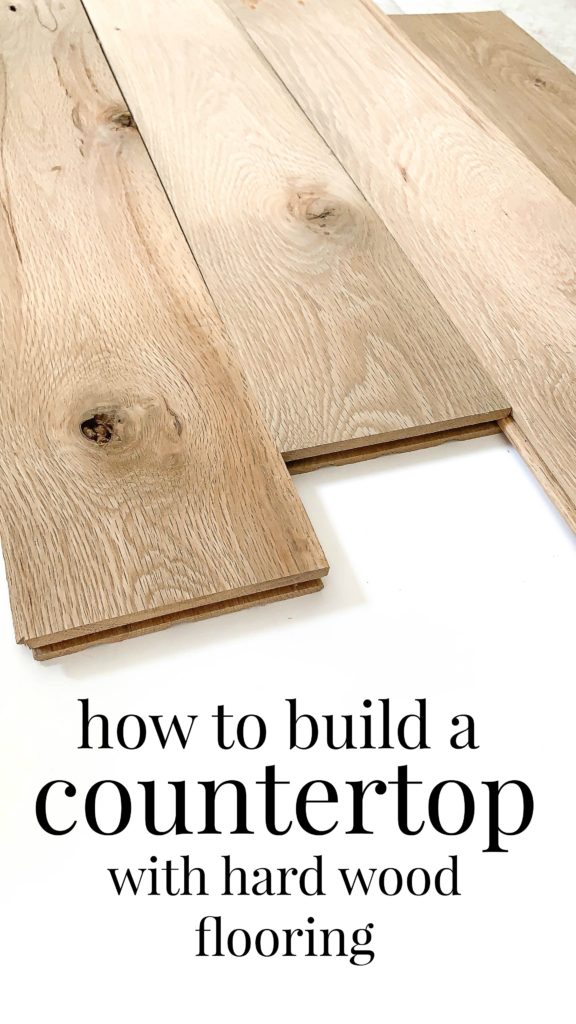
Our pick: We chose wide plank white oak flooring for a light, neutral tone that feels timeless and blends beautifully with our kitchen.
Materials & Tools We Used
- Hardwood flooring planks (we used white oak found HERE)
- 1×3 oak trim boards for the edges
- Wood glue and construction adhesive (like PL400)
- Screws and wood plugs
- White wax and satin polyurethane for finishing
Tools: Clamps, drill, sander, saw, and a drill press (optional but handy for plugs).
Step 1 — Plan and Dry Fit
Before gluing anything, I laid all of the flooring planks out on a flat surface to plan the layout. This helped me pick which boards looked best together and made sure the grain flowed naturally across the surface. A little extra time here makes a big difference in the final look!
Step 2 — Building the Countertop
Once we had our layout set, we glued the planks together side-by-side and clamped them tightly. You’ll want to keep the surface as flat as possible while the glue dries — we left ours clamped for about 30 minutes.
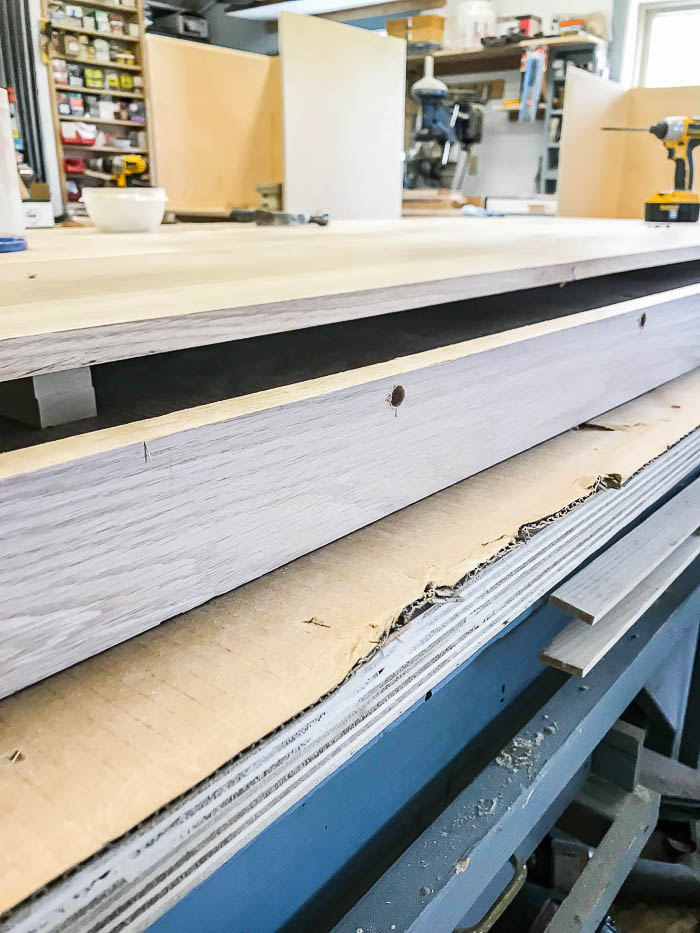
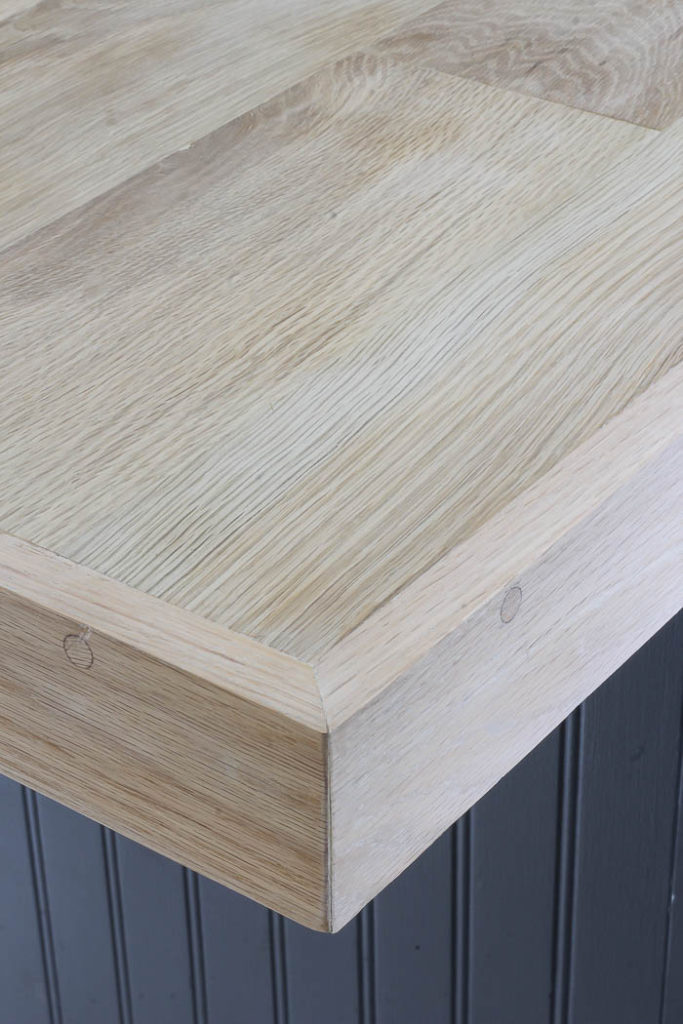
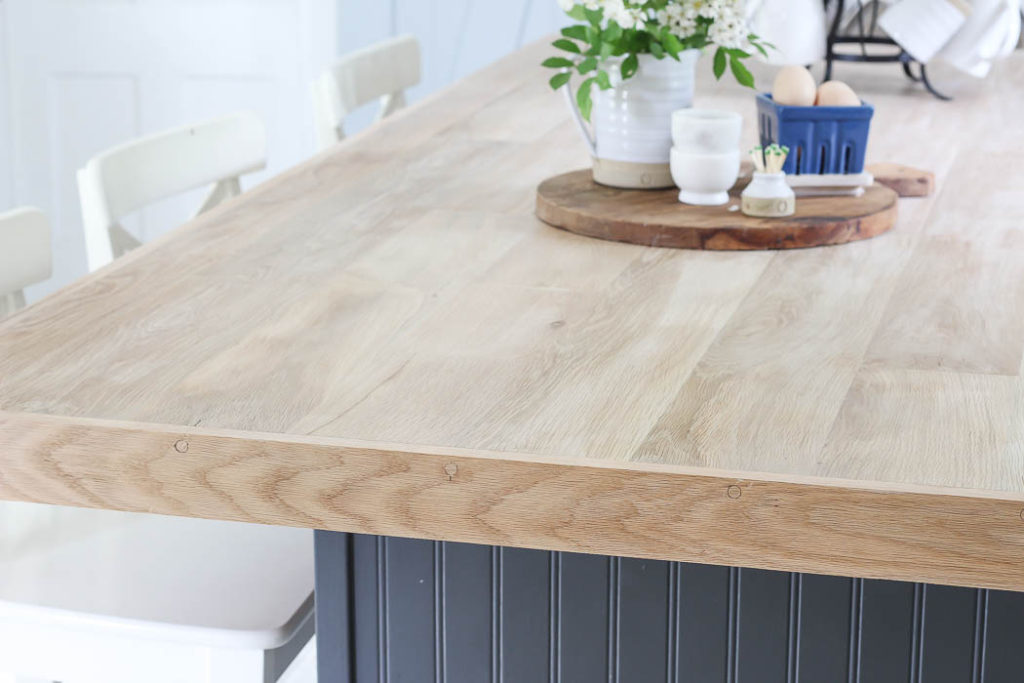
Next, we attached 1×3 oak boards around the edges to give the countertop a finished look. We predrilled holes, added a little glue, screwed them in place, and covered the screws with wood plugs. After everything dried, we trimmed and sanded the plugs smooth so you couldn’t even tell they were there.
See more of the step-by-step process below ~
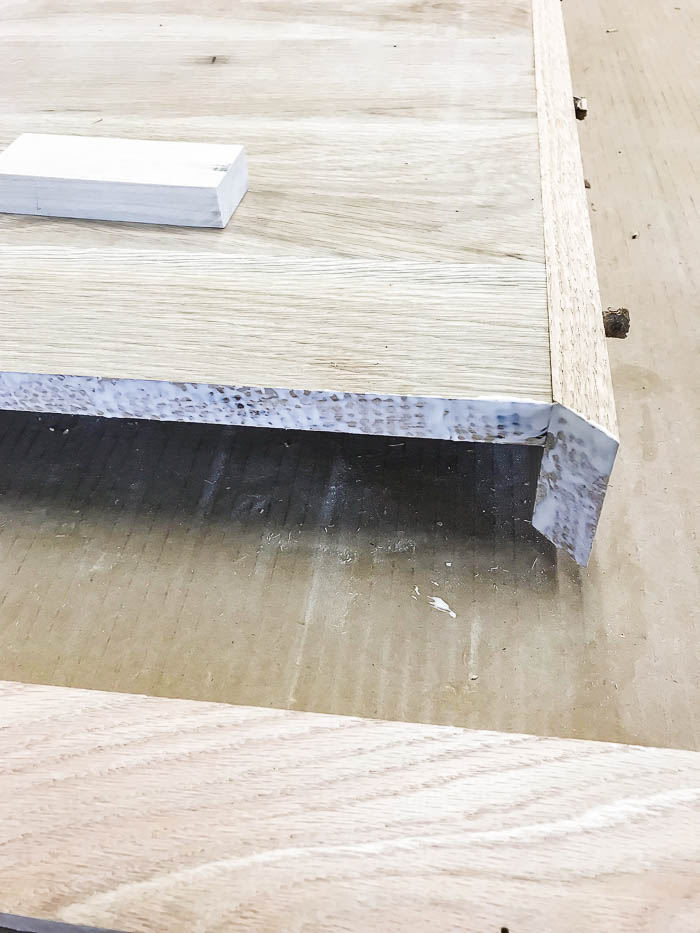
To attach the trim, we predrilled holes and secured the 1×3 oak boards with screws and wood glue to the top. Then he filled in the holes with plugs made with a drill press.
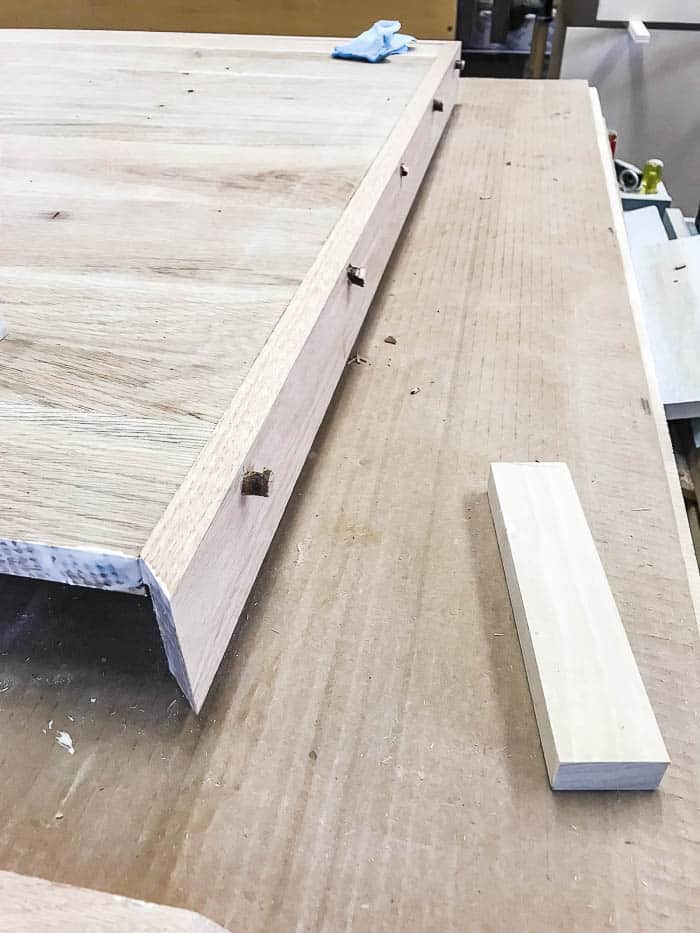
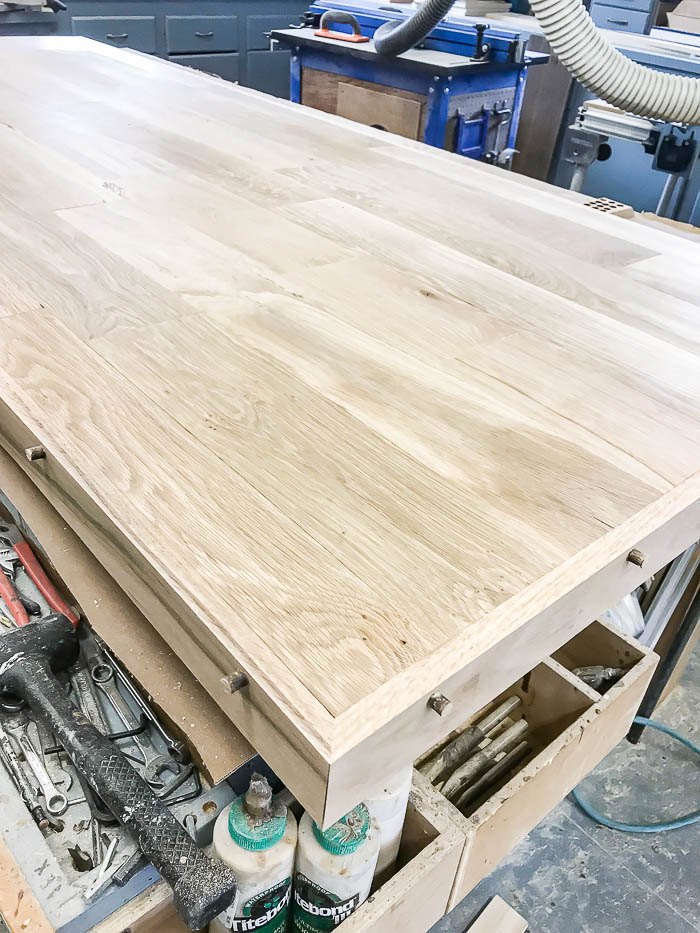
To put the plugs in place, he put a dab of glue in each hole, and then used a hammer until the plugs were securely in place. Once all the holes were filled with plugs, he sawed off the extra, and sanded down the sides until they were flush.

Now the countertop build was complete, and it was time to bring it home and install it.
Step 3 — Installing It on the Island
We didn’t remove our old countertop — instead, we attached the new wood top right over it! A generous layer of construction adhesive held everything in place. We pressed the new top down firmly and let it cure overnight. It fit perfectly and felt instantly solid.
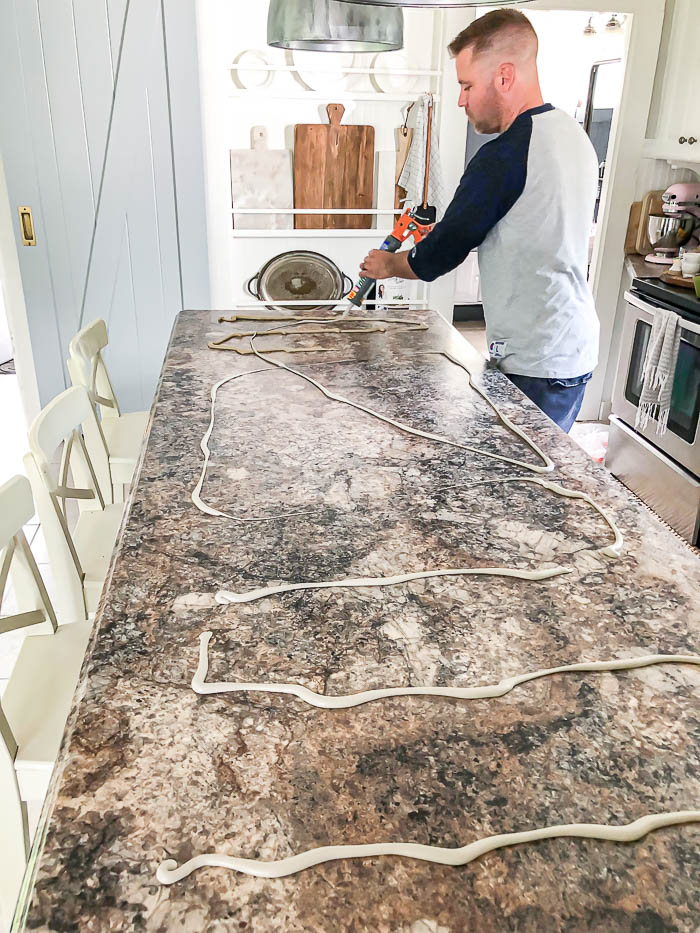
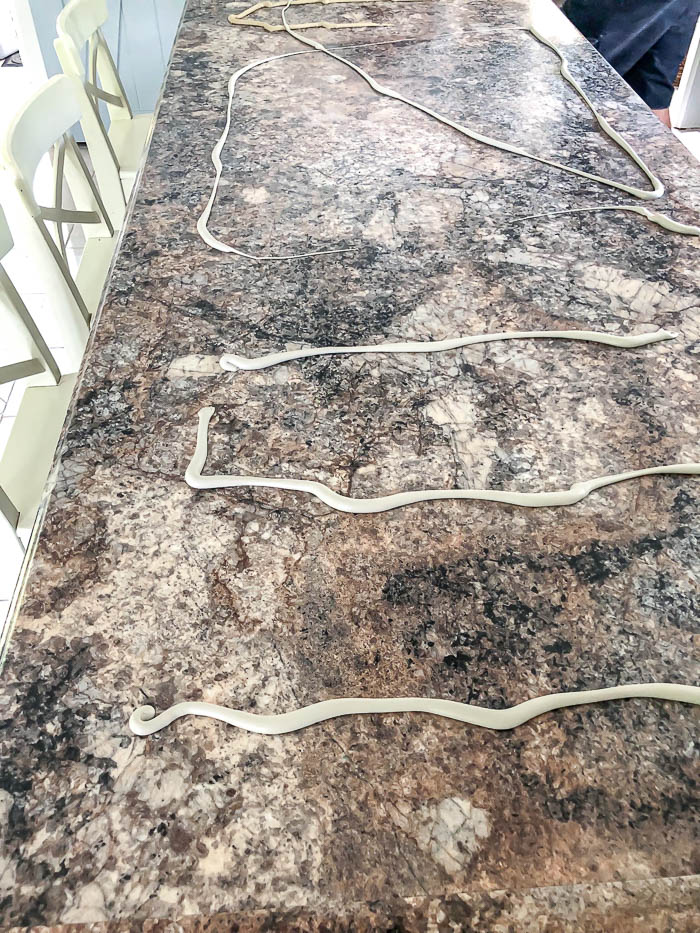
Once the construction adhesive was in place, we place our new wood countertop directly over the existing countertop. It fit like a glove, and no one is the wiser.
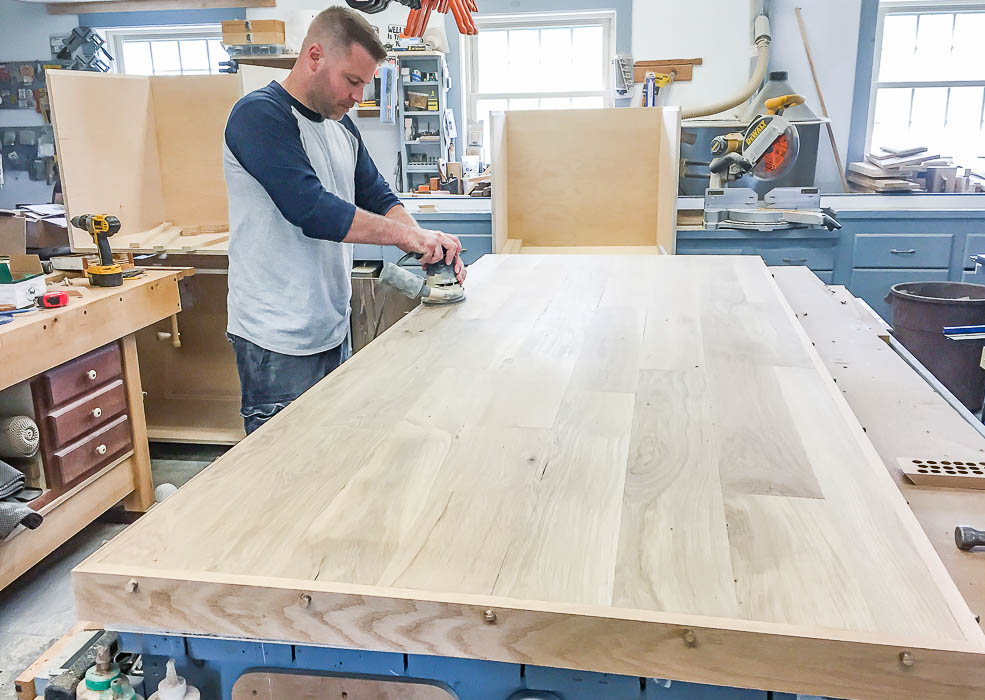
Step 4 — Sanding & Finishing
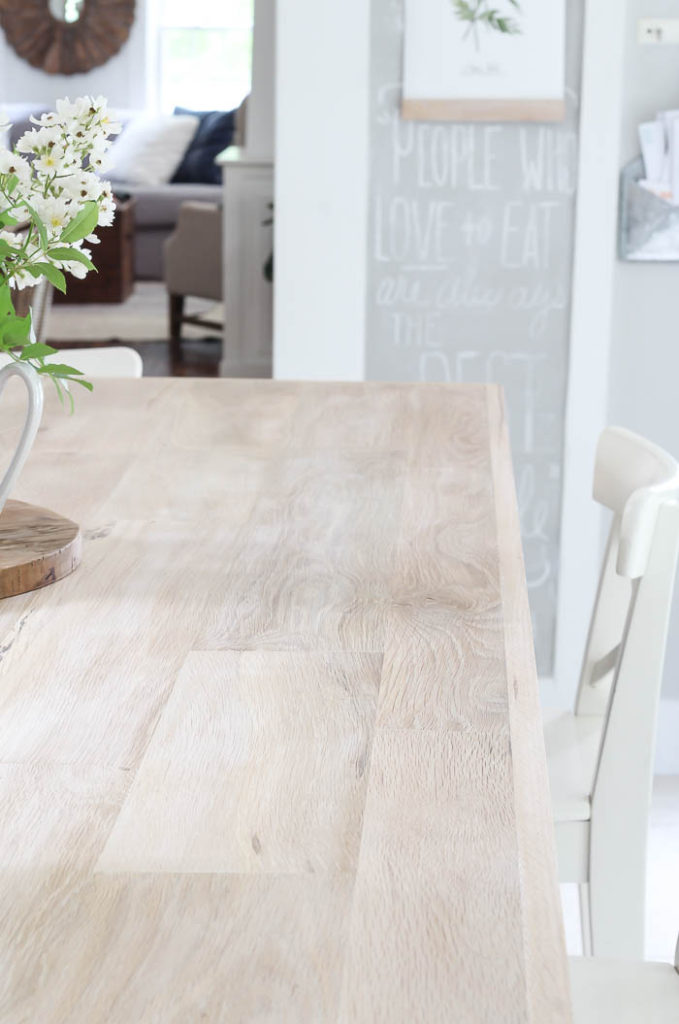
Now that the countertop was in place, it was time to seal it. I really loved the color of the unfinished wood, but wanted to be sure it was well protected, since we use this island a lot! Before I finished it, I rubbed on a coat of Miss Mustard Seeds White Wax, because I loved the bleached look it gave a table I had finished a few years ago (I used it HERE). It lightens the wood just slightly.
Once the wax had cured, I finished off the island with Minwax Polyurethane in Satin, because I didn’t want it to be too glossy.

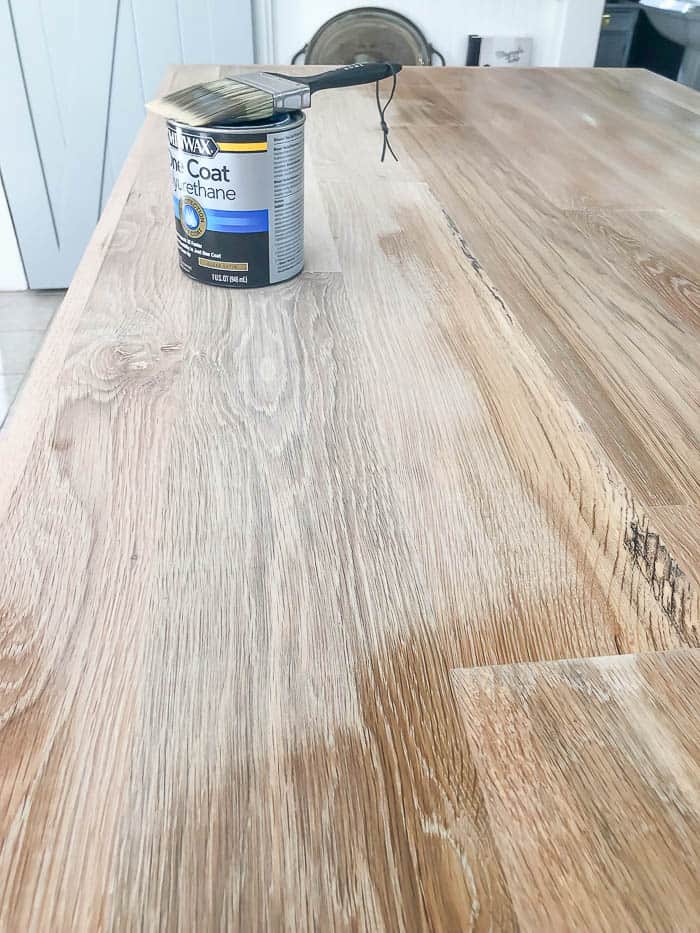
To apply the polyurethane, I gave the entire countertop an even coat. Once it was completely dry, I used a 400 grit sand paper and lightly sanded the entire surface. This makes the entire top feel like butter. It’s so silky smooth, and really gives you a professional finish. I repeated this process 3 more times just to ensure the durability of being able to wipe our countertops down, since we use this space regularly.
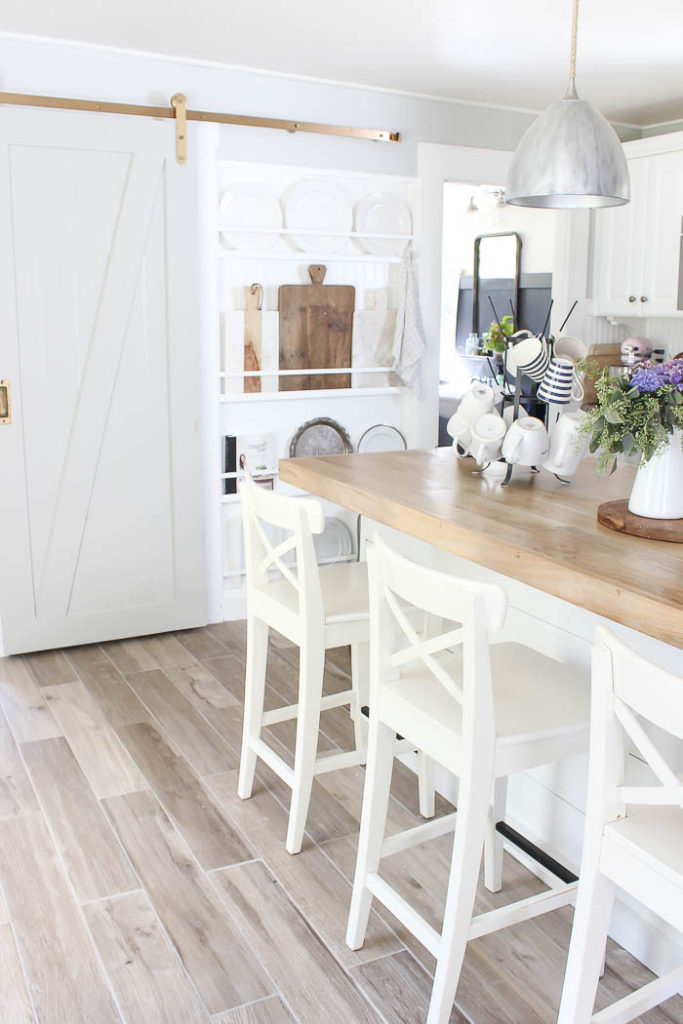
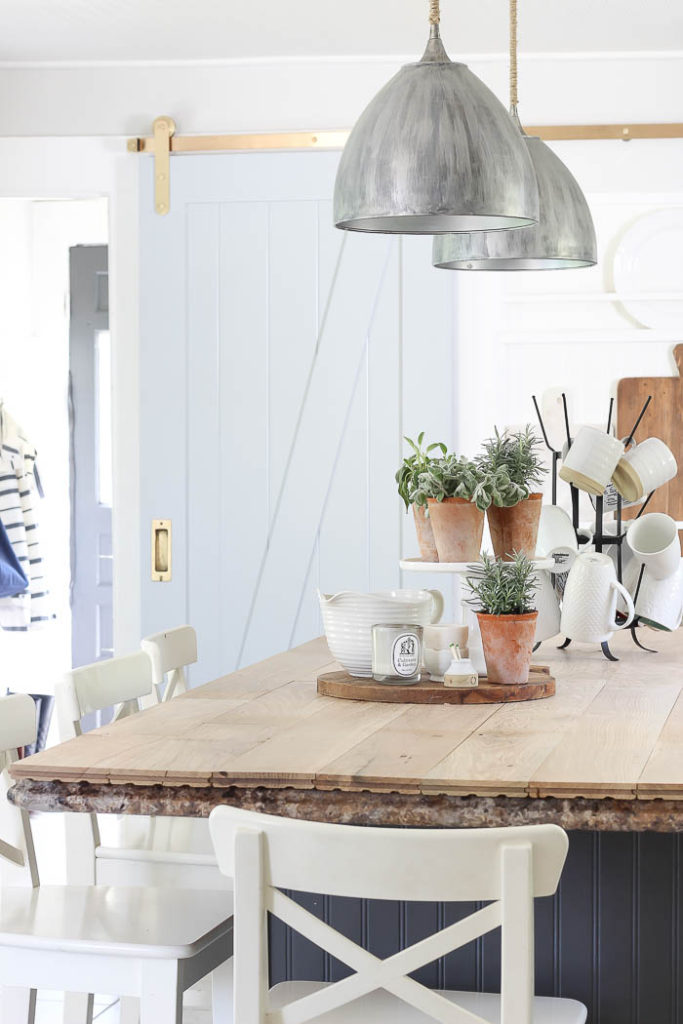
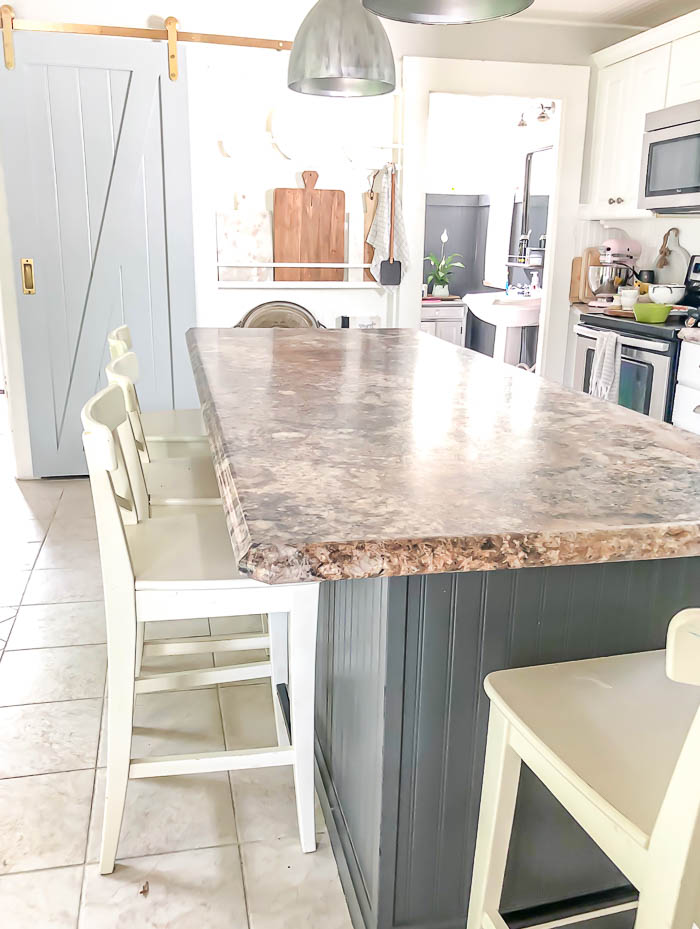
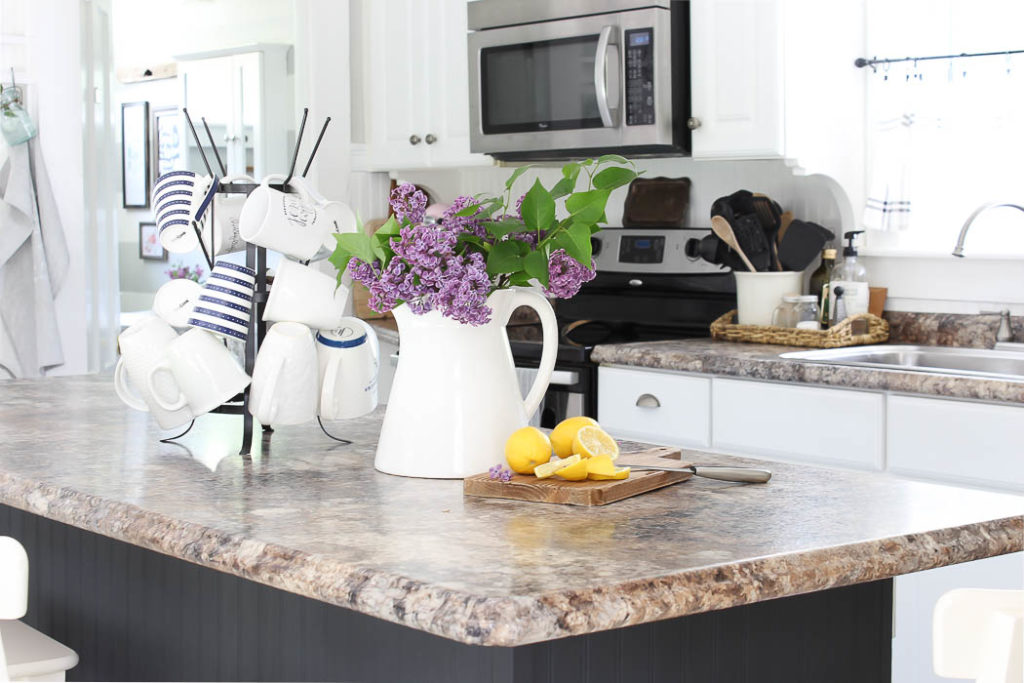
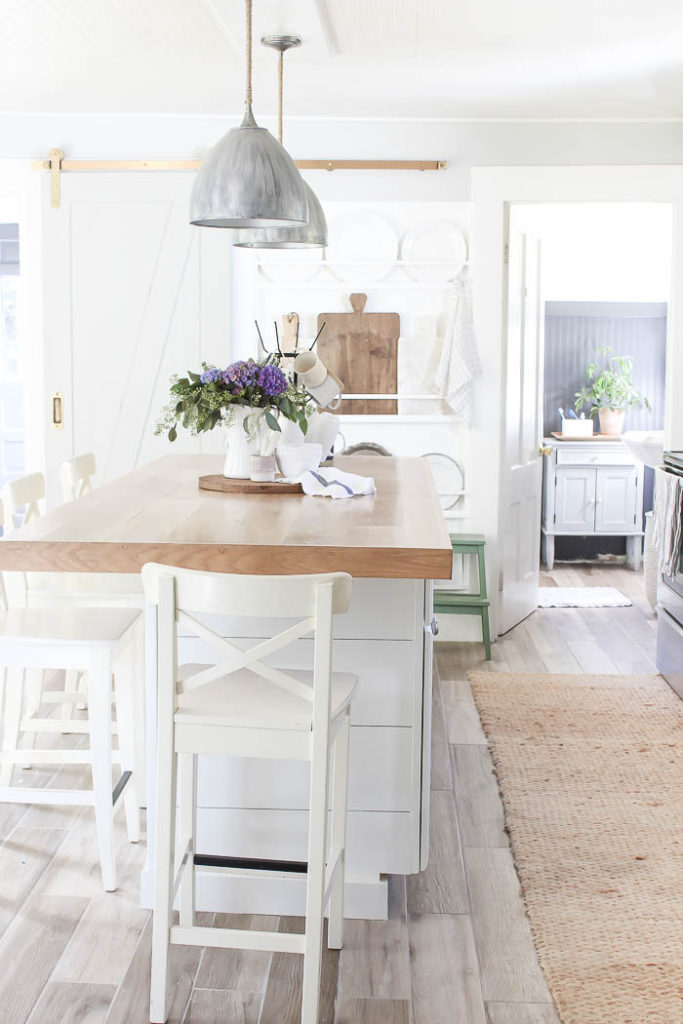
We are so happy with the outcome, and it really transformed the entire look of our kitchen. Below you can see what it look like BEFORE, and now the AFTER.
Pin It ~ to save for later!

I know you were so happy with this countertop, it is so pretty and goes wonderfully with the rest of your kitchen. Thank you for sharing.
Thank you Marlene 🙂 I’m still so happy we decided to do it 🙂
It’s beautiful!:)) What have you decided to do with the rest of the countertops near the sink?
Thank you Judith! We were planning on replacing the countertop around the sink with a light gray quartz this spring, however our plans have changed quite a bit, and I will be sharing more about that soon!
This is such a great idea!
Thank you Holly!!
Perfect timing! We were looking for a solution to build a wood top for our laundry room and were coming across the same challenges you described. Excited to give this a try!
Ohh awesome Shari!! I’m so glad, and good luck with your project!!
I love this!! I wish I had an island so I could do it! Just beautiful!
Thank you so much Terry!!
WOW. I love it thanks for sharing this wonderfully creative idea it looks beautiful in your kitchen 😊
Thank you Gail! We were so happy with the outcome!
Oh I wish I could have seen this two years ago! We did something like this, but not as amazing. Lol Looks like I need to redo! Thanks for sharing!
Awe thank you 🙂 Sorry yours didn’t turn out quite the way you were hoping for, but if I’ve learned anything in home renovations… nothing is wasted, and we can turn anything into a learning experience 🙂
Looks beautiful! So nice to have a husband who can do things like this. And you were so smart to save some money by doing it yourself!!
Thank you Mary!! I joke all the time that he is “the muscle to my madness” lol 🙂
This looks amazing! Very creative way to make something work and no one would ever know!
Wow!! Love what you did. The counter looks amazing and fits your decorating style perfectly. Such a smart solution. 🙂
Oh thank you so much Diane 🙂 It was definitely a solution to getting the look we liked for a better price 🙂