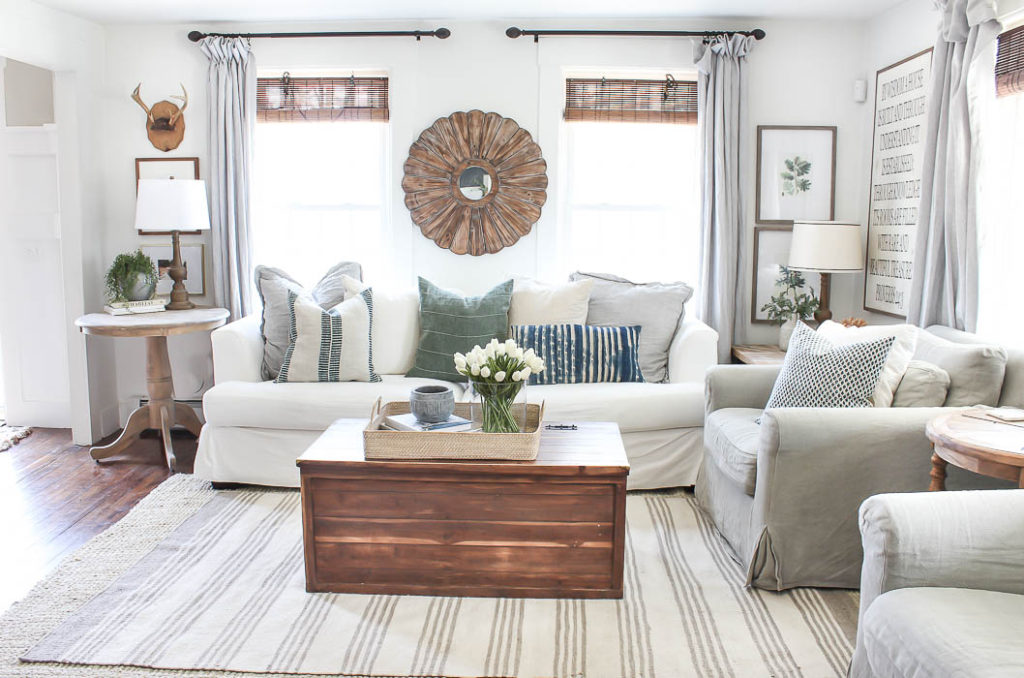
Hello Friends!! Recently we tackled a project that I have been wanting to do for such a long time. We added beams to the ceiling in our living room! It’s added so much character to our living room, I can’t wait for you to see! So let’s jump right into this fun project of how the hubby and I recently installed wood beams in our living room ceiling!
Come and see ~
To get started –
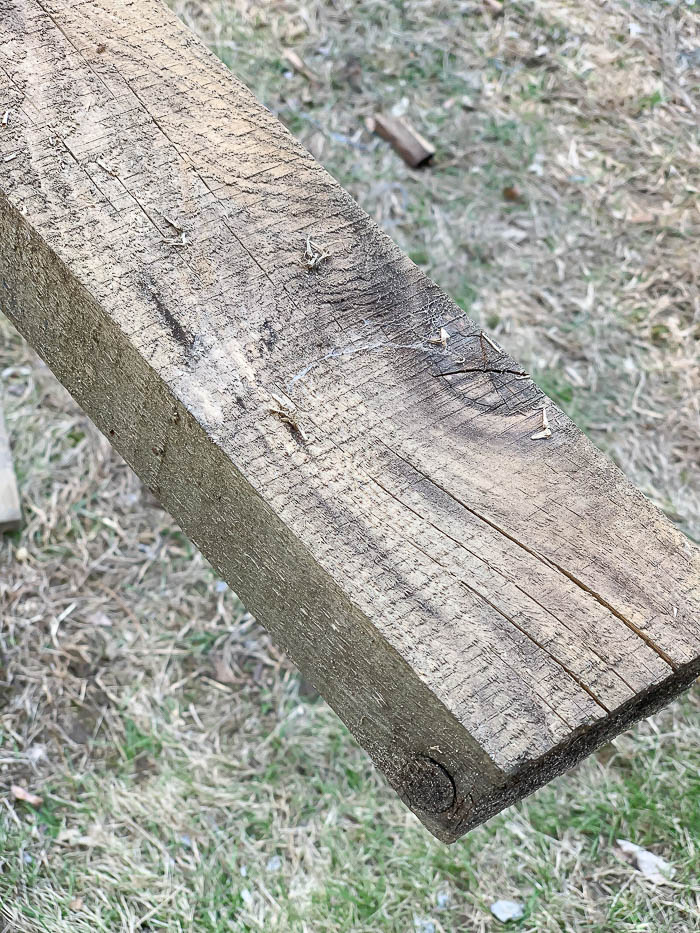
First, we used real 2X4 wood beams. A few things we had to take into consideration before we could put them up. Since our farmhouse was built in 1846, our ceilings slope. So attaching one long beam, from one side of the room to the other, wouldn’t be an option, because of how the ceiling boughs down in the center, the two ends of the beams wouldn’t be flush with the ceiling. So we cut the beams into 3 sections. One larger section in the middle, with two smaller pieces on either end.
A little back story on the beams we used. My hubby found them years ago at a property he was on for his job. He was there to inspect their chimney, as the owners were preparing to sell their home. He noticed the neatly stacked pile of barn wood in their yard and asked the homeowner what they planned on doing with the wood when they moved. The homeowner said “nothing”, as he had planned on building a shed with it and never got around to it. My husband asked if he would be willing to sell it, they agreed on a price, and we showed up with a Uhaul truck that weekend and loaded all the wood into it. We have it stacked and covered on the back edge of our property, and have used pieces from it for other projects around our house. We still have quite a bit left, and you know I have plenty of projects swirling in my mind for “someday” projects down the road.
Although we had the wood on hand, with how popular repurposing old barn wood has become, I have seen it listed for sale on FaceBook marketplace every once in awhile.
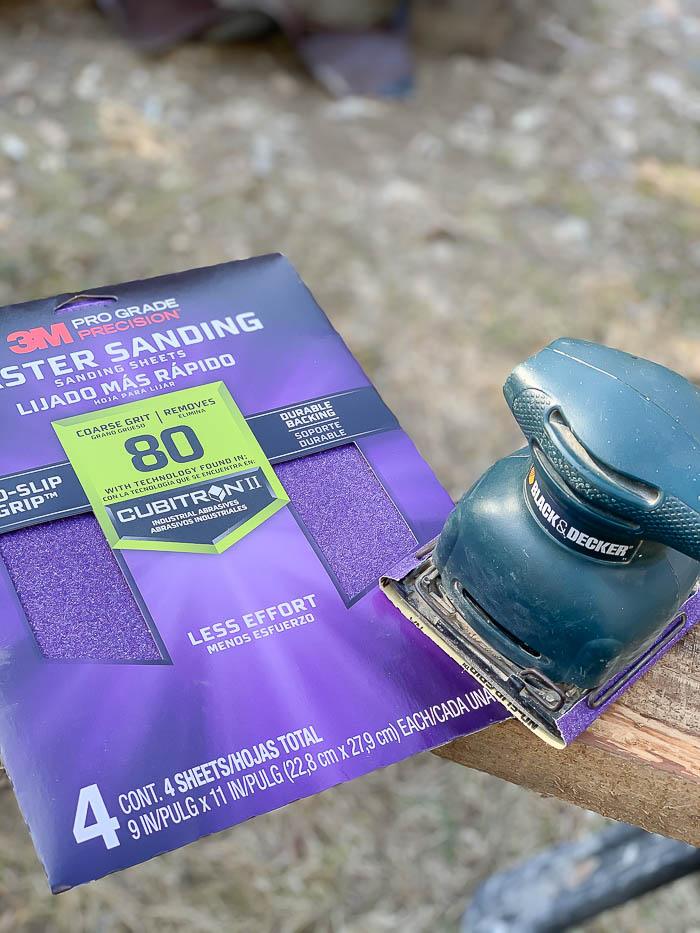
I sanded down all the beams with an 80 grit sandpaper.
Now that are beams were sanded, and cut to the length we needed, there were a few things we did to make sure that they went up in a straight line. Once I had figured out how far apart I wanted the beams, we snapped a chalkline across the entire length of the ceiling to act as a guideline for the beam placement. Then we used a 4ft. level to make sure the beams were straight when we were holding them in place, before they got securely screwed in. *A chalk line isn’t necessary for this project, but it definitely made things go a lot faster, and required us to only have to make one initial measurement, instead of double checking our measurements after each beam went up.*
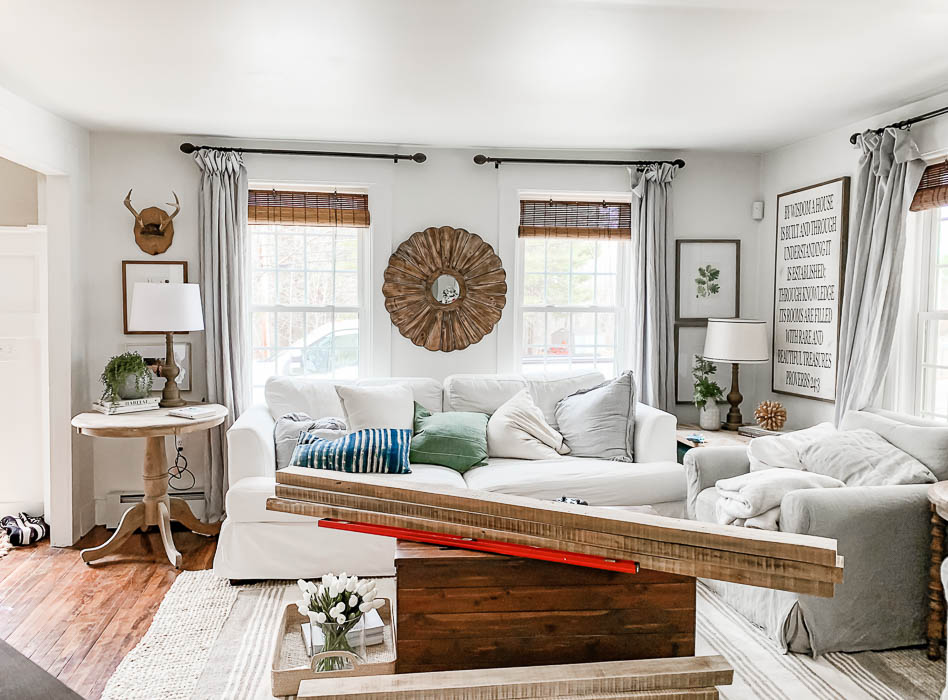
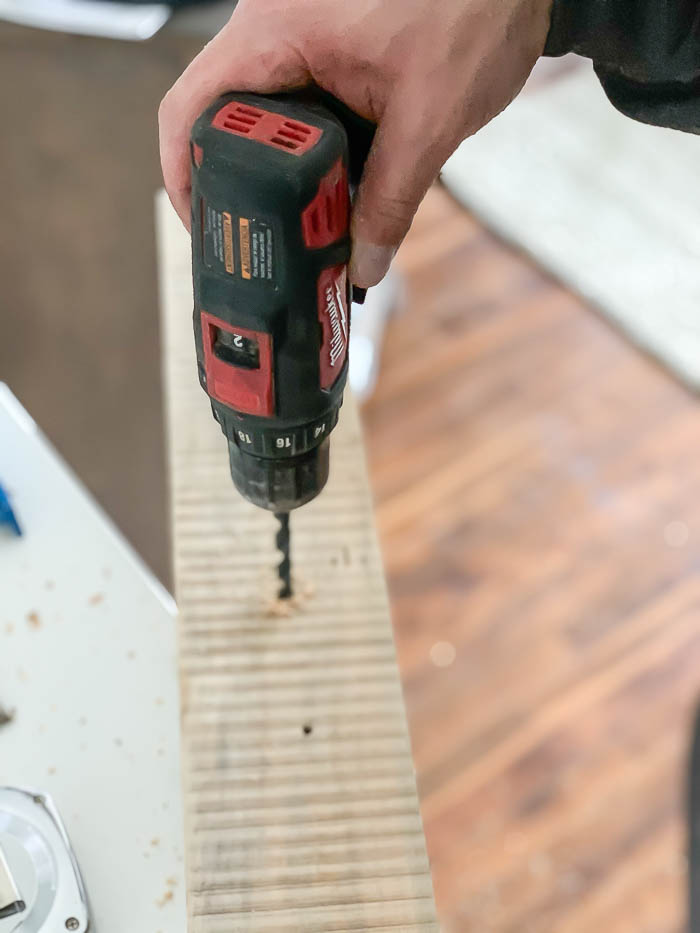
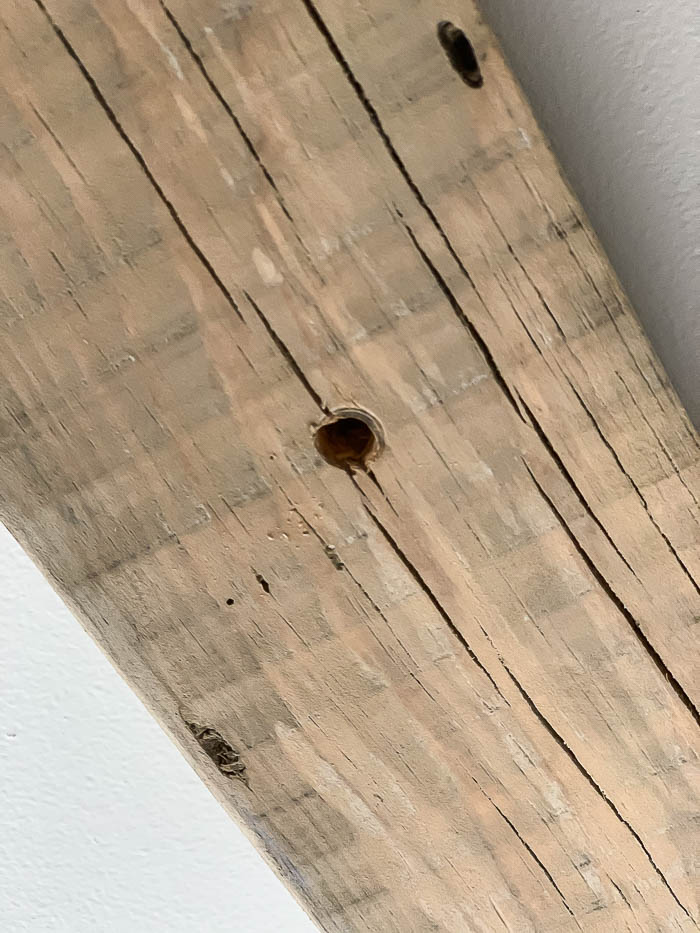
Then, we made pilot holes for the screws to recess into the beams so that you wouldn’t see them. We used a 5/16″ drill bit to make the pilot holes, and then drilled the beams into the studs in the ceiling with 3″ wood screws.
** OLD HOUSE FACT – because of the age of our house, we also have lathe underneath the sheetrock in our ceiling. Thankfully we were able to secure the beams into studs, but if you can find a stud in the ceiling you will want to make sure you use some type of a toggle anchor to securely attach your beam to the ceiling.**
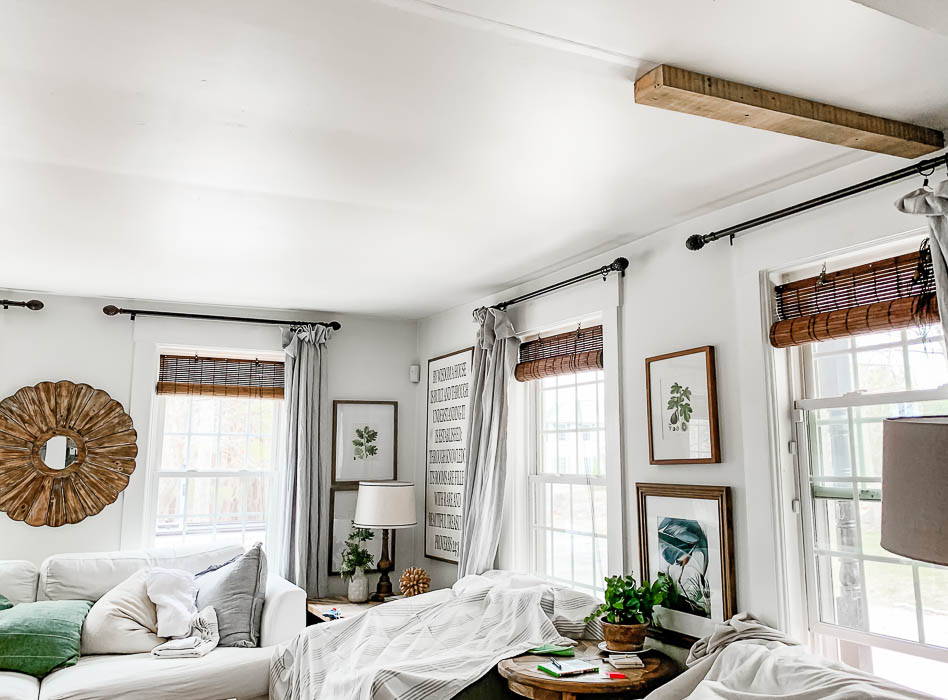
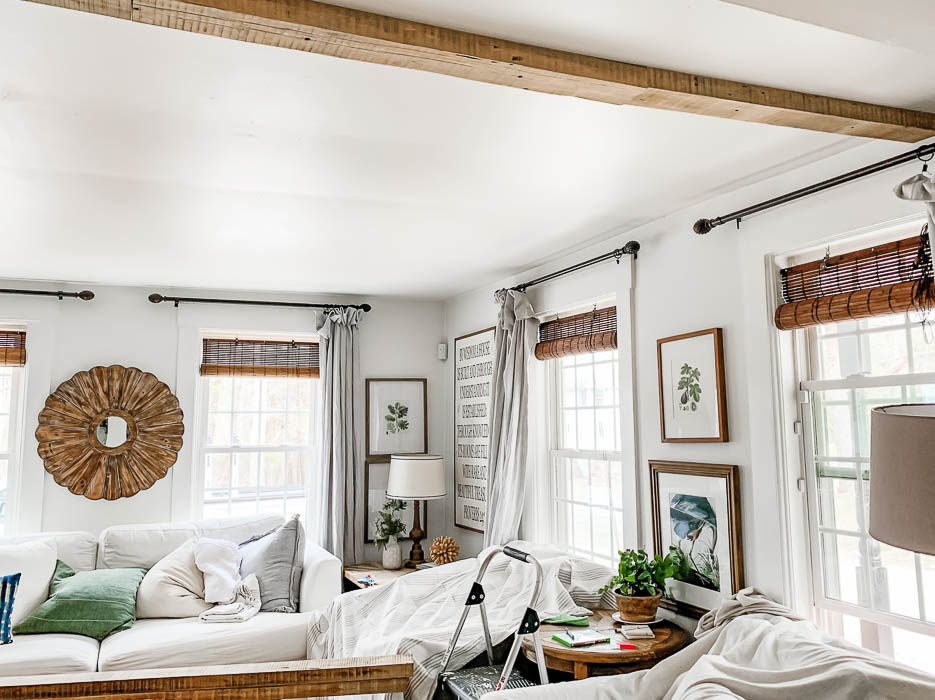
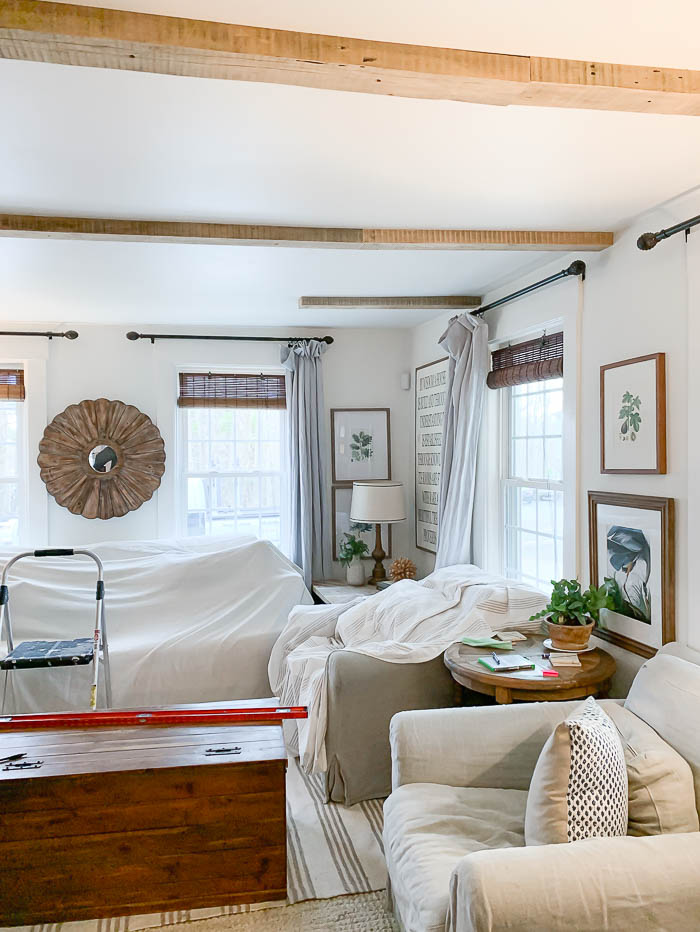
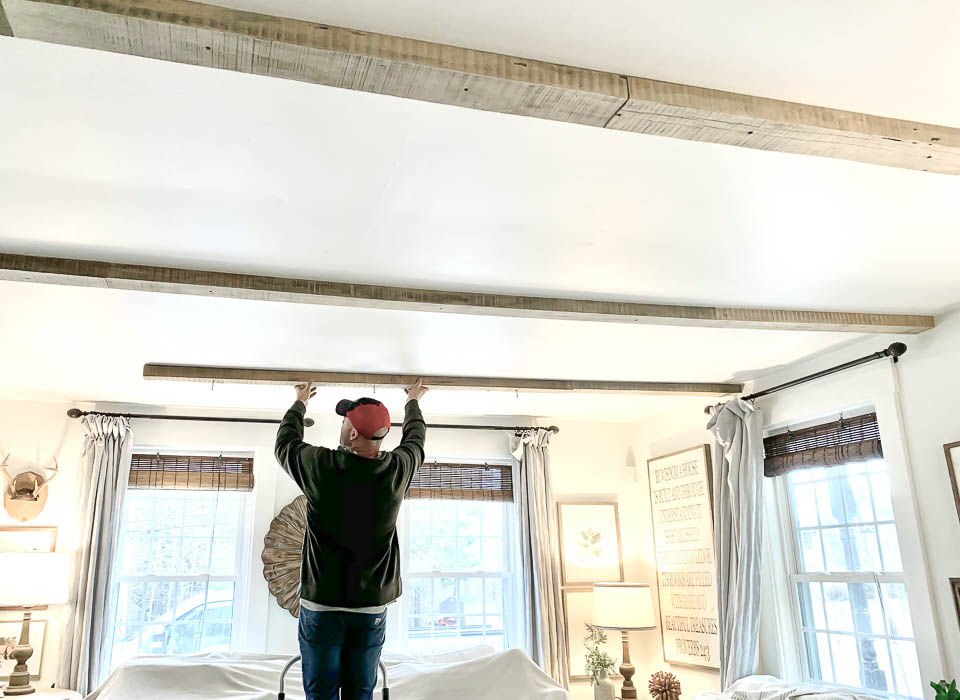
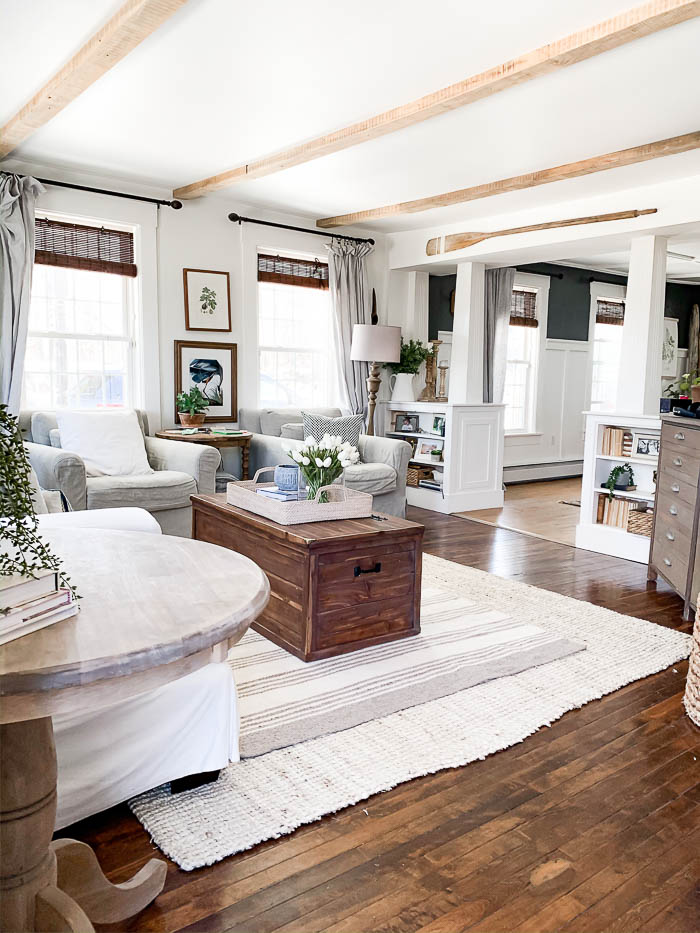
Once all the beams were installed, our living room instantly felt cozier. They added so much warmth and texture, not to mention some interest to our ceiling. I would have left them just like this, except because our ceiling sagged in the middle, it caused the beams to not be able to line up perfectly, leaving uneven gaps in between each beam. We knew this ahead of time, which was honestly one of the reasons we held off on installing the beams, because we couldn’t find the right kind of strapping that would cover the gaps.
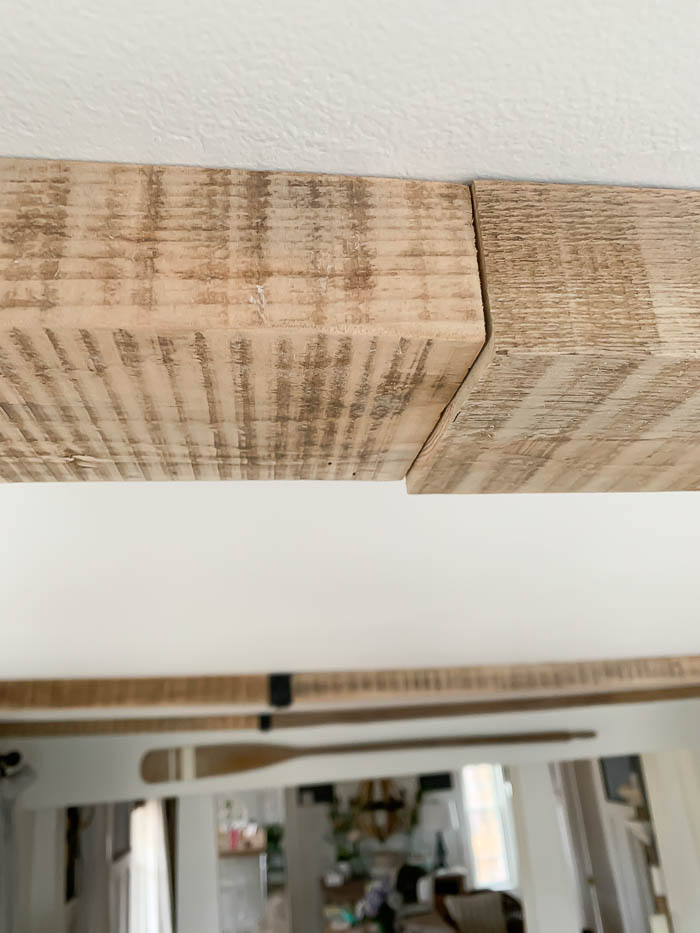
Then I found this rubber strapping at Home Depot. Since faux beams have become quite popular, they have come out with new products to go with them, including this rubber strapping.
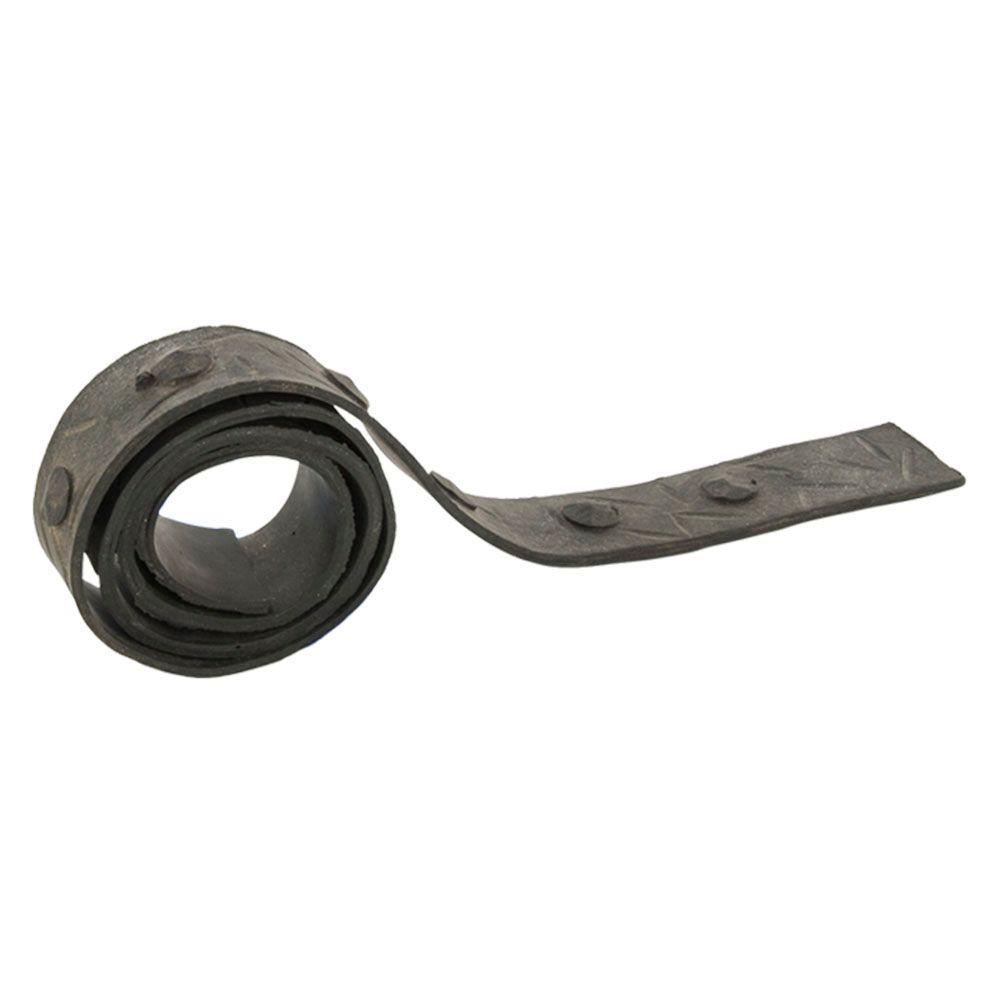
Meant to look like metal, this faux rubber strapping is pliable, giving us the extra bend we needed to attach to the beams, especially where they were a little uneven. You cut it to the length you need with scissors, and then they recommend adhering it with construction adhesive. I tried E6000, and that didn’t work, so then I tried gorilla glue. It still wasn’t adhering properly all the way, so then we tested out a small area with our Paslode finish nailer.
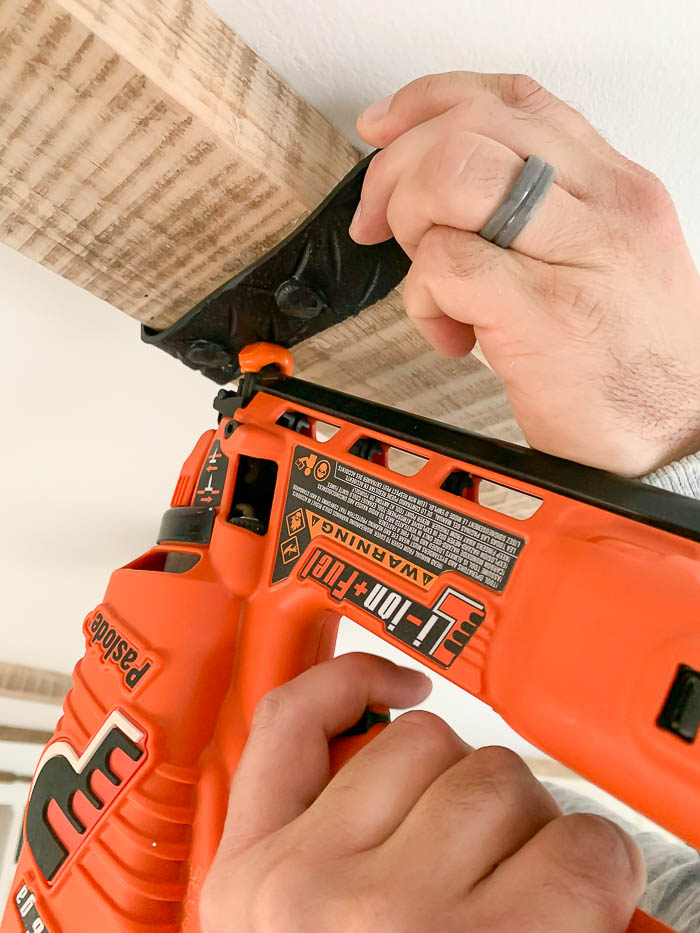
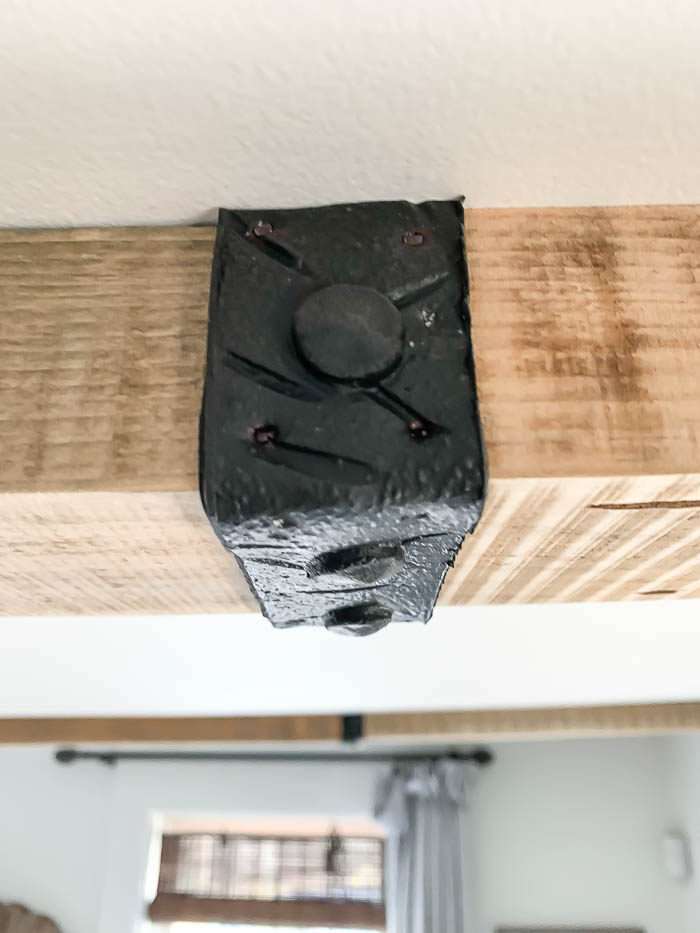
That did the trick, and we were able to get the strapping to mount more flush to the beams as well. Since we used finish nails, they have a tiny head on them, you could barely see them, but we decided to touch up the ends with a black sharpie just in case, so nothing shiny would catch your eye. You can barely see them in the photo below, and I have it focused really close up, but to the naked eye you don’t even see them.
After
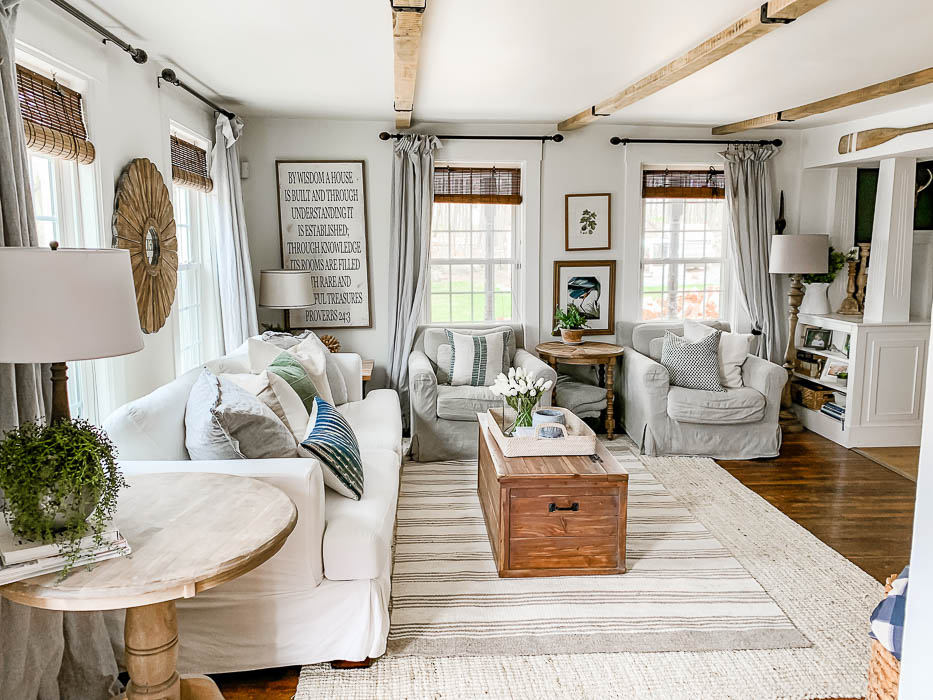
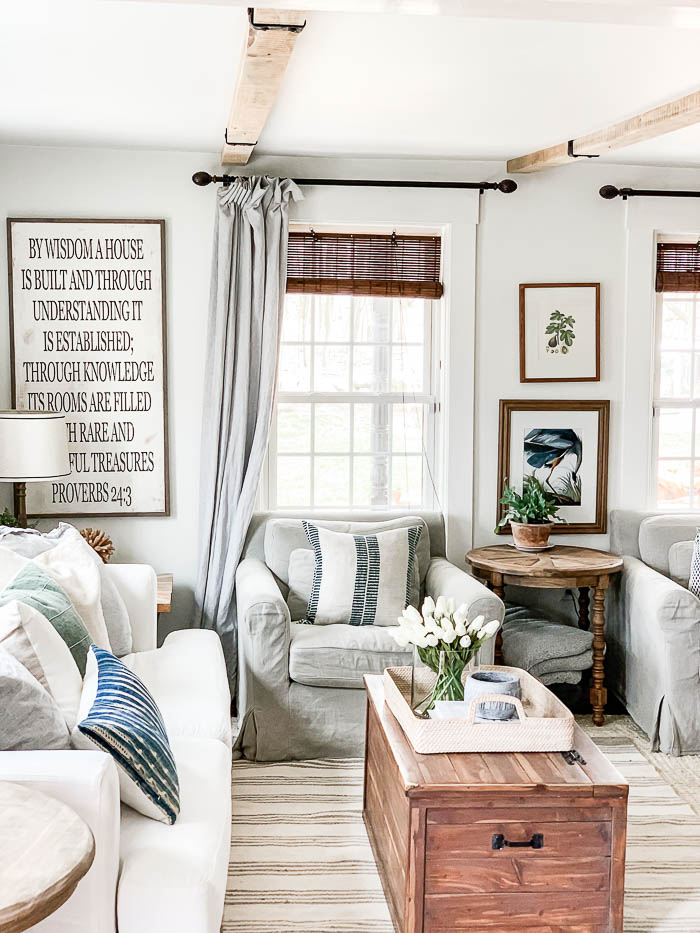
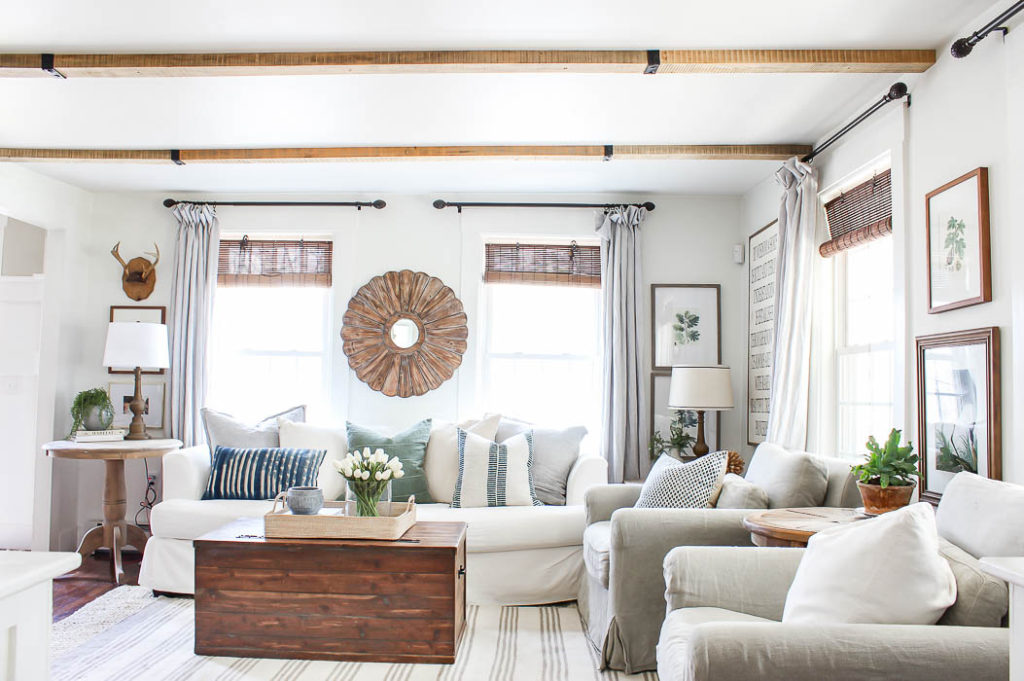
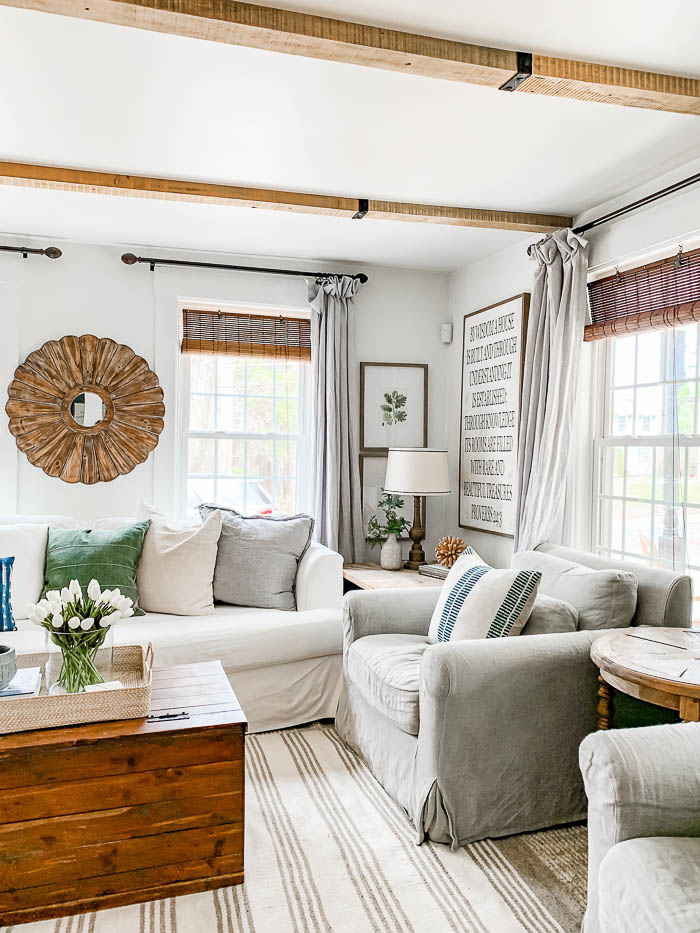
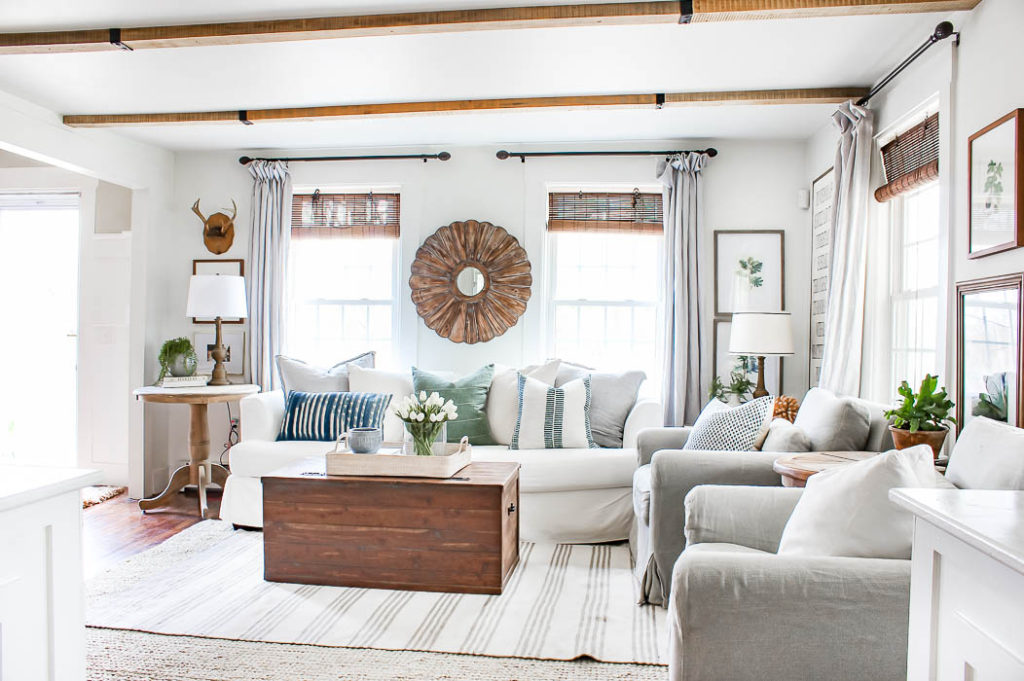
Here’s one more Before & After
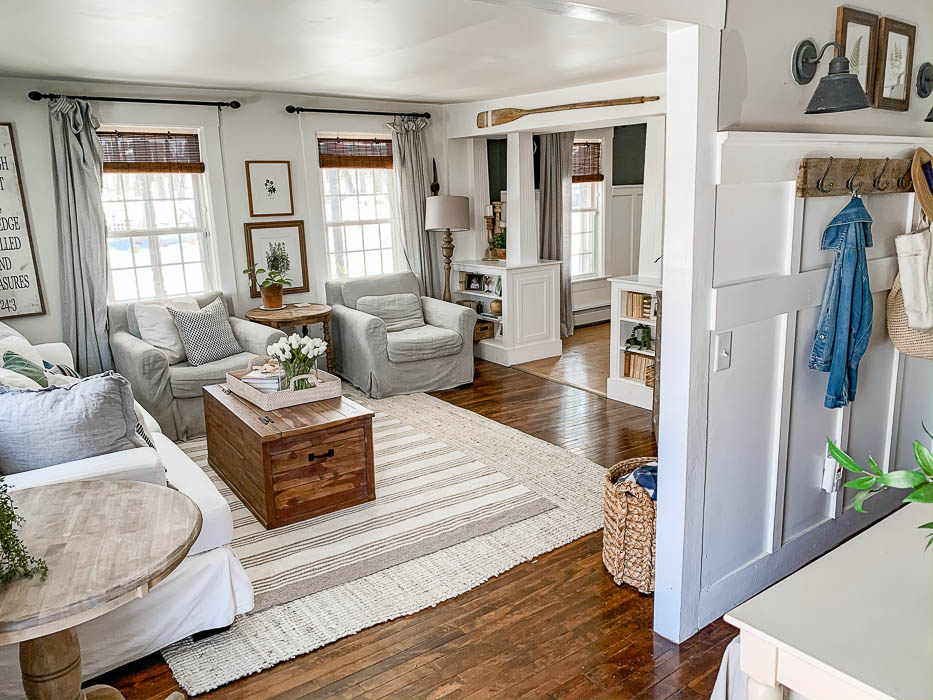
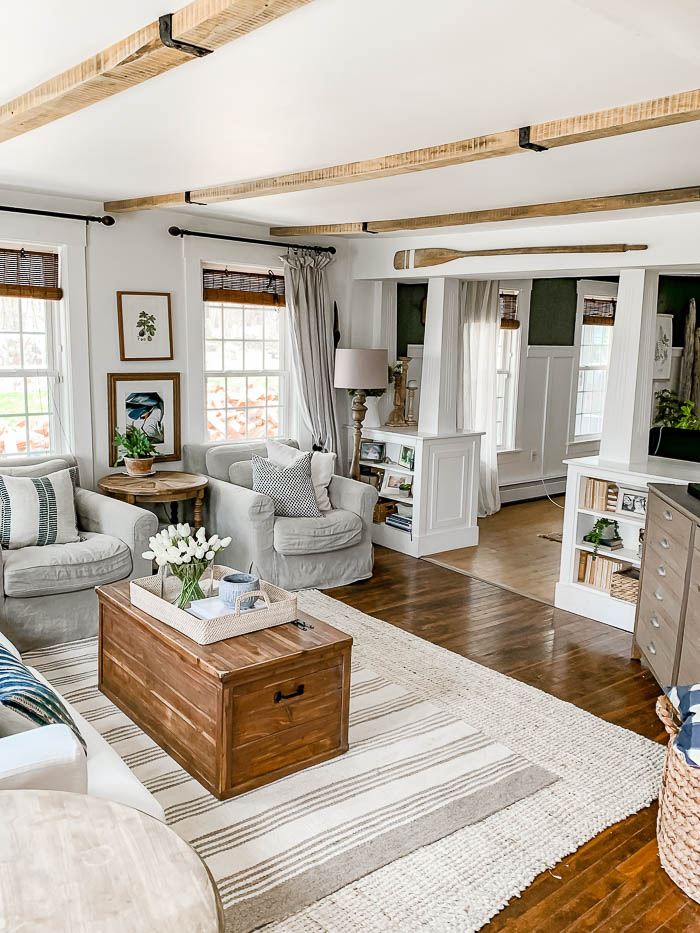
Want to know where something is from? To see my Living Room sources, click HERE.


Love this. I have a sloping ceiling. Can I add beams to that as well?
Thank you so much! You can, you will probably just have to do the same thing we did, so that the beams will attach without any gaps 🙂
Love it!!! It adds so much character and warmth to the room.
Where did you purchase the slipcovers for your chairs? I love the color!
Thank you so much! So the slipcovers actually came with the chairs, and they are from Sixpenny. The comfiest, most amazing quality furniture, and I’ve washed them a few times, and they come back like brand new every time 🙂 I did a review on them in this post, and the direct link is in there as well, in case you want to know more 🙂 – https://roomsforrentblog.com/2019/08/chairs-that-feel-like-home/
Great Job!! Looks Fabulous. What are your curtains? what is the color? Thank you enjoy all your inspirations
Thank you so much Katherine! Our curtains are mist gray, and I got them through a collaboration with Barn & Willow (https://barnandwillow.com/), but I’ve also seen the exact same ones (or very similar) at TJMaxx, and you can get them online too (once stores open back up). Here is the link – https://rstyle.me/+P_w25nUTFLFQf_j1DlbFkw
hey girl- love the new beams! so cool!
I love the addition of the beams, Bre! They look ah-mazing! You guys did a great job!!! 👏👏👏
LOVE THIS!! Perfect addition to your already gorgeous living room! I dream of beams, congrats on this coming together beautifully! ❤️
Ohh thank you so much!!
Looks so nice and the wood goes great with your other wood pieces.
Thank yoU!! I too, love how the beams tie in with all the other wood tones in our living room as well 🙂
That looks amazing. How creative with the strapping. What a difference in your room which was beautiful to begin with! Fantastic job.
Thank you Sharon!!
What a genius improvement project. I think the strapping is amazing. Looks totally like metal. Great project and you and your hubby should be very proud of yourselves. Looks wonderful. I was in some old pubs in Scotland last fall and saw metal strapping like that on the ceiling beams!!
Oh my goodness, thank you so much Toni for your sweet comment 🙂 Totally blessed my heart, and we are so thrilled with the outcome as well 🙂
Thanks for this post! I have considered doing something similar to a “great room” addition to my cottage-style home. I have seen ads for foam beams…did you consider using this type of product when planning this project? I would love to hear more about this option. Great work!
I totally did think of using foam beams, or the faux wood beams, but with our ceiling height only being 7′, those would have been too big for our living room. If you have higher ceilings, or a bigger room, I think the foam are a great option. Our beams are actually a smaller size, only 2″ from the ceiling, which fit just above the window and door trim. But I think the other options are great too, if you have the space for it 😉
The round table in your living room with the lamp on it and the pedestal base, did you refinish it or buy it.
Where did you get it if you don’t mind. I really love the color. Beautiful !
I did Sheila! I shared a tutorial on how I stained it here – https://roomsforrentblog.com/2017/02/weathered-side-table/, and you can find the pedestal table on Amazon. Here is the link – https://amzn.to/2VHO4Hg
It’s really beautiful!!! Great job!
Looks great.
The beams look amazing. You never cease to amaze me. Your home is so inviting and cozy. Thanks for opening your home to us. You are my favorite and I have also enjoyed your book.
May you and your family stay well and safe.
Ohh Thank you so much Mary!!! AND so happy to hear you are enjoying my book as well 🙂 Hope you are staying safe and well also!
Love this- your living room looks so cozy with the new beams!