Hi Friends!!
This tutorial is long overdue, but what can I say. Life happens, things get put on the back burner, and then I completely forgot that I never actually shared the process with you all. I love breathing new life into old or hand-me-down pieces of furniture. While I am no professional it has always been something I have truly enjoyed. Something about the process of seeing a piece that is worn out and bringing it back to life. I have learned a lot over the past twenty years of sanding down furniture, and while I am no professional, there are a few simple steps that I go by. Determine if the piece you are refinishing is real wood or not (If it’s not real wood than save yourself the heartache and just paint it). In most cases using an electric sander almost always works better than furniture stripper when wanting to get down to raw wood. And lastly, don’t skip over the “buffing” step! You can see where that step is in the tutorial below. So without further delay I am finally sharing how I refinished this FaceBook Marketplace find.
*At the bottom of the post is a complete list of all the tools and products I used for this makeover.*
Our previous home had lots of windows and larger doorway openings into each room that left me with shorter wall spaces that could house a large piece of furniture. So imagine my delight when we moved into our current home and I was greeted with more than one room that had longer walls with much empty space. Our dining room was one of those rooms. Eventually I would like to get (or build) a larger hutch for in our dining room, but knowing that was a future goal and not an immediate need I took to FaceBook Marketplace to see if I could find a temporary solution. After a few months I stumbled across this listing for a solid wood hutch with clean lines. The only problem was the color. Knowing that it was solid wood I knew I could sand it down and refinish it into a piece that would work better with the rest of our decor. So that’s just what I did!
Before

Thankfully the hutch came in two pieces, which made it easier to work on while I was refinishing it. I began by removing the drawers and knobs so that I could sand everything down to the raw wood.


Below you can see a side by side comparison of the bottom piece of the hutch. On the left was the condition and color of the hutch when I purchased it. On the right you can see the same view of the bottom piece completely sanded down to raw wood.

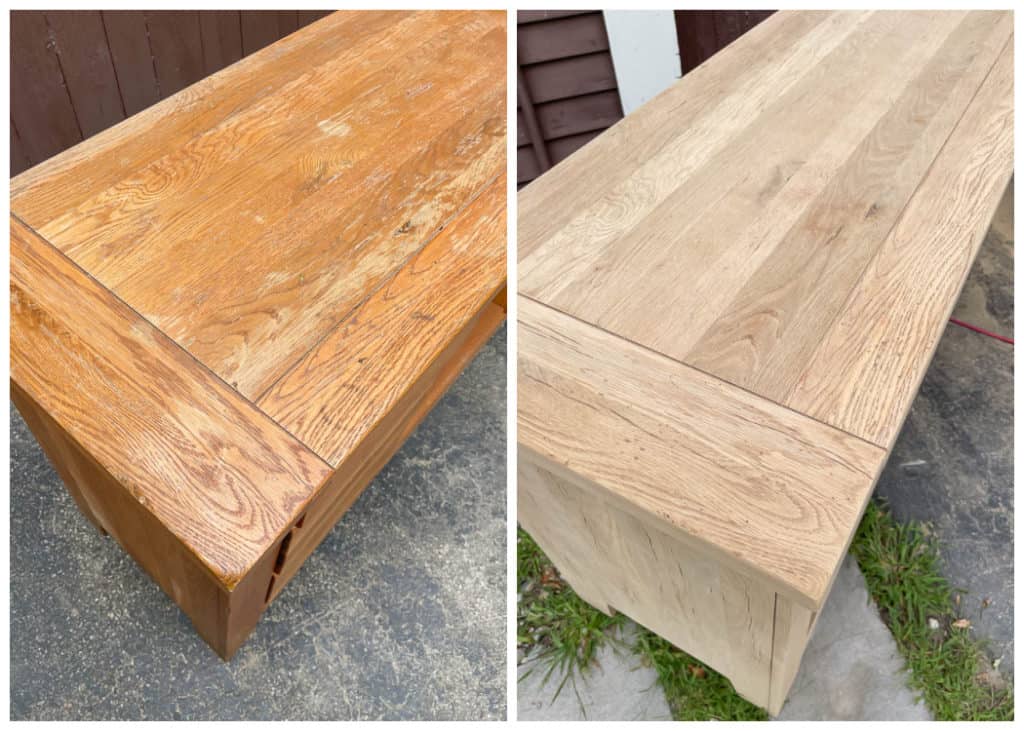
Below you can see the difference of the sanded bottom (on the left), and the original finish of the top of the hutch (on the right).

To sand the hutch I used my Bosch Orbit Sander (found HERE) with a 60 grit sandpaper. Once the entire finish was removed, I then used a 120 grit sandpaper over my entire piece to help smooth out any of the roughness that was left from sanding down to the raw wood. NOTE * This step doesn’t take long, but is helpful if you are using an orbital sander, as they can sometimes leave swirly lines in the wood after the initial sanding takes place.
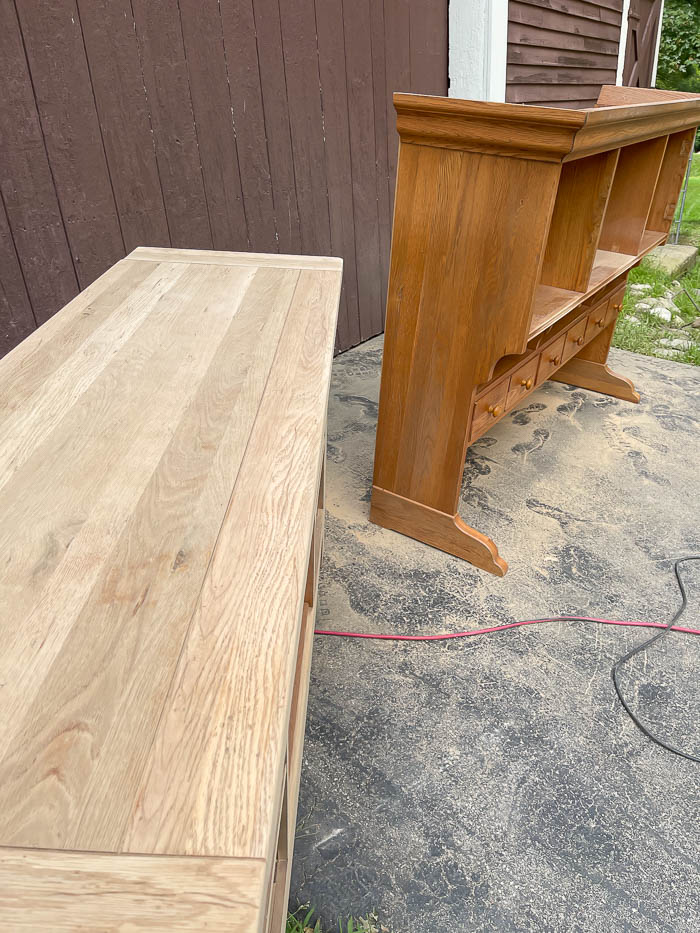
Once everything was sanded, it was time to stain. I tested out about 3 different stains on the drawers first searching for just the right stain to give me that natural aged finish. I tried some of my go-to stain colors first, but everything seemed to bring out an orange-y or “too blue” undertone which looked more like a manufactured produced color not a naturally aged color.
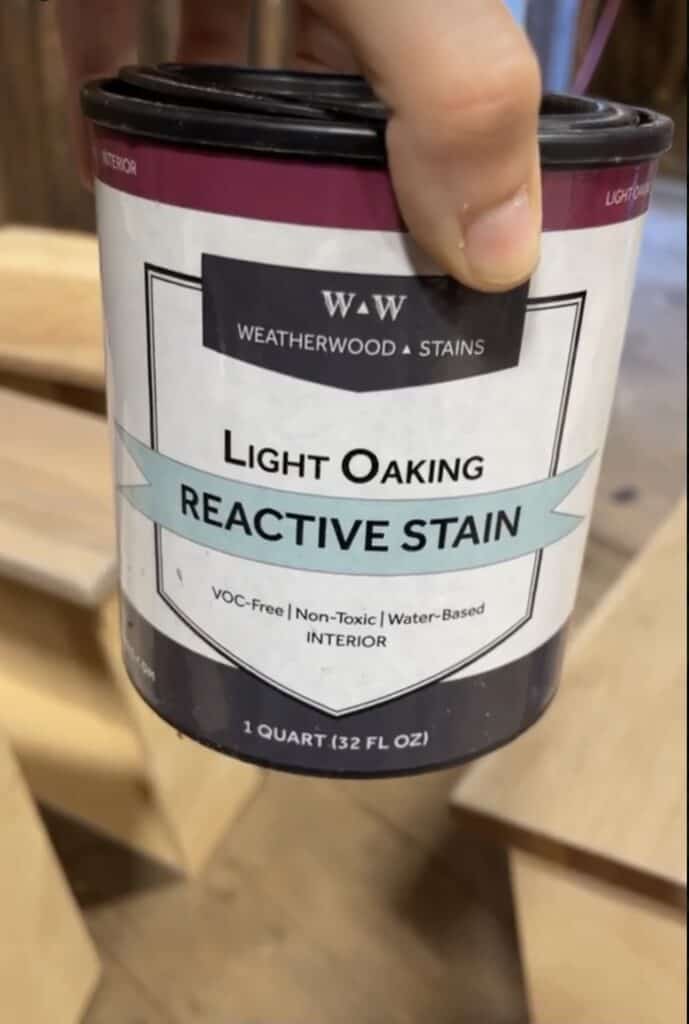
Then I remembered I still had some leftover stain from what we used for our dining room table, and that ended up being the winner. I used WeatheredWood Light Oaking Reactive stain, which gives the wood a naturally aged look, and was exactly the look I was envisioning for this piece.
Below you can see the wet stain being applied to the raw wood. You can see some of the pink undertones that were in the raw wood, which were much more visible in person and why I chose not to leave the piece with raw unfinished wood. The magic is what happens as the stain drys and how it reacts with the wood. I watched countless videos from WeatherWood of this process, and the natural reaction the stain has with the wood is what ultimately sold me on their product in the first place five years ago.

Once the stain was completely dry, I lightly sanded the hutch with a 400 grit sandpaper to help smooth out any of the wood grains that tend to rise as the wood is absorbing the stain. I didn’t capture any photos of this step, because at this point in the project I am just wanting to get this piece finished, but think of this step as more of a “buffing” rather than “sanding”. I’m not removing any of the stain, just rather lightly buffing it to give the wood that silky finish.
We moved both pieces of the hutch into our dining room and set them up together. This hutch is extremely heavy, probably the heaviest piece of furniture we own, and because of the weight it didn’t require the top to be secured to the bottom, it is just simply “sits” on top.


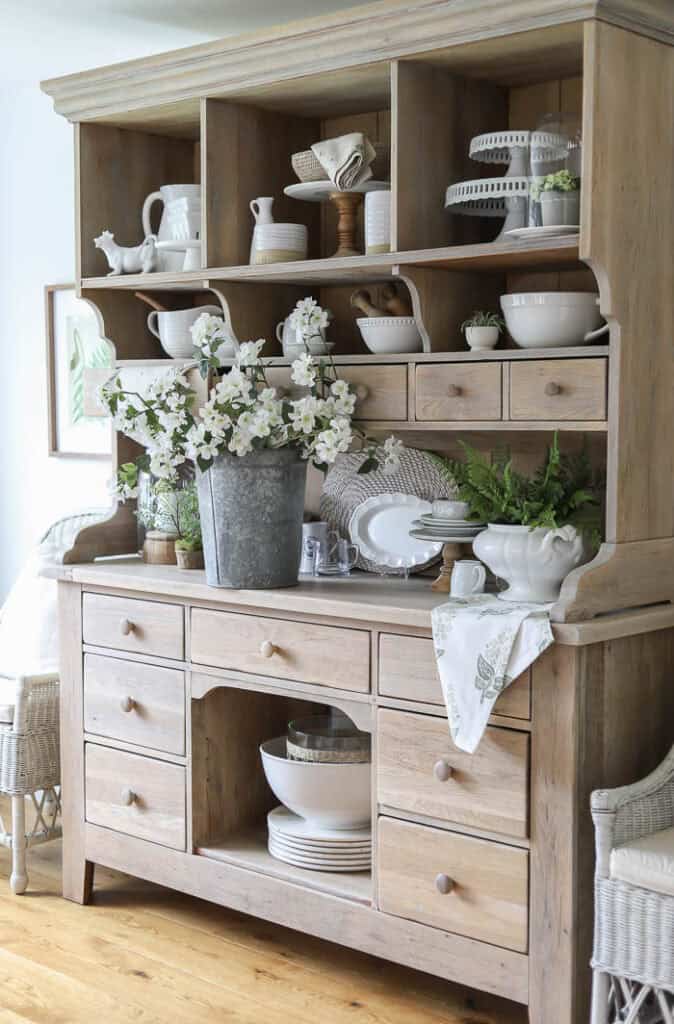
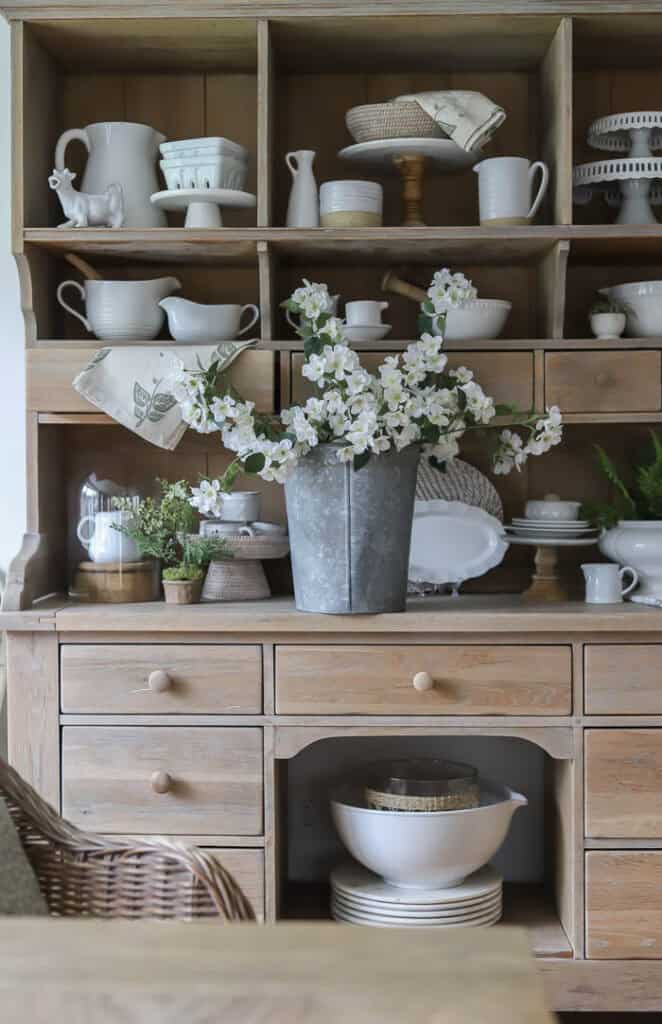
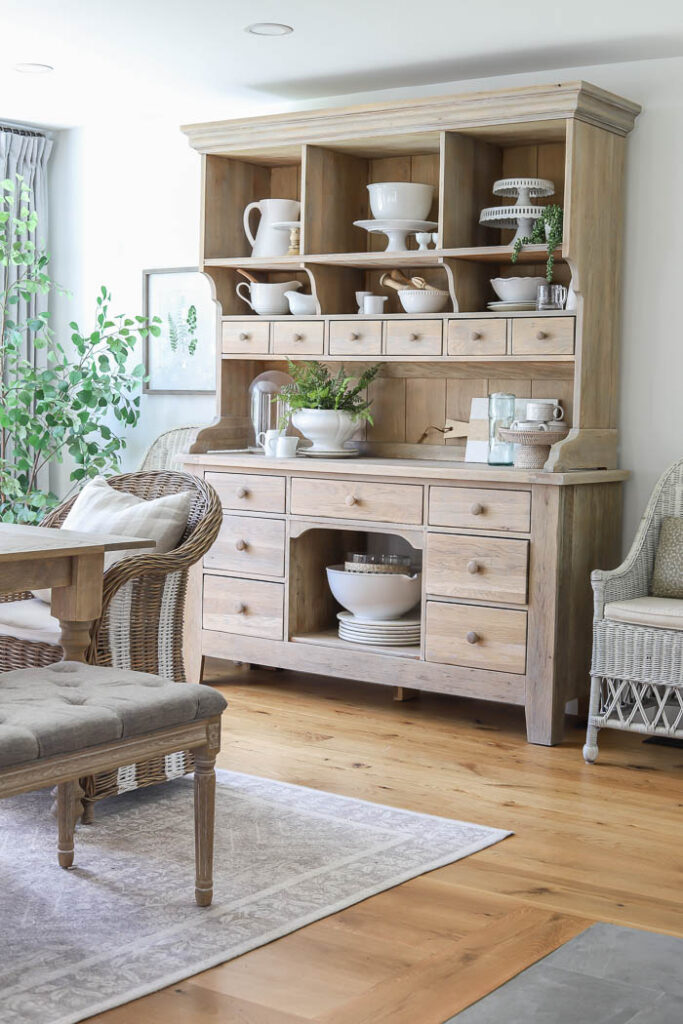
Once I brought it in I knew I wanted to apply a finish to help seal the wood and add another layer to give it a little bit more character. I used Miss Mustard Seeds White wax and rubbed it over the entire piece with an old t-shirt. Making sure to really it get it in the cracks and the grain of wood for a more natural look.

Once it dried it lightened the entire piece just slightly for more of a sunbleached look. Since I knew the hutch wasn’t going to be used in a high traffic area or around water, the wax was the perfect choice to finish the hutch with. I also purchased new wooden knobs from Home Depot. They come unfinished so I was able to apply the new stain much easier rather than try to sand down the original knobs.
Below you can see how it looks After ~

List of Tools & Supplies :
- Bosch Orbit Sander
- Sandpaper in a variety of grits – 60/120/400
- Tack cloth to wipe away dust after sanding
- Foam brush to apply stain
- WeatherWood Light Oaking Reactive Stain
- Miss Mustard Seed White Wax
- Cloth or Rag to apply Wax
- Wooden Drawer knobs
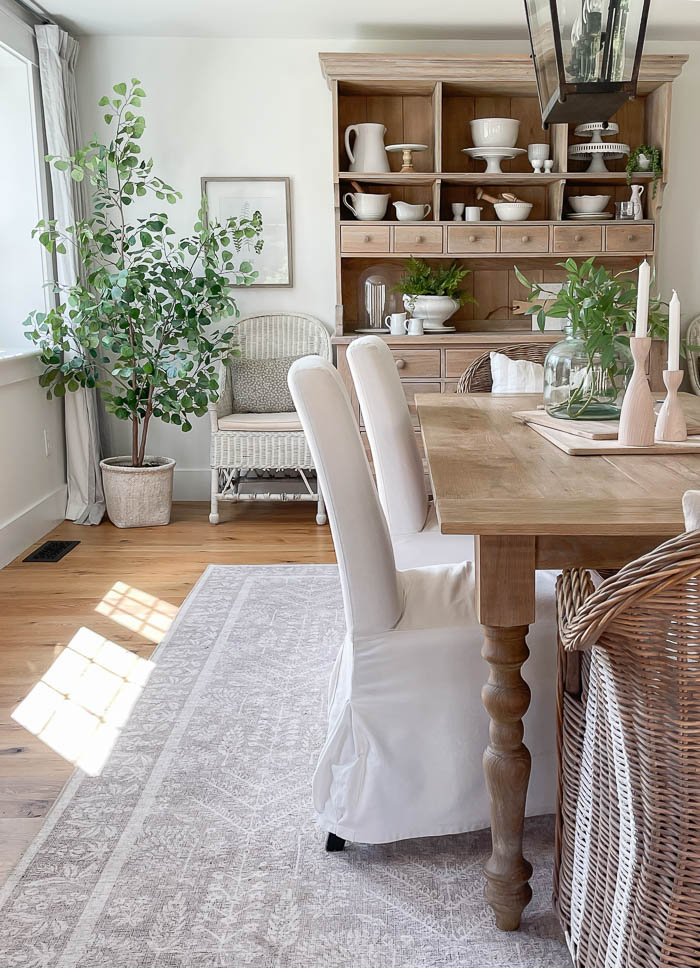
Tour the rest of Dining Room HERE.

Love it!
Your hutch turned out beautifully. I know it was a tremendous amount of work. You will enjoy it for years to come. Thanks for sharing.
Thank you so much Mary!!