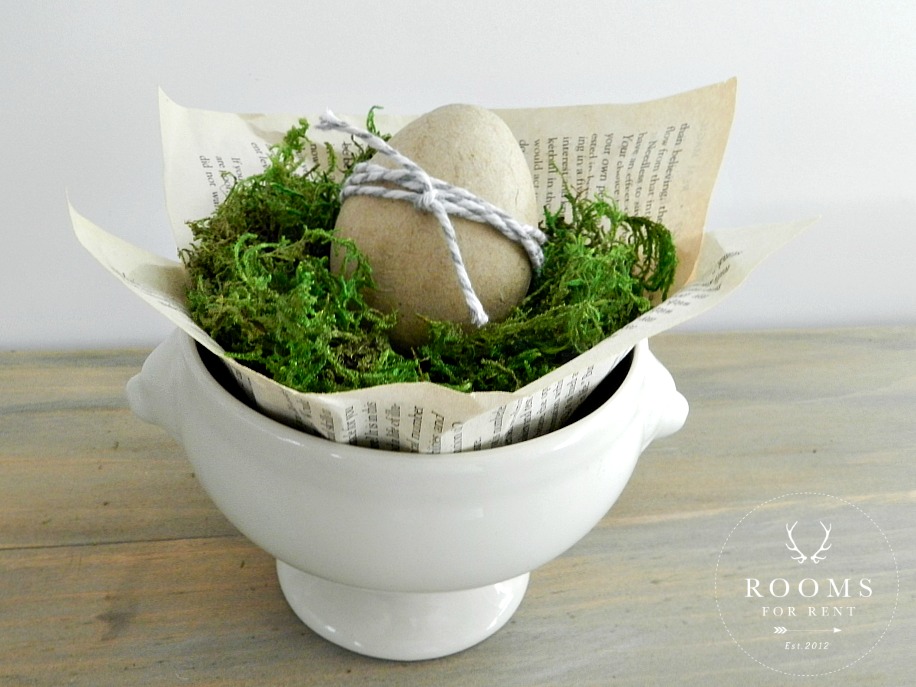
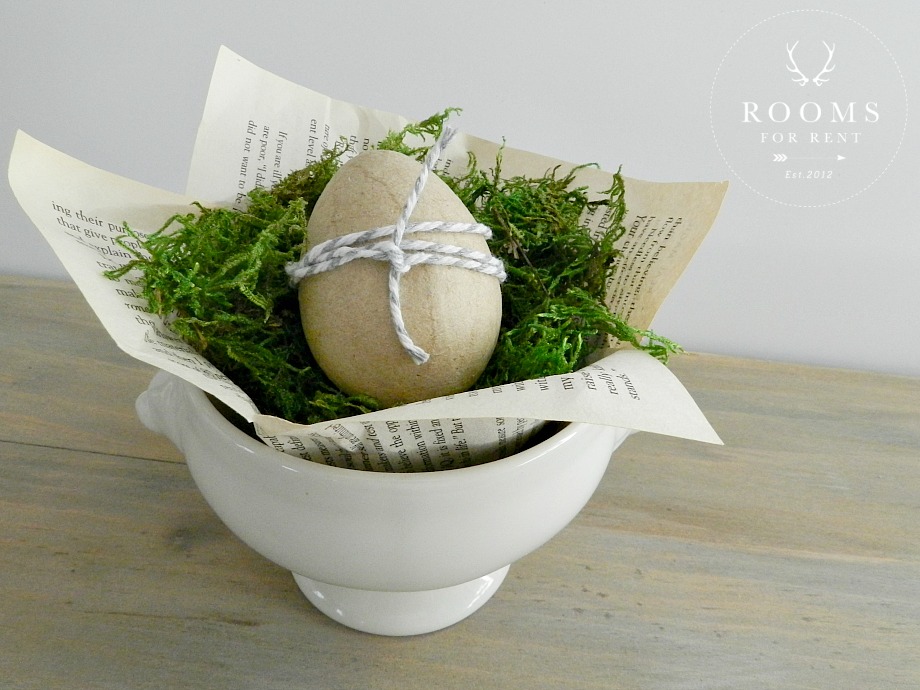
Last week I shared our spring home tour with all of you and you got to see a little glimpse of our Easter table. Today I’m showing you how I made the vintage easter eggs for each place setting. Being one who craves texture and layers in a space that was exactly what I went for when creating these individual place settings. I know it may seem a bit elaborate to some, they are extremely simple to put together, but sometimes it’s fun to put a little extra special something into your entertaining. It shows our guests we thought about them, we planned in anticipation of their arrival, and wanted them to feel a little extra special.
To create these easter egg place settings I wanted to incorporate the same materials I used for the centerpiece, as well as decor throughout the rest of the space. As I mentioned in my Spring Moss Wreath post, moss has been my go-to this year. I’ve always loved it, but this year I finally made it a re-accuring theme throughout my spring decor.
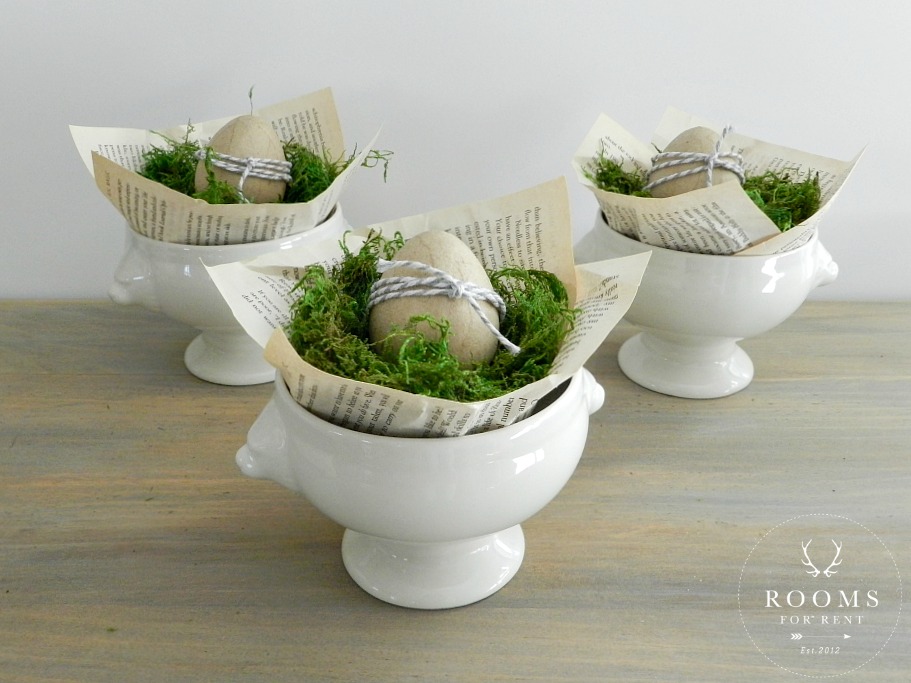
You may remember seeing in this post, the first sight of spring in our homes decor I filled a large pedestal soup terrain with moss layered on top of vintage book pages. It sits on the sideboard dresser in our dining room, and since I was using moss on table, I thought it would be fun to create a smaller version for each place setting.
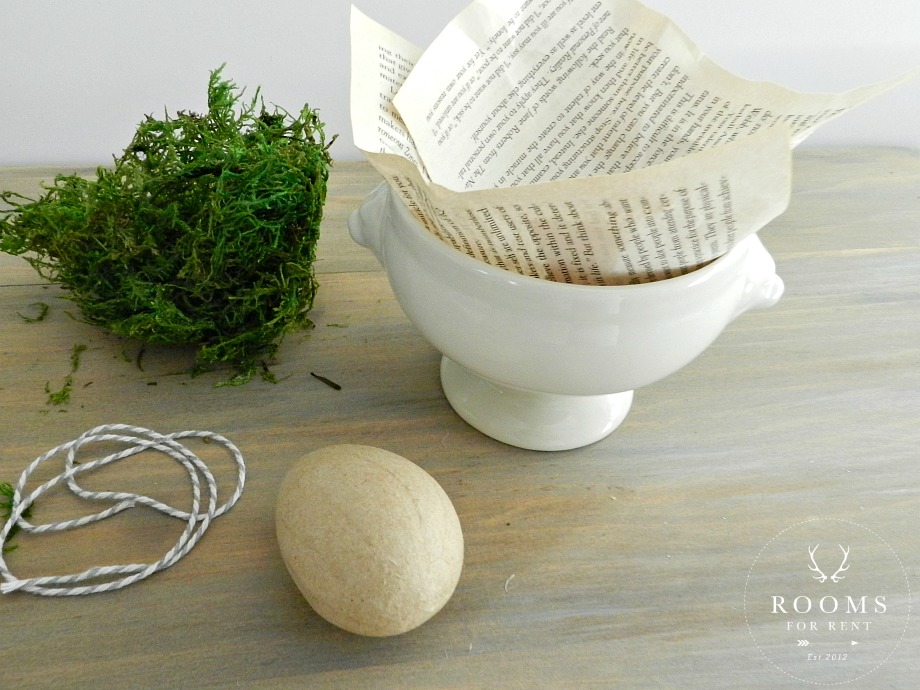
To make your own, here’s what you need for supplies:
Moss (loosely packaged)
Book Pages (preferably from a small book)
Paper Mache’ Eggs
Bakers Twine
Pedestal bowls, or tea cups, or mini dessert ramekins.
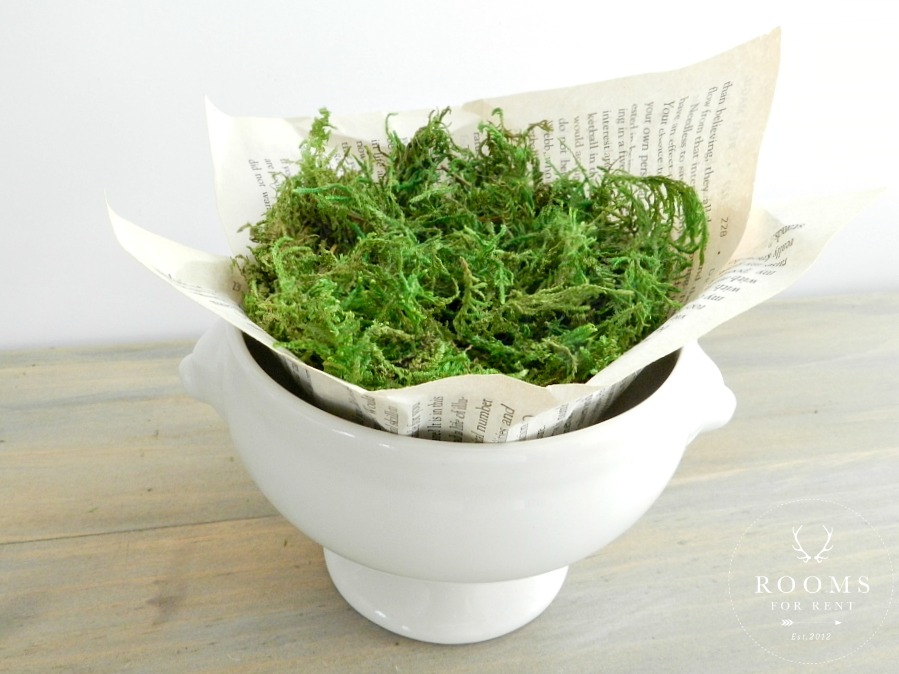
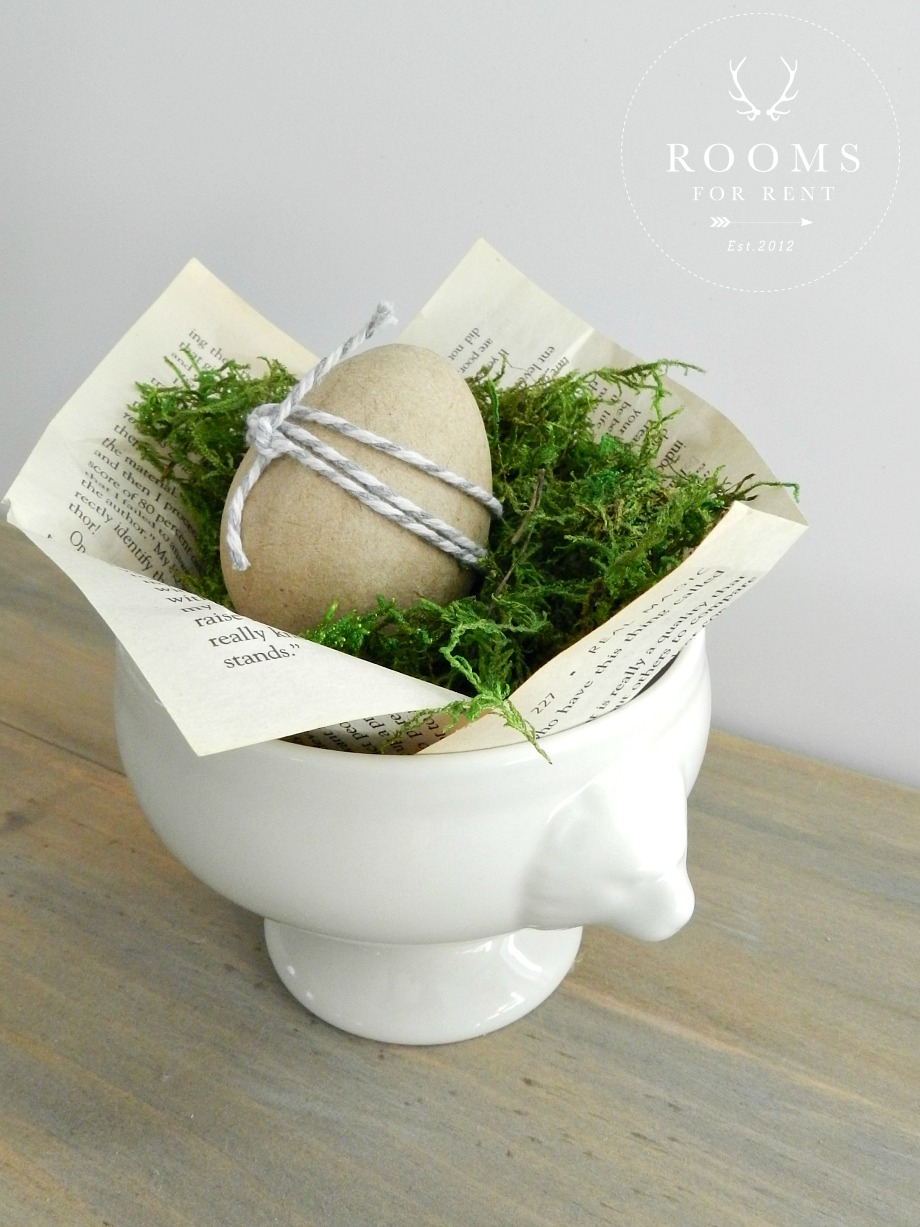
For each soup bowl I used to book pages. I placed them side by side and then pressed down in the middle to act as a liner for the moss. It’s ok if your pages get wrinkled, I think it helps add to their vintage charm.
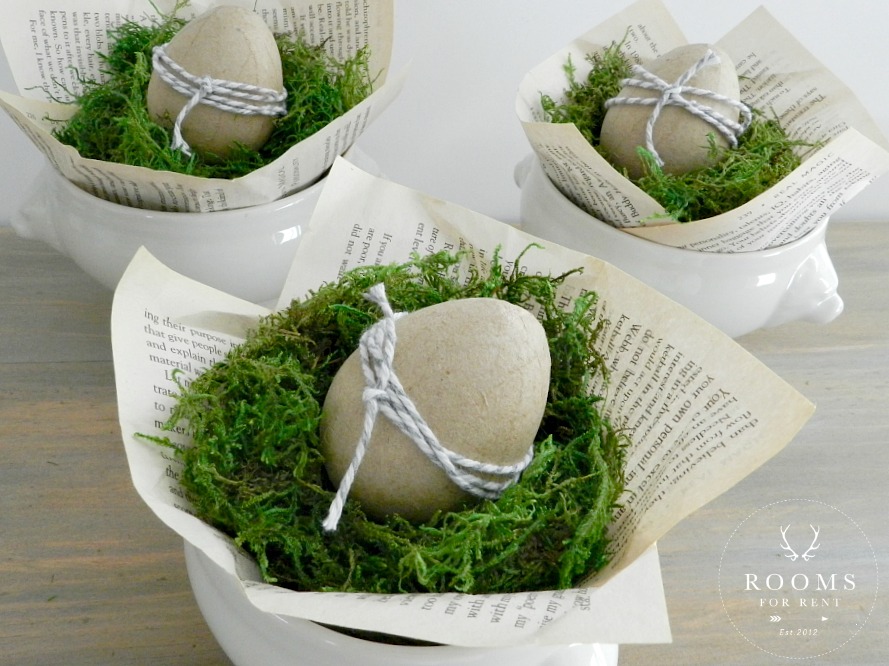
Next, layer the moss on top of the book pages. When you take the moss out of it’s packaging be sure to spread it apart and loosen it up a bit. You will get more height that way, and won’t have to use as much moss. I used 1 package of moss, I purchased from Joann Fabrics, it made 6 place settings and I still had extra left over.
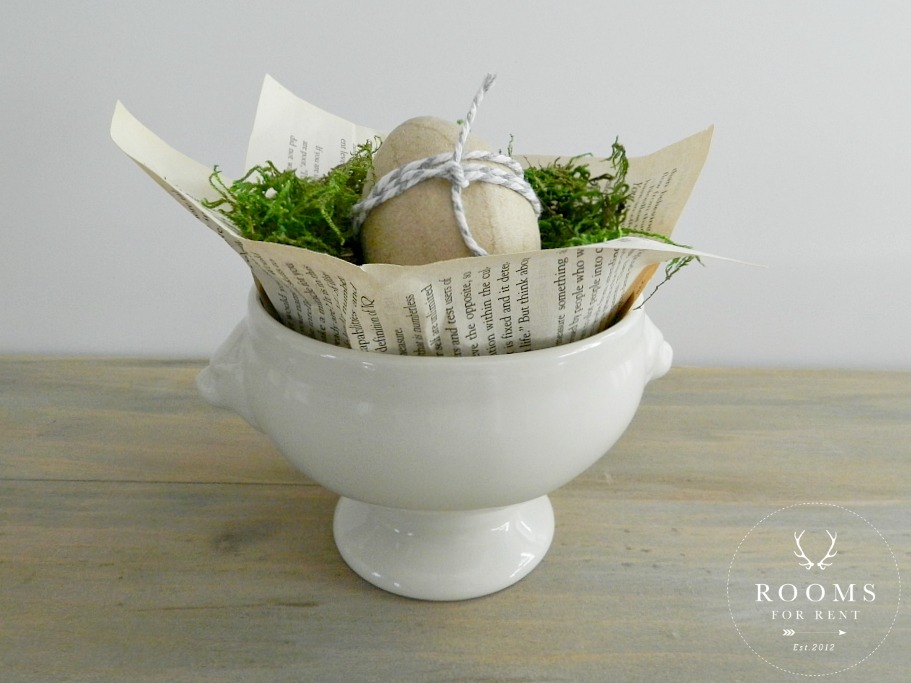
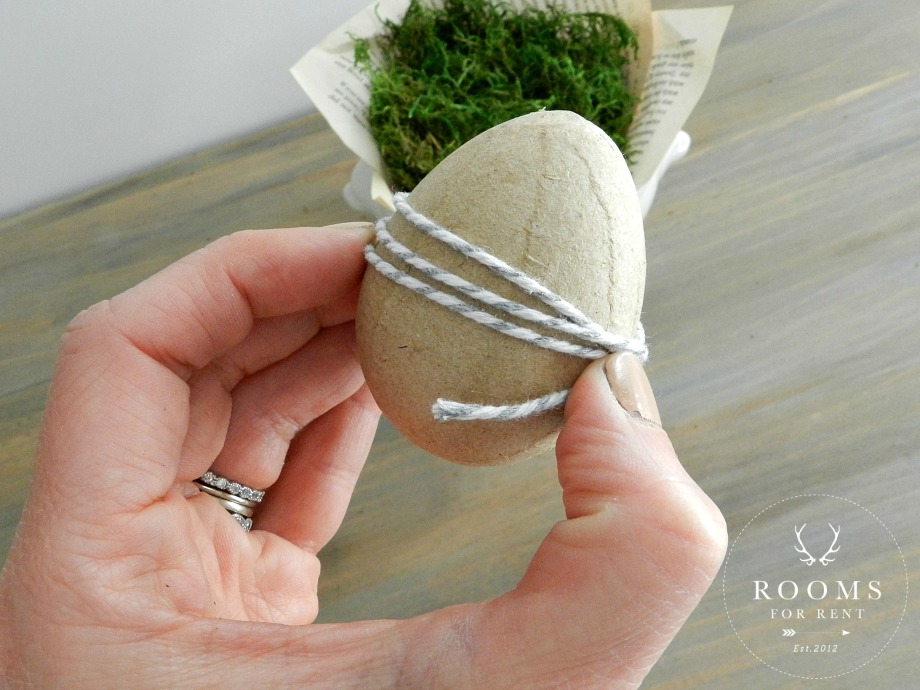
I debated painting, or stenciling a design on the paper mache’ eggs, but I loved how they looked just bare. They almost appear wooden, but for a fraction of the price I picked up this 6 pack (Joann’s also). So I kept them neutral, and wrapped this gray & white bakers twine around them 3 times and tied it in a simple knot.
I placed the egg in the center of each little soup bowl, and now my place settings are ready for the table. If you wanted to add the names of each of your guests to them, you could easily tie on little gift tags with the twine and write each guests name. In my family there is no seating chart.
When the whole family comes over we can’t all fit at the table, so we spread out throughout the house. I like it that way, it’s less stress, easy going, and that’s how we like to entertain. Plus how long have you known little kids to sit in one spot?! It takes any attention off of wiggly kids, and allows my ” hairy eyeball mom looks” to stay hidden 🙂
I will be sharing the rest of our Easter table with all of you this week, and listing out everything I used to create that tablescape. Until then, if you haven’t seen, I created a simple spring tablescape using milk glass and flowers found at the grocery store. You can check that one out here.
Stay in touch!
Instagram / Pinterest / Facebook
Have a design question? Visit Doucette Design Co. for all your design needs!


Fabulous!! Pinned and sharing on my FB page this weekend 😉
Hugs, Jamie
How simple – but ohh so cute and creative! Love it. Those little bowls are the cutest. I need some! 🙂
That is oh so creative Bre!! Very cute!!