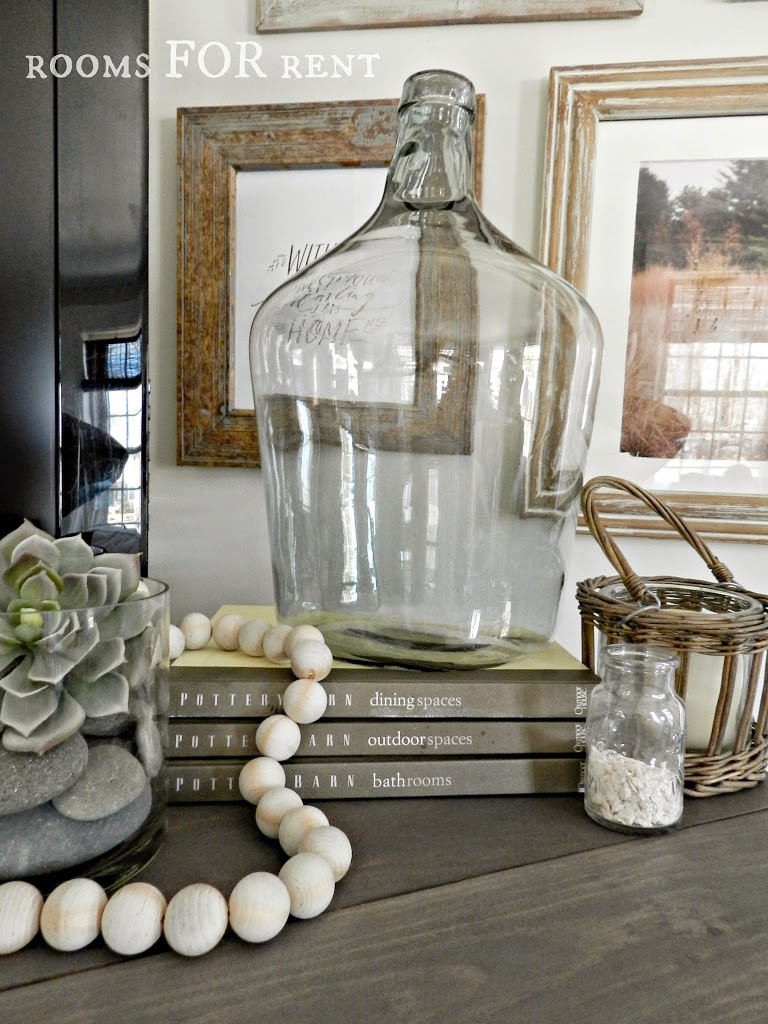
Today I’m going to share with you how I made the wooden bead strand you saw from our Printer’s Cabinet reveal post last week! I was in love with Pottery Barns version, but was envisioning something a little more drift wood looking.
 |
| via : Pottery Barn |
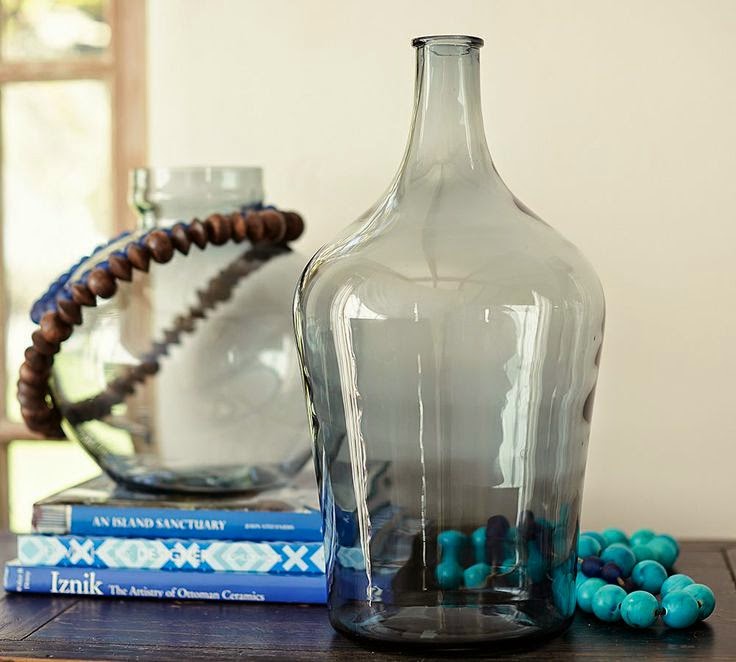 |
| via : Pottery Barn |
I picked up some bags of wooden beads from Hobby Lobby, from their “wood” aisle where they have the bird houses and other wooden things for crafts. They were about $4 a bag. You will need string and a drill with attached drill bit.
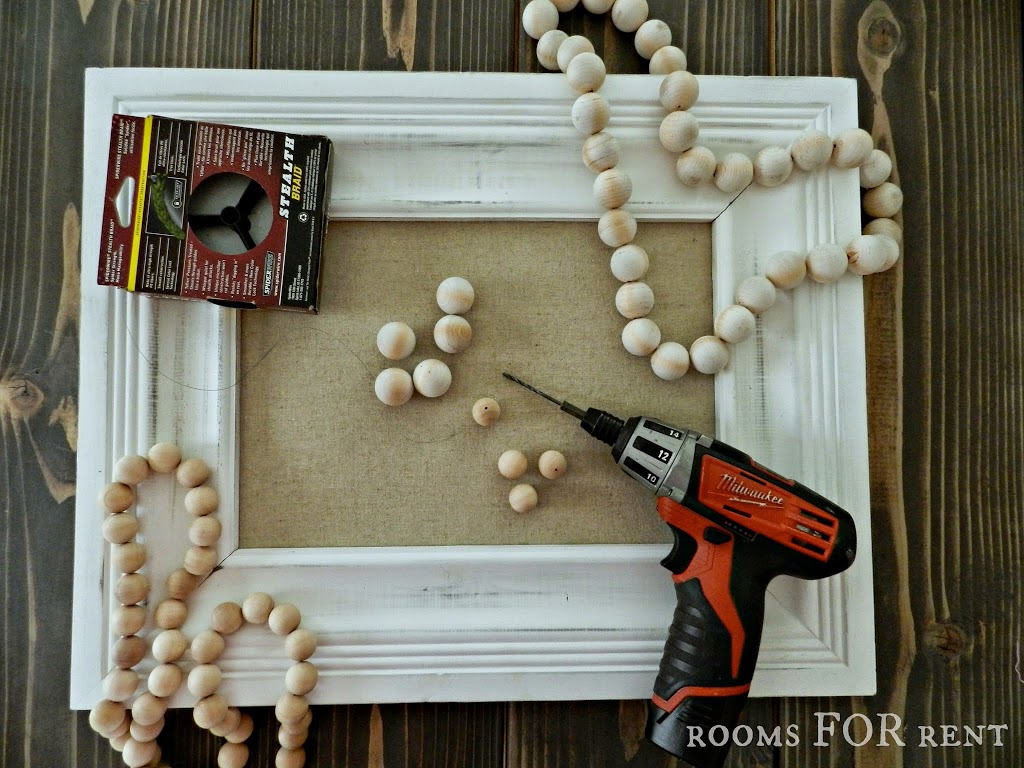
I began by drilling holes in all of the wooden beads. I had 4 bags, 2 of each size, and it took me about an hour.
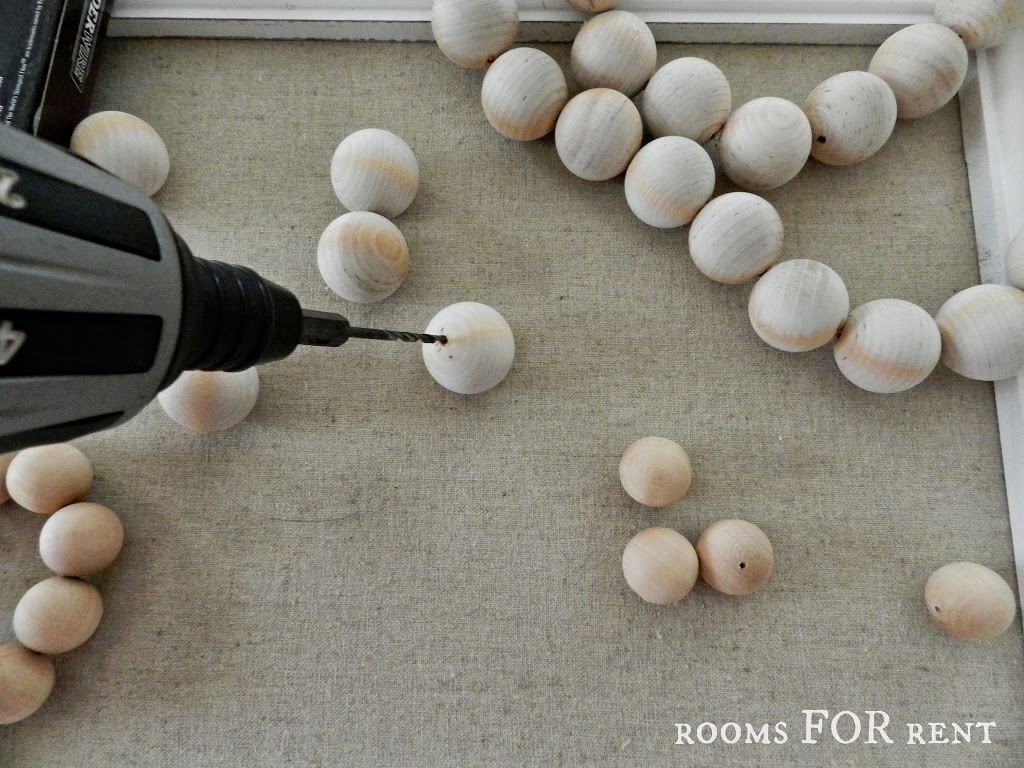
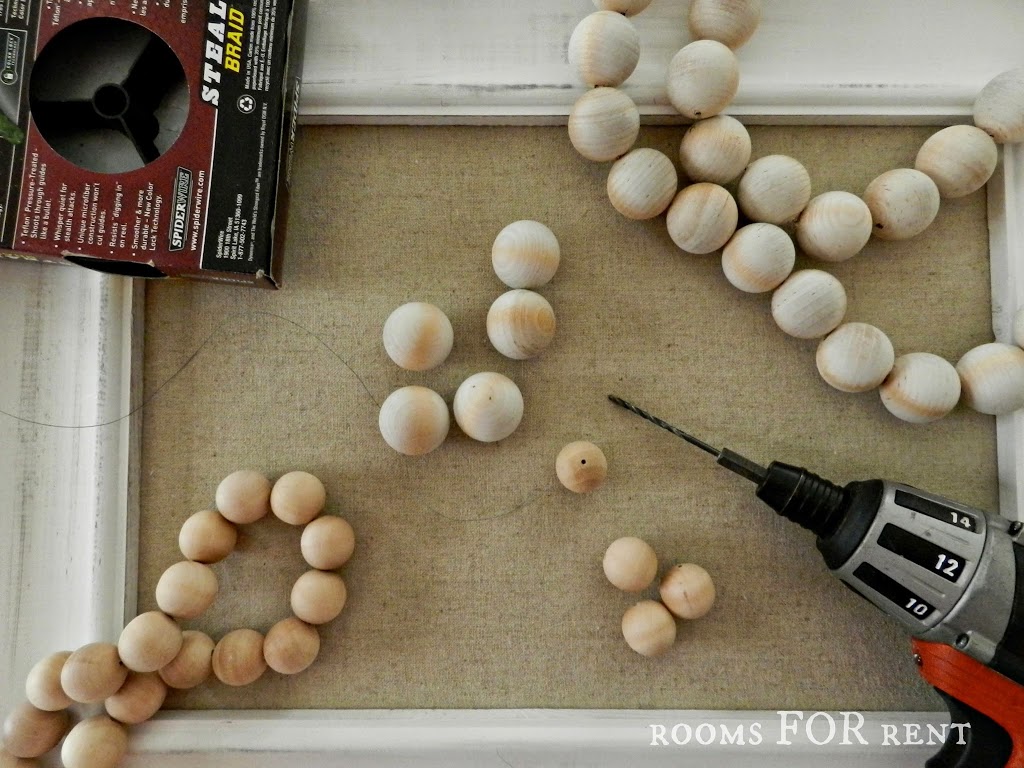
I chose a small drill bit, which meant your average twine wouldn’t fit through the drilled holes, so I used fishing line to string together all the beads.
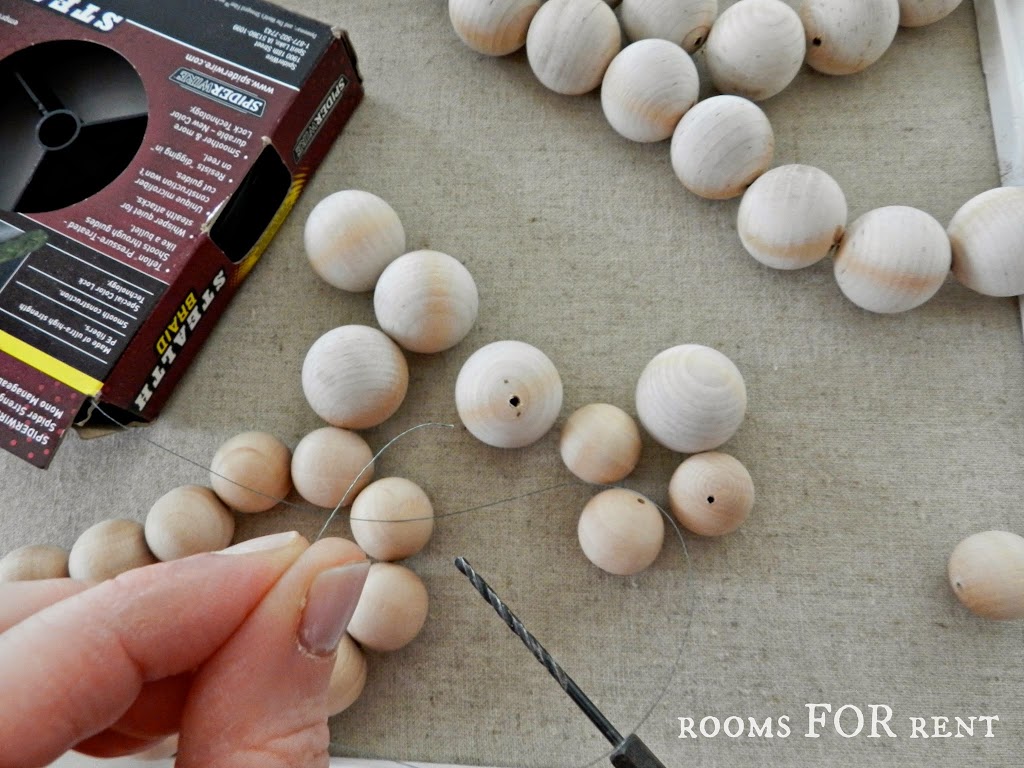
Once I was finished stringing all the beads together, I tied them together like a necklace, and you’re done!
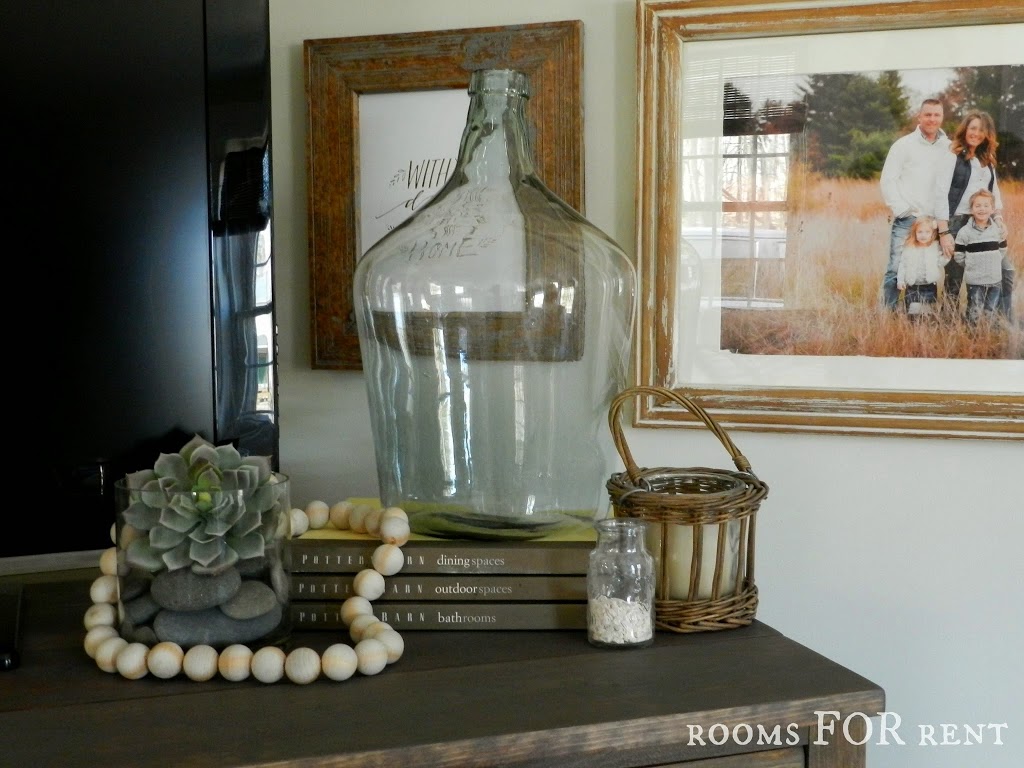
It added the perfect touch of texture I was going for. The wooden beads are unfinished wood, so I had debated dropping them in some stain first, or throwing some white paint on them.
But for now they sit unfinished, and I like the raw wood look that they bring. I even had a few extra pieces that I can make into some jewelry, so that was an added bonus! Hope you have a great day, and enjoy creating something today!

Yes! So happy to find this DIY. I’m definitely going to try this….thanks!
New to your blog and am your newest follower! Love it!
Love these! Love the raw wood. x
I love the raw look of them also. Very nice!!
That’s a great little accent piece. Thanks for sharing it.
Love them…love the whole vignette!!
Geez…. Do I need some power tools!!! Great idea!!!
Love those. If I did that I would drill my hand with the way my luck has been going this week.