• Home
  • About
  • Contact
  • Disclosures
    • Privacy Policy

Rooms For Rent blog

  • Home
  • Blog
  • My Books
    • The Gift of Gathering
    • The Gift of Gathering Planner
    • The Gift of Home
  • Shop
    • Shop
    • Shop My Instagram
    • My Style
    • Shop My Favorites
      • shop
  • Decor
    • Seasonal
      • Spring
      • Summer
      • fall
      • Winter
    • Home Tours
    • Tablescape
    • Projects
      • Furniture
    • Our (OLD) Home Tour
  • Inspiration
    • Dreams & Goals
    • Love the Space you Live in
  • Farmhouse Style Home Tour Series
    • Farmhouse Home Tour
You are here: Home / BeforeAndAfter / Master Bedroom Updated Tour

Master Bedroom Updated Tour

07/14/2014 By Bre

14 Jul

It all started last fall. The hubby and I were dreaming about getting a new King sized bed. Well we are still dreaming about it, because we have yet to go out and buy one, although we’ve narrowed down our choice. To prepare for a slightly larger bed than our current queen, in order to still fit our nightstands, we decided to swap our master bedroom around a bit.

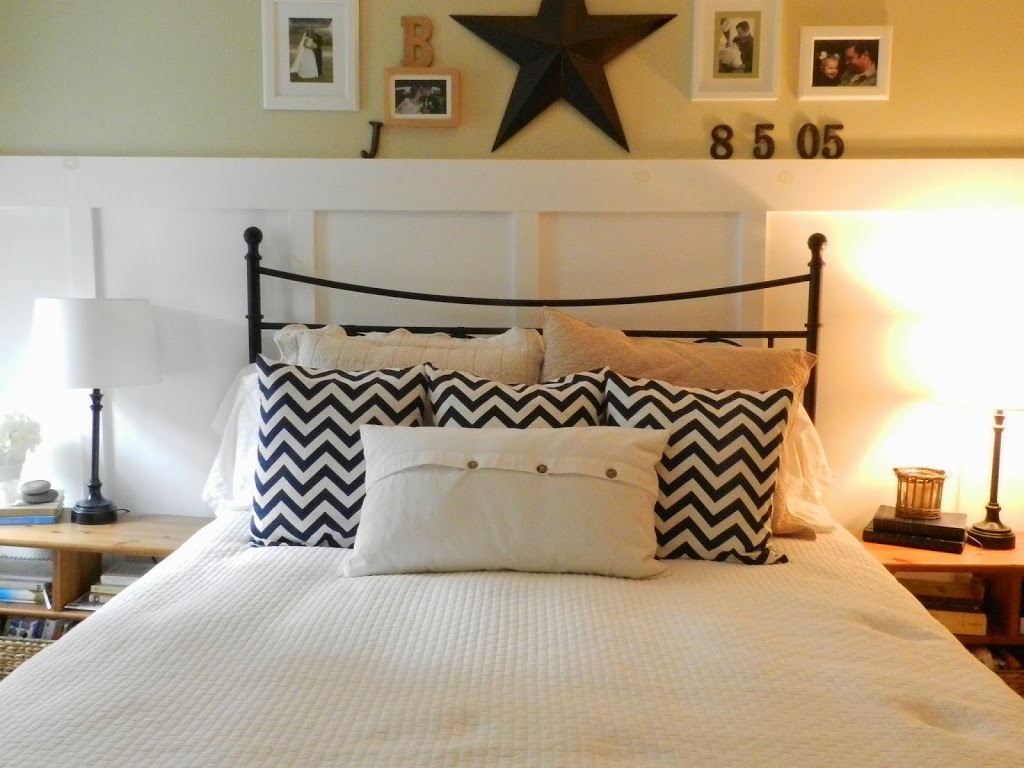
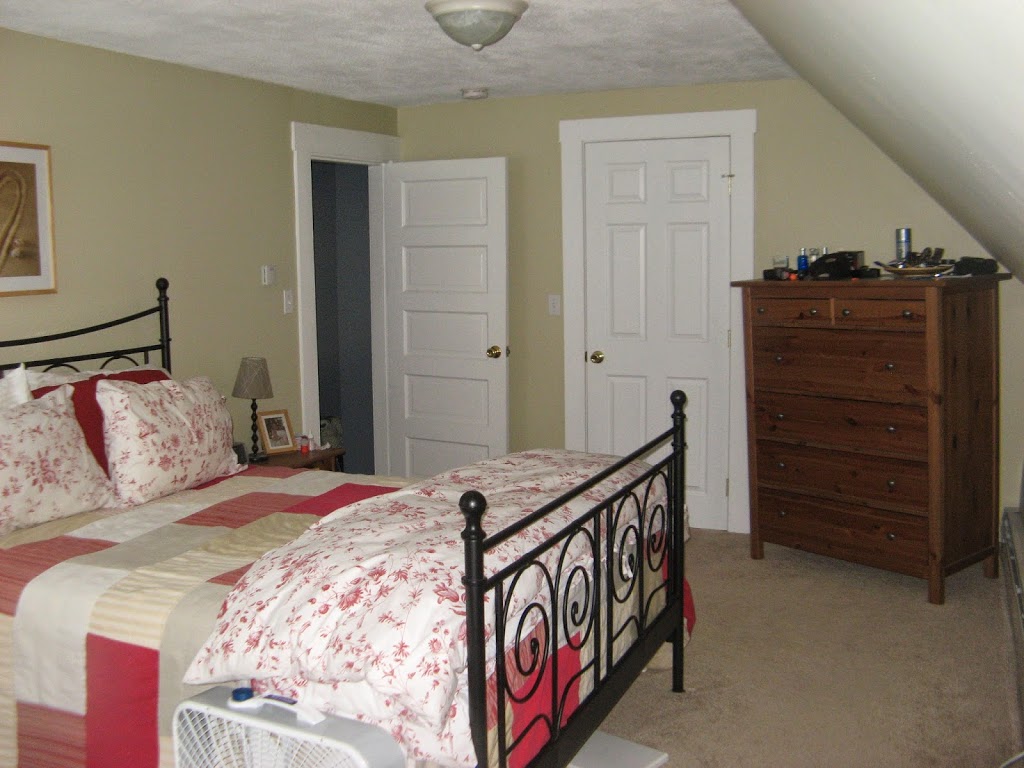
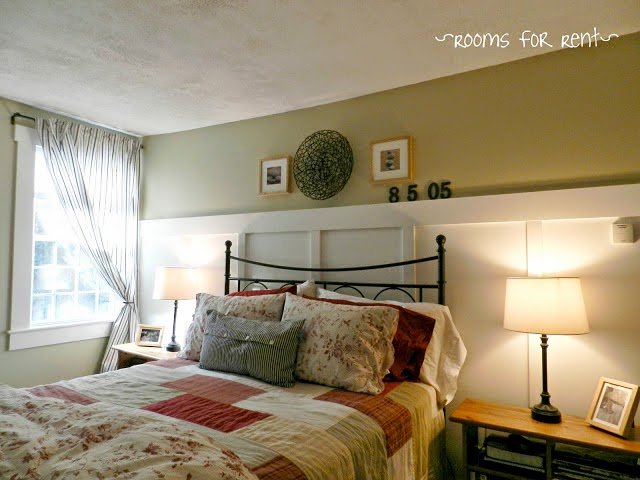
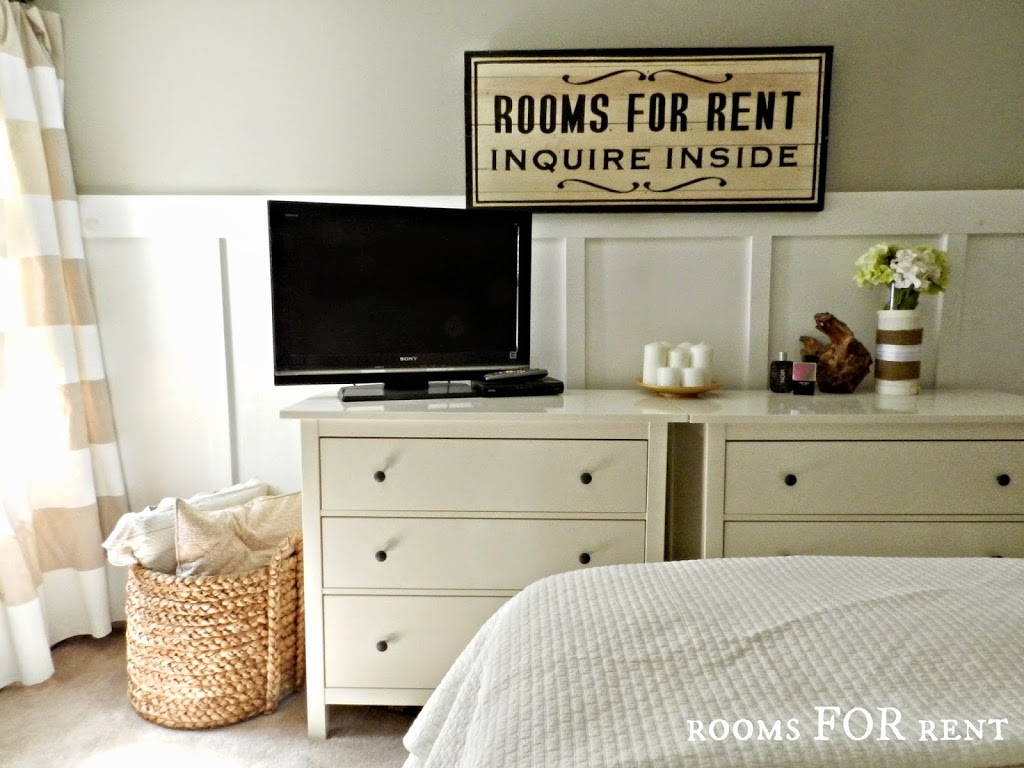
We went from it up against our Board and Batten wall shown here:

To the wall directly opposite, which happens to have an eaved ceiling. When the foot of our bed was at this end, we always had to slightly duck to walk by our bed, now that the head of our bed is up against this wall, the room feels much larger, since you don’t have to duck walking through it.

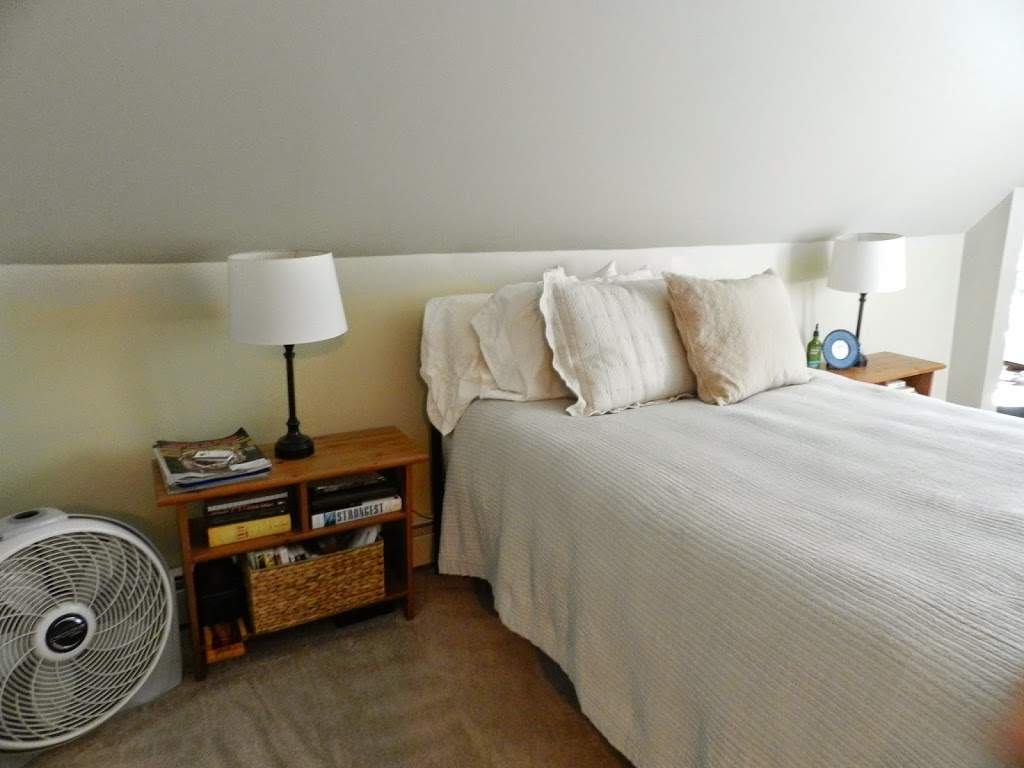
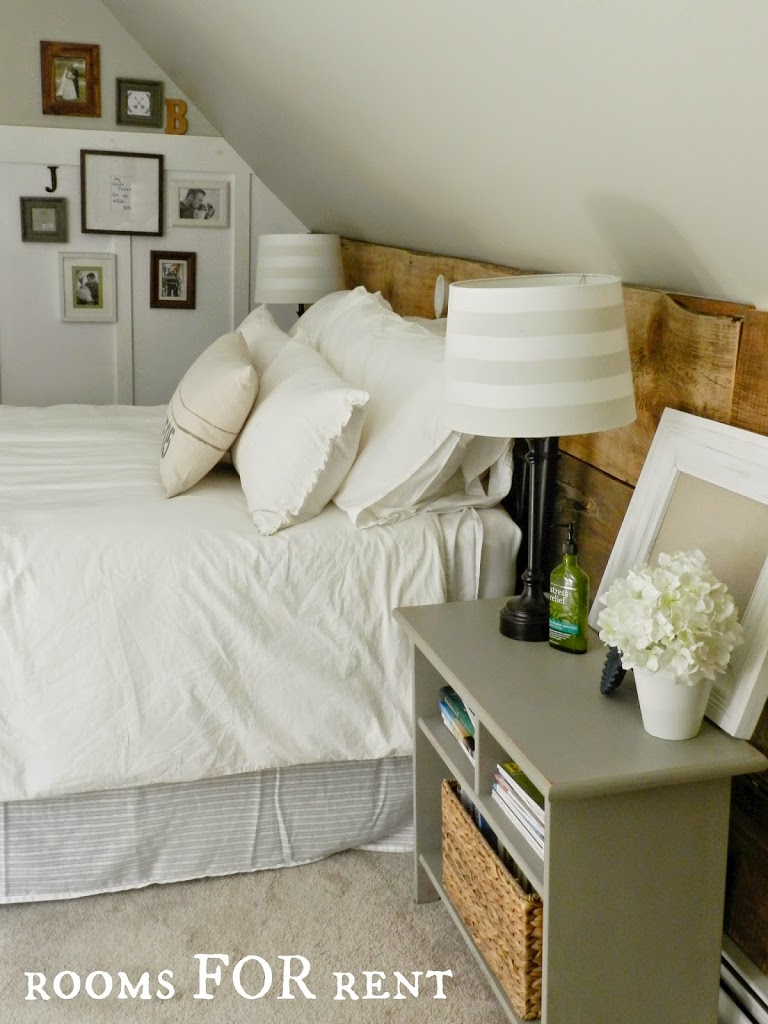
You can also see in this photo, above the fan and nightstand on the left, yes the wall is two different colors, I had just finished painting a new color (BEN MOORE : HAZY SKIES) throughout our entire room, and had an idea for the lower section of the eaved wall. The eaved wall always bothered me from a design stand point, because the rest of the walls have the board and batten treatment, but the lower half of this wall wasn’t tall enough to continue it on this side of the room. Loving the look of old barn wood, planked on walls, I decided this would be the perfect spot for it, and it would serve as a focal point for our room. In my head I was dreaming of the rough weathered wood paired with an upholstered slip-covered head board {keeping that project in mind for when we upgrade to a king size bed!). So one non-eventful weekend in Feb. I convinced the hubby to help me carry these 18″ boards upstairs.

AFTER:
For bedding, I got a linen duvet cover from IKEA, along with two of these cute linen pleated pillows from IKEA as well. The front throw pillow, I diy’d out of painters drop cloth, and stenciled the numbers on. The No.2 – representing the two of us, and the 8.5.05 is our anniversary.
I love the warmth, and the dimension that the planked barn boards bring into our room. They almost resemble something similar of what you would expect to see originally part of our 1846 farmhouse.
BEFORE:
AFTER:
Below you can see how our bedroom looks, if you were looking into that part of our room from where our Home Office is, which I revealed last week.

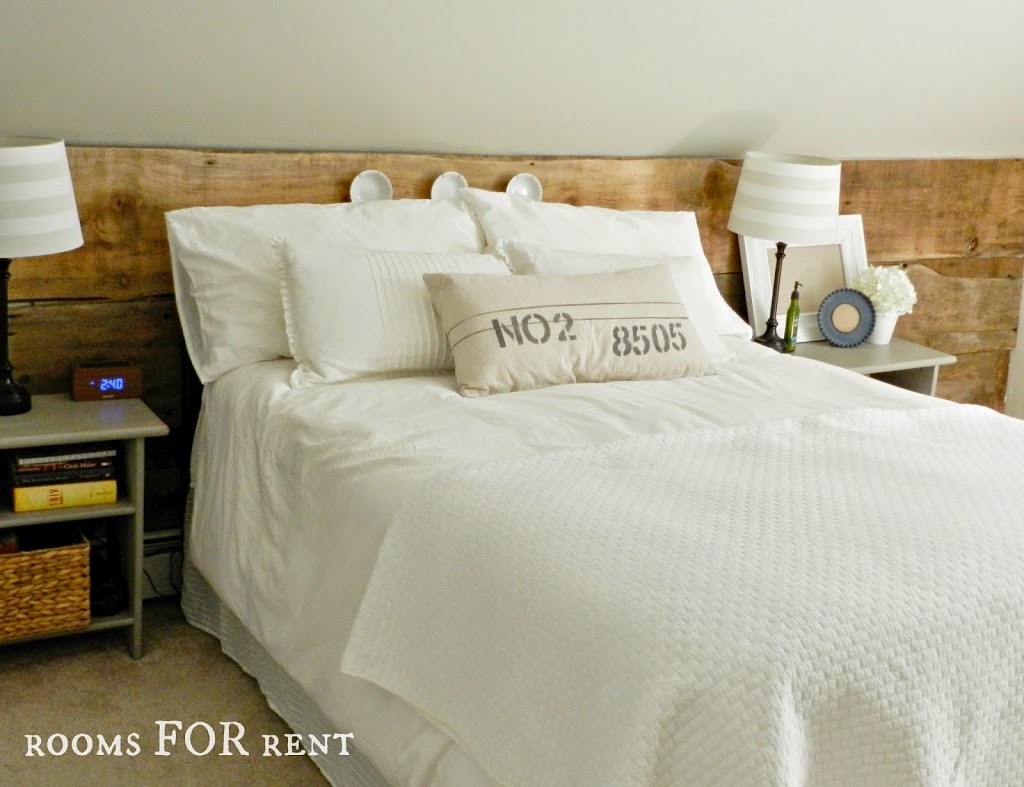
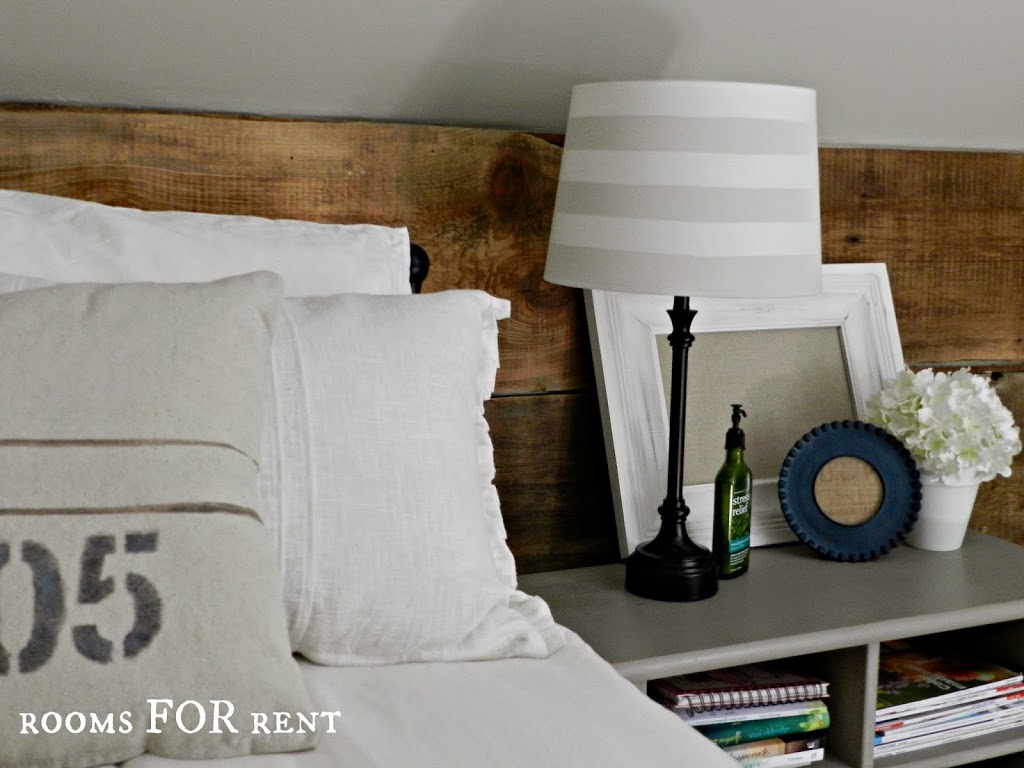
Since the boards were original to a barn, and coated in dirt, I gave them a good sanding to clean them up a bit, and bring out the woods original tones. I debated sealing them, or rubbing some light stain on them to protect them, but decided just to keep them in their true raw state.

I created a small gallery wall, of more intimate family photos, and some candid ones of the kids, we felt captures their personality best. The other frames are filled with some love quotes, and then our initials in different styled letters to fill in the gaps. {Both letters purchased from Hobby Lobby}
BEFORE:
Where our bed used to be, now holds two identical white IKEA dressers, originally from the kids room, until I played musical chairs with all the dressers {except mine} in our house.
AFTER:
The hubby needed better storage for his clothes, and after finding this $5 beauty, it allowed me to switch things up, and now provides plenty of room and a better drawer layout for all his clothes.
Which has completely taken away my excuse of not being able to put the laundry away due to lack of space :p
I brought up my beloved Pottery Barn “Rooms For Rent” sign, which was my inspiration for this blog’s name, and still one of my favorite decor pieces to date.
 With the night stands now up against a wood background, I wanted them to pop a bit more, but still be subtle, from their original wood finish. So I gave them a quick coat in ASCP ‘French Linen’, which is a nice muted grey. Working in the same color scheme it keeps the room monochromatic, and very refreshing.


To see how I gave these lamp shades a quick update, check it out  here.
To go back and take a look at how we added our Board and Batten check out here, and here.
Tomorrow I’m joining up with my favorite friends for a little
Seasons of Home
-summer edition-
where I will be sharing my go-to summer BBQ dessert!


Filed Under: BeforeAndAfter, Decorating, Doucette Design, Home, Home Tours Tagged With: bedroom, grey paint

« Home Office {Sweet & Simple}
Get to Know Me! »

Comments

  1. Krista thehappyhousie says

    07/21/2014 at 12:04 am

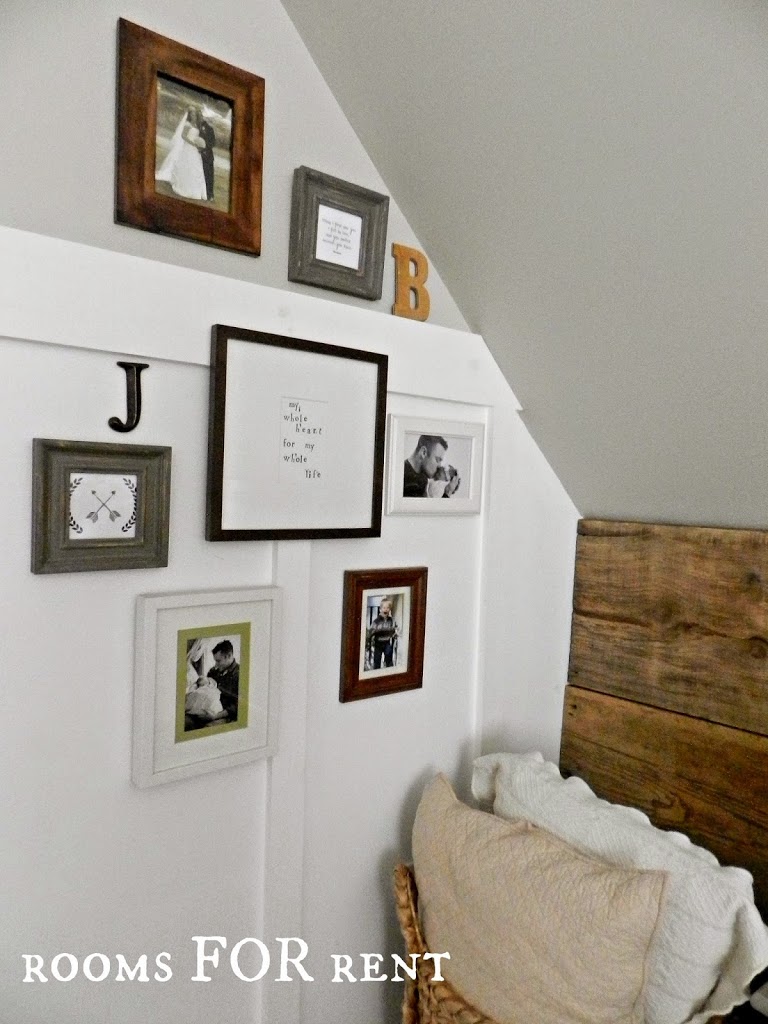
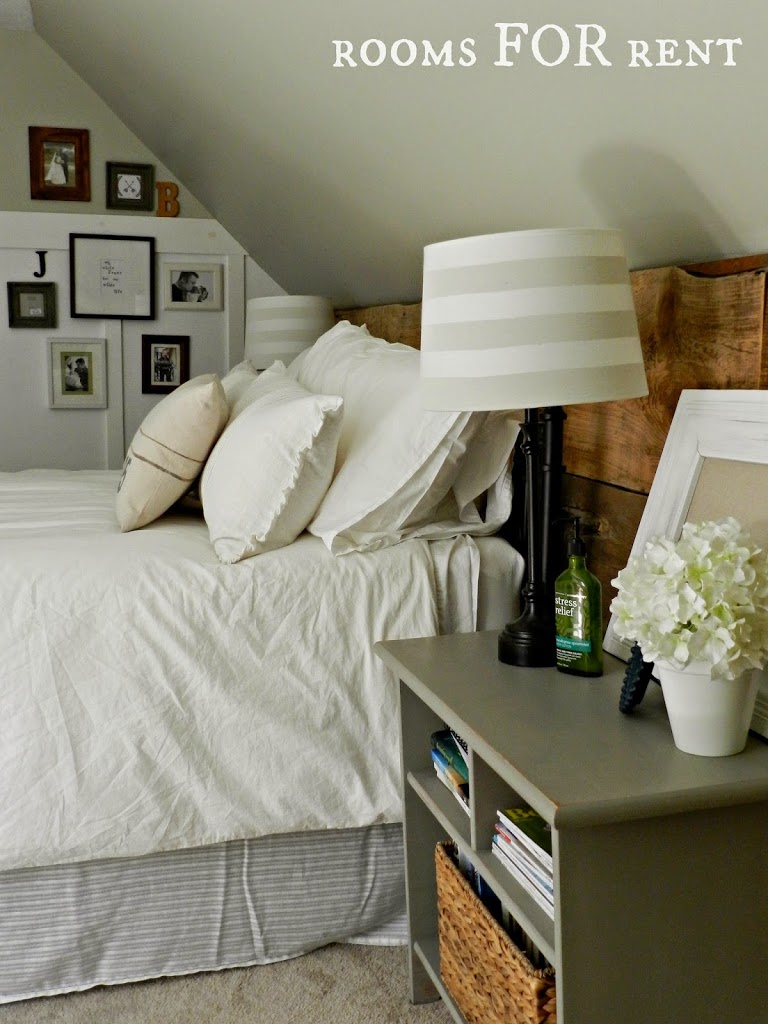
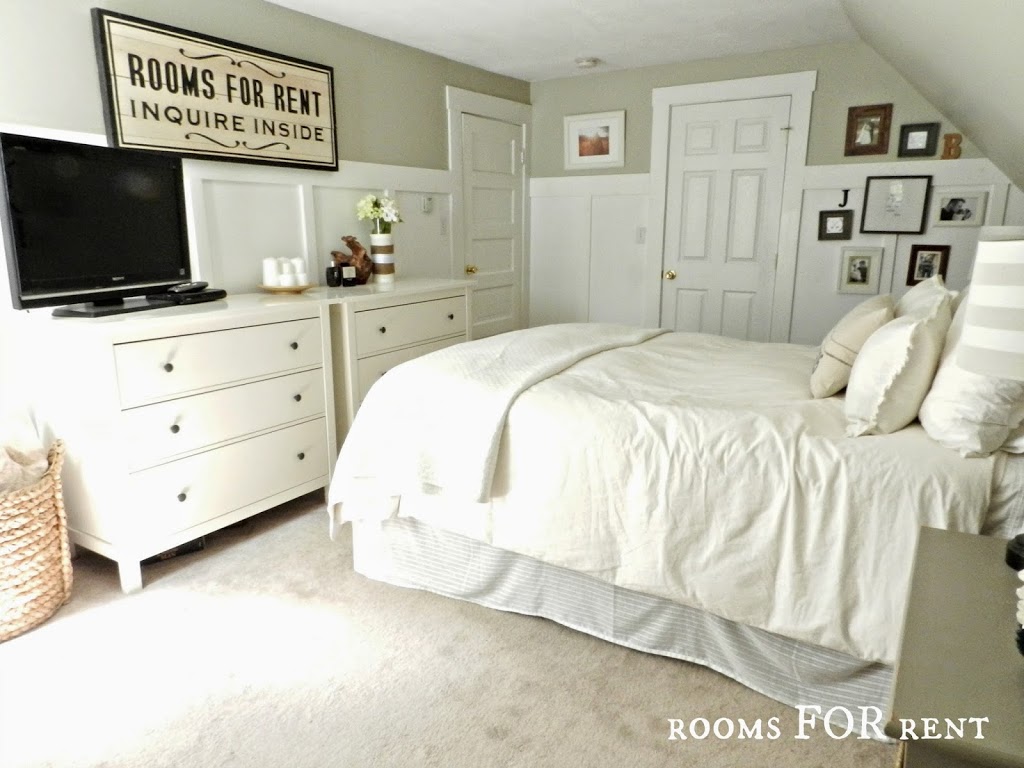
    So fresh and beautiful- I absolutely love it!!

  2. BlueClearSky Elizabeth says

    07/16/2014 at 5:36 pm

    Your room looks great and the plank wall is awesome. Changing the bed orientation seems to have worked out great. Love the soft colours and the special family photos are a really nice touch. Just a tip about the king bed, make sure you know the thickness of the boxspring you want. The new ones can be very high unless you order a low one specifically.

  3. Terry Moore says

    07/15/2014 at 12:06 pm

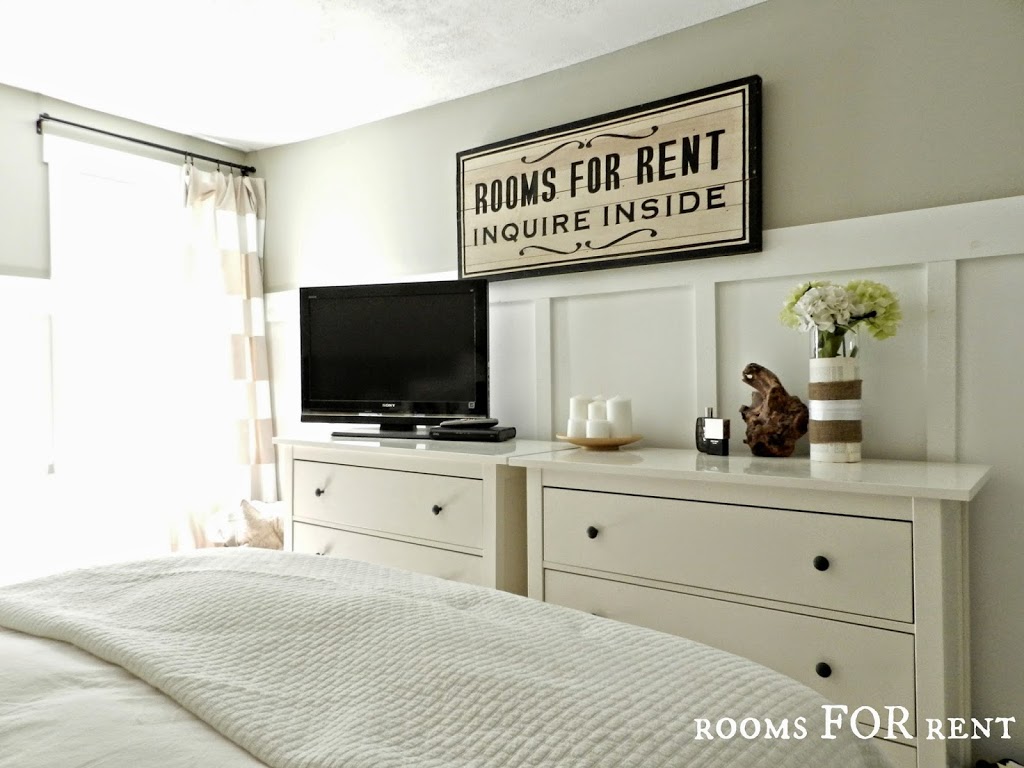
    Love, love love this space and what you have done with it. I would raise the Rooms for rent sign off the trim. Wow, it all looks so good.

  4. ajelleone says

    07/15/2014 at 12:05 pm

    Love this! I have been struggling with out small room and eaved ceilings since we moves in! This is so creative and sheek! Thanks for sharing!

  5. Christine Vandormolen says

    07/14/2014 at 9:47 pm

    GORGEOUS!

  6. Cassie @ Primitive & Proper says

    07/14/2014 at 9:12 am

    it’s perfect!!!! the wall treatment just makes such a difference!

  7. ~lori says

    07/14/2014 at 8:40 am

    I think you are pretty much genius with all your room designs. I absolutely love this!

  8. laura Madalene says

    07/14/2014 at 7:23 am

    Oh what an inviting bedroom. I think anyone would love to sleep here. Gorgeous and I really like the plate display. Thanks tons for linking to Inspire Me.
    exclusive-master-bedrooms-designed

  9. judi says

    07/14/2014 at 7:22 am

    Love the whole room! How did you determine the spacing between your vertical boards in the board & batten? We have sloped ceilings in part of our master and one wall that has the original exterior siding before this section of the house was added onto. I think this is the answer I needed for making the room feel more calm and cozy. We have an 1829 farmhouse that has been in & out of my husbands family. There’s lots of sweat equity involved but so worth the time and labor!

Search:

Hi, I’m Bre!

Hi, I’m Bre!

I'm so glad you're here. Follow along as I share my relaxed farmhouse style, my passion for interior design, and a little bit of life and faith along the way. My goal is to inspire others, and help you "Love the space you Live in".

Stay In Touch

  • Email
  • Facebook
  • Instagram
  • Pinterest
  • YouTube

The Gift of Home

The Gift of Gathering Planner

The Gift of Gathering

Follow Bre on Instagram

This error message is only visible to WordPress admins

Error: No feed found.

Please go to the Instagram Feed settings page to create a feed.

Never Miss a Post

* indicates required

Past Posts

  • Home
  • About
  • Contact
  • Disclosures
  • Privacy Policy
This error message is only visible to WordPress admins

Error: No feed found.

Please go to the Instagram Feed settings page to create a feed.

Copyright © 2025 · Refined Theme On Genesis Framework · WordPress · Log in