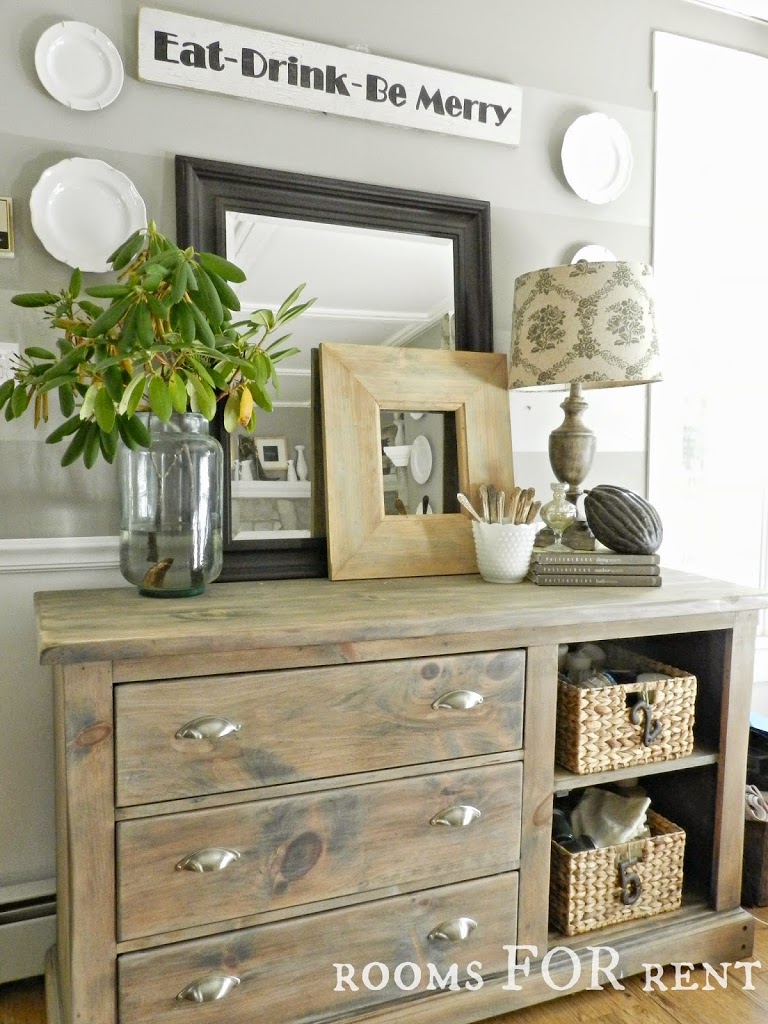
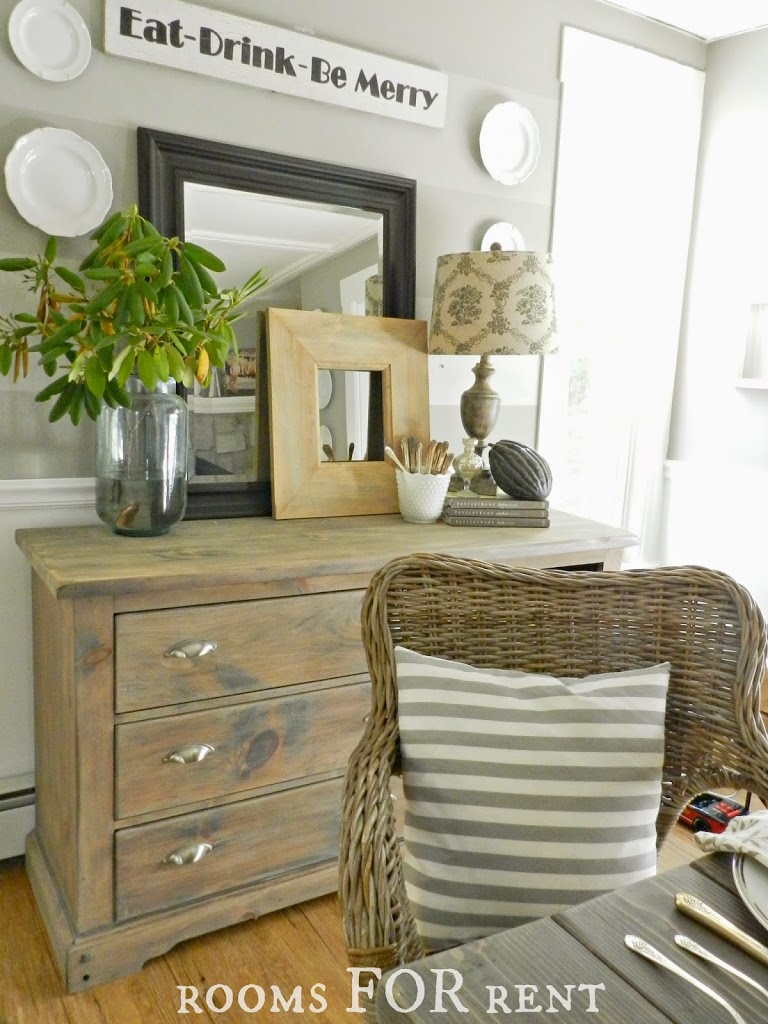
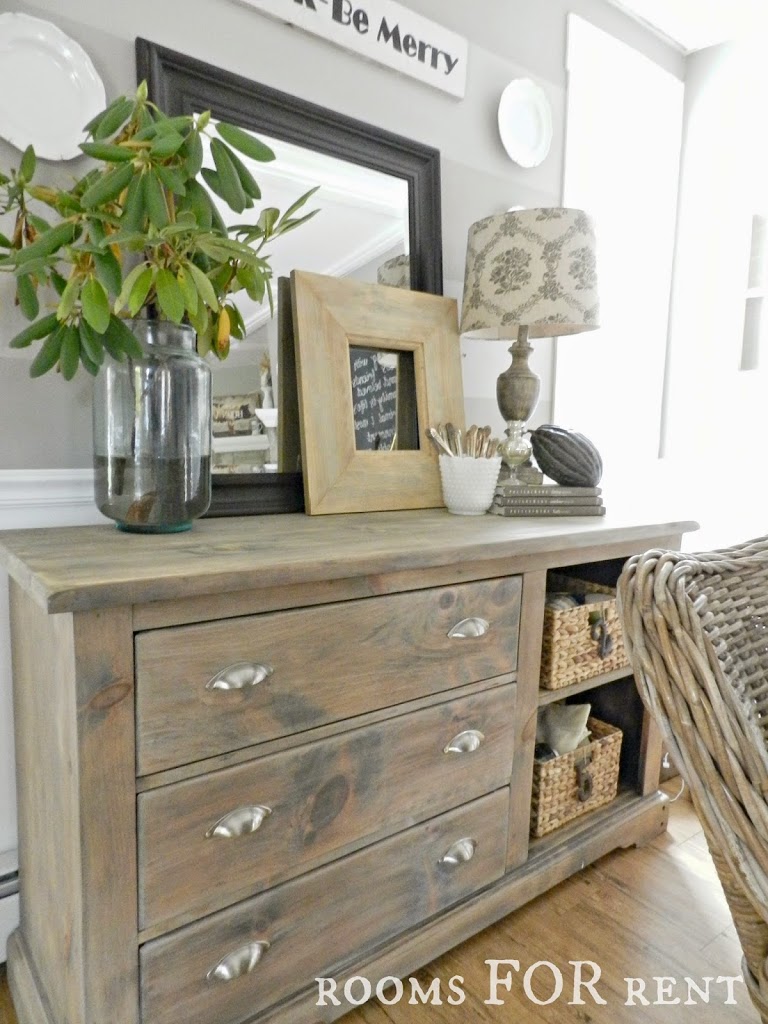
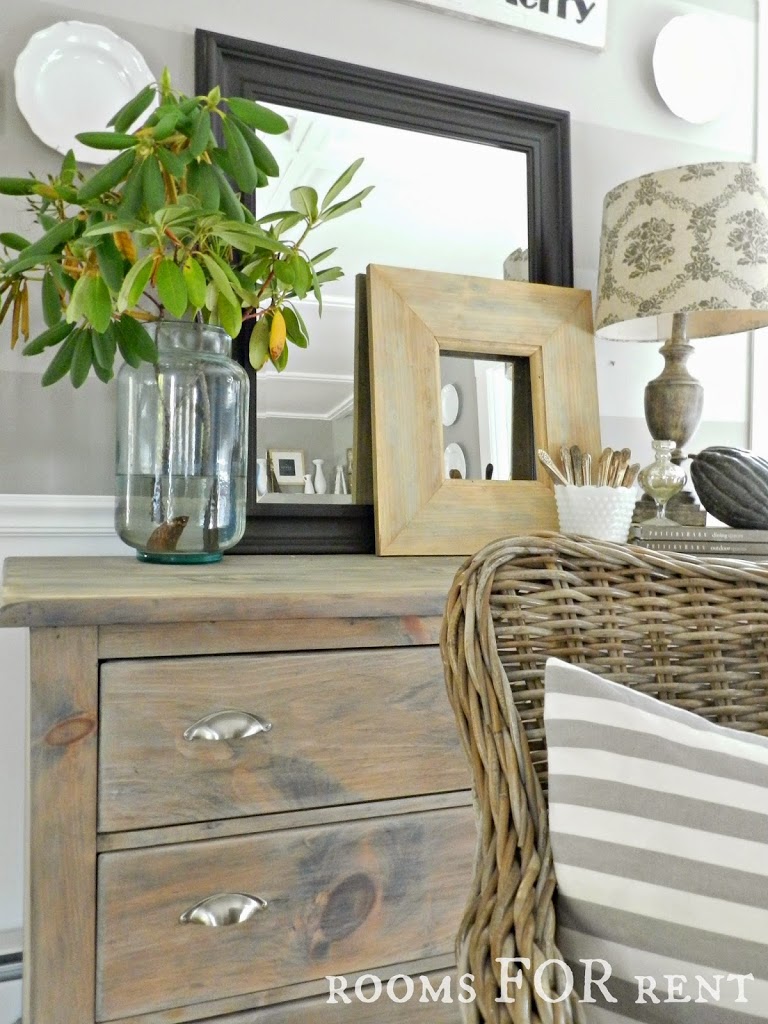
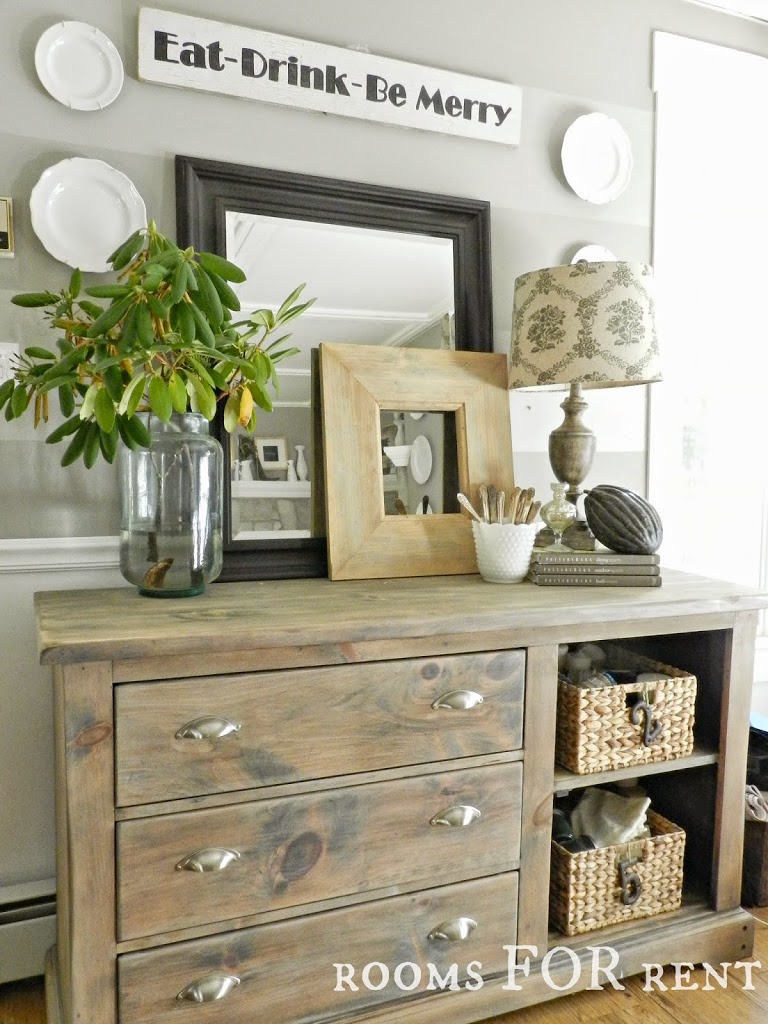
Happy Monday Friends!! I shared a sneak peak on Instagram over the weekend of the makeover our dresser in the dining room got, and I’m so excited to be revealing it today with you!
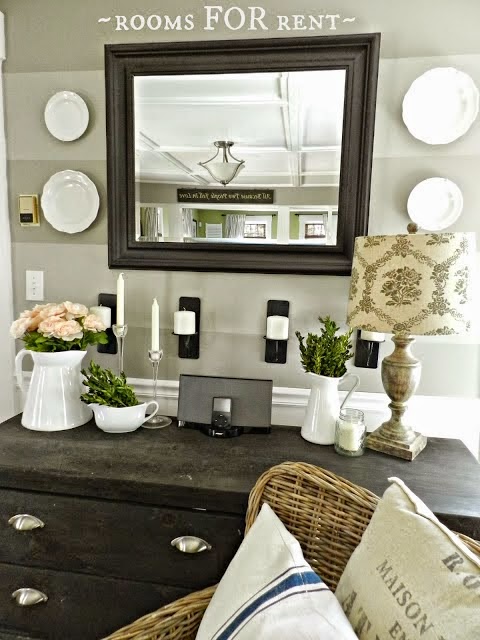
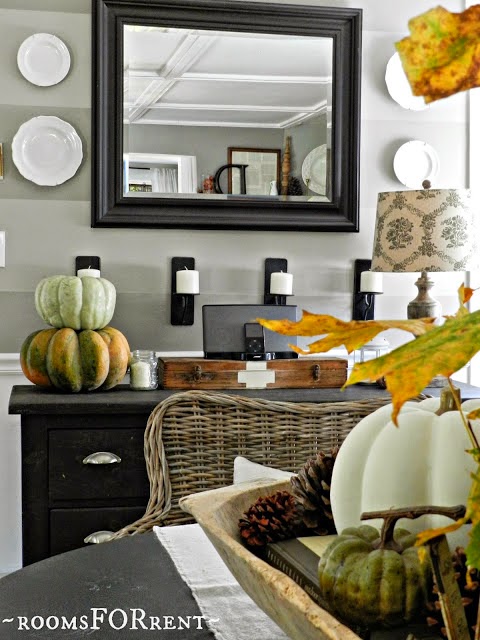
Here are a few pictures to show you what it looked like before. This dresser sits on the back wall of our dining room right before you enter the kitchen, and houses all of my serve ware dishes, seasonal candles, and the top drawer is strictly my junk drawer! Yes I know you were probably curious if I had one, and now you know where.
It was just the change I was hoping for, and I love how it feels in the space now. You will get to see how it looks in our dining room with the entire view, during my week of Thanksgiving Tables November 3-7. I’ve been busy working away creating 5, very different, tablescapes to share with all of you, and I hope you will join me and some of my favorite blogging friends. Until then, you can always catch up with me on the latest on Instagram (roomsforrent).

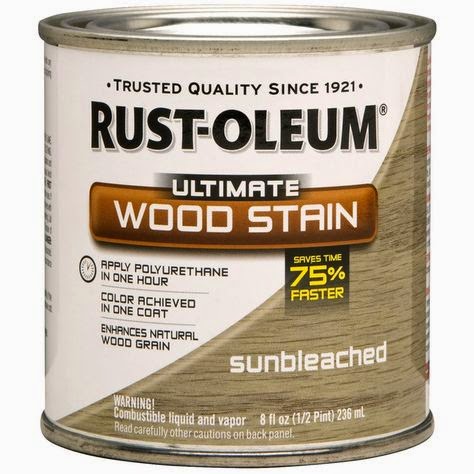

Looks great! How did you apply the sunbleached stain so that it didn’t completely cover the walnut stain?
Hi Mari, the sun-bleached stain has a thin consistency to begin with. So when I applied it I only let it sit for a few seconds and then rubbed away the access, until it covered it the way I liked 🙂
Love your work and thanks for sharing!
this is one of my favorite projects that you’ve done! You have inspired me to give it a try!
Hello there! This piece looks fantastic! I am trying to accomplish the same look on my bedroom set which is all sanded down and already stained in the same walnut you used. However, I wanted to ask how did you apply the sunbleached stain to get this thin coverage of it. Thank you!!!
I absolutely love this piece. I just bought a piece that I would like to upscale. It is an antique and I got it for 20 bucks at a local yard sale. I am so excited to try this. Thanks for sharing the tips. Can’t wait to use this on my item. I pray it looks as good as yours. Thanks again.:-)
Beautiful!!! Did you apply a polyurethane after you stained?
Hi Arianne! I didn’t apply a poly, but you totally could. I used furniture wax, but you can finish it any way you like. I think it’s more personal preference, and depending on how the piece is used you might want to take more precaution in preserving it.
What a difference in the before and after. Love the color and how you can see the wood grain. Beautiful!
What a transformation. It looks so beachy, Frenchy, lovely. You must be so happy.
http://www.libbyslifestyle.com
Umm it’s goegeous, so jealous!
LOVE!, this transformation. Want to do a new table top for dinning room like this color finish!! Working up the nerve!!
Fabulous!
It love great!! I love how it turned out.
Kathy
It looks awesome and thanks for sharing the products and process you used to achieve the look. I might have to practice on a board first.
Gorgeous! And thank you for sharing what stain colors you used to achieve the look…think this is exactly what my son’s pine bedroom furniture needs. 🙂
It look amazing. hard to belive it is the same piece. You did a fantastic job.
Excellent to visit this site
real estate