We are in full swing over here with our bathroom renovation, so I thought I would share our progress so far. Mind you I say we aren’t doing anything major because we didn’t take the room down to the studs. The sink and the floor are staying the same. If this was our forever home, believe me I would have been tearing up that tile floor, but it’s not. I wanted to do a bathroom renovation that would fix some of the problems, give it a bit of a facelift and be done in a relatively short time frame. Well my thoughts of having it done in a week are out the window. We had to redo all the plumbing for the tub and shower, which the hubby was not a fan of! In order to get the tub to fit we had to remove the toilet, so thankfully we have a full bathroom upstairs, but we are all getting a little tired of having to run upstairs every time you have to go 😛 More on that in a minute.
Let’s go back to the beginning to start. This was the mood board I created for this project last year. And while the general design plan is staying the same, we’ve made some modifications. 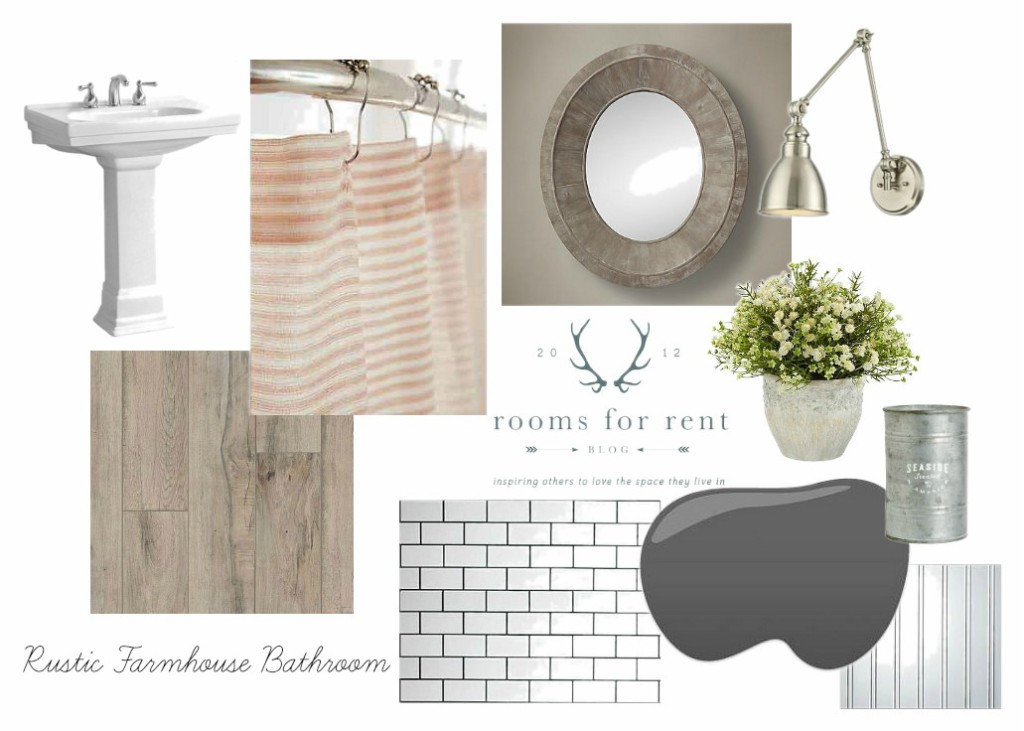 The bathroom we are renovating is right off the kitchen. It’s a full bath, which we are super thankful for, especially when we have extended guests, having a second full bathroom really comes in handy.
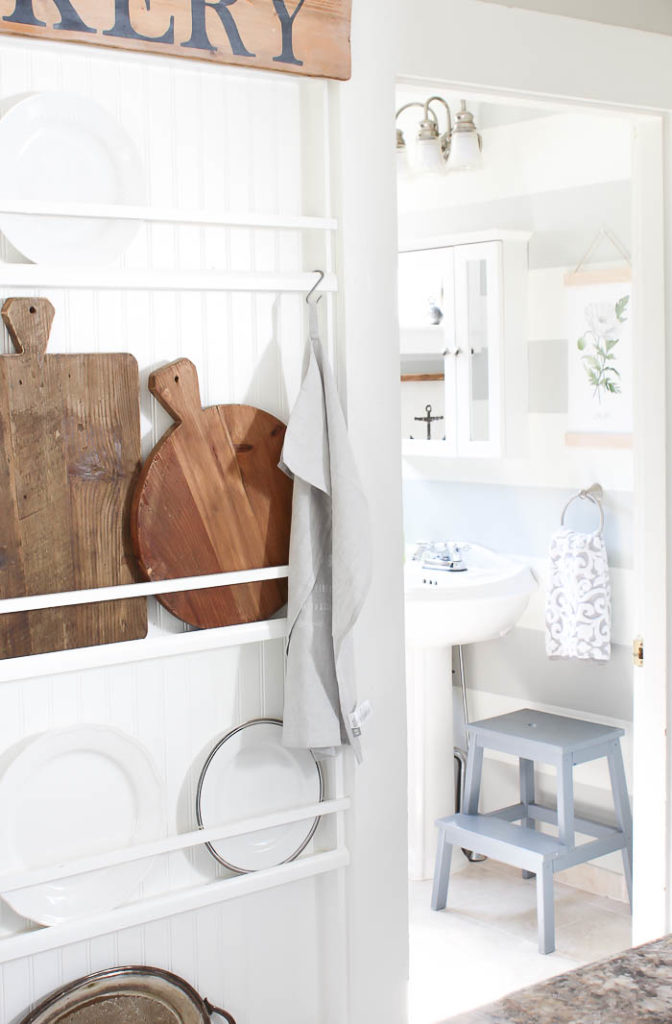
Let me refresh you on what our plans are. Like I said the pedestal sink is staying, and originally I was going to swap out the existing tile for the wood looking tile you see in the mood board, however over the past year we have been talking about our future as a family, and where we see ourselves, and we came to the conclusion that while we love this house, and it is perfectly fine, it doesn’t suit some our future needs. We have no timeframe on this matter, however when it came to the bathroom reno, I wanted to only fix what was necessary since we wouldn’t be here forever.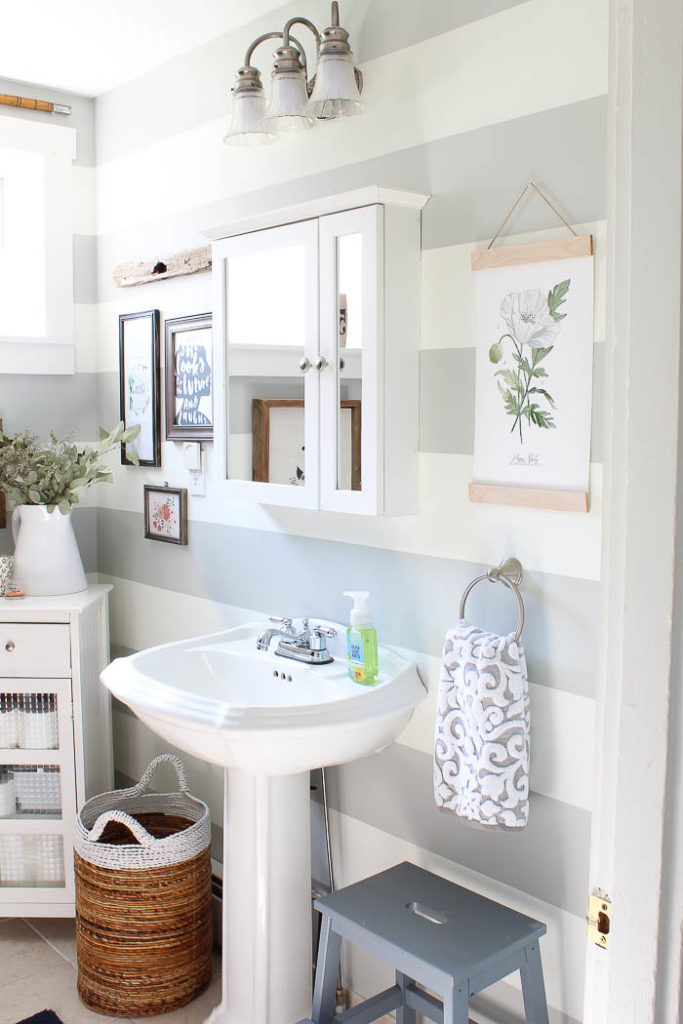
We are still saying buh-bye to the strips. You may remember I re-painted them gray last year after I realized the bathroom reno was not going to happen then, and while I love the stripes, I’m ready for something different. So we are installing bead board on the bottom 2/3 of the wall.
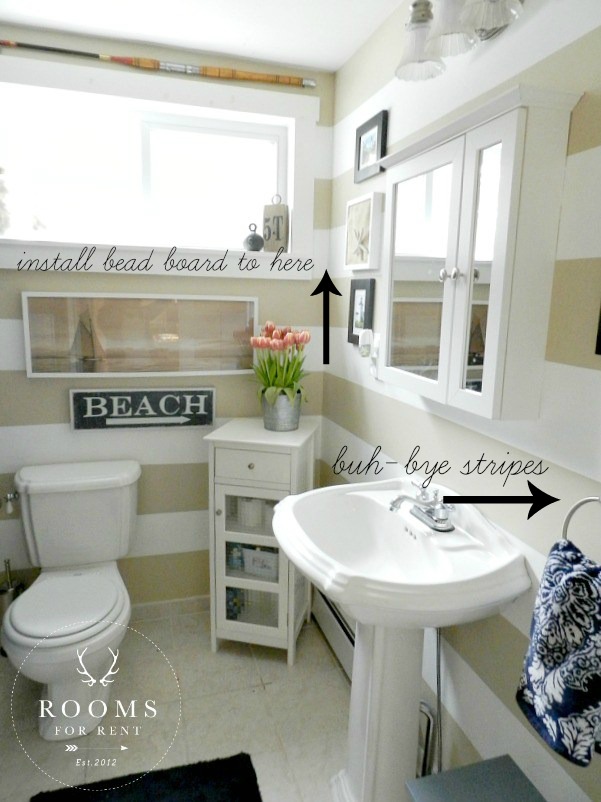
Basically all the way up to the window, and painting it Peppercorn by Sherwin Williams. Which is a pretty charcoal gray with a tint of navy. I will paint the remaining top portion of the wall white, and we are talking about doing reclaimed wood not the ceiling. 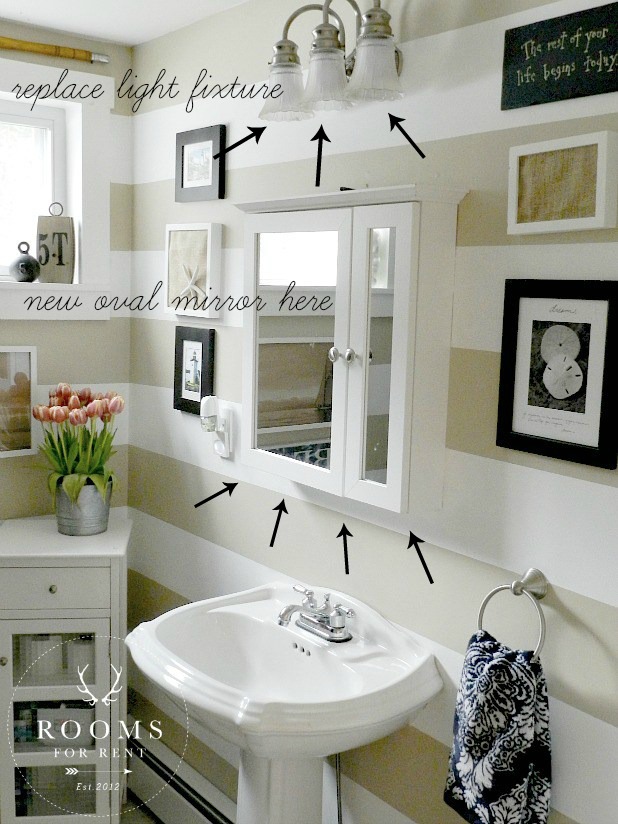
We are replacing the medicine cabinet and light fixture, this is where some tweaking came into the design plan. I changed directions on the light fixture, and it just wasn’t going to go with the chunky wood mirror. I still have plans for that style mirror in a future home, but would love to see 2 side by side over a double vanity 🙂 This is the new light fixture I bought. I loved the farmhouse feel it had, that was slightly vintage with the school house lighting shaped glass. 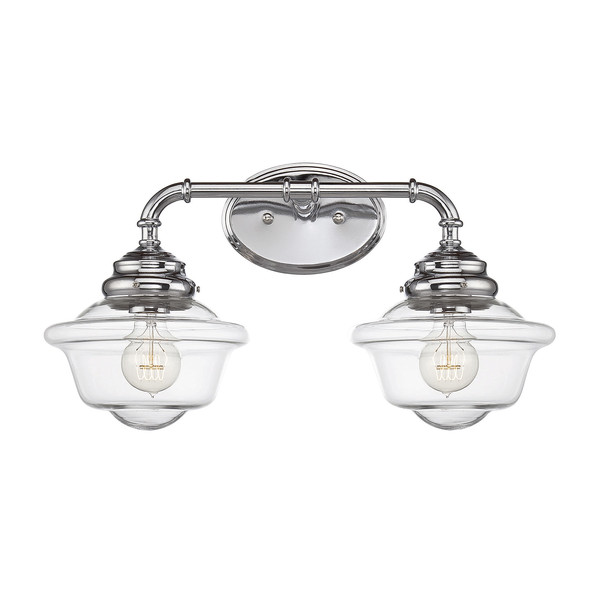
What we are replacing is the toilet and the tub. In photos you’d never be able to tell, but our toilet had seen better days, and when we moved here it had build up at the bottom of the bowl from sitting over the winter for so long. We got rid of about 75% of it, but it always looked dirty, even though we were always scrubbing it.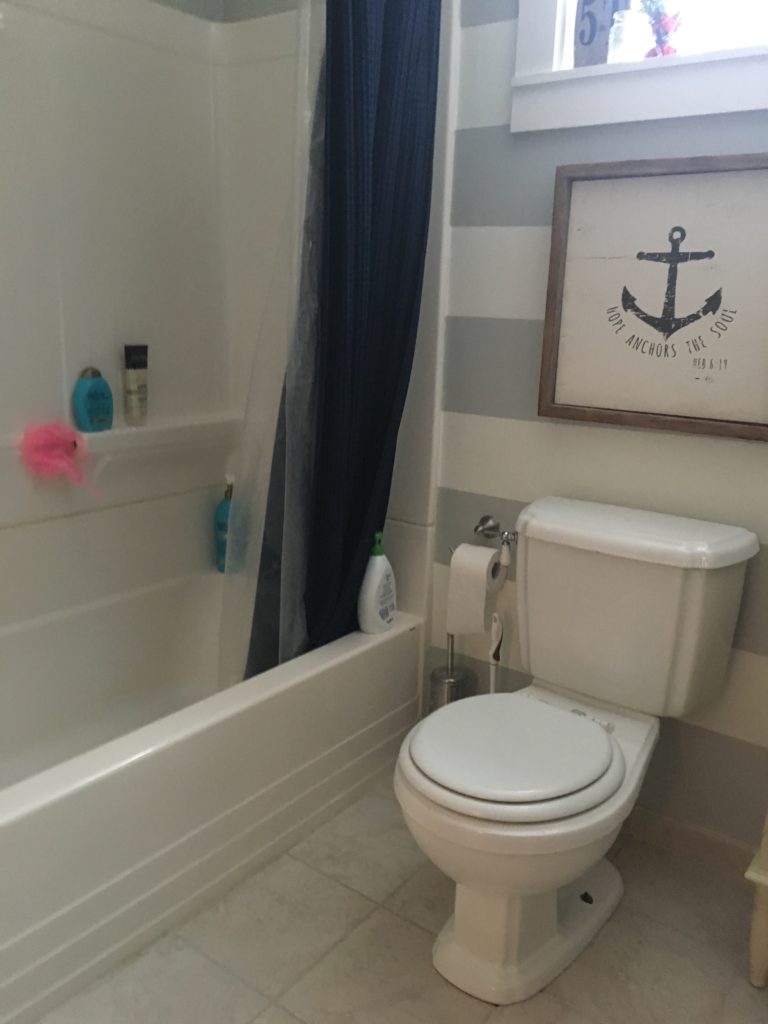
The shower was never properly hooked up, and for some reason the tub never filled. The hot water was cold and the cold water was hot, and it was an older unit as well, so it needed a bit of sprucing up! We started by cutting out the tub.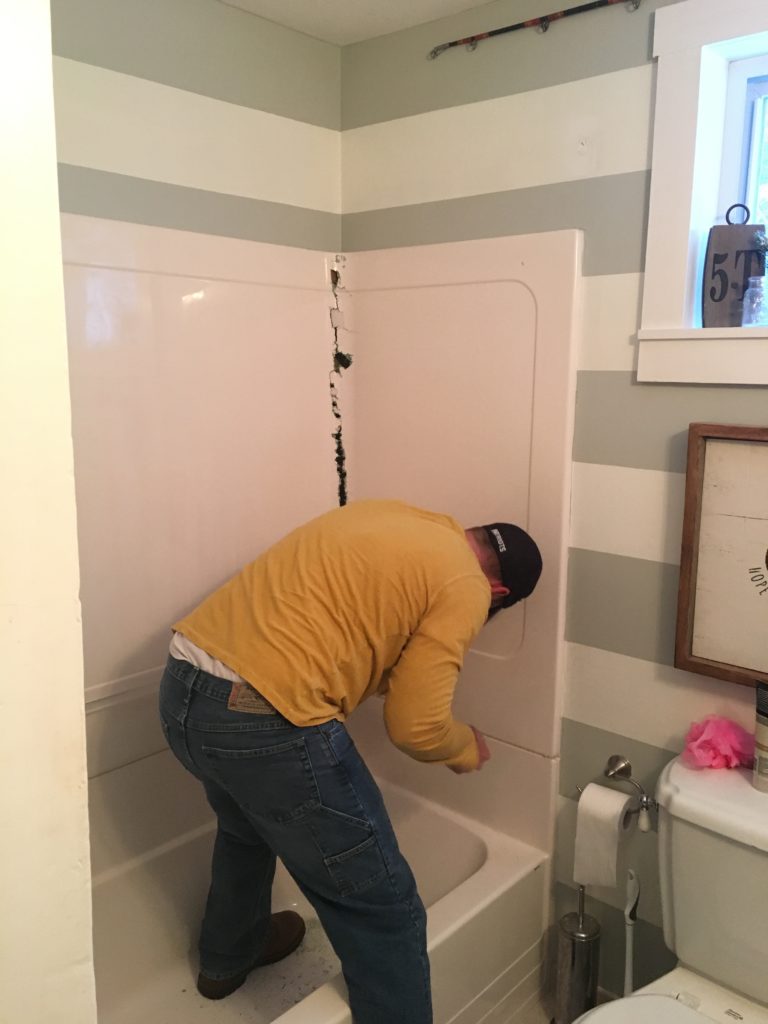
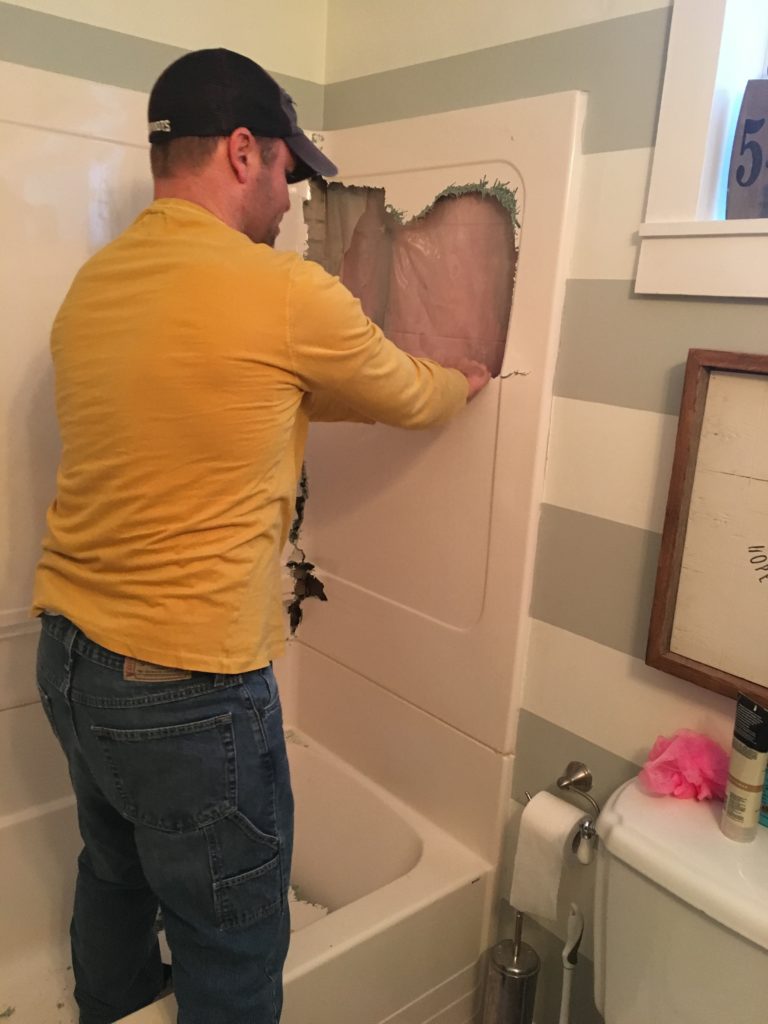
I say “we” and really my hubby did all the work on this part! HA HA something about #demoday, he just gets right to it, and can’t wait to start ripping things out. I always joke that he is the “muscle to my madness”, but it is really so true! 
Once the tub and shower walls were out, our kids were in shock – lol, we could start prepping the area for the new pieces. I had mentioned in the beginning that my husband had to redo all the plumbing for the tub and shower, that was no joke, but once that was done we put up the moisture resistant plastic to protect against mold. 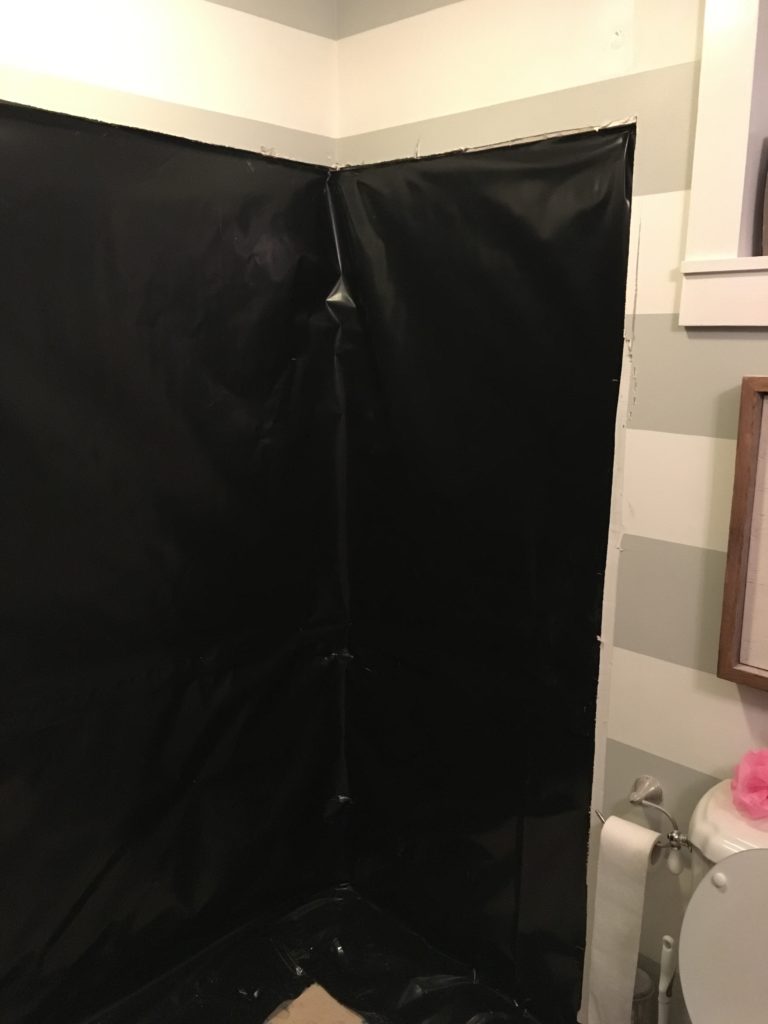
Next we installed the tub, and hit some road blocks with that too, that resulted in us have to take out the old toilet completely before moving forward. As well as removing 2 feet of the sheetrock from the bottom of the walls. I’ll share more on our “road blocks” in a separate post. 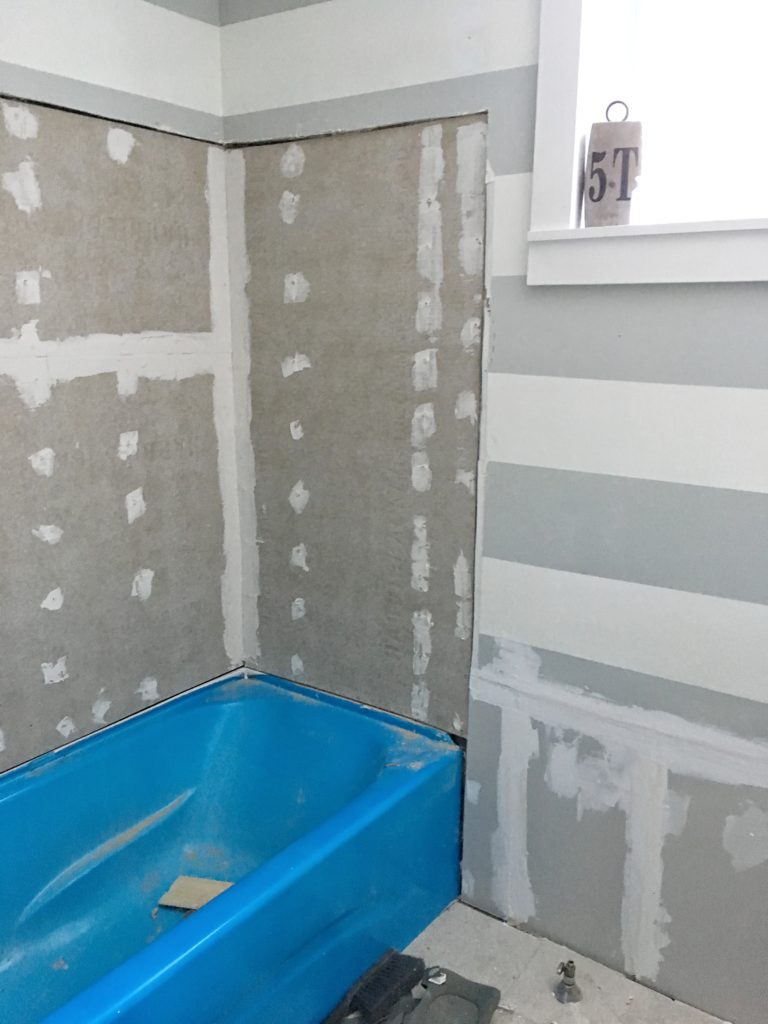
Once the tub was secure, plumbing adjusted, we installed the cement board over the plastic to get ready for the subway tile. And you can see to the right below the stripes where we had to patch the sheet rock we removed to get the tub in place. 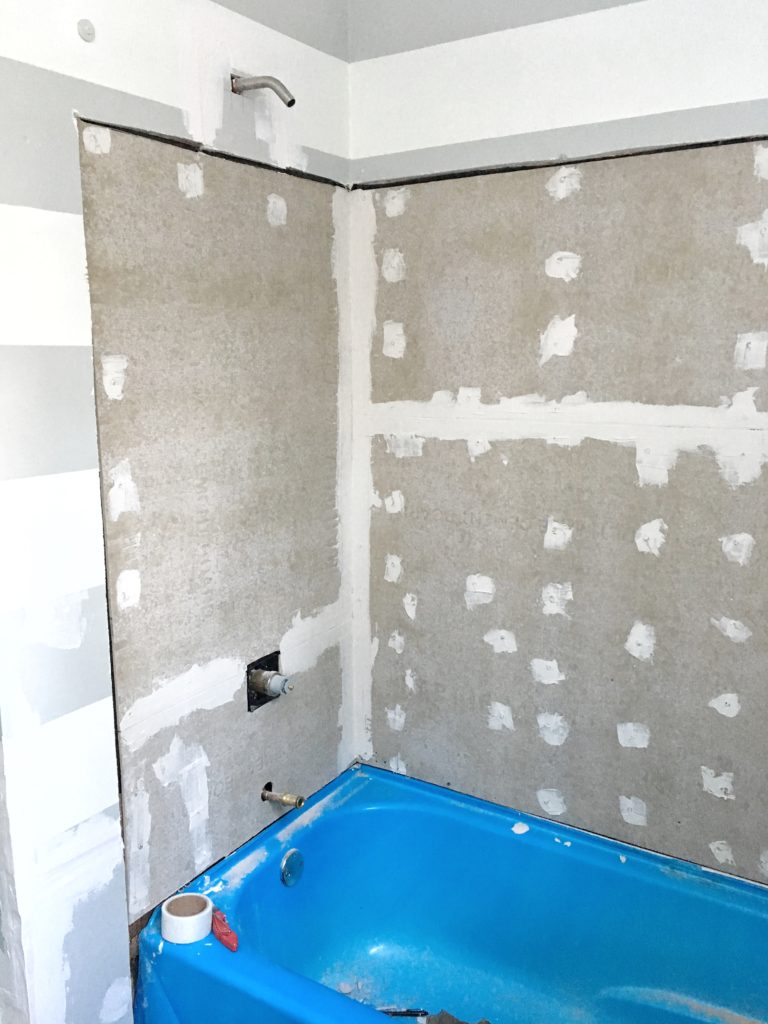
My kids totally think we bought a blue tub, they will be so sad when we take the plastic wrap off! HA HA. I’ll be sanding the sheet rock today, the final step before we install the bead board. Once the bead board is up and painted, the new toilet can go in, and then we will being tiling the shower surround. After that all that is left is hanging the new mirror, and installing the new vanity light. I did get a similar style shower curtain to the one in the mood board from HomeGoods the other day. It’s white and gray, which I think will work great with the charcoal gray walls. I also purchased some vintage style towel hooks off of Amazon last night, I can’t wait to show you! And just in case you are wondering, this is not a sponsored project, so I will be sharing a full post with a cost breakdown on materials, and what our budget is once it’s completed! Our focus is clean and nice, but mostly cosmetic changes without breaking the bank!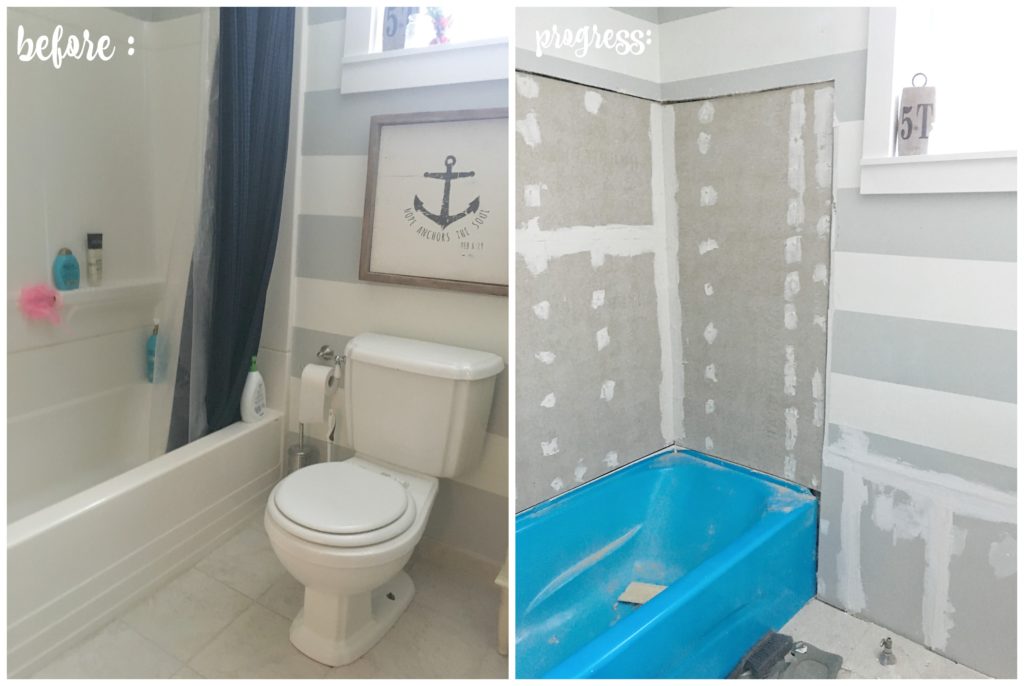 Stay tuned for Part 2.
Stay in touch!
Instagram / Pinterest / Facebook
Have a design question? Visit Doucette Design Co. for all your design needs!

That’s quite a huge work. But for sure, your bathroom will look better after this project. Can’t wait to see the part 2 of this work.
Ugh! I feel ya on the road blocks! Every room I do seems to throw up at least a few. But I’m really looking forward to seeing your new room design come to fruition. 🙂
Looking forward to seeing the final results. Love your style.
LOL – I read your whole post, thinking, “why in the world did they buy a blue bathtub!” I was so relieved when I saw that it’s just plastic wrap on it. 🙂 Looking forward to seeing the end result. We’re getting ready to do a mini renovation of our bathroom too, and can’t wait to get rolling with it.
Can’t wait to see the finished product!
Interesting……can’t wait to see complete re-do, but loved the old look!
hey girl- so glad it’s all coming together! can’t wait to see the big reveal!
When you get to that point, would you please share exactly the beadboard you chose and why you chose it. For YEARS, I have loved beadboard but have read such conflicting opinions of what type to use that I have become paralyzed by indecision. Thanks for your in-the-progress posts!
I hear ya Linda, I’ve always had reservations about what type of bead board to use. I’m actually using bead board wall paper, and then painting it. If I wasn’t using the wallpaper, I would get the pre-finished bead board that is not made of wood to avoid warping from moisture.