So as I mentioned in yesterdays post, where I shared a simple fall centerpiece. We have an “in-between” table in the dining room. I’ll be sharing plans soon for what I have in mind in the dining room. Our new table is on it’s way, but I’m still contemplating a new paint color or not for our walls. More on that soon, but in the meantime here is the story on “the little table that could” and the simple farmhouse makeover I gave it.
Last summer a friend of mine moved, and I inherited a few pieces of furniture from her just before they left. One of them being this solid pine farmhouse table. 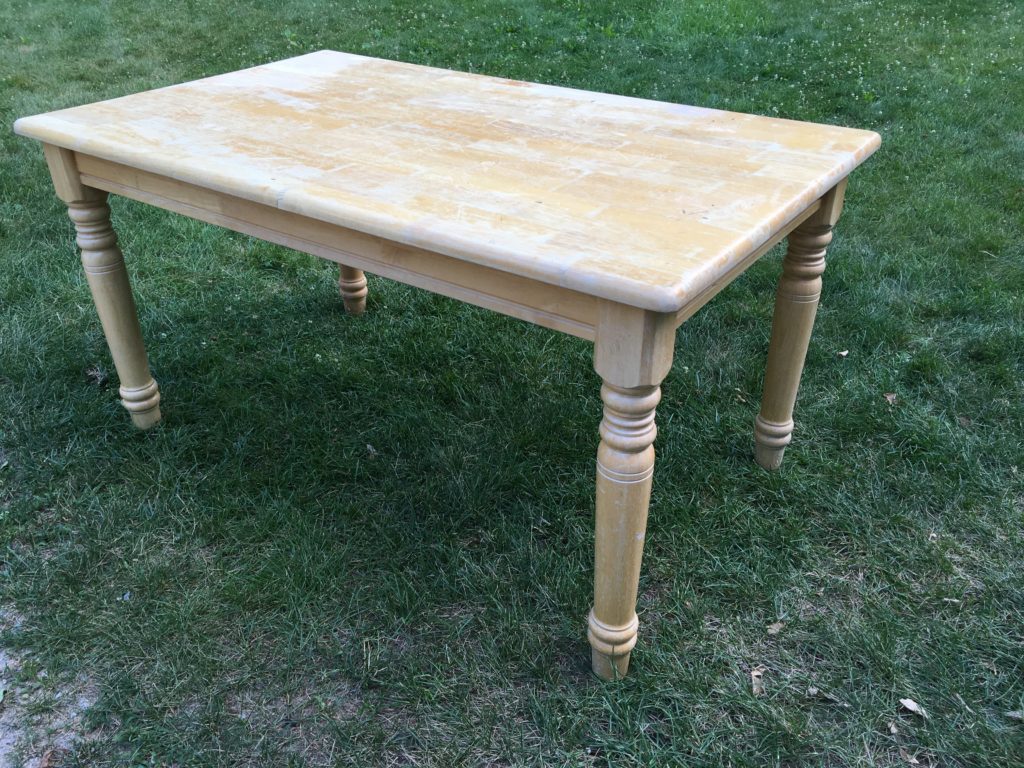
I had no need for another table at the time, but honestly, who can resist a piece of furniture that has the opportunity for a great makeover?? I sure can’t. My husband looked at me completely puzzled as to why I was taking her table, but I said “don’t worry” just load it in the truck. It was a solid wood, pine table that looks very circa 1990’s-ish. But when it’s solid wood, and has great legs, you don’t hesitate. 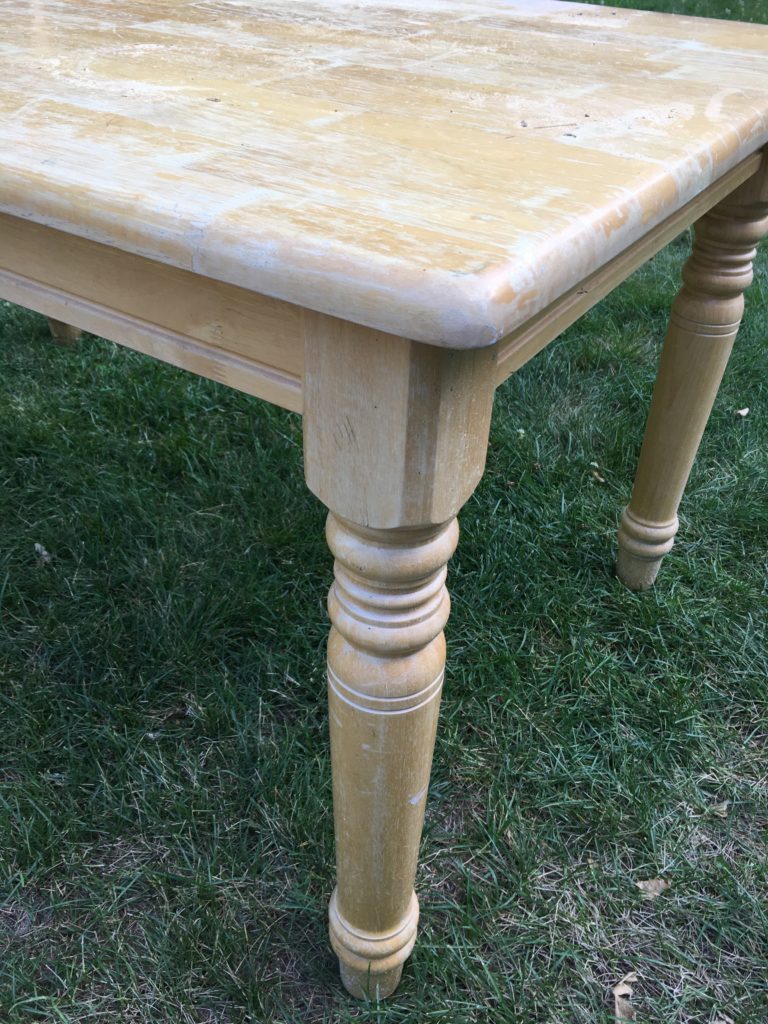
I sanded the top down completely. I used 80 grit sandpaper, and an electric palm sander, just in case you feel inspired to sand down a table after this post 🙂 I couldn’t wait to put a darker coat of stain on it. However, life got busy, and in the basement the table went, and I didn’t give it a second thought until just a few weeks ago. Once we sold our table, and were still deciding on what we wanted to do, I pulled this table out because it would be a good “in-between” phase table. It’s a bit too small for our dining room length wise, and is very similar to our old dining room table, so that’s why it won’t be a permanent solution.
I gave the entire top a coat of Antique Wax, I picked up from Lowes. It’s similar color wise to Minwax Special Walnut, but a tad deeper. 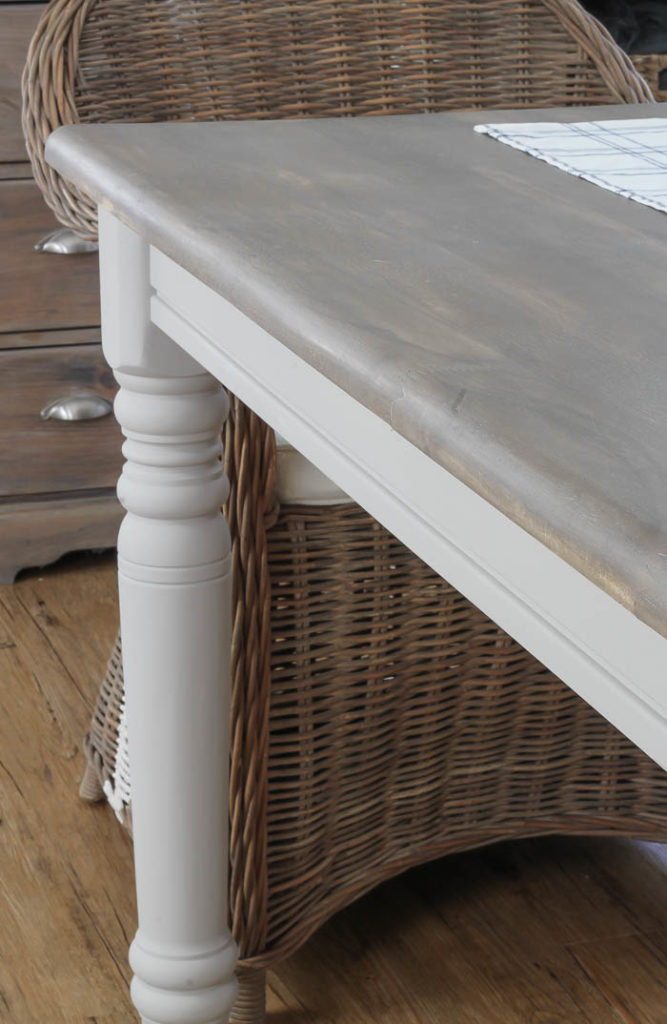
I painted the base and legs with a mix of different shades of gray chalk paint I had on hand. I didn’t want it to be too dark like some of the charcoal colors I had, or too light with some of the lighter shades of gray that I have. So I grabbed a plastic bowl and just started mixing until I got the shade that I like. {Sorry I didn’t measure anything, so there are no exacts :/}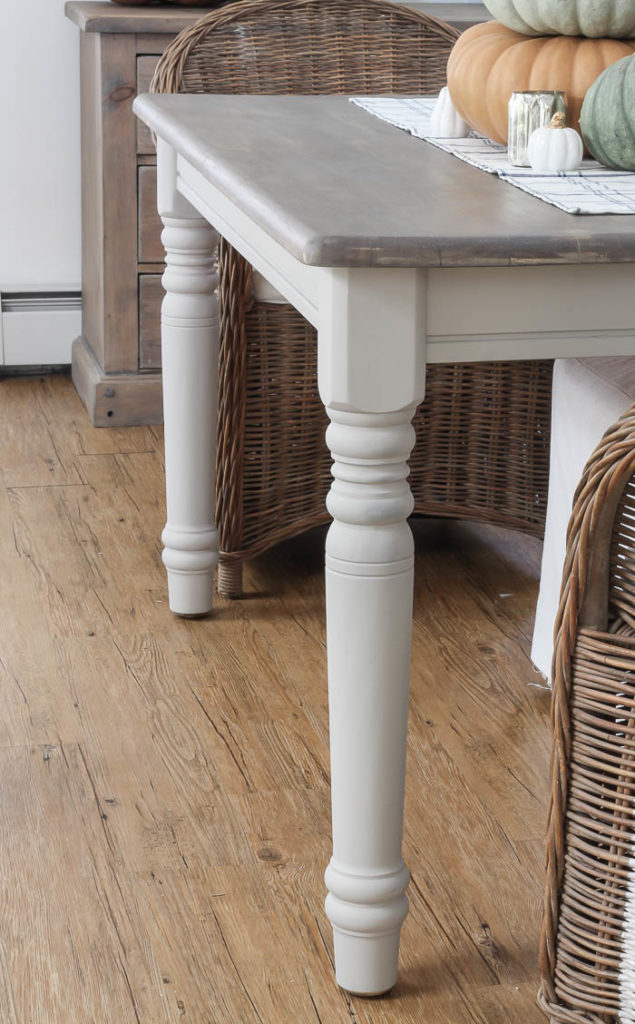
I finished the top off with some white oil from Weathered Wood Stains, you guys this stuff is amazing. It gives the top a smooth finish like a wax, but fills in all the cracks and crevices on the table for a weathered look. 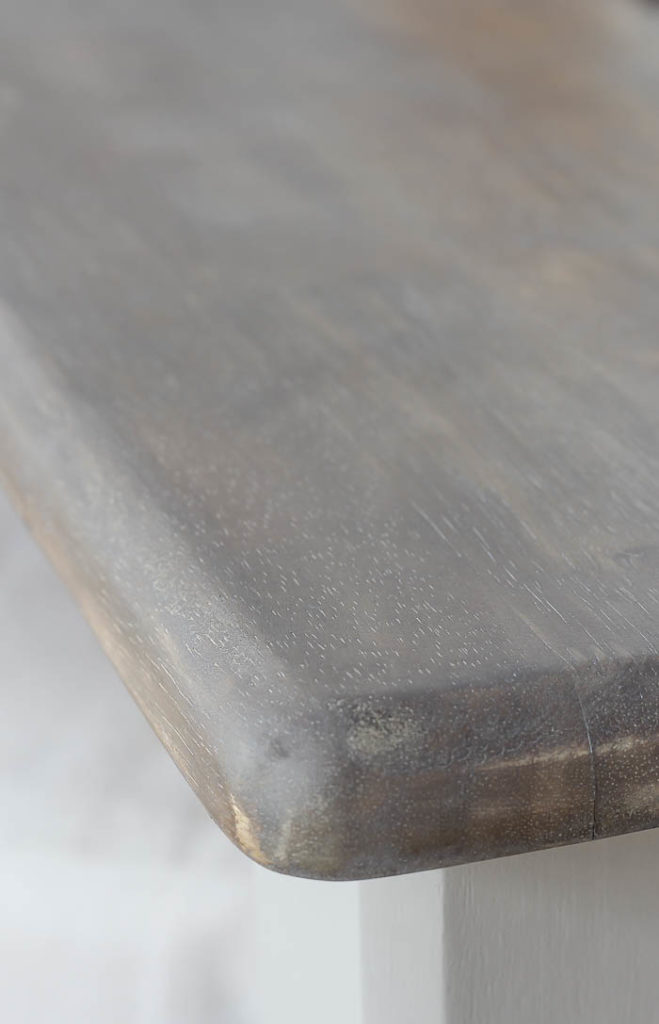
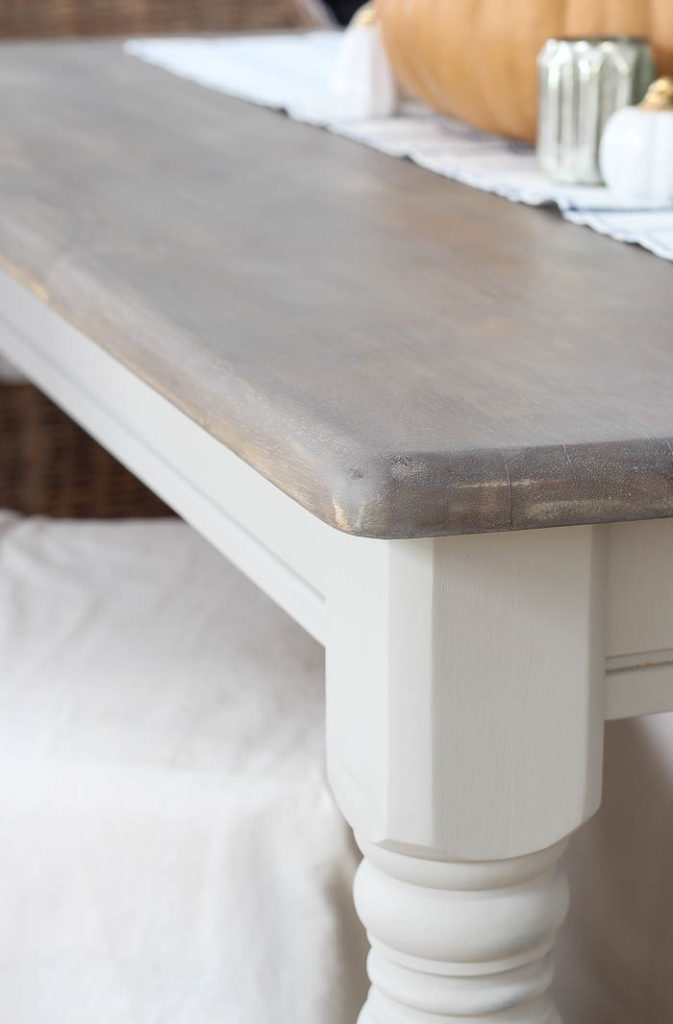
I finished the entire top with a coat of flat poly just to protect it, because after all being able to really use a table and clean it is a necessity to make not only pretty but functional. I’m still toying with layering something on the painted legs. I can’t decide if I want to go a white wash, or stain for more of an antique look? But for now it works. 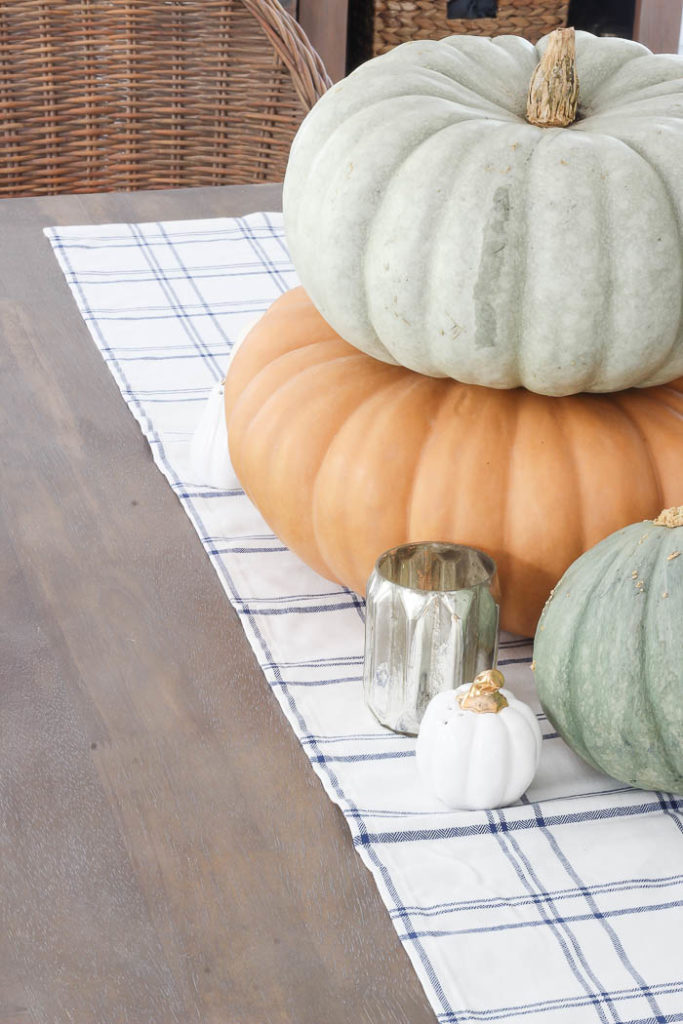
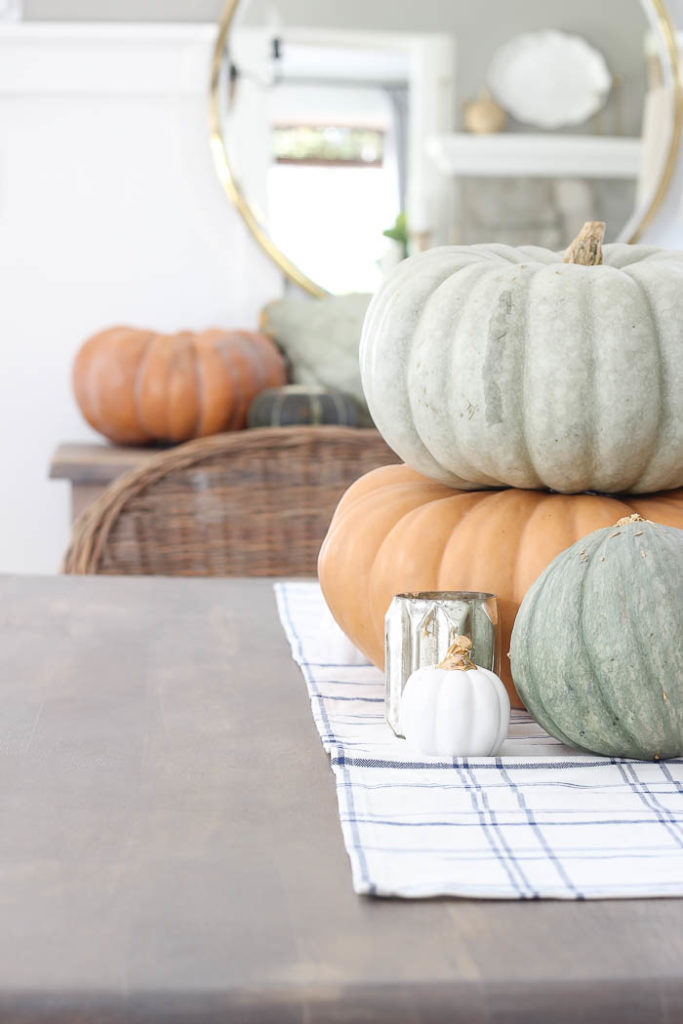
I showed more of the table styled in our dining room yesterday with an easy fall centerpiece that is fuss-free.
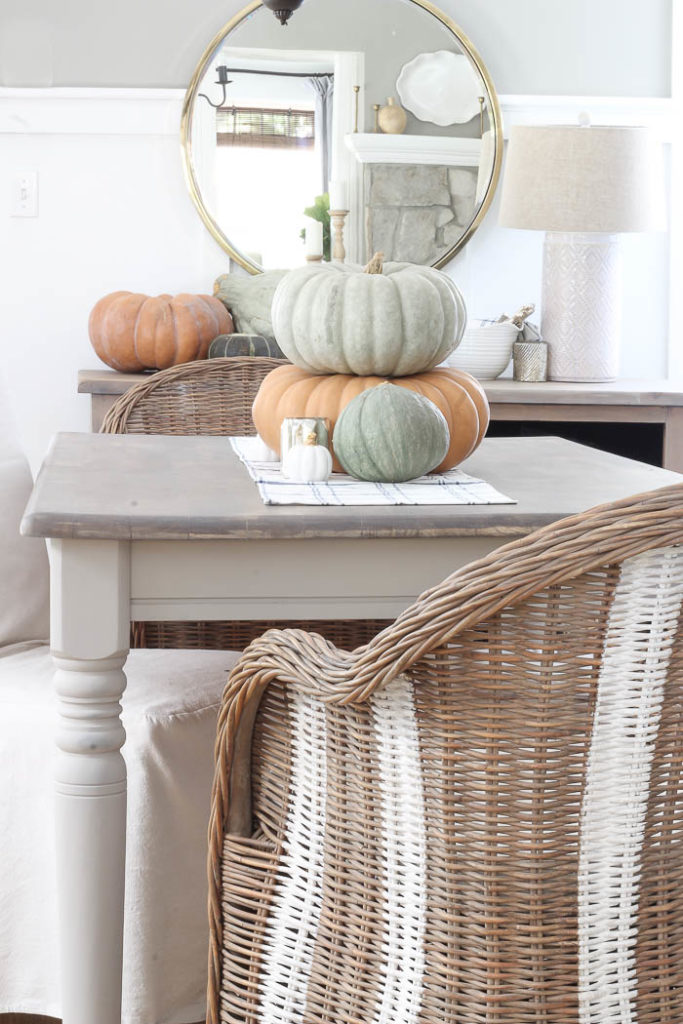
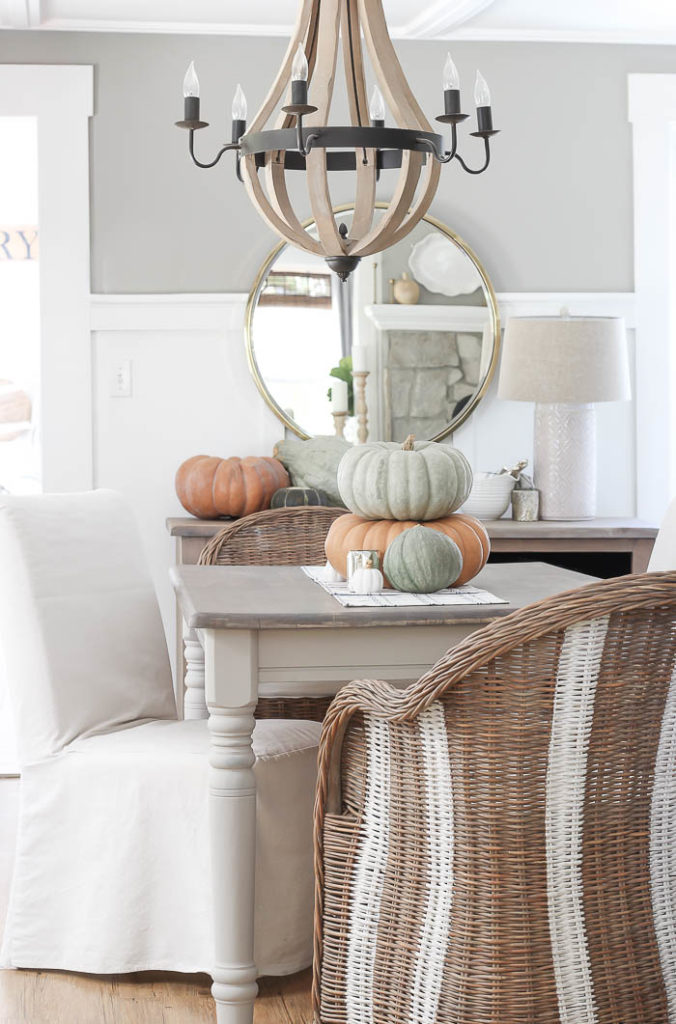
One more Before & After, just to give you a side by side comparison. 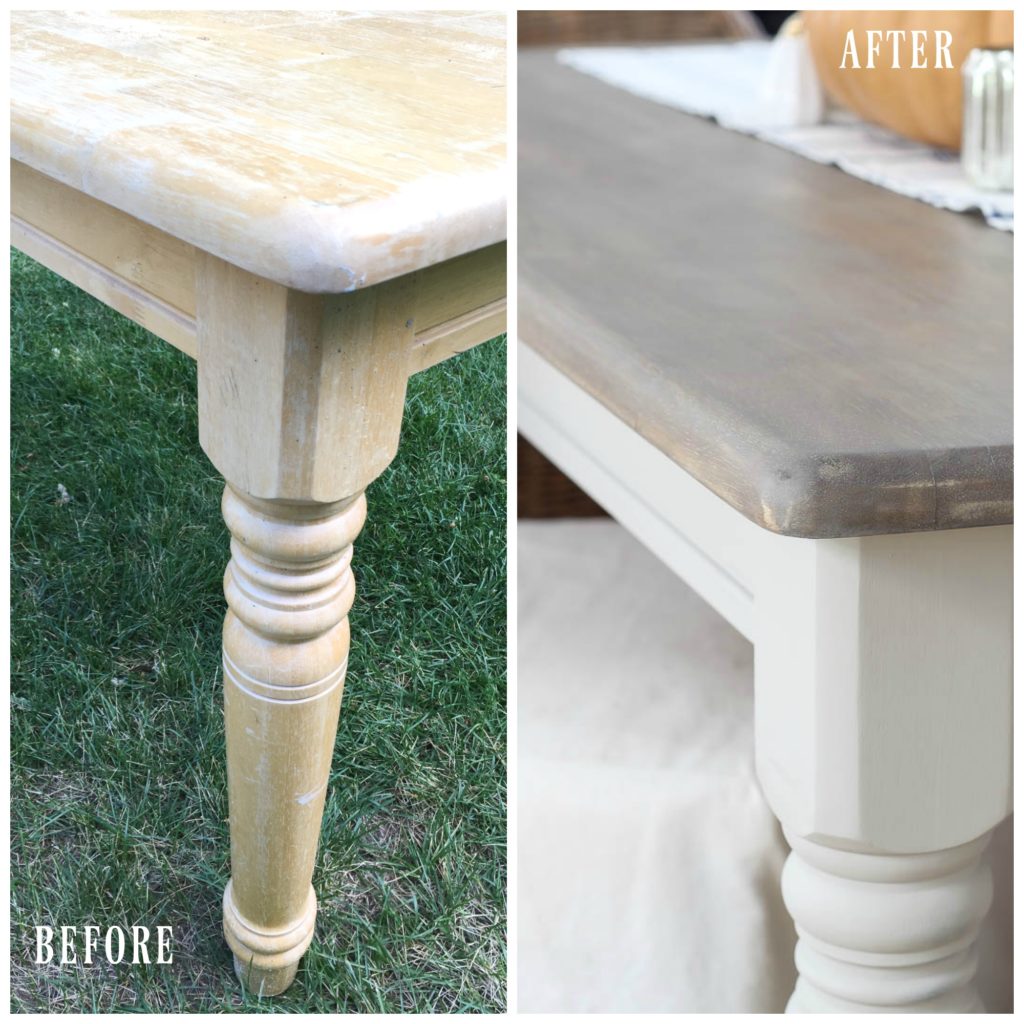
Stay in touch!

What a fabulous job. I love THS beautiful transformation
It’s beautiful! I like it. ?
Really nice! So, that Antiquing Wax gave it a gray tone on the top? It looks VERY cool!
Hi Julie, it was the white oil on top, that added what looks like gray to the antique wax finish. It’s more of a white wash, that neutralizes the brown tones of the antique wax, if that helps 🙂
Beautiful!! As always:).
Looks great! I have a table just like this in my craft room that I use for projects. I picked it up at a thrift store a few years ago and since I’m redoing the room, it needed an update. Anyway, last weekend I repainted the top gray…then I see your post. I guess great minds must think alike 😉
That’s awesome!