Hello Friends! I hope you are doing well! Today I’m sharing all of our “before” photos of our master bathroom with you! Brace yourselves, this is a never before seen room. Ack! And it is a whole lot of blah beige. We are teaming up with our friends over at Wayfair to join in on their One Room Reno Challenge. In case you missed it I shared the design plan for the space HERE. I am so excited to get this project started. Our master bathroom is the LAST room in our house to get my signature touch. Seriously this room has not been touched since we moved in just about 7 years ago! Yikes, but I have a feeling it will be one of our best makeovers yet!
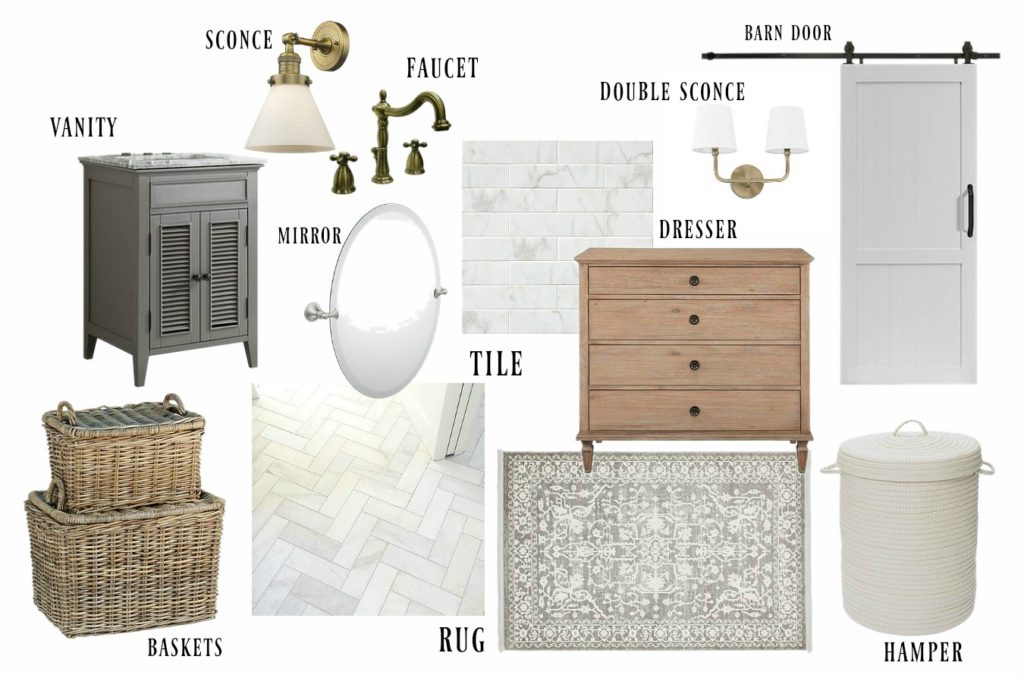
To refresh, here is the design board I created for the space. 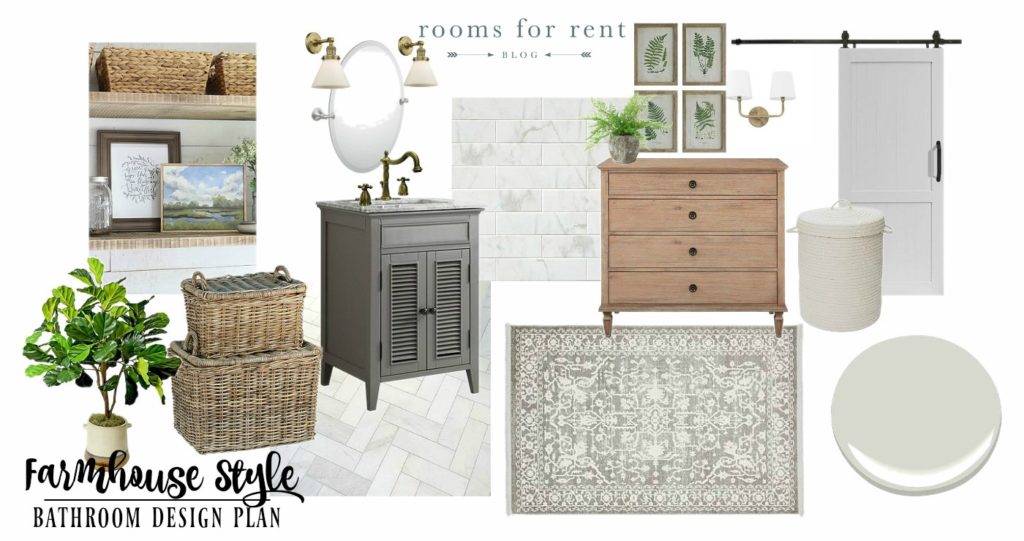
I am itching to see the design come to life, but before we can get started on the reno, you have got to see the BEFORE.
To give you an idea of where our bathroom is located, it’s just past the sitting area in our master bedroom. You might remember this view from our Christmas Bedroom Sitting area post, I shared this past Christmas. 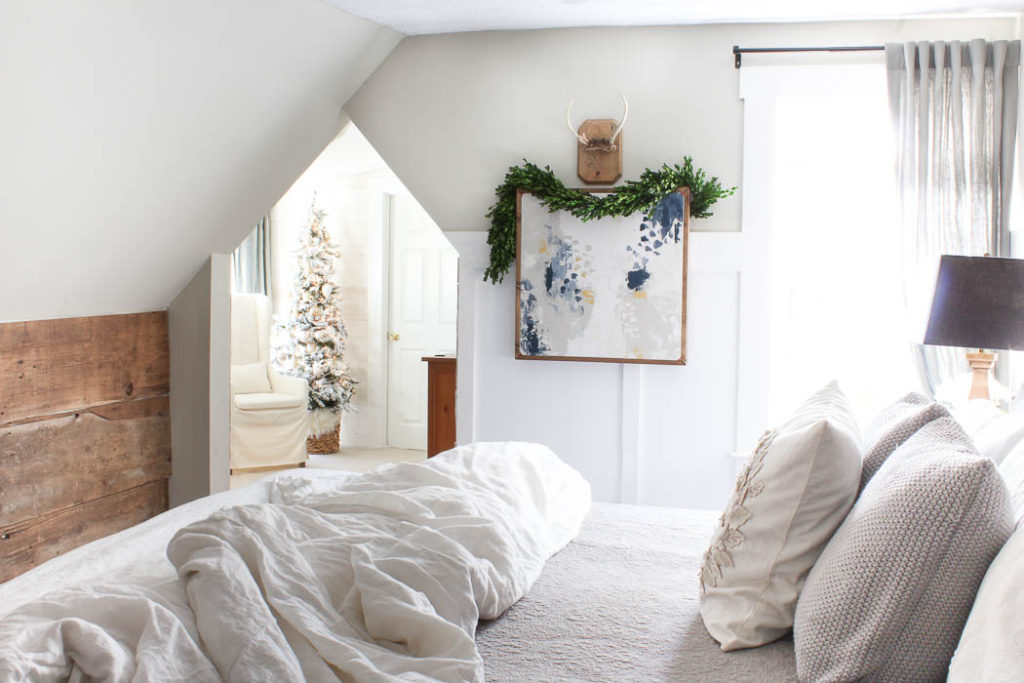
Our 1846 farmhouse has some of that “charm” upstairs, with eaved ceilings. When you first walk in our room, we have the biggest room where our bed is. You can see this space HERE. Then when you walk through the angled cut-out (shown above), we have a sitting area. In this space we have our dressers, and I designated the wall with the windows my “mom cave” or our seating area.
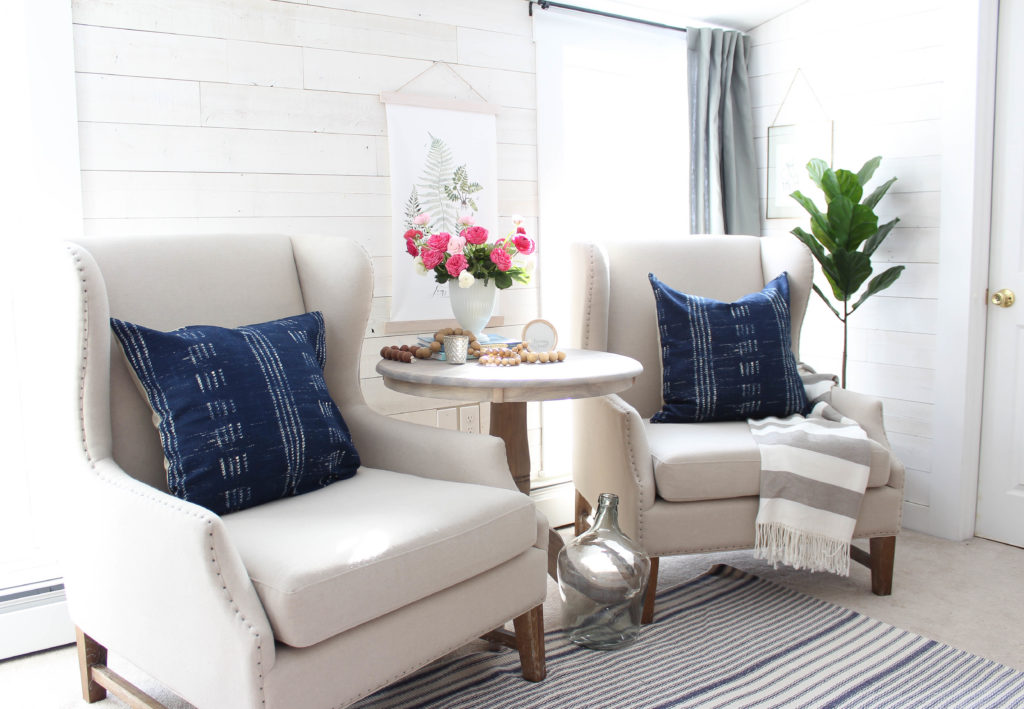
You’ll notice a door to the right of the chairs, that leads to our bathroom. Once you walk through that door you see the view below. Here is what our master bathroom looks like before we get started on this reno.
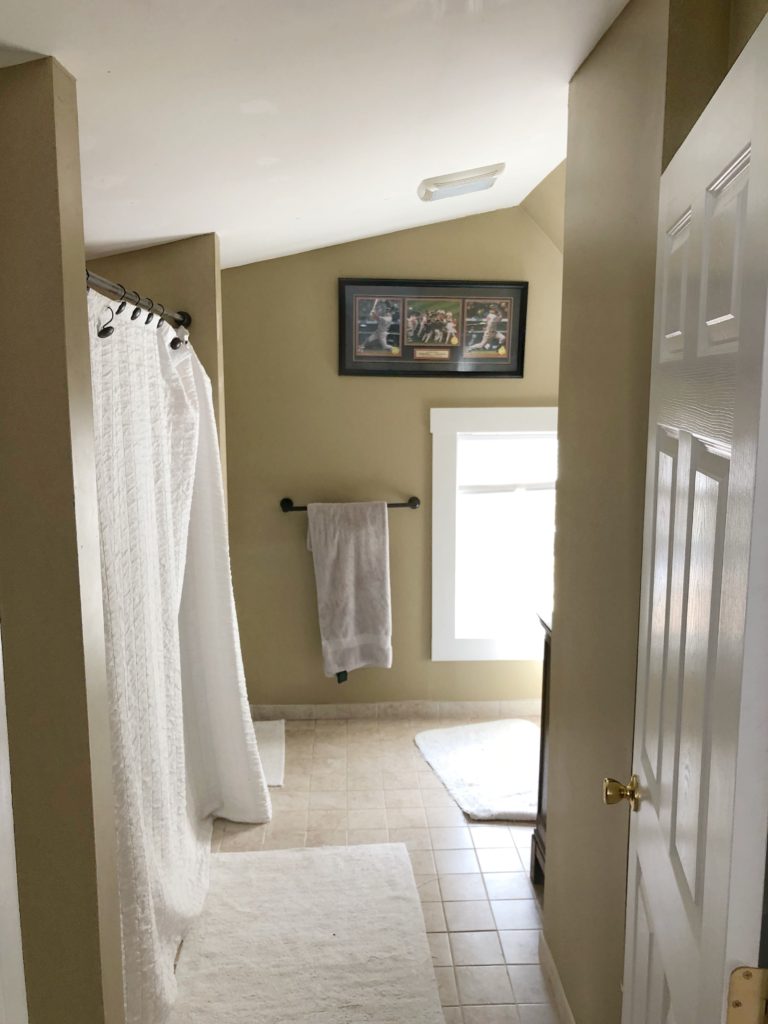
Our shower is to the left, with a tiny alcove just before it that has some open shelves. On the left there is a small closet (behind the bathroom door) and a wall that bumps out, because there is an unused chimney behind it.
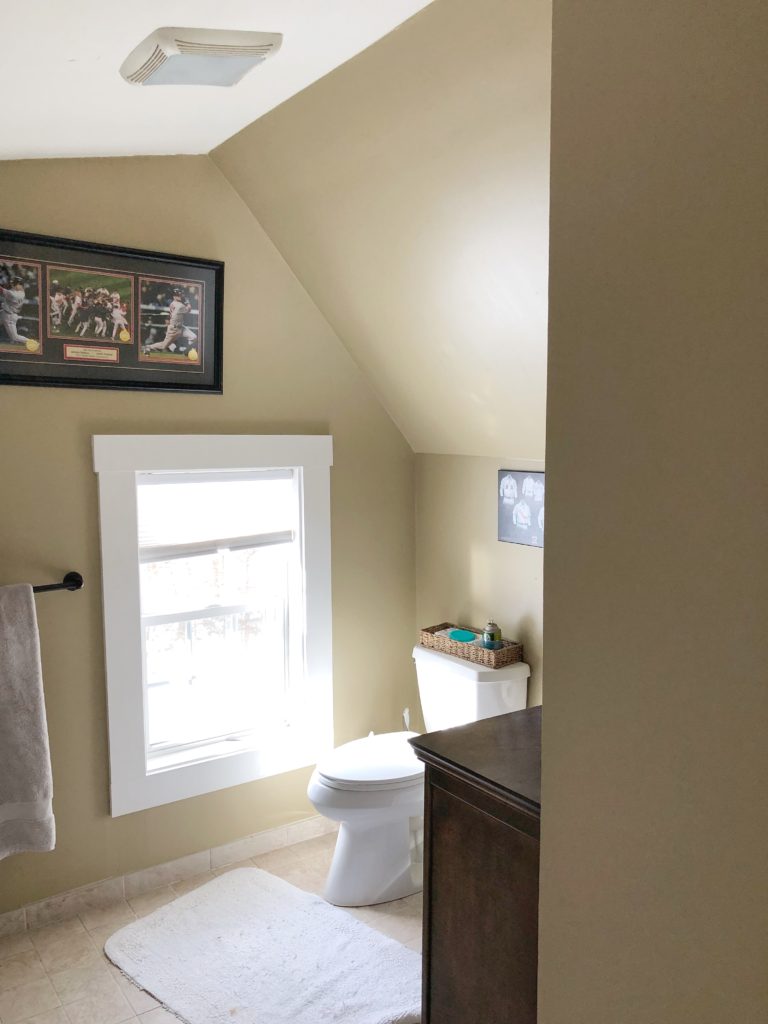
Just past that wall on the right is the toilet and a small piece of furniture we put in there for extra storage.
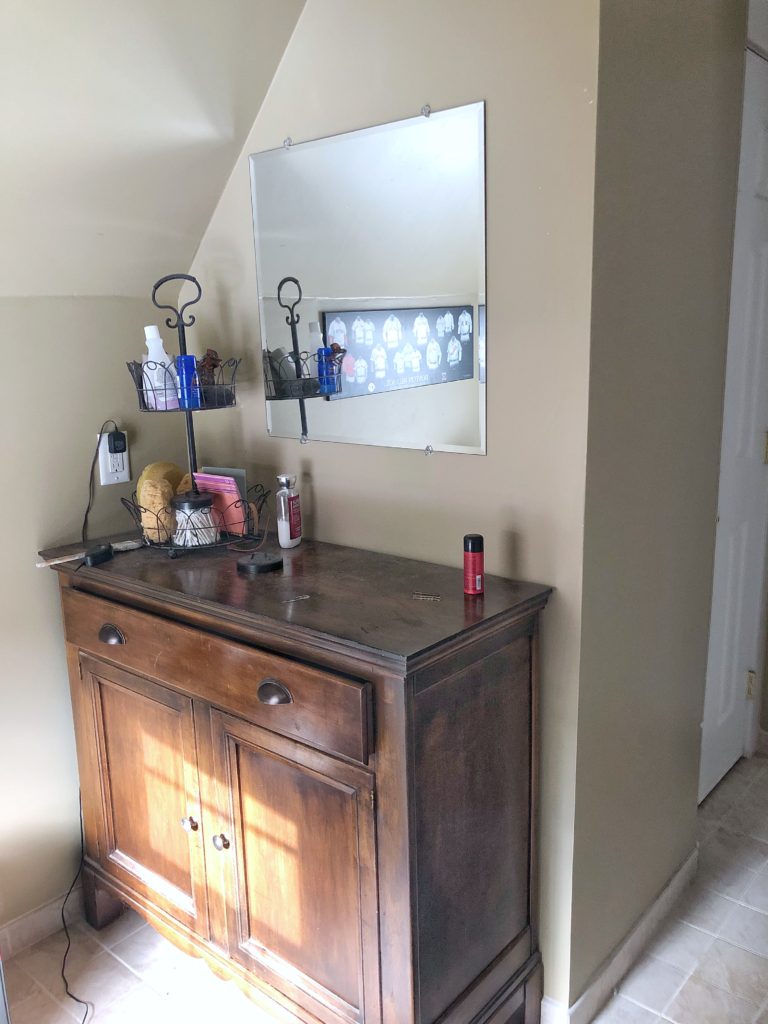
If I’m standing up against the back wall next to the window (which you see when you first enter the bathroom, you can look back through our sitting room into our bedroom (shown below).
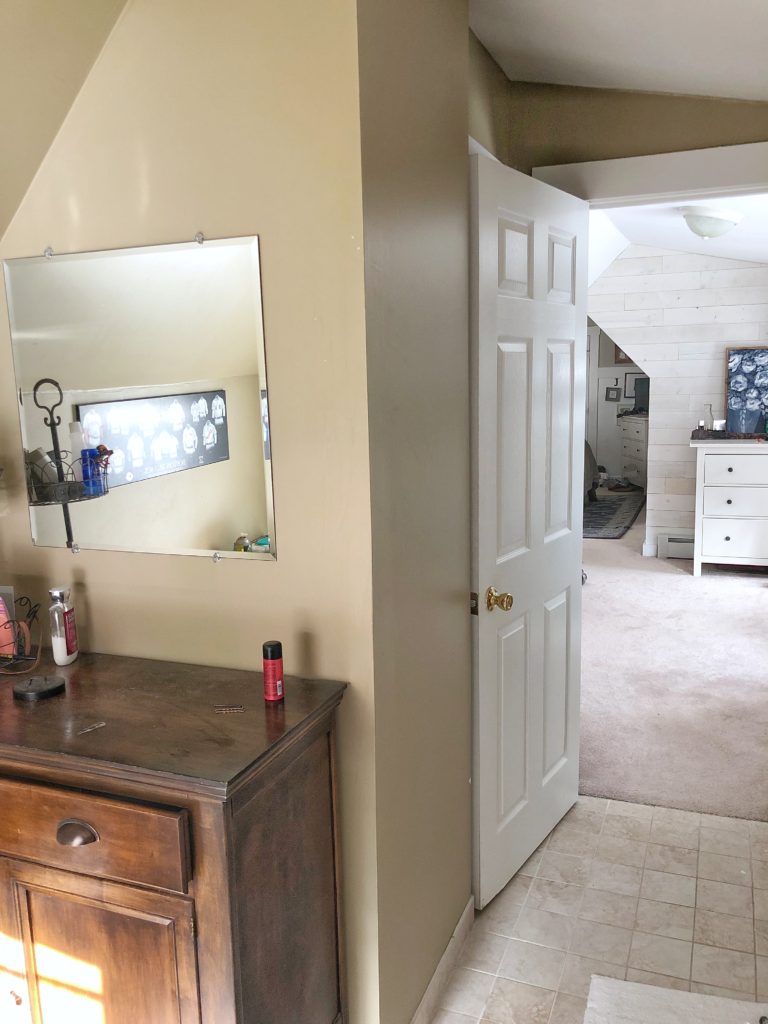
This bump out where the closest is and old chimney eats up a lot of space, so our first task is to remove this wall, and the chimney behind it to open up the entire bathroom.
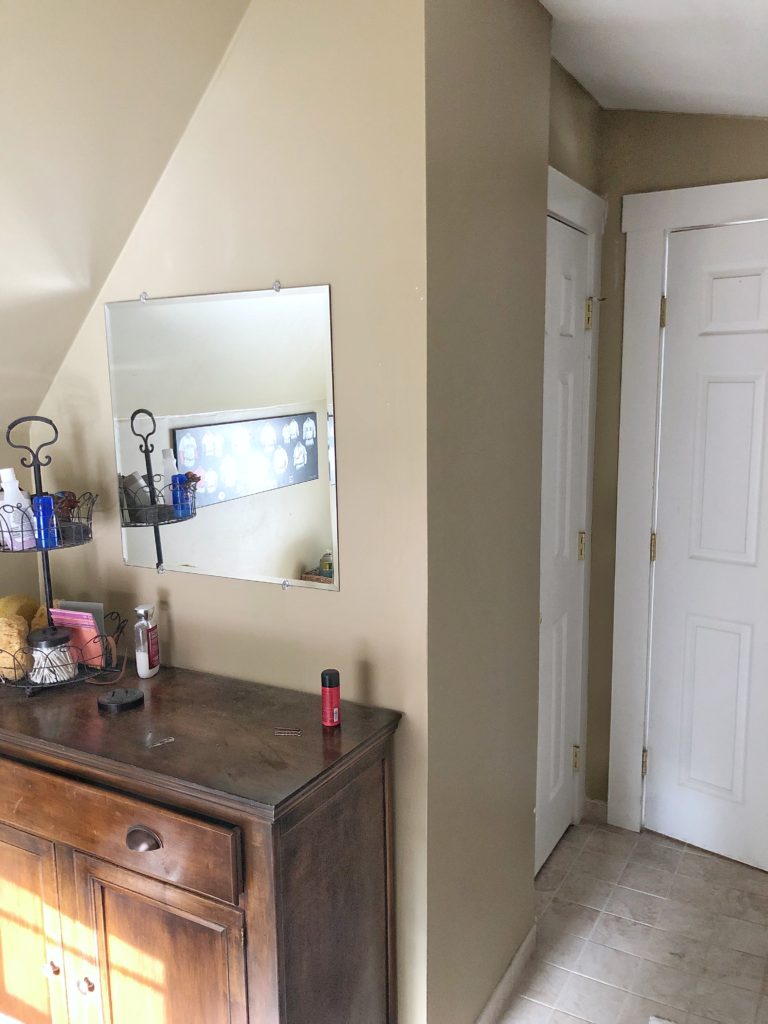
Unfortunately because of the eaves in the ceiling we really don’t have the space to do a full vanity. We contemplated it, but then we would have to move the plumbing for not only the vanity, but then we would have to move the toilet too. And since we don’t have the room to do a full vanity like we wanted to, it just made sense to leave the original plumbing where it is.
So instead we will create a makeshift vanity, using the additional wall space we will gain, incorporating this dresser and sconce lights.
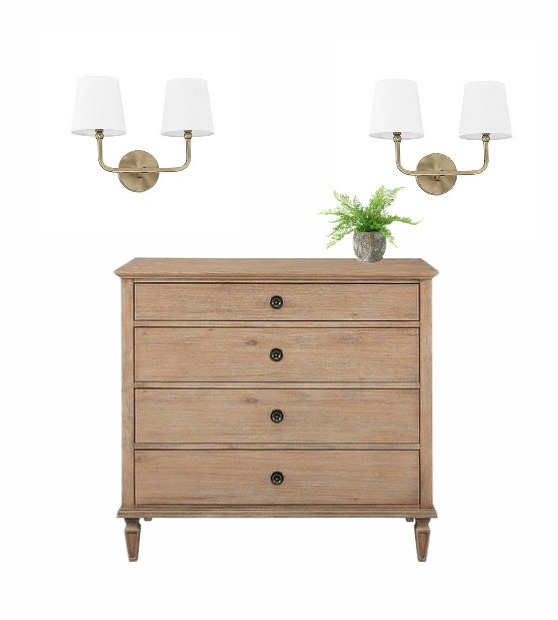
The dresser will double as storage, and a station where I can get ready.
Just past the shower on the left hand side of the bathroom is where our current vanity is.
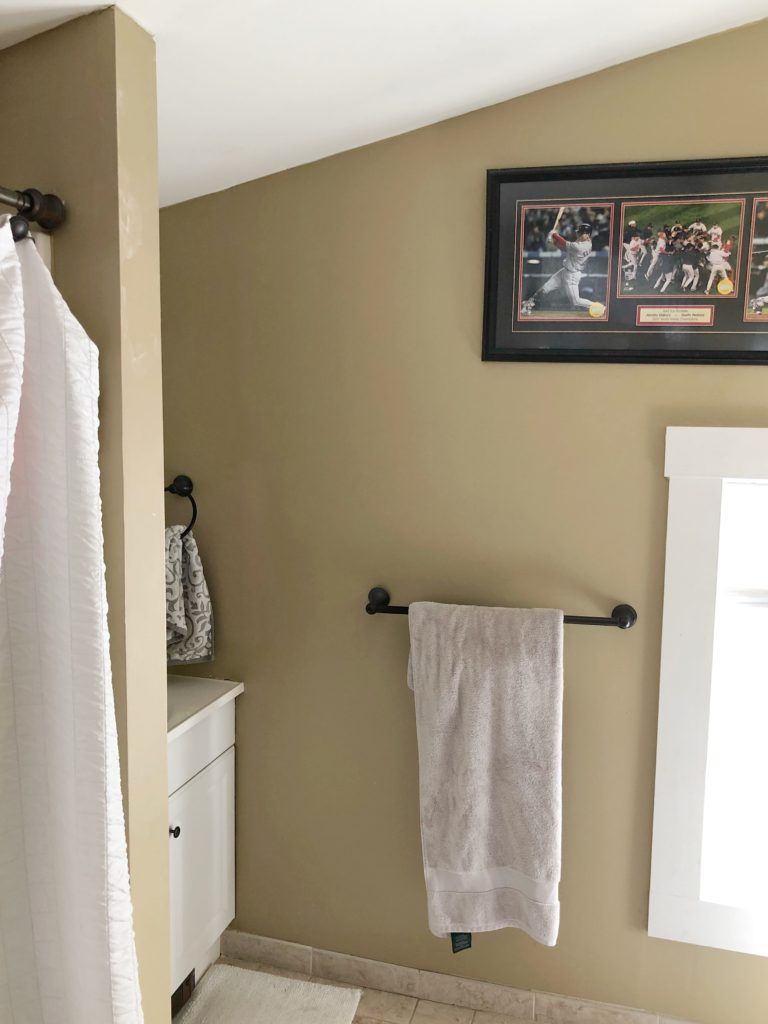
I shared in my design plan post, that the current vanity was squeezed into this space. The vanity measures 30 1/2″ and from wall to wall it measures 29 1/2″.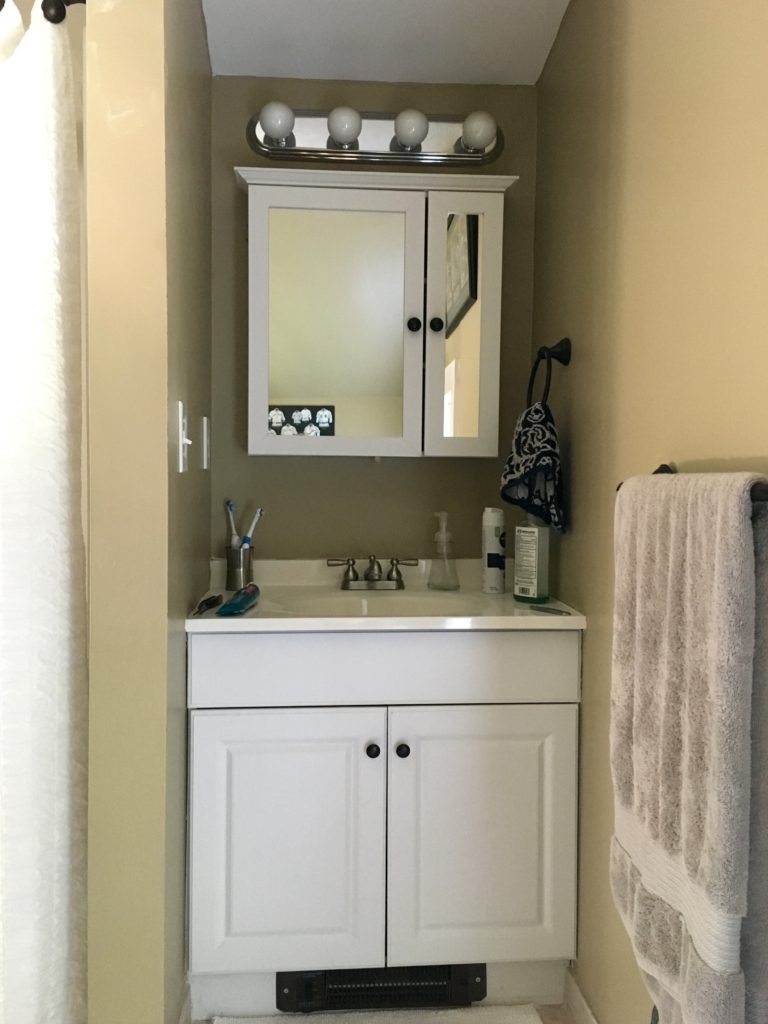
Since I want a furniture style vanity, squeezing one in just won’t do. So I opted to go down a size to get the right fit. Even though I went down in size, it will fit in the designated space much better giving it more of an upscale look.
The current tub and shower unit will stay, since it’s white, and was brand new when we bought the house.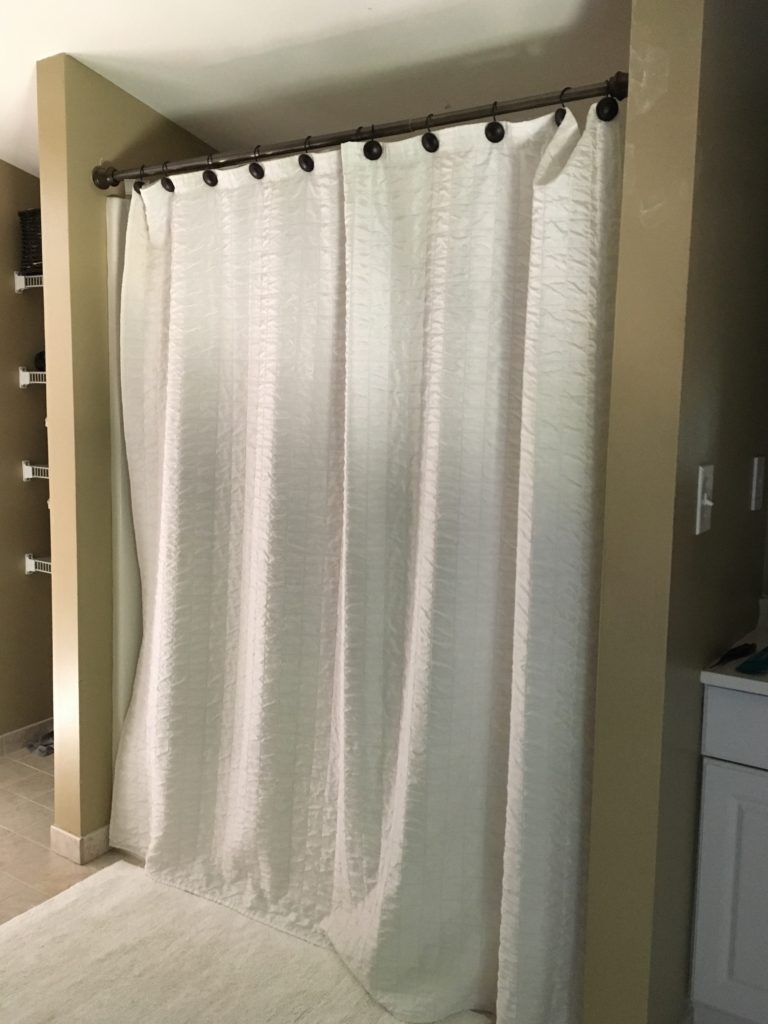
Just past the shower is the alcove with the wire shelving I mentioned earlier in the post. (Sorry – terrible cell phone pics).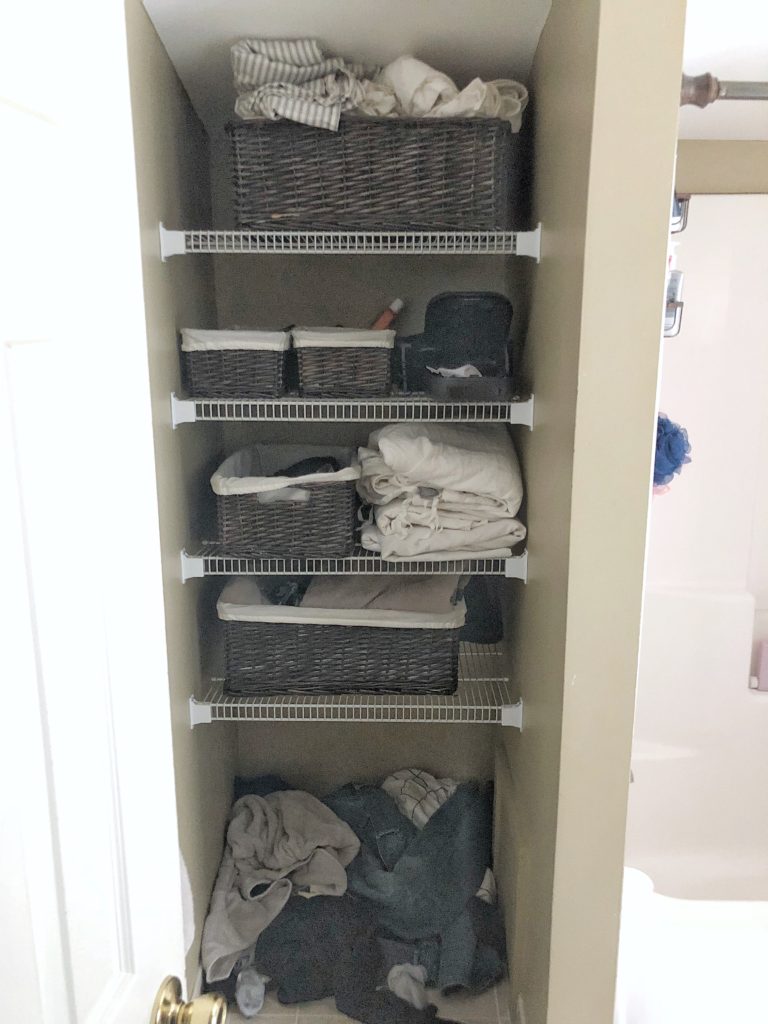
But, I guess the worse the “before” looks, the better the after will look right?! LOL. The plan is to remove all the wire shelving, install the new tile half way up the wall (remember, spa like look!), and then install reclaimed barn wood (similar to our laundry room shelves seen – HERE) and some new baskets to clean up the whole area.
You can find all the sources for the new elements I plan on implementing into the space HERE. Or click the image below.
I sure am ready to give this blah-beige room some farmhouse charm, and finally it will feel like it belongs with the rest of the house! Stay tuned as we begin demo I’ll share the process!
Stay in touch!
Instagram / Pinterest / Facebook

Hi Bre, I wanted to decorate room of sweet daughter with proper stuff after she return from her hostel on this vacation as I wanted to make this holidays really very memorable for her. And I found your blog really very suggestive and amazing. And as expected she liked her room very much. Thank you dear for this informative and creative blog!!!!!
Ohhh that is SO great!!! So happy you were able to be inspired 🙂
I love all of your design choices, Bre. So excited to see the “after!” It’s going to be beautiful! ❤️
Thanks Lisa!!!
Looking forward to seeing the after! It will be great!
I know all those bump outs in the walls are a pain but i think that is what gives the rooms the character they need and i know that you two can make it all just perfect. I love what you did to you bedroom with the setting room. I will be anxiously waiting.
Ohh thank you Marlene!!! I can’t wait to see it when it’s all done too 🙂
Looks like an amazing plan— can’t wait!
Is the chimney brick, behind that wall? OMGee, if it is, I would totally leave it in place! That would be SO adding to the farmhouse look to me, but I understand desiring more space, too! I mention this only because I would be thrilled to have more brick (beyond the fireplace and ceiling high mantle) in our home!
Your plans sound awesome, and I can’t wait for your progress reports! Anything you do, I know it will be lovely!
Hi Kathleen!! I am so with you on the exposed brick aspect! However, once we remove the walls, the chimney is almost right in the center of the bathroom, so placement wise it just doesn’t work. I will share more about it when I share the demo process. Trust me I would keep it if I thought it could work 🙂