Hi Friends!
Thank you so much for all your sweet comments about our new outdoor dining area that we extended! We have already been using it as our primary eating spot, and I’m currently typing this post out there as we speak! It truly feels like a little escape, and being outside surrounded by nature is exactly how I want to be spending my summer. I mentioned in my post on Monday I would share how I did the brick landscaping border in this area, I promise it really easy super easy, because I do not consider myself a landscaper at all! Here’s how I installed this easy landscaping border.
First you might remember after we cleared the are, and installed the crushed stone it looked like this.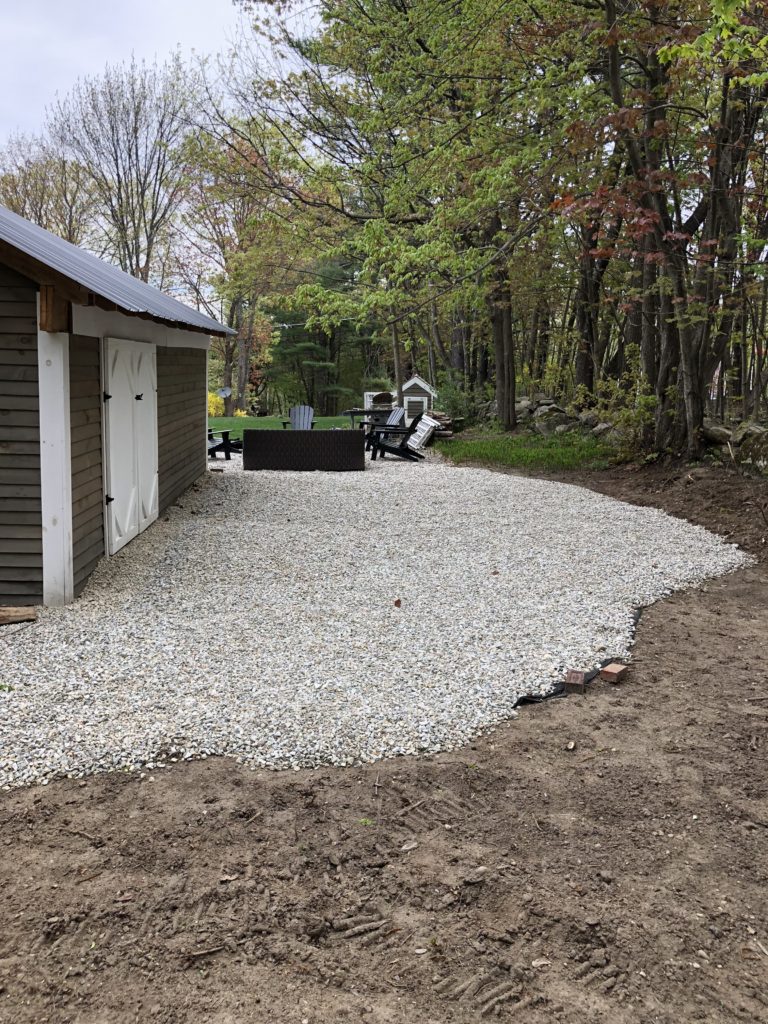
To see how we installed the crushed stone, click HERE.
Then my sweet friend blessed me a trunk full of plants from her yard. Honestly it was the first time anyone has shared part of their garden with me, and there is something so special about it.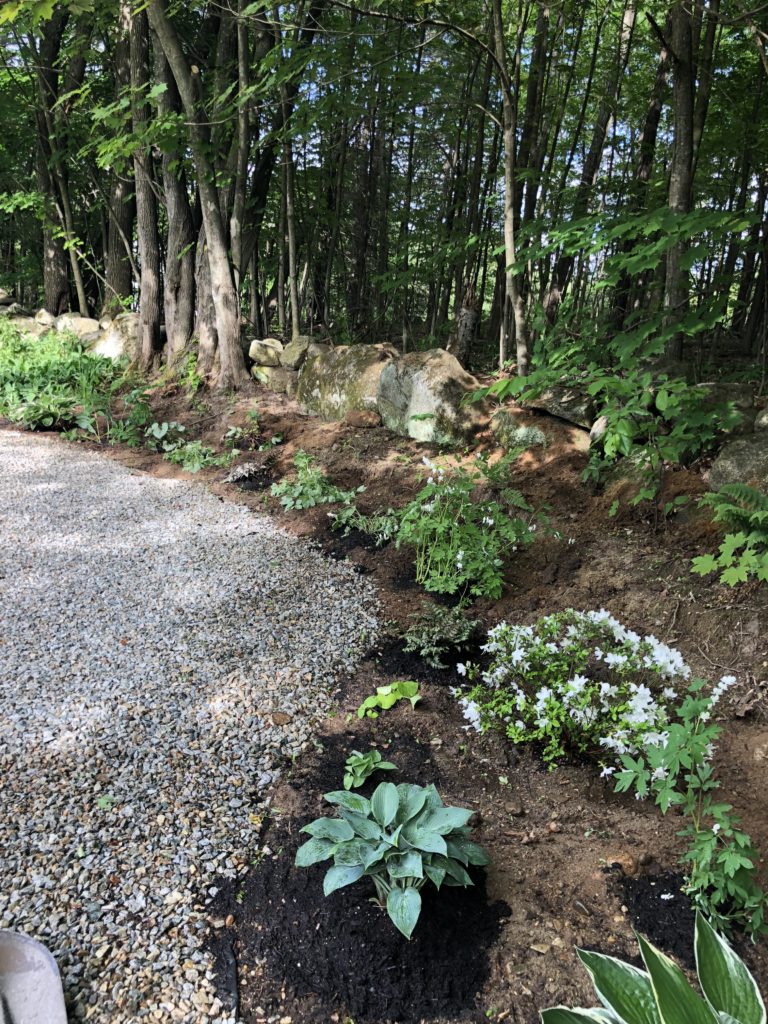
I recently heard the word “blessing” described as a gift that you didn’t have to work for or “do” anything to receive. It was such a blessing, because I really had no idea where to start. She gave me a whole variety of hostas, ferns, bleeding heart, and so much more! Once I had my plant in the ground I started edging out the crushed stone with the left over bricks we had from tearing down the chimney that used to be in our bathroom. 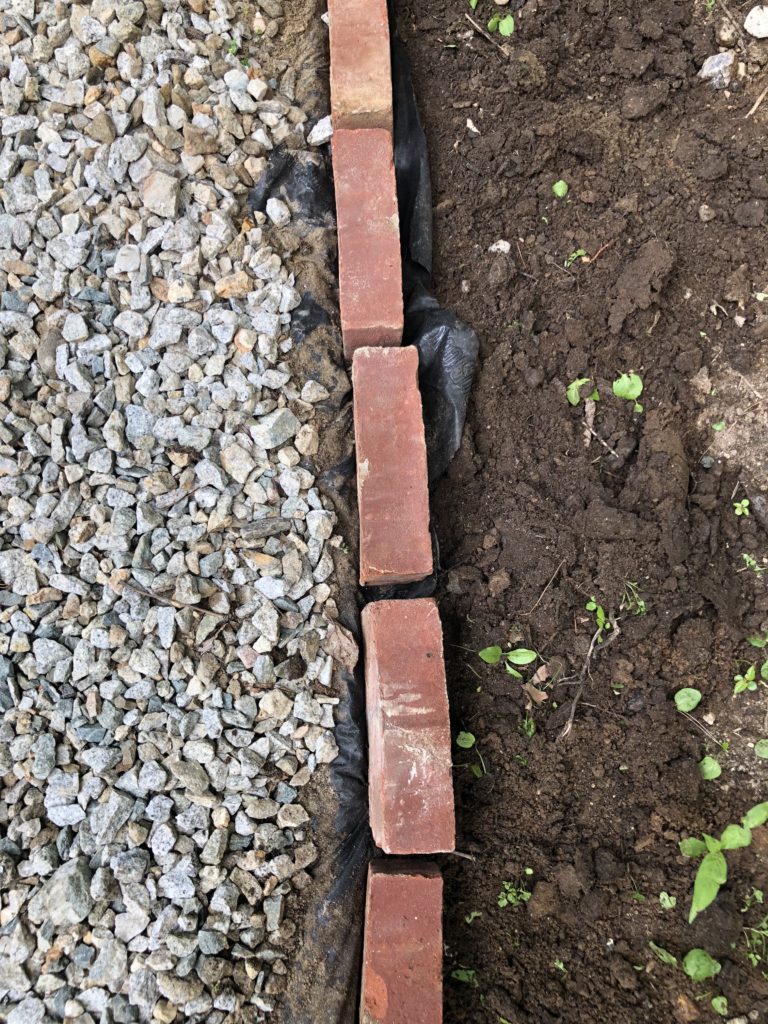
I pulled the rocks back a little bit to expose the black cloth we laid down underneath it. I folded the cloth back out of the way, and used my small garden trowel shovel to dig down about half way. 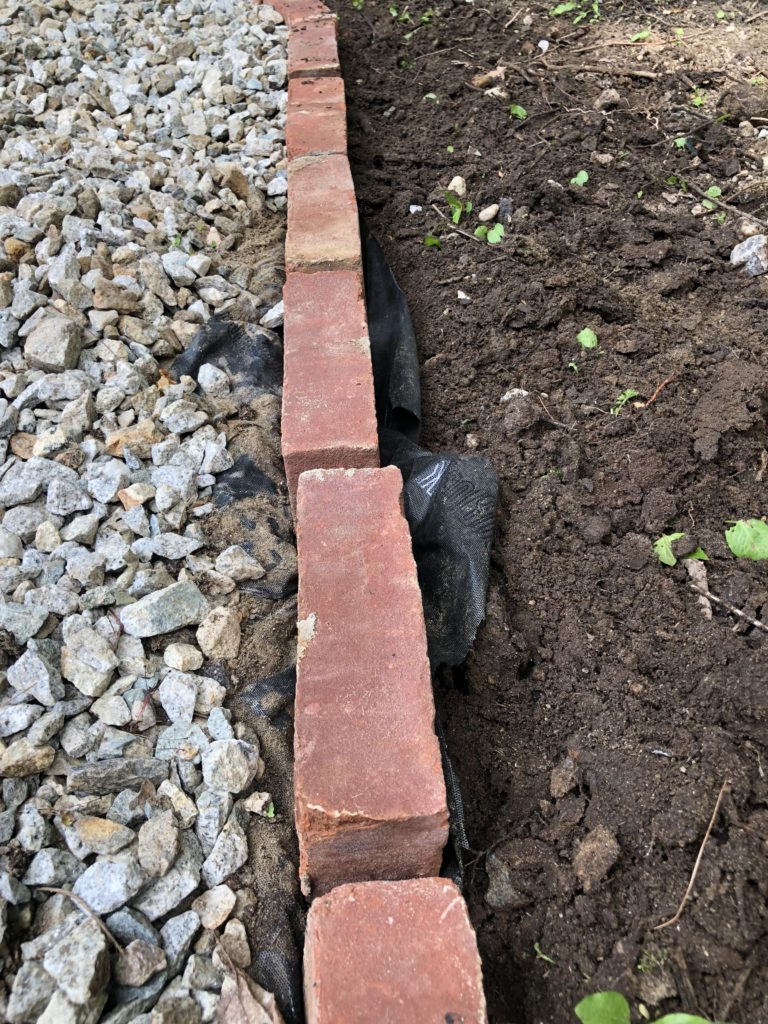
I folded the black cloth back over, and placed it in the row I just dug out, and then placed the brick on top of it. This helps keep the black cloth from shifting, or anything growing up underneath my bricks!
Then I pushed back the dirt I had just dug out, so it was tight up against the bricks, and used the dirt to fill in between the bricks as well.
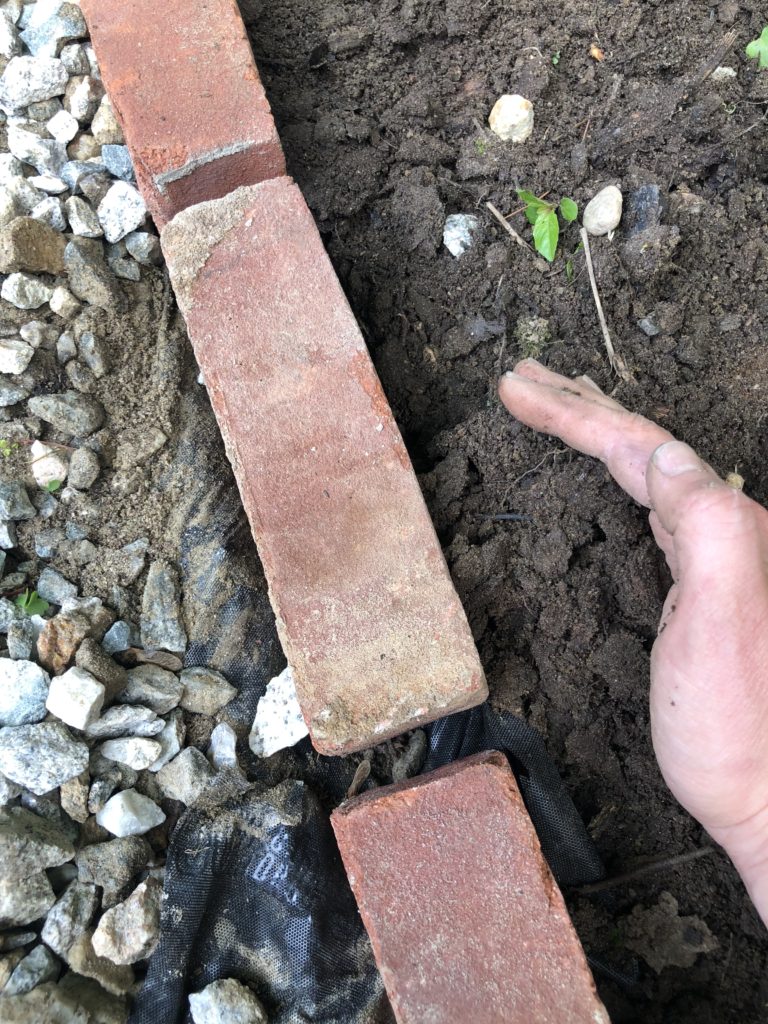
I did the same thing on the opposite side of the bricks with the crushed stone. 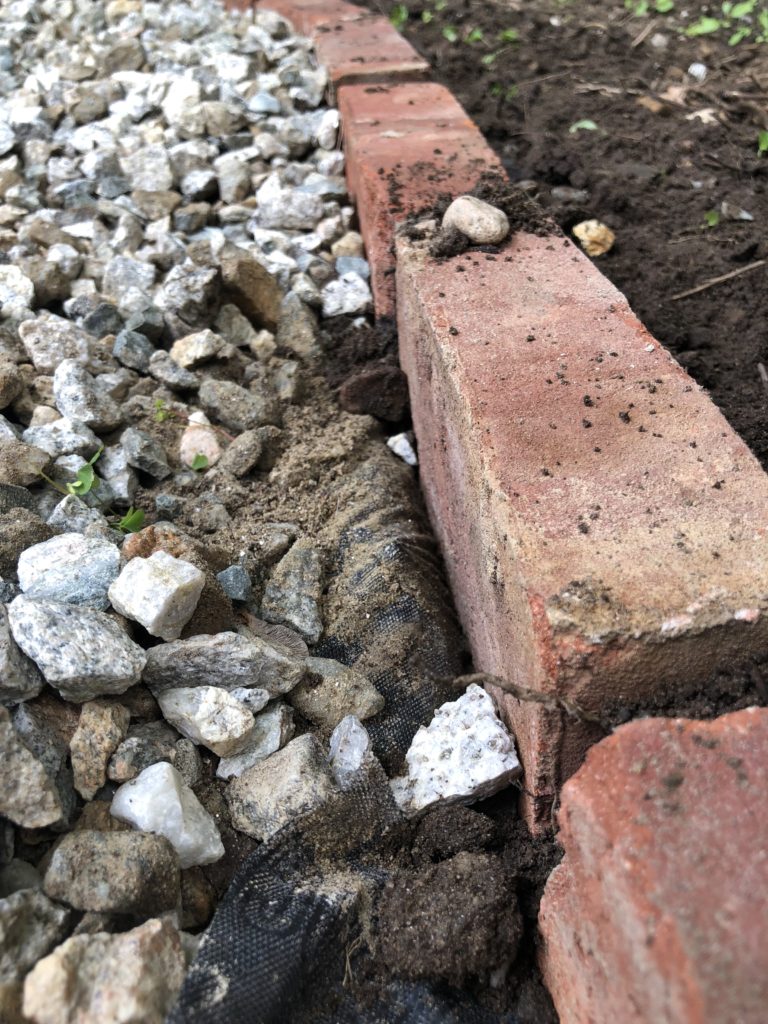
I packed everything in nice and tightly, and made sure that my bricks didn’t feel too wobbly. I know that there is special sand that you can also use, but because the crushed stone has a settling dust mixed into it that hardens once it’s watered, I made sure my dirt was secure on the other side, so I didn’t bother with using anything else. Especially since I wasn’t creating a walkway, this was just a simple border.
Once the bricks were in place I filled in around my plants with black bark mulch to finish things off. 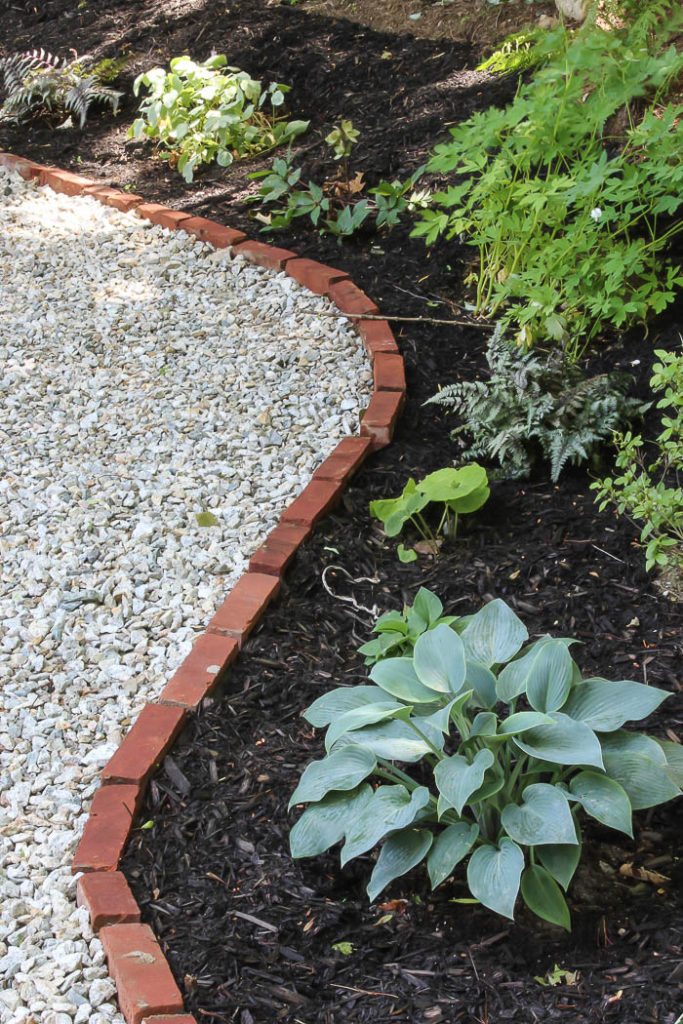
I think the mulch just really made it feel finished, and hopefully in a few years I will hardly have to put any down as things mature and fill out to cover the ground. 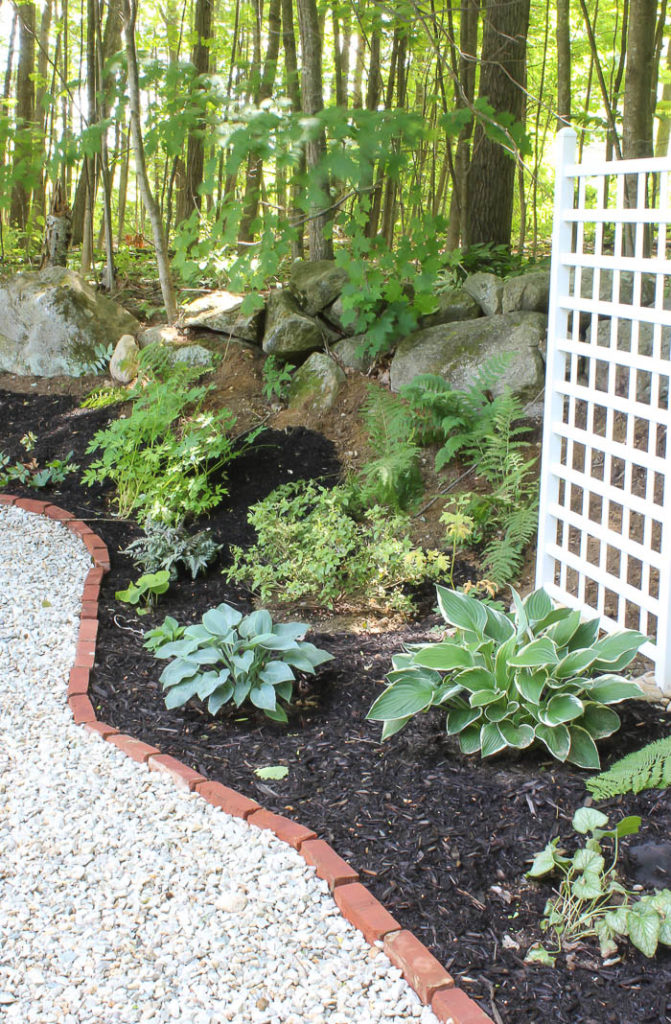
One of the other things we installed was this white garden trellis. I picked up during Wayfair’s wayday deals, and I’m so glad I did. It helps make the space feel more purposeful, and finishes helps my plants stand out a bit more too. 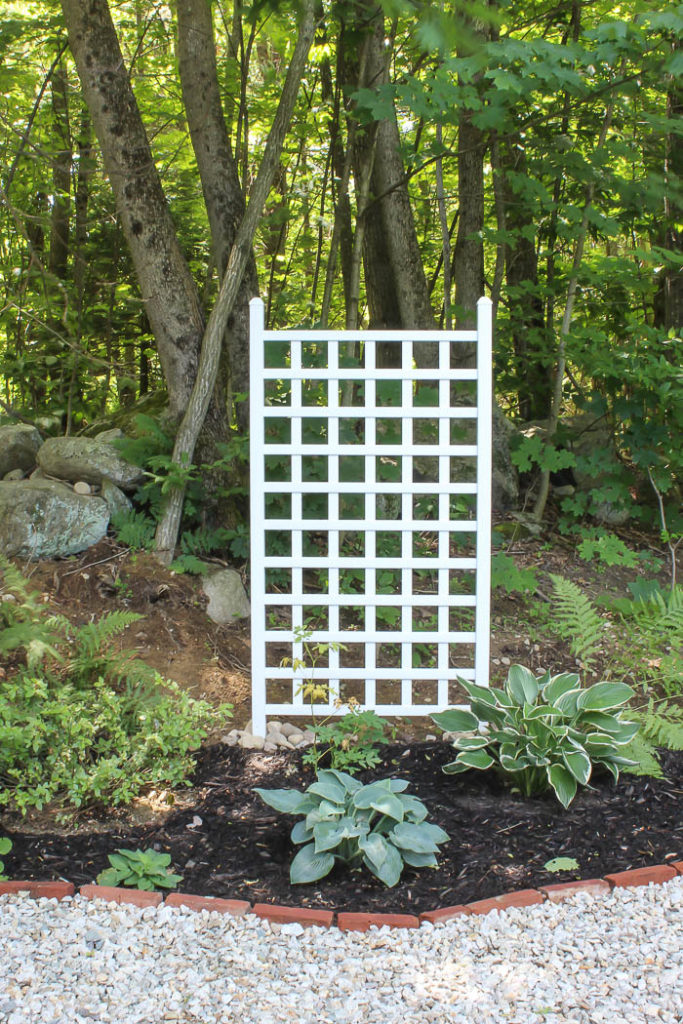
I plan on adding some grasses behind the trellis to conceal the unfinished part closer to the woods, but for now, it feels a whole lot better than what we had before.
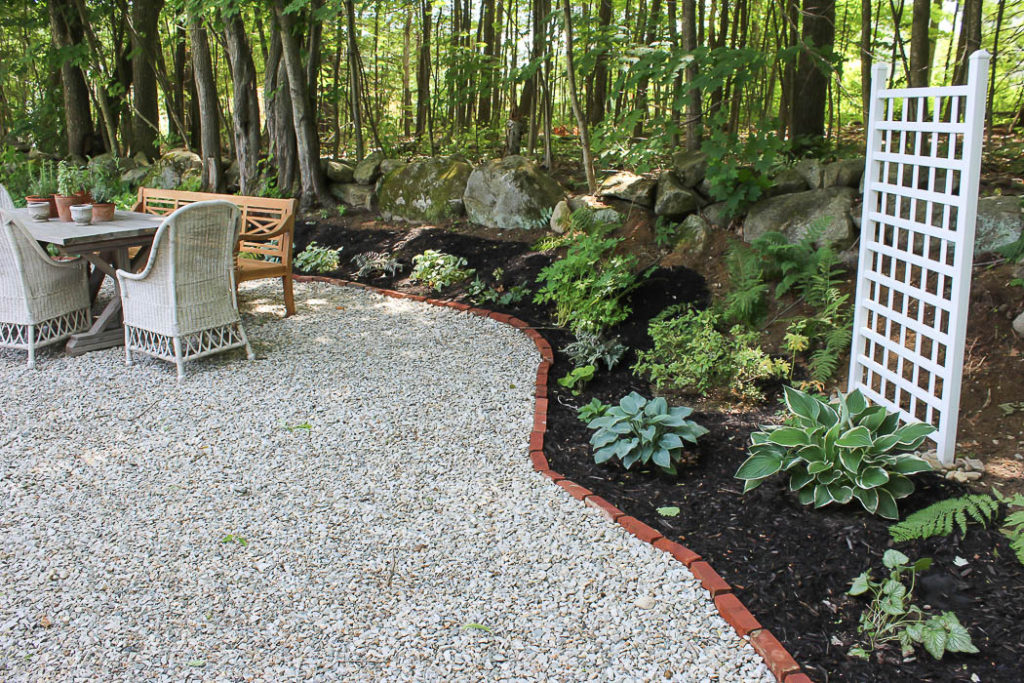
Honestly I can’t wait to see how this area grows in next year, it’s so exciting to see the progress each year, and for now I’m dubbing it as my “secret garden” because it’s tucked away from the rest of the world!
Stay in touch!

It looks really nice and give it a couple of years and it will really fill in beautifully. This is certainly a great place to make memories with family and friends.
Thank you Marlene!!! I know it takes time ( I wish it was over night, lol), but looking forward to years of fruitfulness and seeing it flourish 🙂
Great job! Looks just as good or better than the professional landscaping I’ve paid big money for. Lol!
LOL!!! that’s so sad 🙁 I never really consider myself a professional, I just know what I like. What I really wish is that I could do it all at once, but landscaping adds up quickly!
It’s lovely! I love it.