If you follow me on Instagram, you may have caught a sneak peak of a little makeover I did towards the end of last week. As I was settling back into my routine here at home after my trip to Waco, I finally got the nerve to see if I could give my kitchen shelves a little makeover. It was like my brain needed a little break, as it was still processing all the wonderful things from last weekend, and a little DIY was just what I needed. I had been contemplating giving our kitchen shelves a makeover a few times before, but just never got up the gumption to tackle it. Well, I did! And I think you will love the outcome!
To recap, here is what the open shelves in our kitchen looked like before :
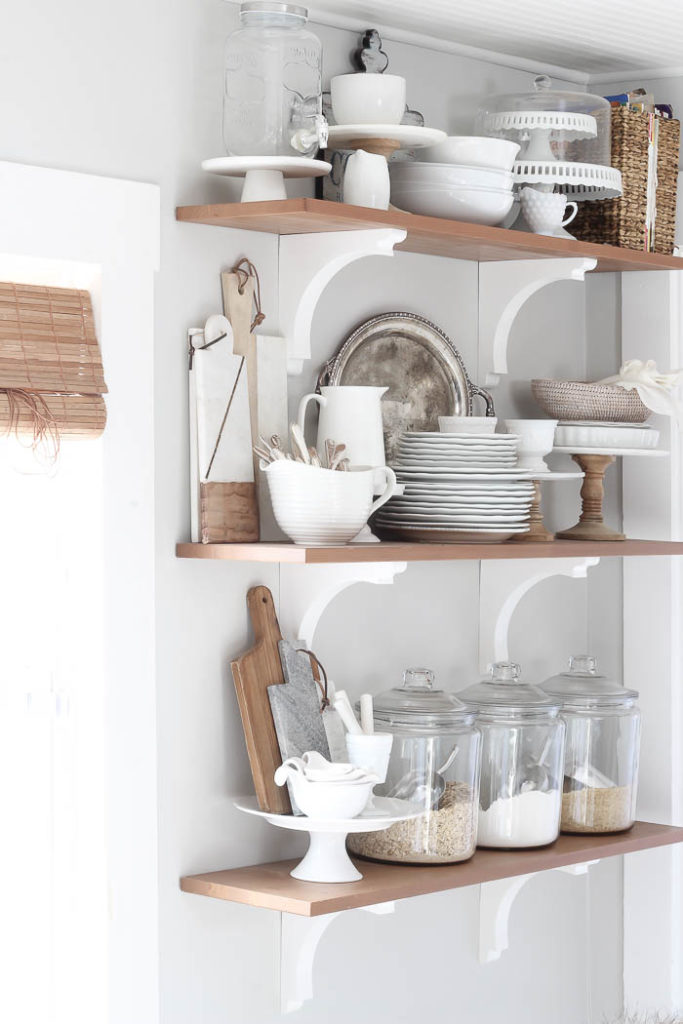
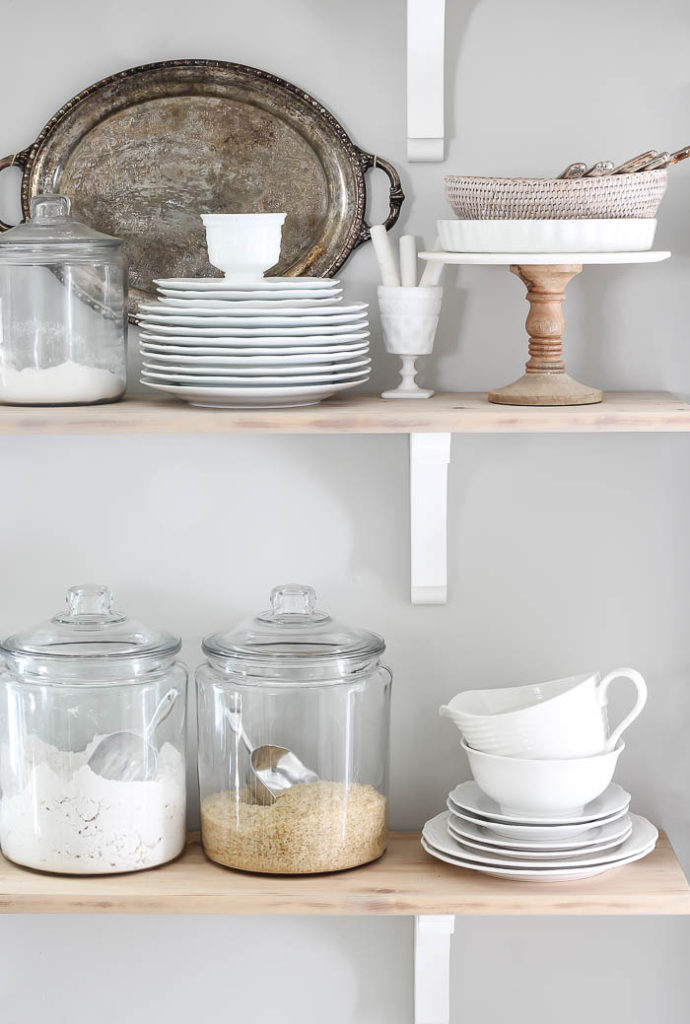
I shared HERE how I styled them, and shared some of my favorite pieces I like to style them with. One fact you might not know about our house is, since it was built in 1846, there is no pantry. Like hardly any storage at all, because well back then people just didn’t have that many things, or the need to store them. So instead of keeping all my serving pieces in boxes in the basement, I use these shelves and my plate rack wall to store / display my prettier things, and keep them at arms reach when we are entertaining.
The hubby installed the shelves for me as a birthday present 5 years ago, and I’m still just as smitten with them! I never shared a tutorial, but you can see their first debut in this post HERE. I’ve definitely gotten better with styling them since then – maybe I’ll share on how I style my open shelves soon!
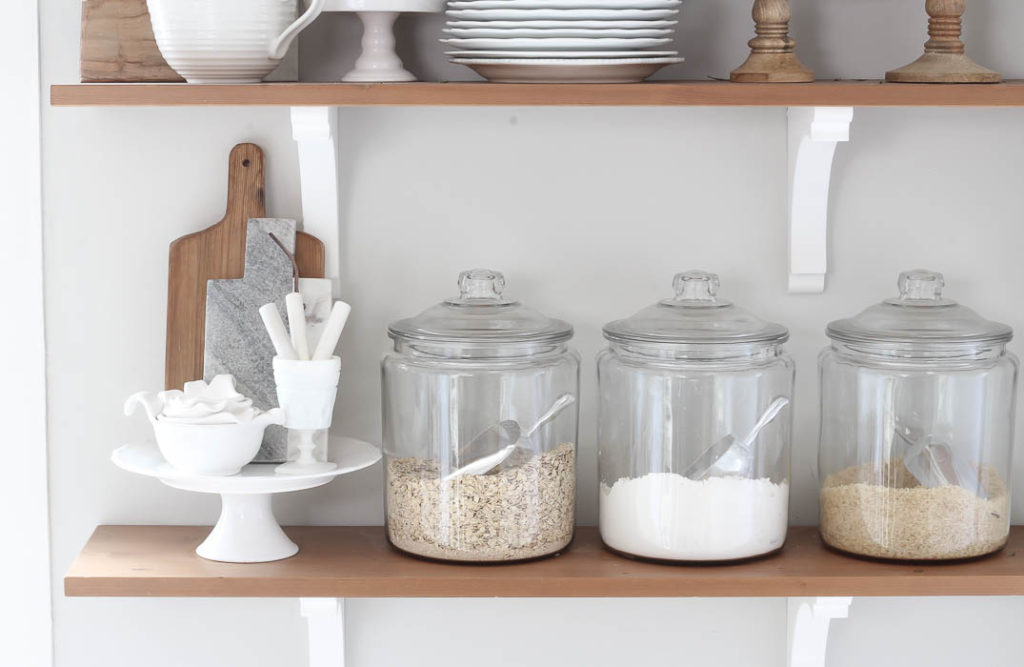
The boards we used already came pre-finished from IKEA – like 10ish years ago, and at the time I didn’t think anything of it, but over the last couple of years the wood seemed to feel a bit orange to me. I always edited them in photoshop to take out much a the saturation. Since they came already finished from IKEA, I really wasn’t sure what to expect underneath the wood and contemplating painting them. However I really liked the character the wood-look added to the kitchen, so last week I finally got the nerve, and took a piece of sandpaper to them. 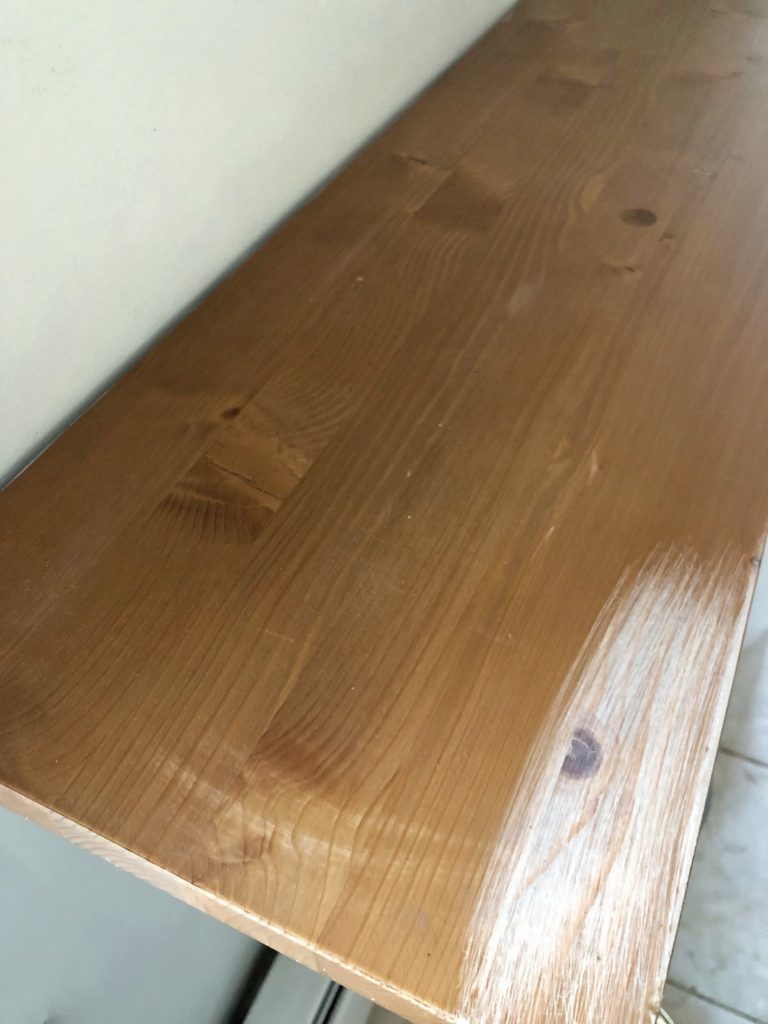 I thought if I could just lightly sand them enough, I could rub a grey stain over them to help mask some of that orange wood. Well in the process of sanding by hand, I realized that while my husband installed the corbels to pretty much stay permanently attached to the walls, the shelves had only just been lightly tacked down to the corbels. So this meant I could pop them off and take them outside and sand them down completely! Well that’s exactly what I did.
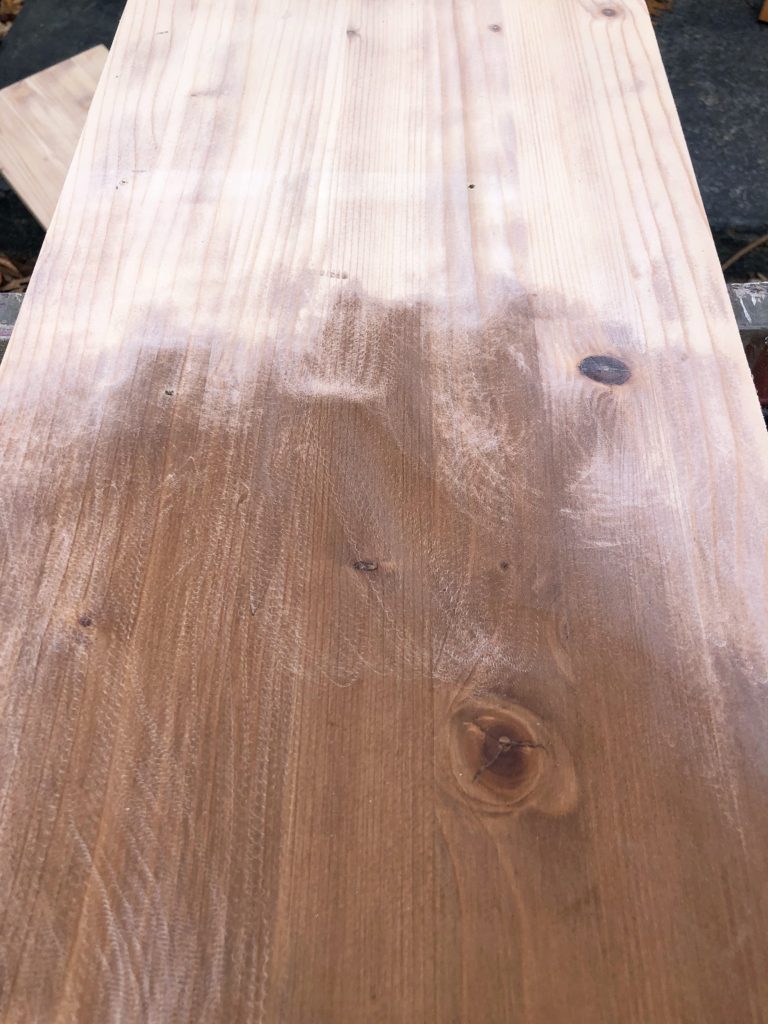
You can see above once I took a palm sander to them, I was able to get them right down to the bare wood. Perfection!! 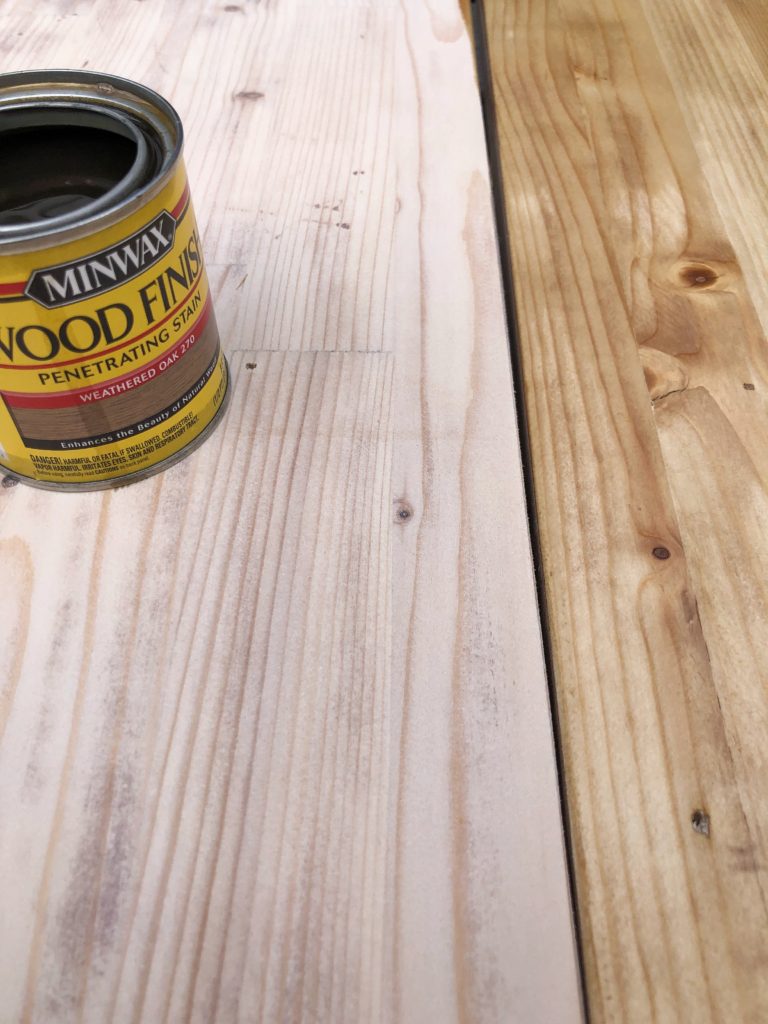
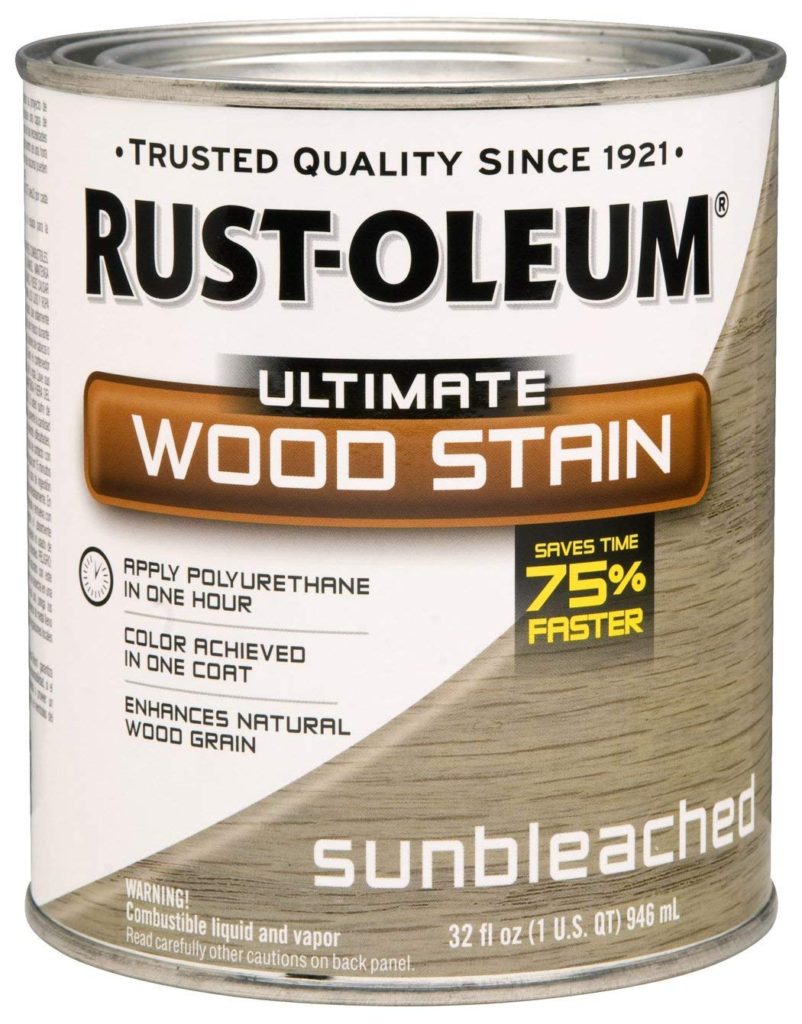
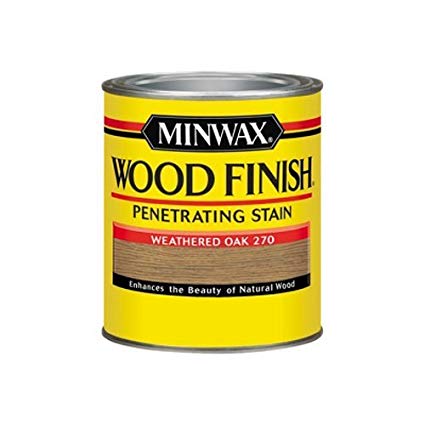
Next I applied a coat of Weathered Oak Minwax stain to them. You can see above on the left the sanded wood, and the right one coat of the Weathered Oak. Since I didn’t want the shelves to be completely gray, I decided to try this stain first. However it didn’t dry very “weathered”. I ended up lightly rubbing a coat of Sunbleached stain by Rustoleum on top of the weathered oak, and this added a slight gray finish to the wood.
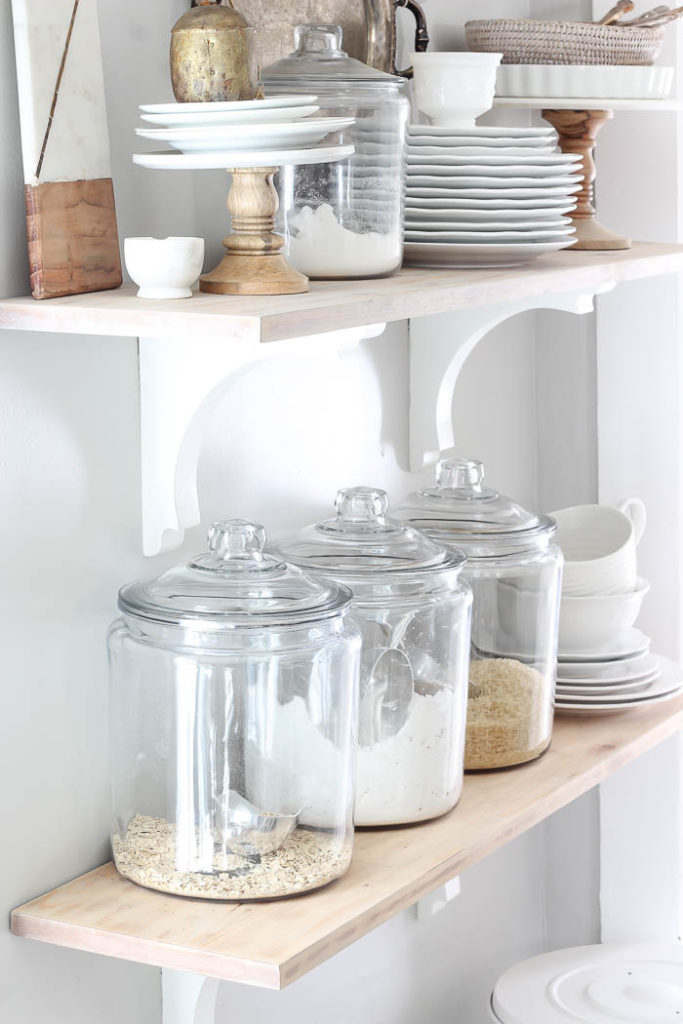
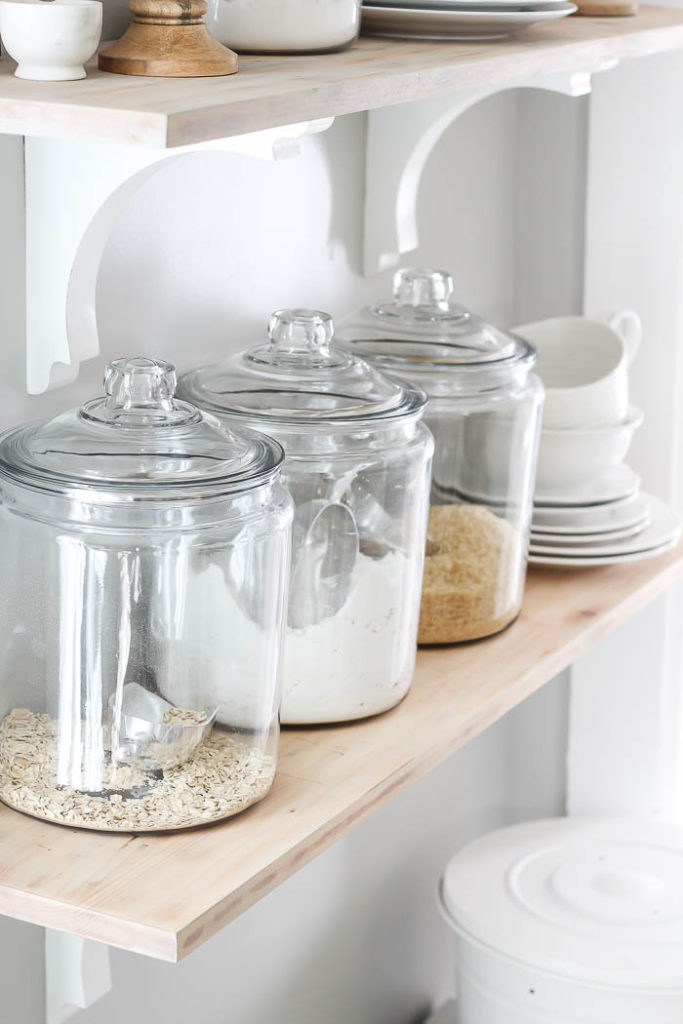
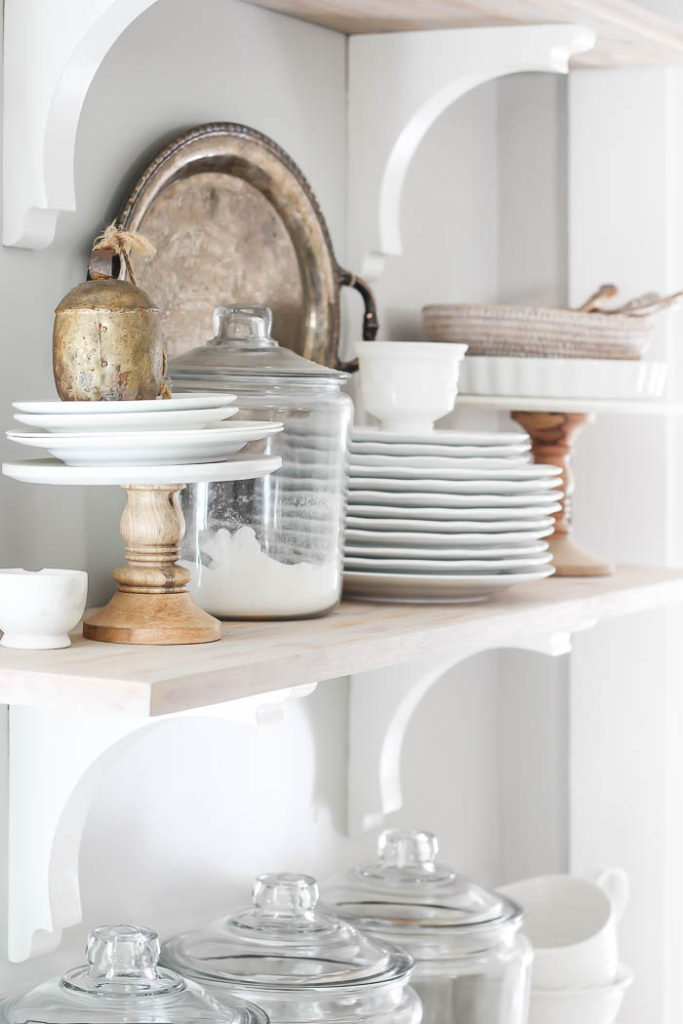
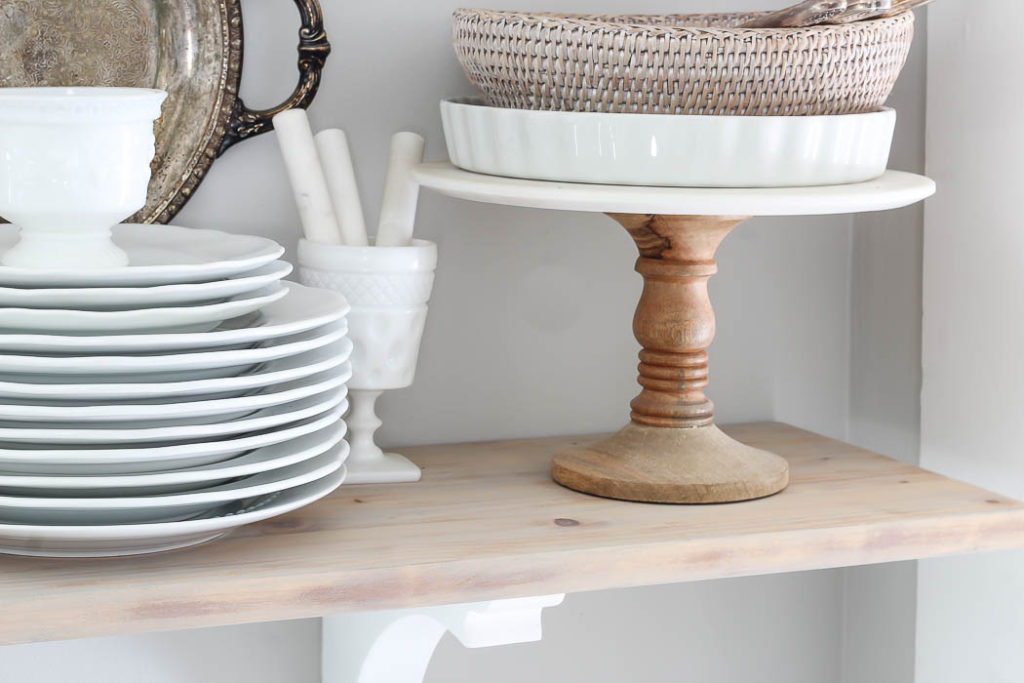
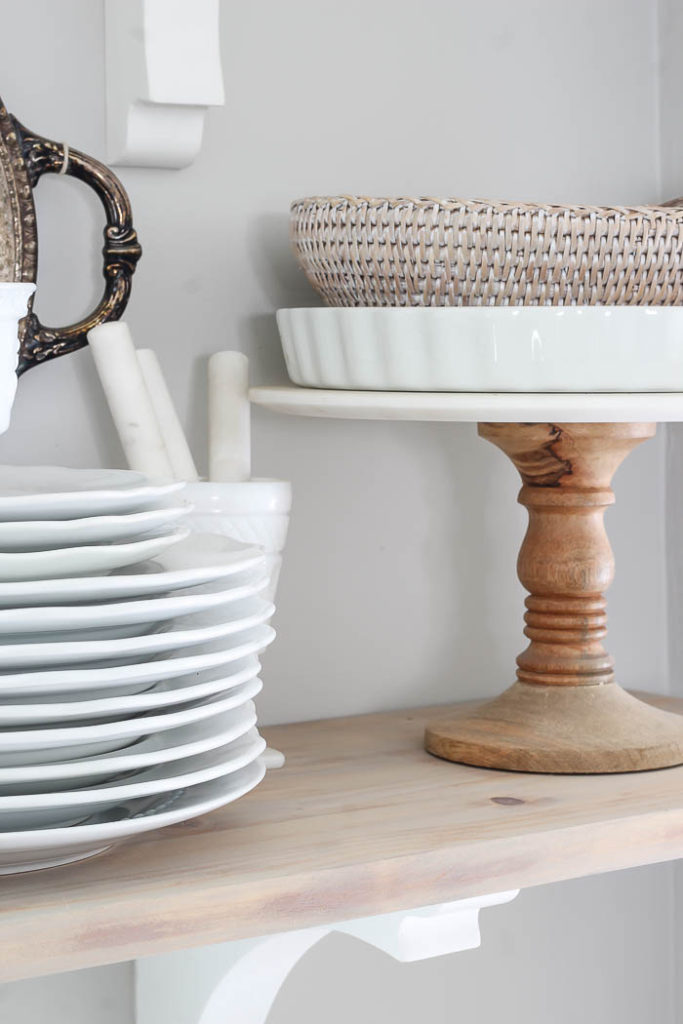
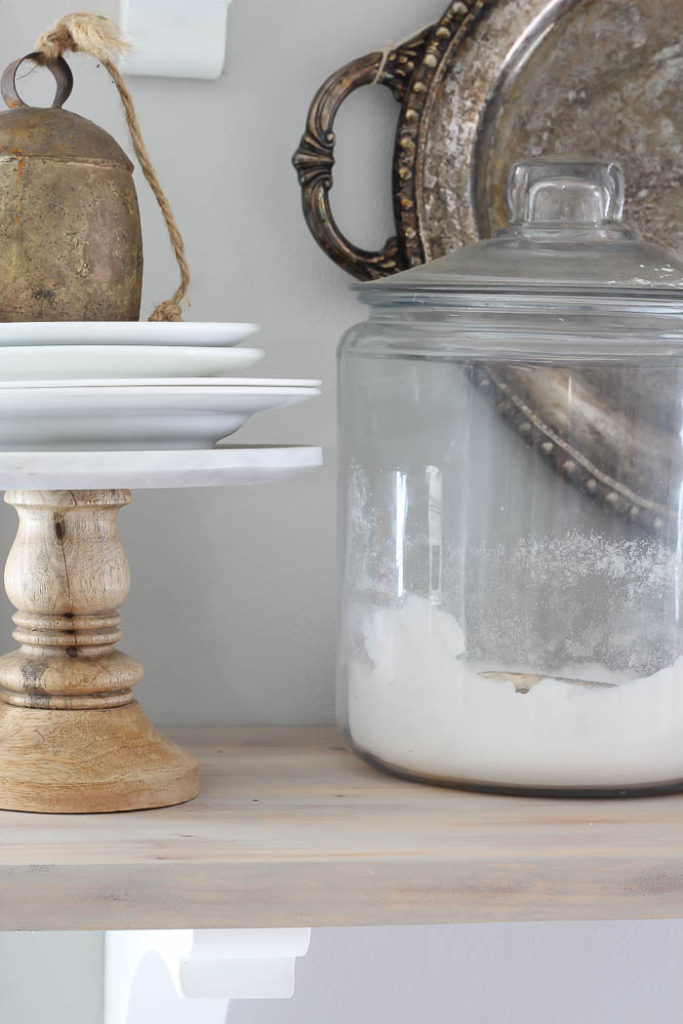
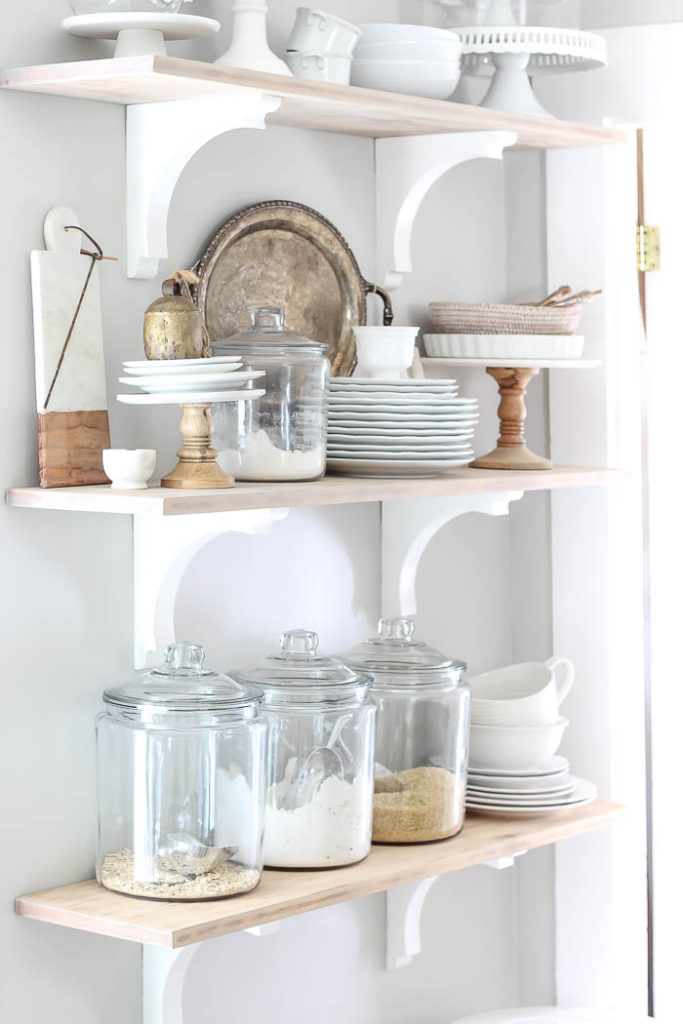
You can see how the Sunbleached stain lightened them up just enough, and gave more of the weathered look I was hoping for.
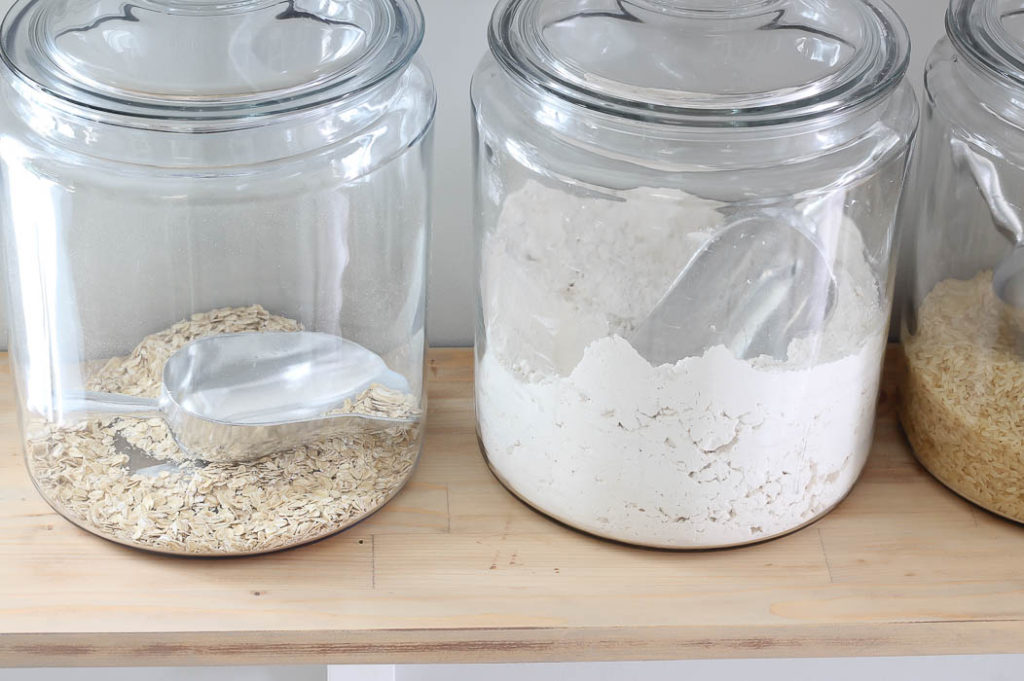
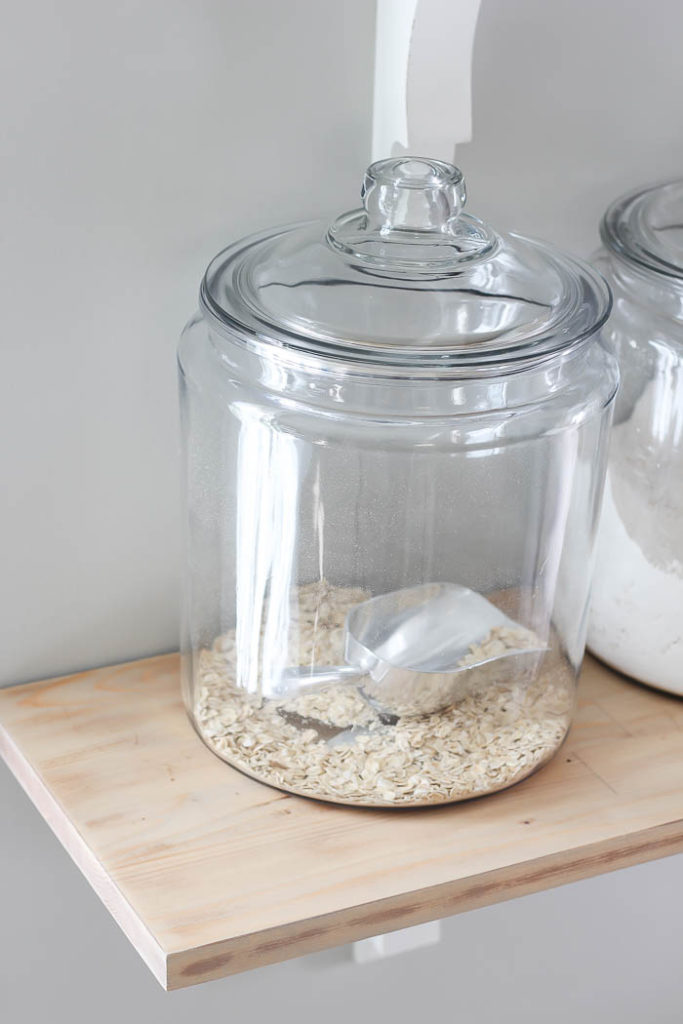
I loving using these canister jars to hold dry goods, they remind my of an old general store, and can be found HERE.
I always get asked where I got the corbels as well. I found them at Home Depot, painted them white,and at $10 a piece, I used most of my birthday money that year to purchase the 6 we used for the shelves, and then the additional 4 we installed under our cabinets to give them more of a built-in look.
Here are the exact stains I used. You can click on the names to buy through my affiliate shopping link :
You can shop many of the items I use to style on our open shelves in the kitchen below:
SaveSave
SaveSave


I like what you did with the shelving. I was surprised though that after changing the color of the shelves, you didn’t change how you displayed the item. Wasn’t into changing that up? Just curious… I guess my creativity gets me thinking about what else you could display…especially with Christmas not too far away… Would love to see how you would display your shelves for Christmas.
Having said that, I love how you decorate and want to thank you for inspiring me to add corbels to my shelves…and love the idea of sanding down shelving from Ikea…I would not have thought of doing that! I truly appreciate your inspiration! I can’t wait to change things up in our home…
I’ll continue to follow you… your style is like a breath of fresh air! Keep it up!
Thank you so much Nicole! I do actually style these for Christmas. You can see them in years past here – https://roomsforrentblog.com/2017/11/christmas-kitchen-2017/. Stay tuned, because I will be sharing them this week decorated for Christmas this year 🙂
Love your open shelves and the new color.