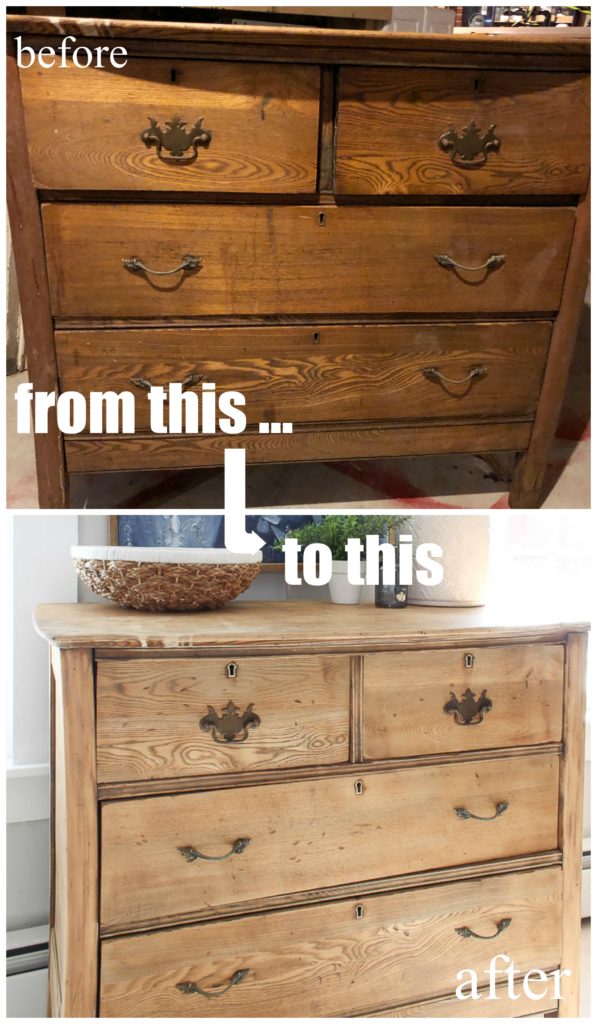
Friends!! Thank You SO much for all your kind remarks about the new antique dresser in our kitchen I shared with you yesterday!! Isn’t it crazy, when you change up a space or look at an area in a new way in our homes how refreshing it can be! It was bittersweet for me to swap out the beloved bench we had there for so many years, but the truth was it just wasn’t serving our families needs the best anymore. I no longer needed a spot to be able to sit my two toddlers to help with their shoes, and was in desperate need for some more storage, and this antique dresser provided all of that. As promised, I’m back today to share with you just how I gave this dresser a makeover to get the look you see today. Just wait until you see the Before!
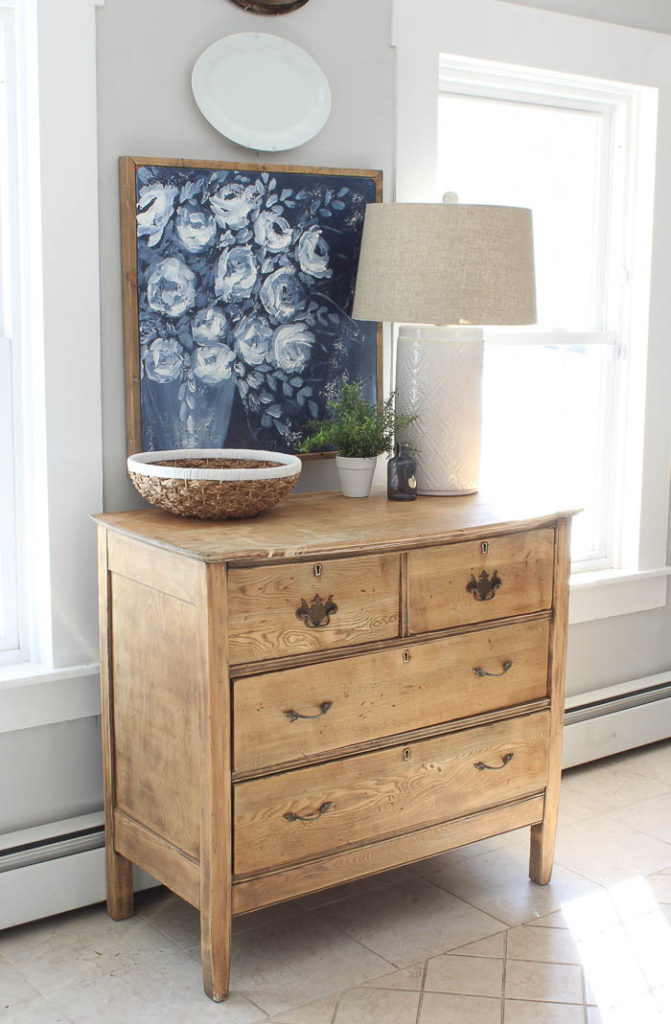
I mentioned in yesterday’s post this dresser had been gifted to us by an older couple in our church who are in the process of down-sizing. It was a bit wobbly, and had some stains on the top, but I loved the structure of it, and it was solid wood.
I think that’s key when it comes to decorating with antique furniture. You can change the finish, but you can not change the structure of it. Meaning, if you don’t like the legs on a piece, or the shape of it, there isn’t a whole lot you can do to fix that. So don’t settle for an antique that doesn’t have all the qualities you are looking for.
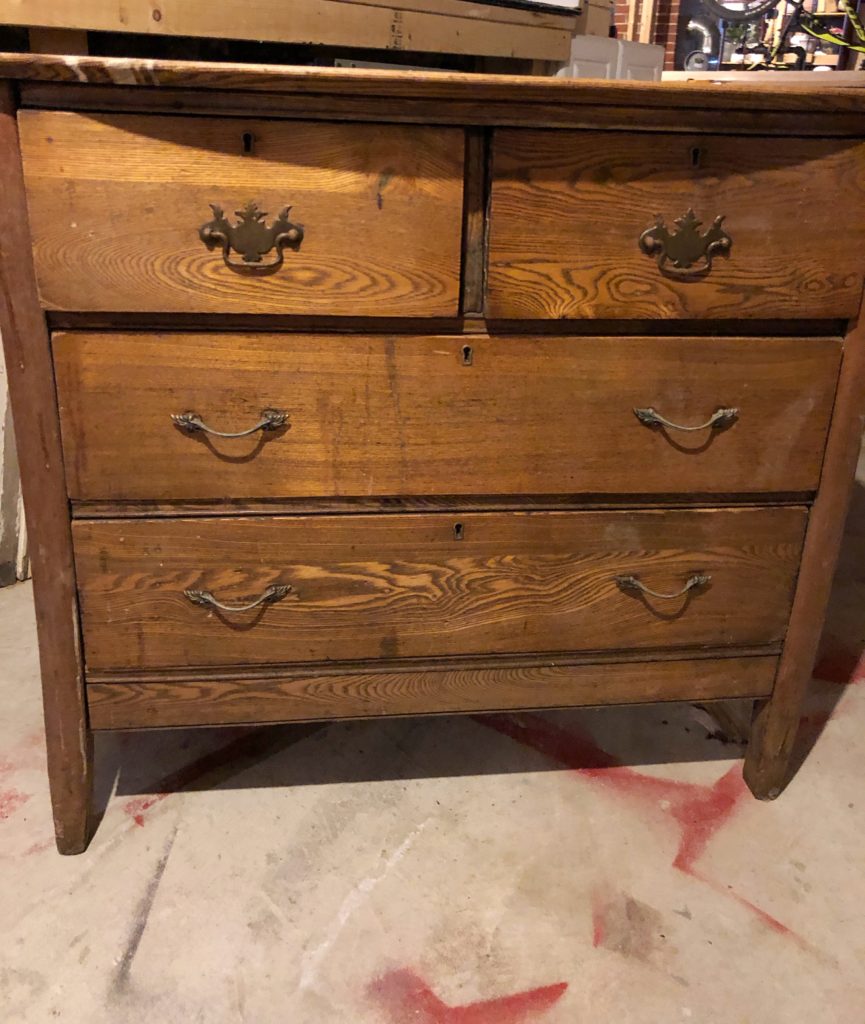
I had contemplated just painting it and reselling it, because at the time I didn’t have an immediate need. Thankfully, I was too busy with the holidays I didn’t have any time to do either, so in our basement it sat. Until my “AH-HA” moment last week!
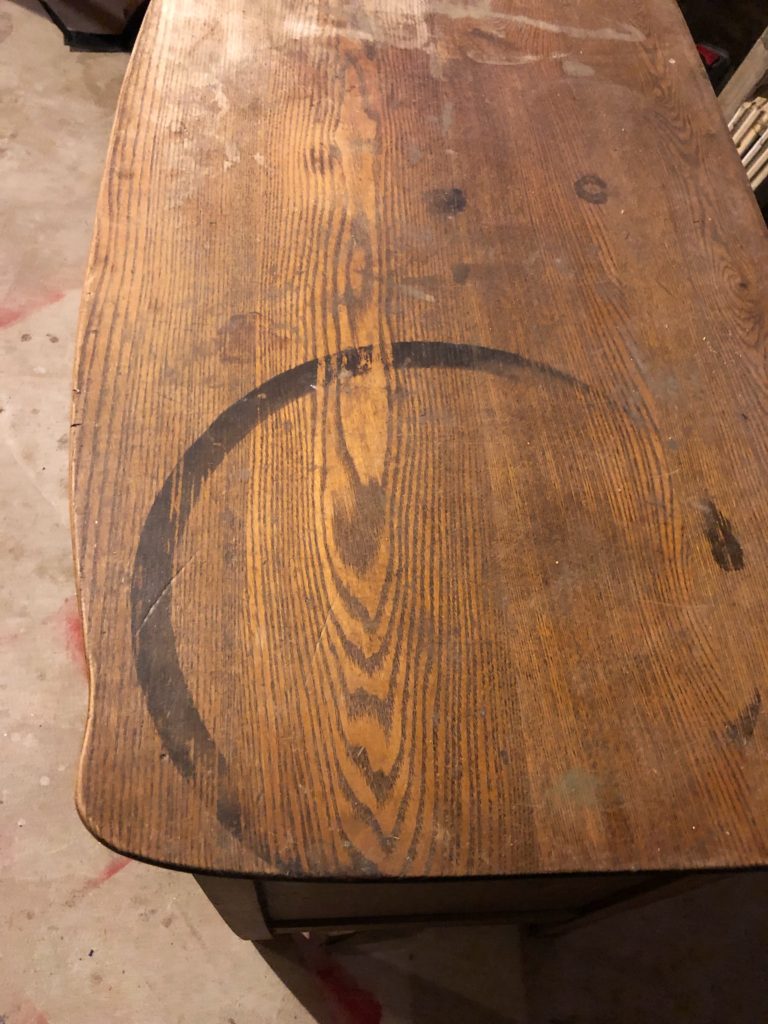
It was dusty, and the top had some deep stains in it. Of what I don’t know, but since it was solid wood, my first inclination was to sand it down. I figured if I couldn’t get the majority of the stains out of the top, then I would paint it.
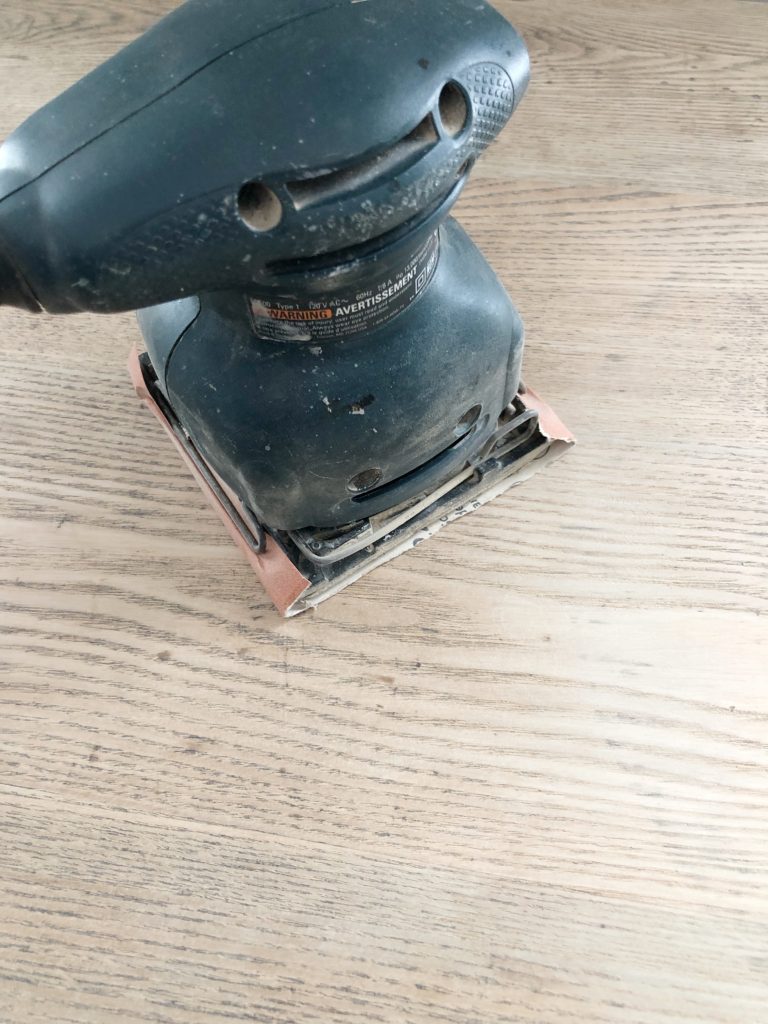
I started with a 60 grit sandpaper, and thankfully the finish on the dresser had pretty much already worn off, so it took no time at all to start revealing that beautiful original wood tone.
*Tip – If there was a thicker layer of varnish or lacquer on this piece, I would have stripped it first, to make the sanding process easier. I shared how to do that step in this post HERE.*
To my surprise, the larger circular stain came out. There were some smaller stains on the other side, that could have possibly been bleach, I will point out in another photo, that didn’t quite come out all the way, but close enough. Then to give it that butter-smooth finish so it feels like it’s been professionally refinish, you give it a light sanding with a 220-grit sandpaper. You can run your hand over the area you had just sanded, and after you use the 200-grit sandpaper it feels silky-smooth, compared to the rest of it.

Once I was finished sanding the dresser, I took a clean rag and wiped down the entire piece, to ensure there was no dust or residue still on it from the sanding process. I loved the color of the unfinished wood, so I opted for Annie Sloan’s clear wax to seal it in, so it would stay like that.
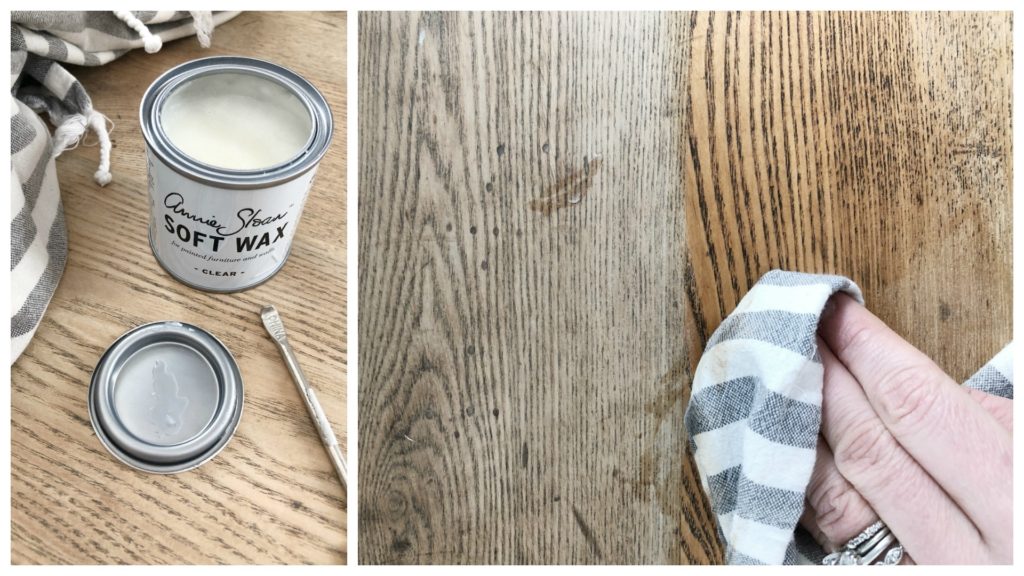
There are two things to remember when applying wax. First, it’s going to look “wet”, but don’t worry as it dries it cures to the piece, and that “wet” look disappears. And second, you only need a tiny bit of wax, and apply it in small areas. It should be dry to the touch right afterwards, and that’s how you know you rubbed it in enough, and there is no access left over.
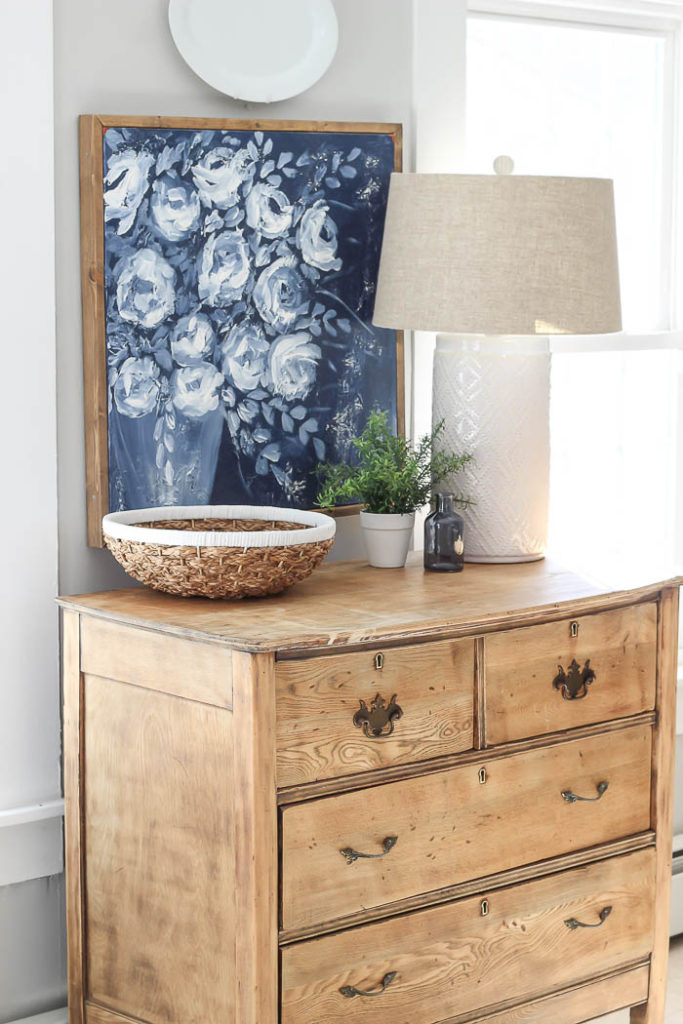
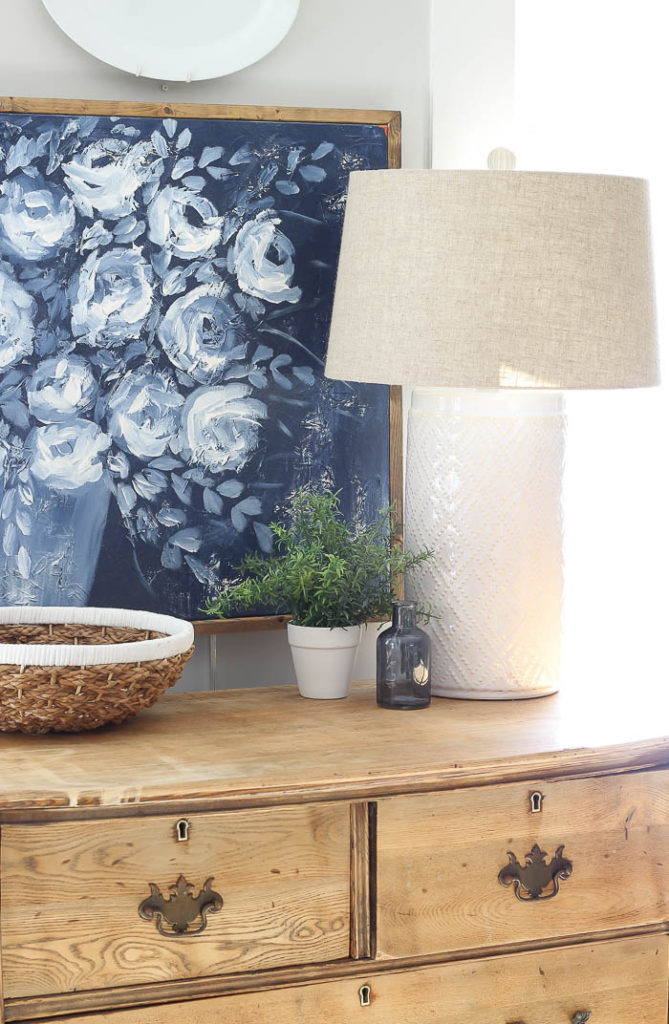
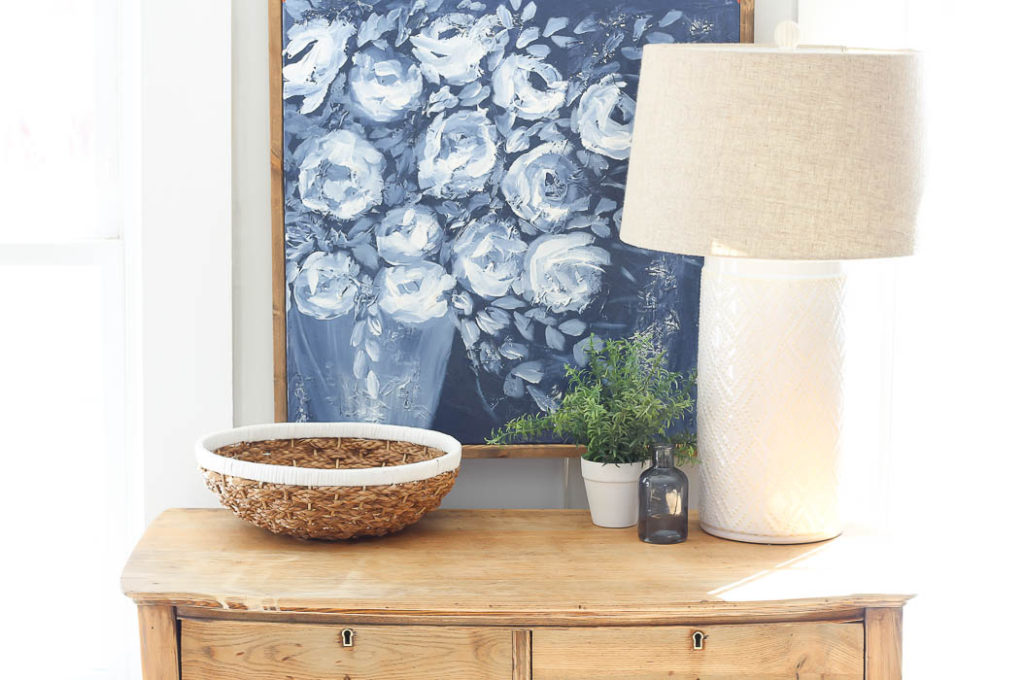
You can see on the top, left hand side where I mentioned it looks like some bleach spilt on it and dripped down the front. I lightened the stain by about 50%, and may have been able to get it a bit lighter, but it didn’t bother me as much.
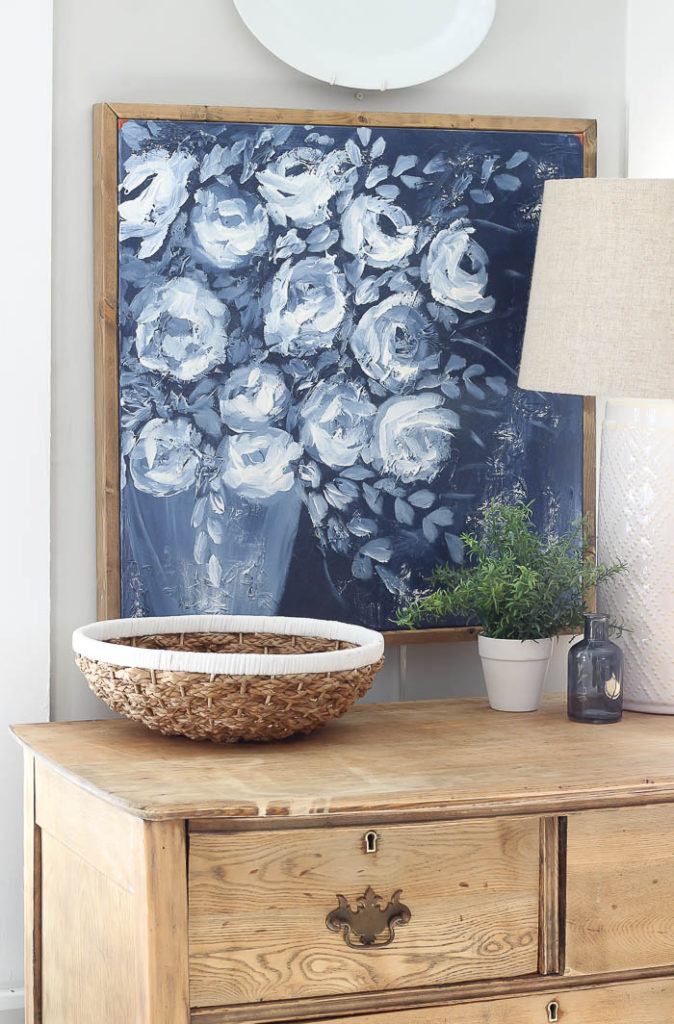
To some it might, but I just look at it as character, and it’s part of the history that comes with the piece.
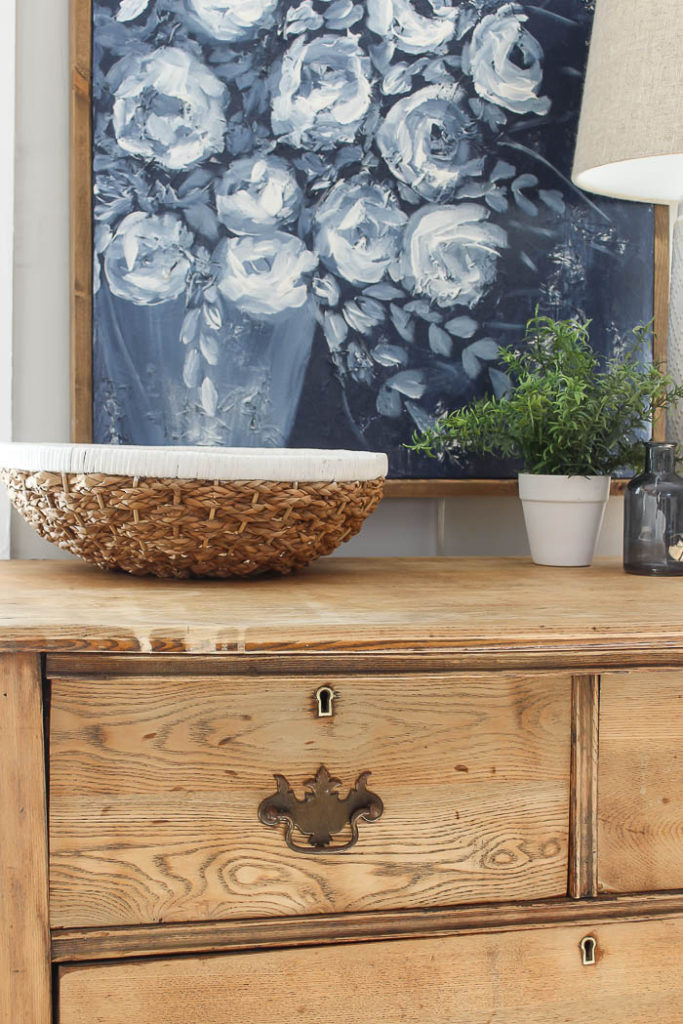
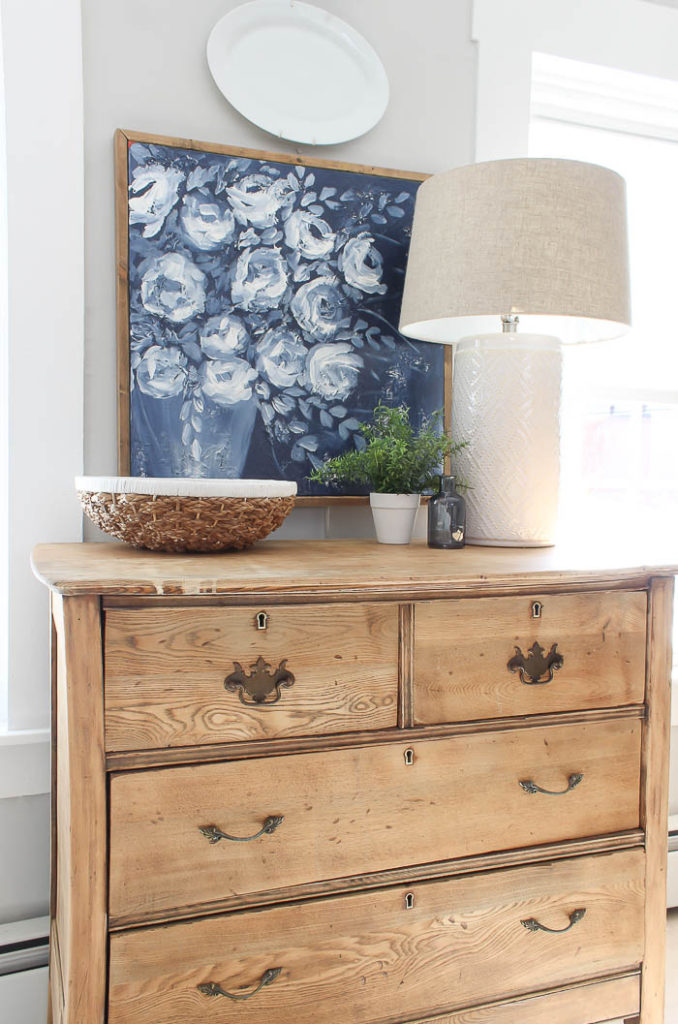
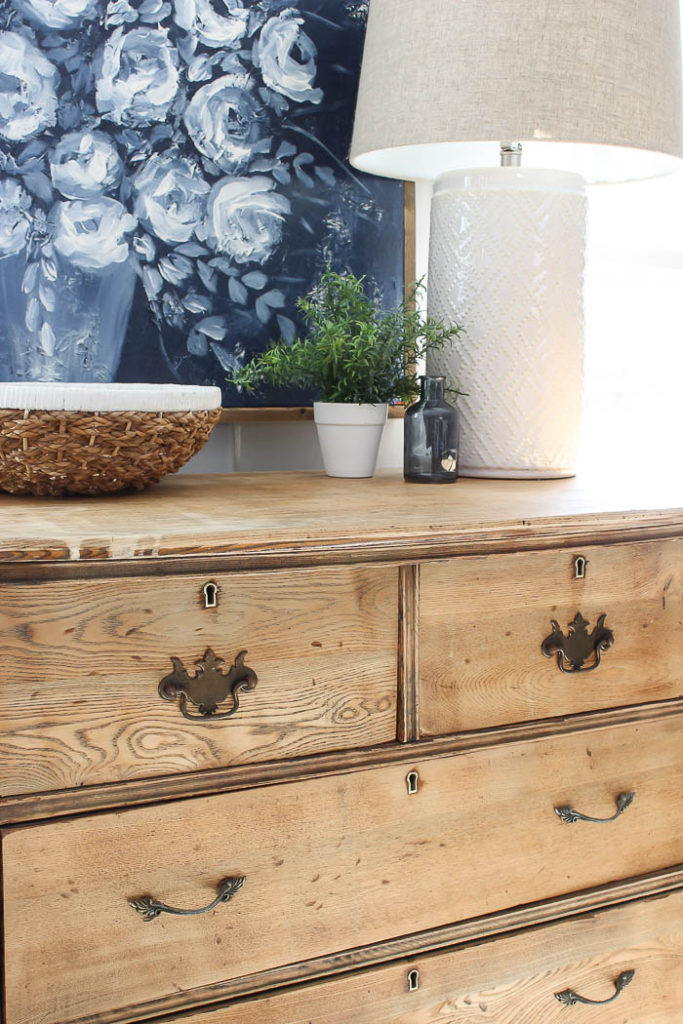
Here is one last Before & After for you to be able to compare side by side the difference in the finishes.

hey girl- love the dresser! so cool!
LOVE it, Bre! So pretty. Now it looks like scrub pine xx
Thanks Danielle!!! Yes, that’s exactly what I was thinking too 🙂
That bleach stain could have been from oxalcyic acid, not sure I spelled that right! It’s crystals mixed in water to make a powerful bleach to use on oak, mostly. It could be reg bleach, too. When water sits on oak too long it turns dark. Hard to get it out as it can go very deep into the wood. The crystals aren’t used much these days due to being a bit dangerous. That piece is old enough to have been done w that, however. You did a great job. You could have used a tiny paint brush to match up the stain colors, I’ve done that when restaining a piece. Like you, I prefer the character! Very lovely.
Very true!! The last couple decades the dresser was in a garage or a basement, so it could be either of those possibilities 😉
Hey Bre! Hope you are doing well. Just now seeing you’re Antique Dresser DIY project and I have just one word to describe this transformation…..WOW!! It is a beautiful piece and you did a beautiful job! I saw that you kept the original hardware and I love the key hole, but was curious, did you have to do anything to the hardware? Also, I totally agree with you about the small imperfections, they give the piece character. As always I enjoyed my visit! Take care Bre and God Bless.
Thank you so much Pam!!! I feel like I just gave it a little TLC, and it revived it right back to life 🙂 I didn’t do anything to the original hardware, and decided to keep it for now, mainly because I haven’t had time to go to the store and look at different hardware, but I love that it still works just fine as is 🙂
Bre,
I love your style and everything you do! Thank you for sharing! I love getting ideas from you. I just got a bench for by my backdoor about a year ago because I loved yours so much! I don’t have much room there so a narrow bench was perfect! Now I will be looking for an old dresser that is narrow…..oh my husband just shakes his head. 🙂
Thanks for sharing!
Kathy
Ohhh That is so awesome Kathy!! I’m so glad to hear that the narrow bench was the perfect addition to your back hall 🙂
Wow! What a beautiful job with the dresser! It looks perfect in your space.
Wondering where you found the blue flower print and the white lamp?
Thanks for your help. Love your “refreshed” space.
Thank you so much Joanna!! The lamp came from HomeGoods a few years ago, and the art can be found here – https://paintedfoxhome.com/dont-forget/
Brilliant! Now it is being loved again.
YES!!! I always think that those make the best makeovers 🙂
Beautiful!!! What kind of wood do you think
This is? It almost looks like oak in the before. And that picture is from????
Thanks Dianne 🙂 I believe the dresser is solid oak. It had staying in the same family from the beginning, so I feel extra special to have acquired it 🙂 The painting is from Copper Corners 🙂 I love the life and color it really adds to the space 😉 https://paintedfoxhome.com/dont-forget/
Nice job.