Hello Friends! There’s nothing like doing a little Spring DIY to get you in the mood for Spring. Our temps are still in the low 30’s, and even though they appear to be stuck there, I’m willing my way into Spring with the decor inside our home. I’ve had this hanging basket for a few years now, but decided to give it a little makeover to freshen things up for Spring. Come and take a look!
I’m also excited to share this project with you, because it’s the kick off for the Spring Series hosted by the Happy Housie, and I’m teaming up with other bloggers who are sharing a fun Spring DIY as well!
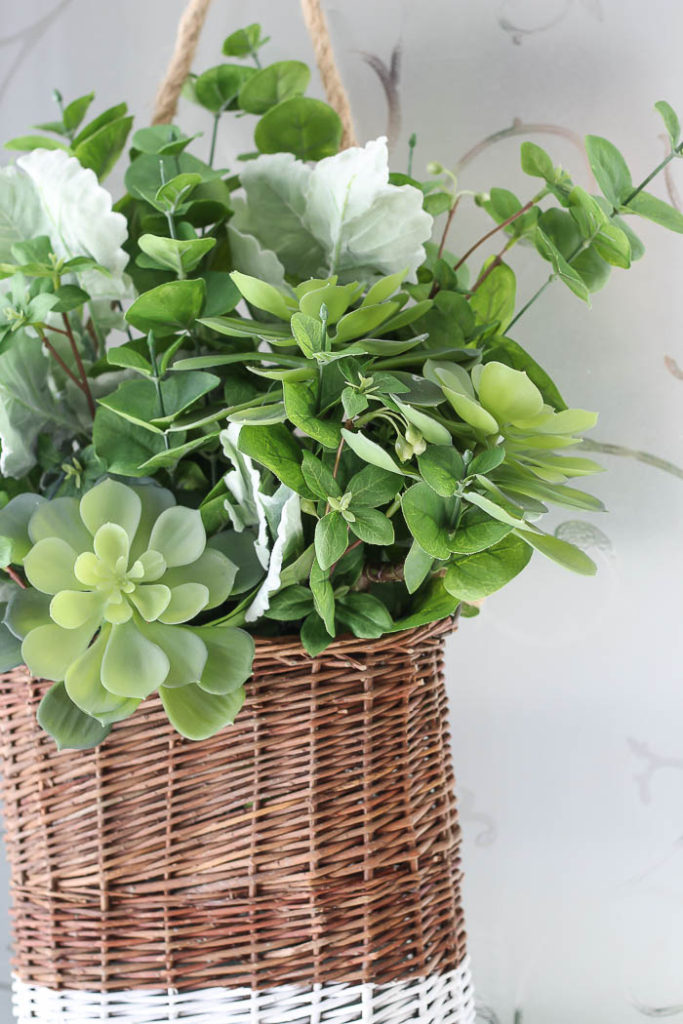
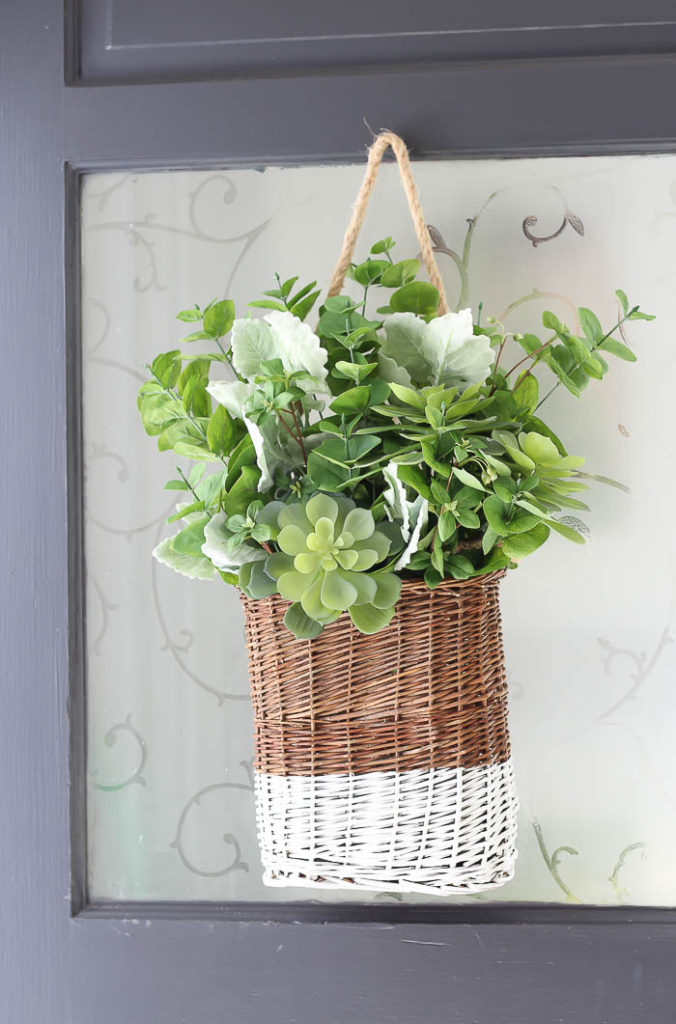
My basket (found on Amazon HERE) wasn’t always painted, so before I filled it with some new faux stems, I grabbed my paint brush and some white paint!
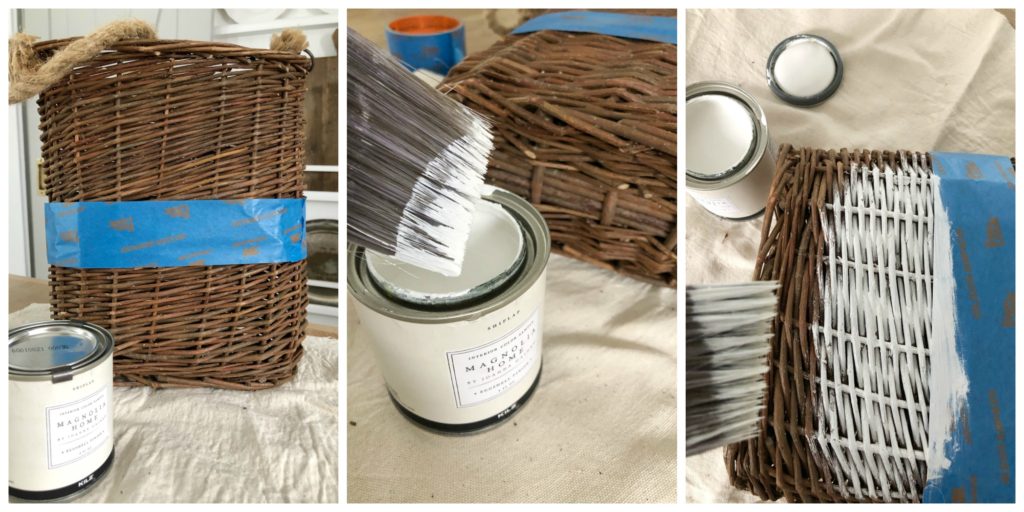
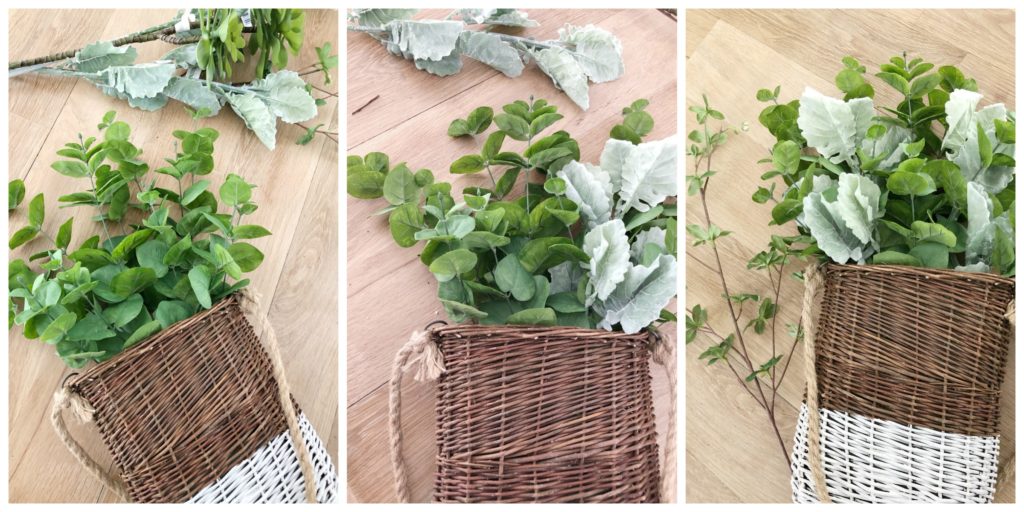
Once my paint was dry, I removed the painters tape, and it was time to fill my basket. I gathered all of my materials on my kitchen counter and got started.
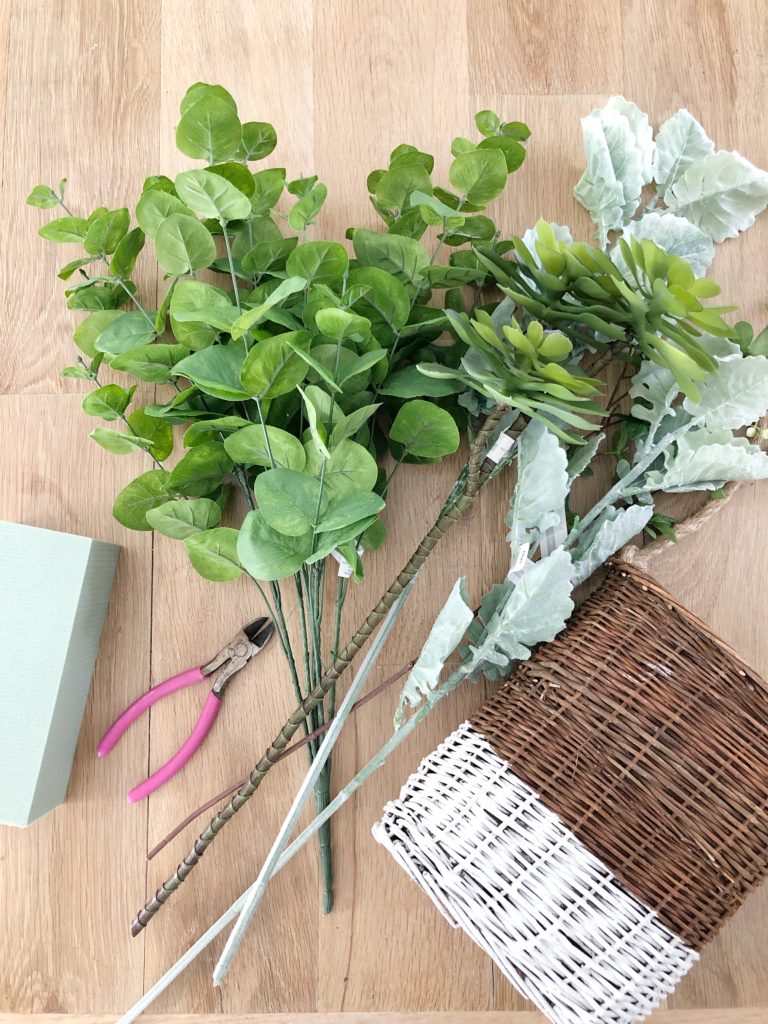
Here’s what I used :
1 Hanging basket / or container of choice – basket from Amazon HERE
dry floral foam block
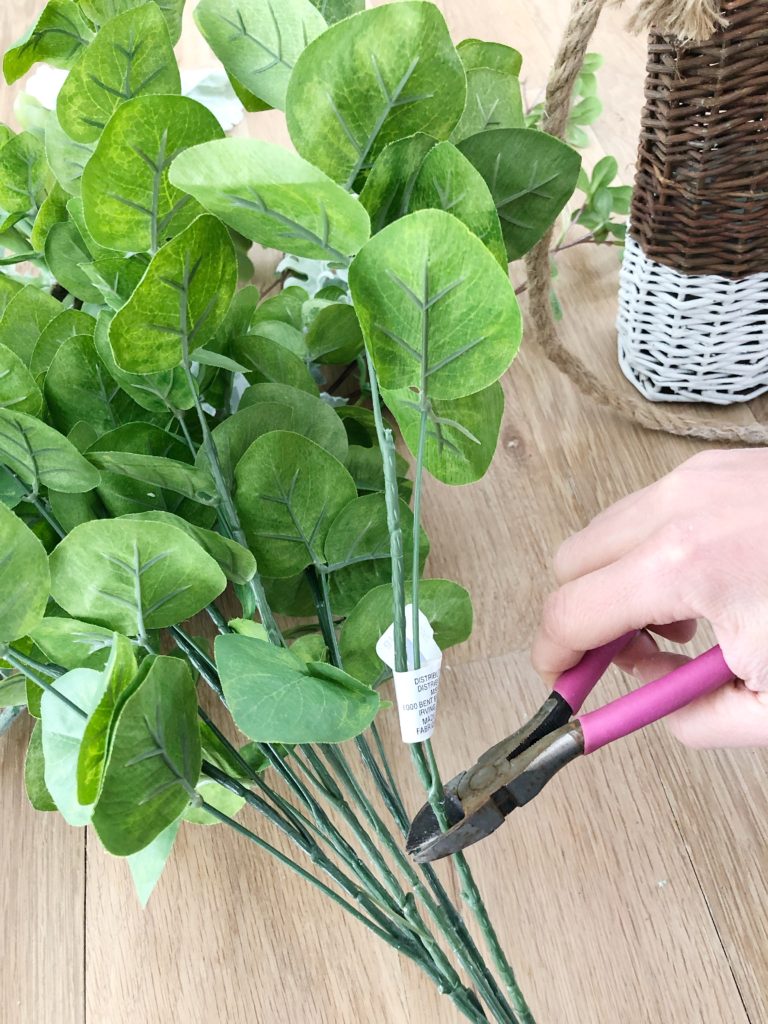
wire cutters
assorted faux stems
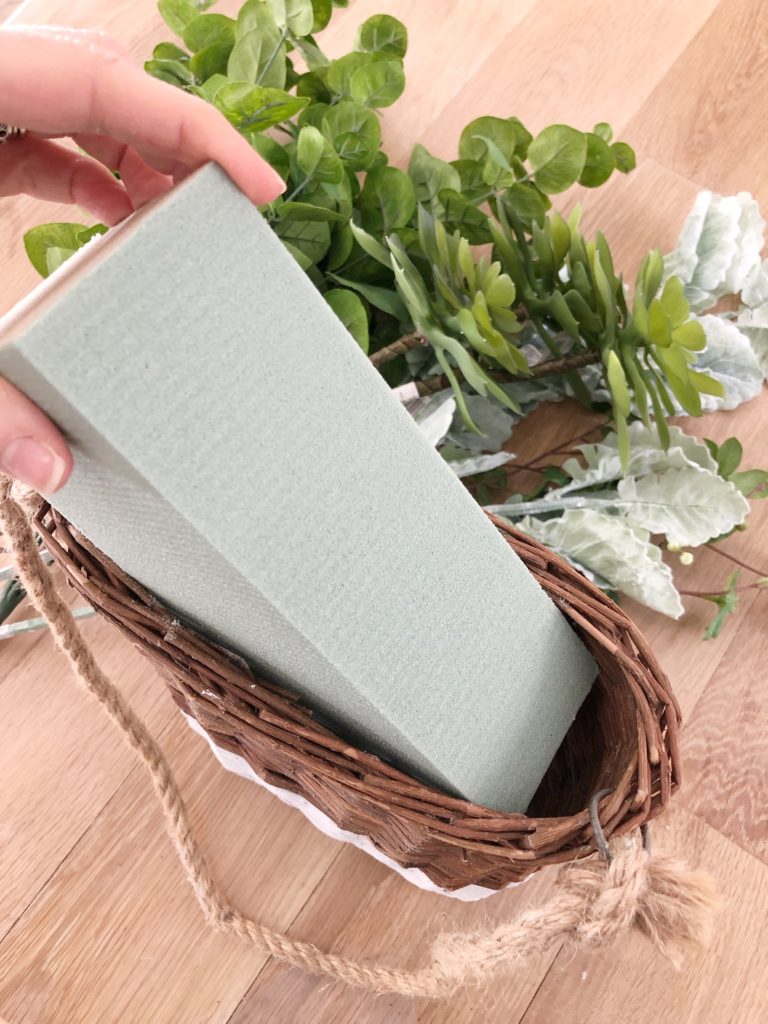
- Insert dry floral foam into basket (or container of choice). Cut with a knife if needed.
- Separate stems of floral bunches. This makes them easier to arrange in the basket.
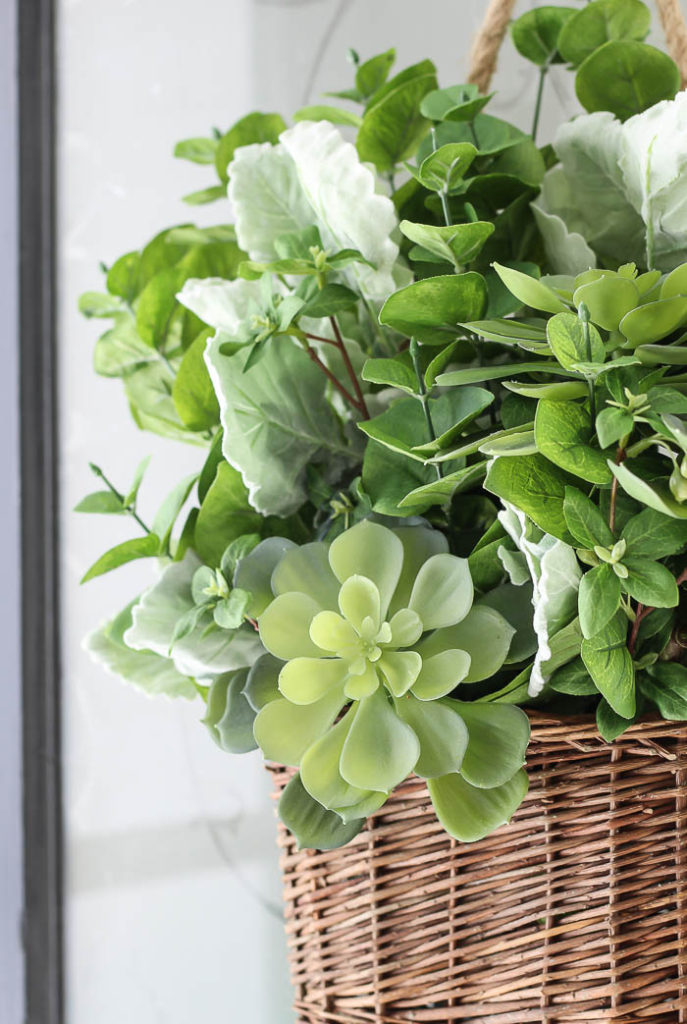
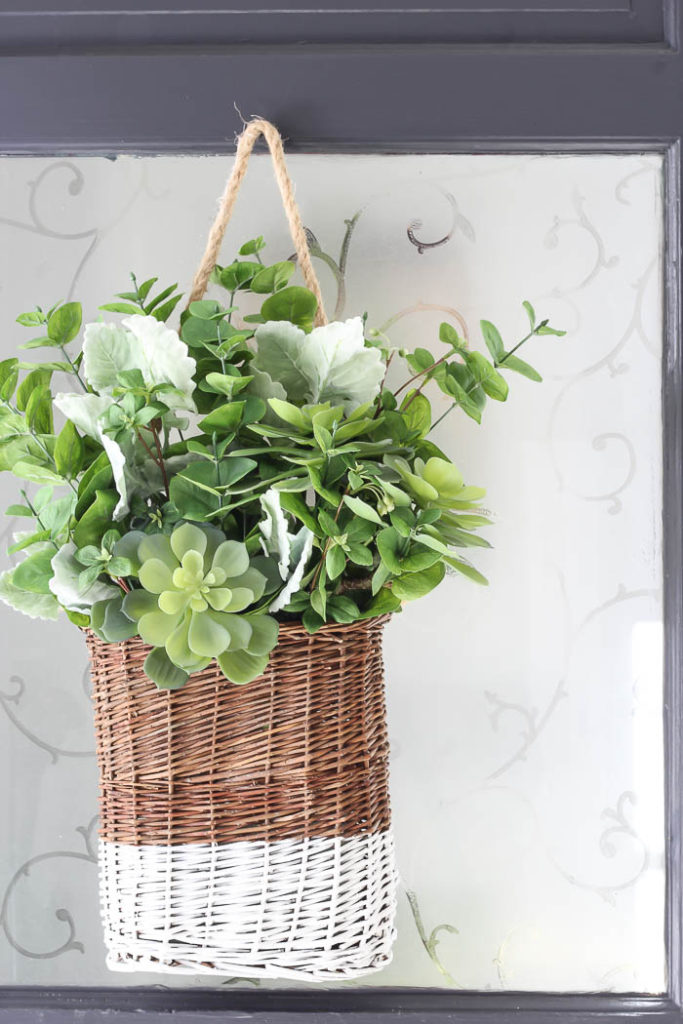
Once I had all my leafier faux stems in place, I finished off the arrangement by tucking in a few faux succulents. This added a nice pop of something with a different texture, but still remained in the green color family, which is what I was craving for spring!
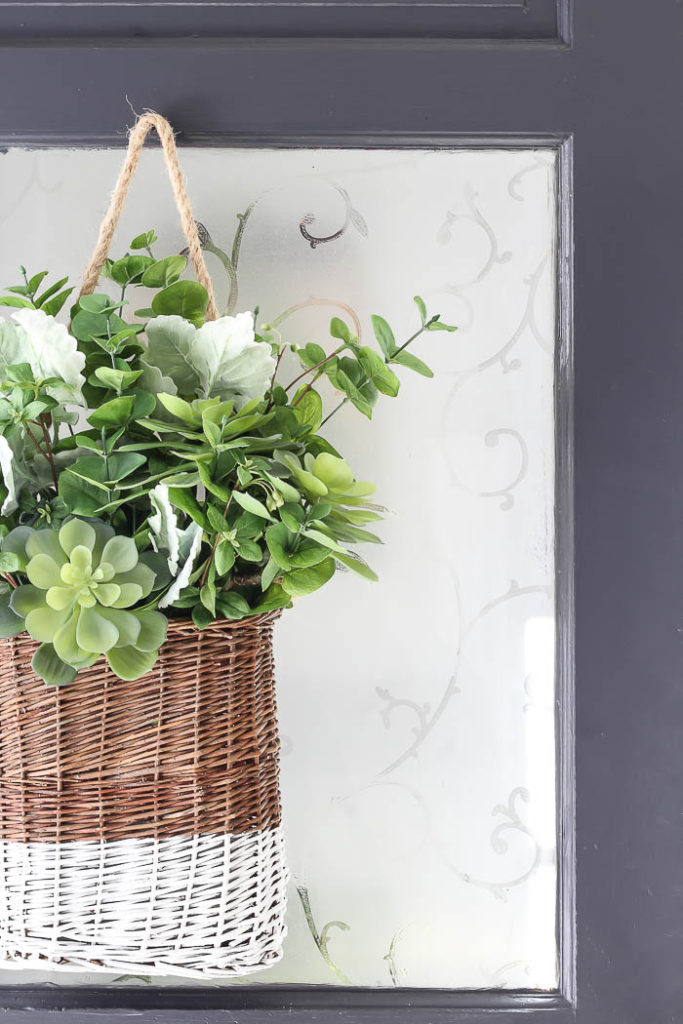
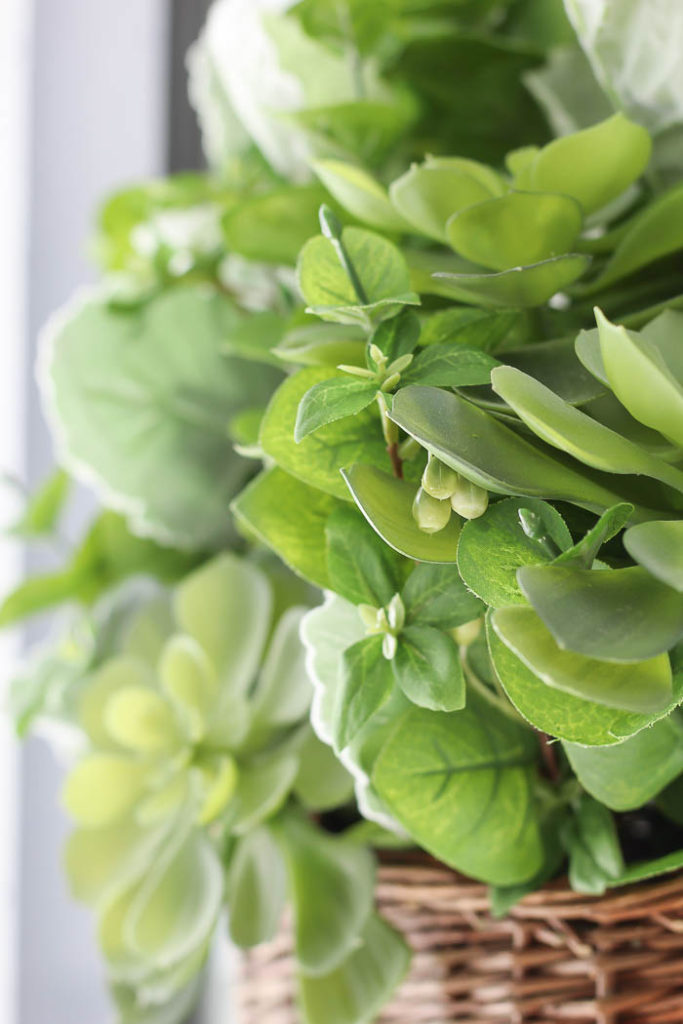
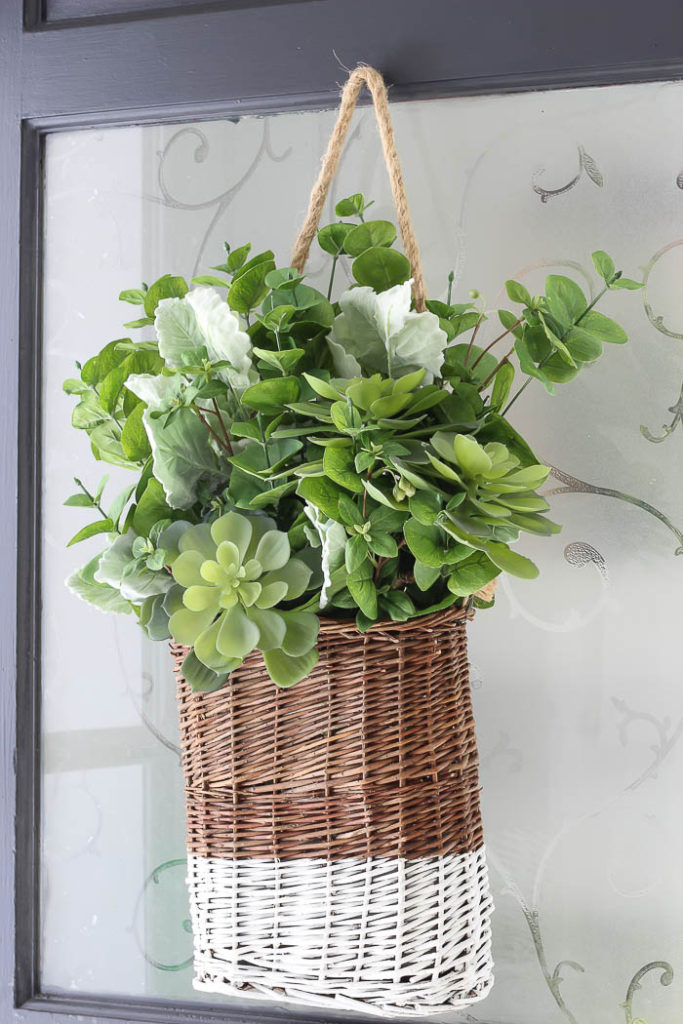
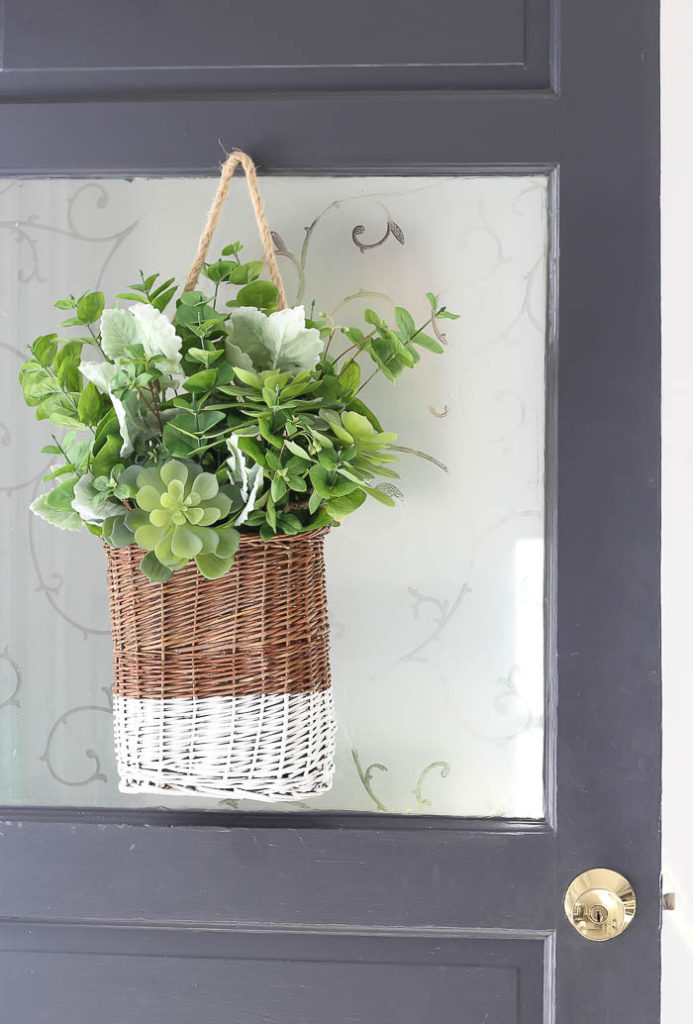
The result – a spring hanging basket filled to the brim to greet my guests on our front door with a nice big pop of green! We may still have snow on the ground, but inside it’s all things spring.
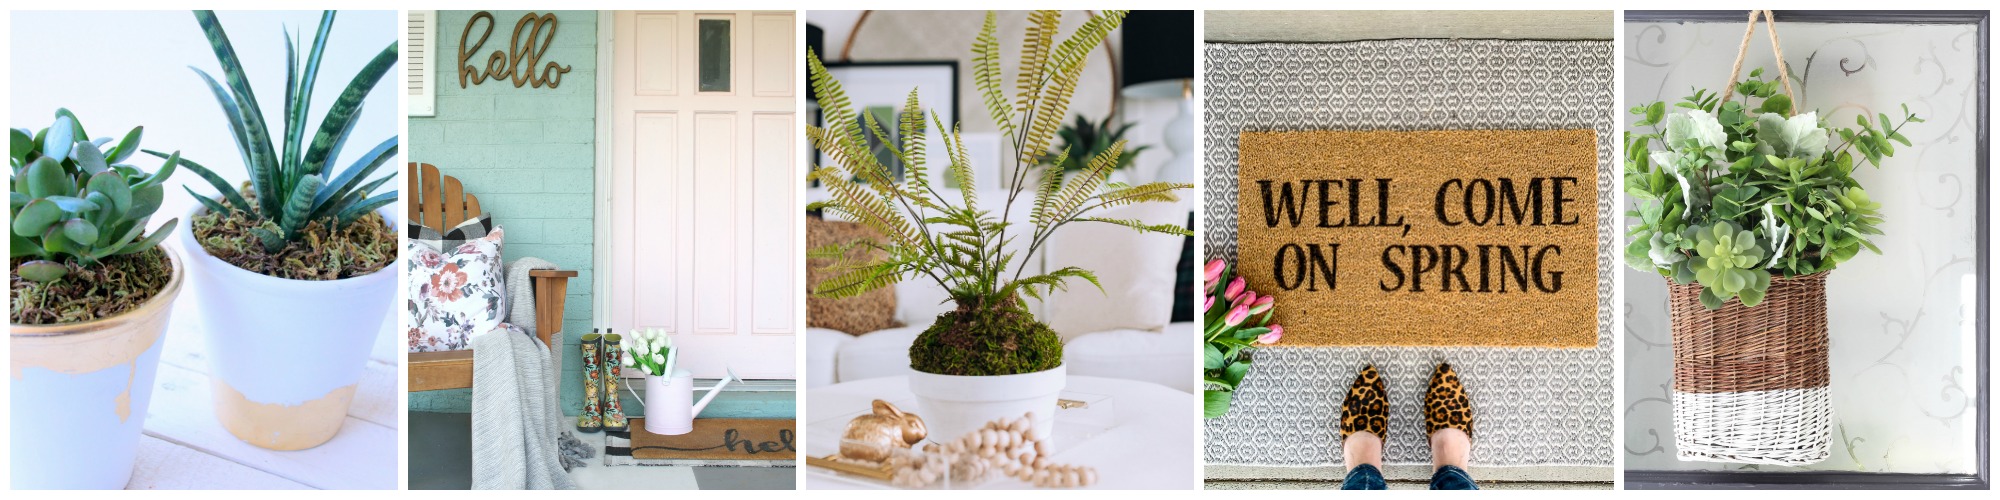
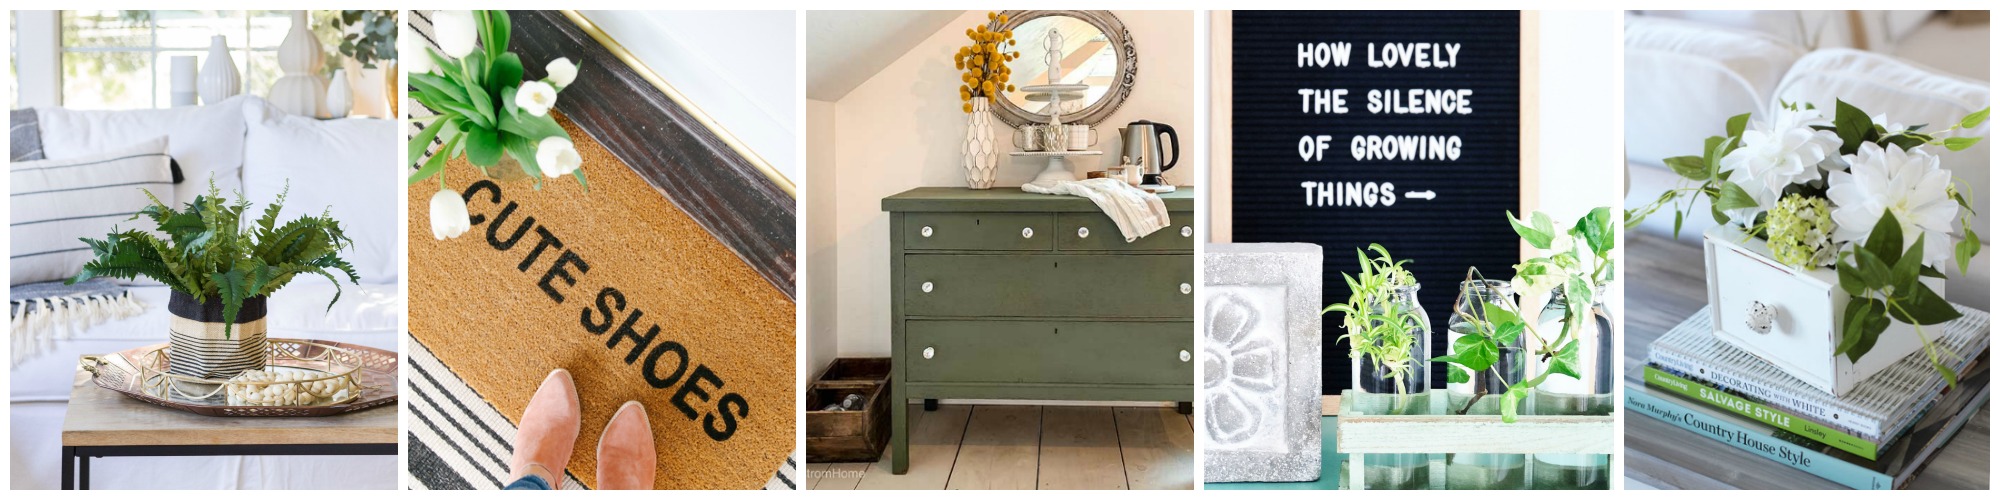
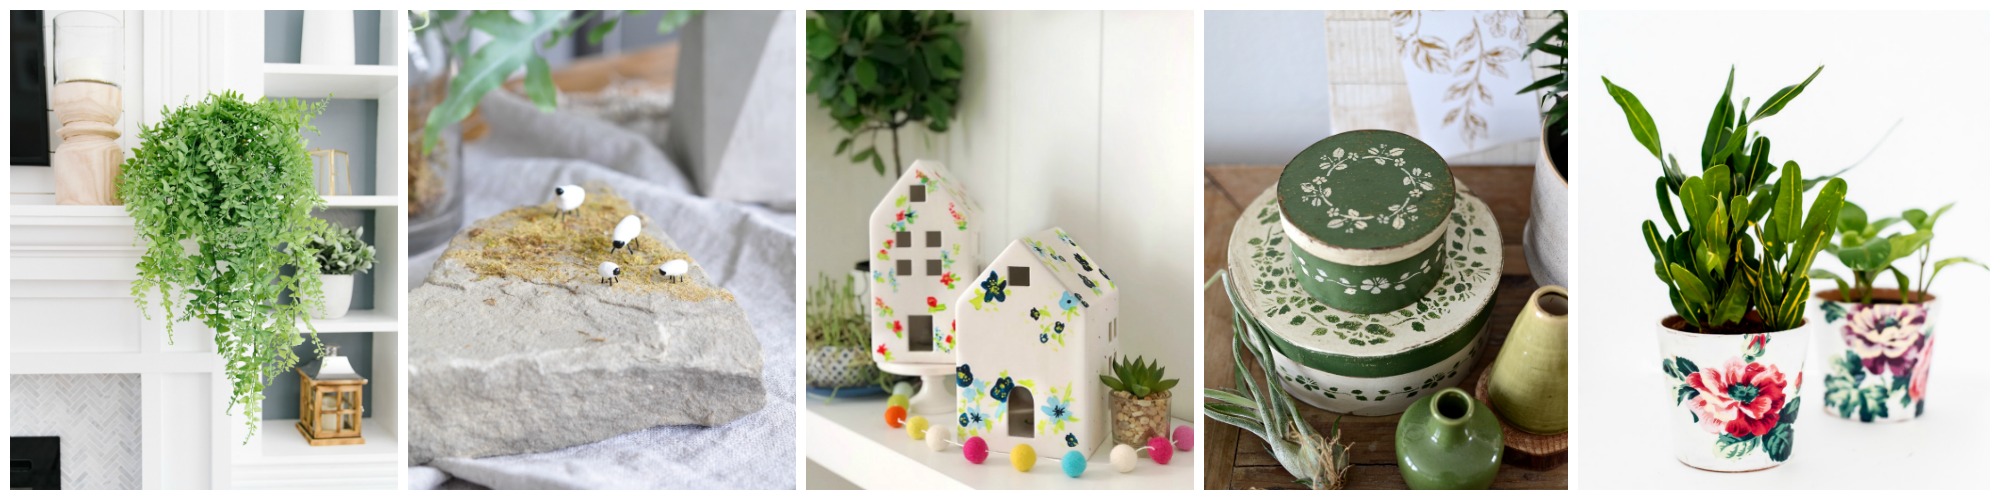
And today I’m joined by a fabulous group of blogging friends who are also sharing their Spring DIY Projects as part of the Seasonal Simplicity Spring Series. You’re going to love all this springy inspiration…

The Happy Housie // Lolly Jane // Craftberry Bush
Inspiration for Moms // Rooms FOR Rent
Zevy Joy // Modern Glam // Hallstrom Home
A Pretty Life // Confessions of a Serial DIYer
Jenna Kate at Home // Life is a Party // Tatertots and Jello
Town and Country Living // Place of My Taste
Rambling Renovators // Home Made Lovely // The DIY Mommy // Sincerely, Marie Designs
Paint Me Pink // Amber Tysl
Southern State of Mind // This is Our Bliss // Tauni Everett
Finding Silver Pennies // Clean & Scentsible
Next week we’ll be sharing our Spring Mantels or Vignettes!

So pretty Bre. I love the white on the basket. xo
Thanks friend 🙂
This is perfect and can easily hang out all Summer too! XO
Yes!! Exactly! That’s my favorite kind of decor 🙂
Hey Bre! I love the two tone basket, the white paint brought it to life. In the past I’ve used a lot of faux flowers (as real looking as possible) but I’m really liking the faux greenery. They offer more authentic looking greenery than they used to. I am so with you girl….I want Spring…..like immediately!! Thanks for another great post!!
I totally felt the same way! It just pops so much more now with the white paint 🙂
What an easy craft and how pretty! Pinned!
Super cute, Bre. I love how easy it is and that pretty pop of white paint with the green. Come on, Spring! xx
I love it. It’s so fresh! I pinned it 🙂
xoxo
Love this diy, when I see this I really do think of Spring! So beautiful
I love it Bre – that little succulent poking out at the front is the cutest. Such great texture with all the greenery. I finally got my Christmas porch greenery cleared off just the other day, but still have an evergreen wreath out there 😉 Now I’m inspired! Thanks for being part of today’s hop!
Great idea, Bre! I like the two-tone look on the basket and such an easy project.
Ohh Thank you so much Jennifer 🙂
What a great DIY! I love this look for the front door. xoxo
Thanks Ashley!! I love the pop it adds to the front door 🙂
Fun and so springy! I’m curious about the treatment on your glass part of the door. Did you do that or did the door come that way? So pretty! Thanks!
Hi Kari! Thanks so much! We installed the window film (found at Home Depot), because I didn’t like feeling like I was in a fish bowl. Here is the link (aff.) to the one we used – https://rstyle.me/+CvEJvoU3SMN3u5AVqw6qJw