I’m so glad that so many of you are enjoying these posts of me showing you how the different rooms in our home have evolved. It all started with my post a few weeks ago about how it’s ok if you don’t live in your dream home! And then I shared a few tips on where to start within your own home, because I’m all about loving the space you’re in – NOT the space you wish to be in, but just aren’t there yet. Let’s embrace the spaces that we are currently in now, and find contentment in what we already have, I truly believe this is possible. Today I’m sharing my kitchen style and how it has transformed from the what it looked like the day we moved in. I love this transformation because to date – all the cabinets and flooring are the same!
Come and see how I transformed our muddy brown kitchen into the bright, airy space you see today ~
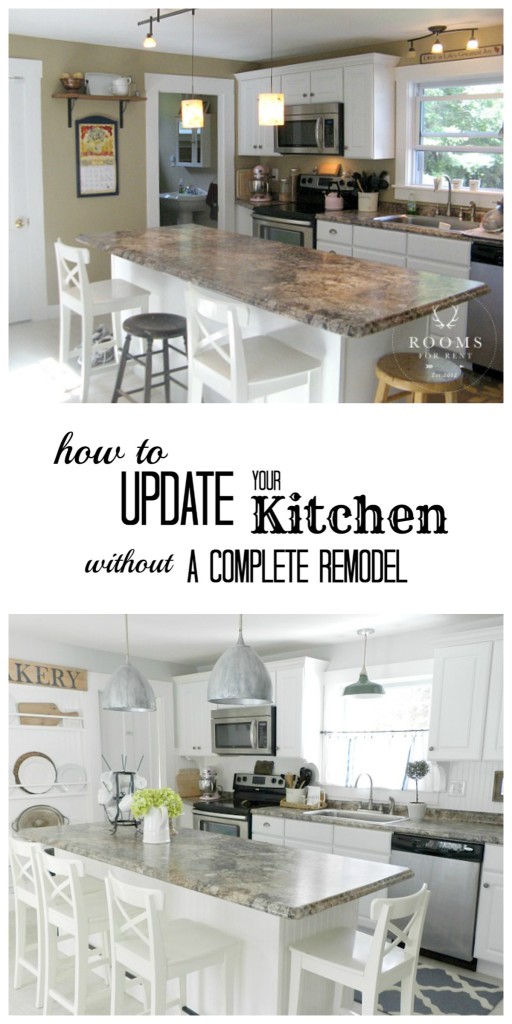
When we first moved into our house our kitchen was dark tan/brownish color. It matched our faux granite countertops, and we used what we had left over from our previous apartment to get things set up, and it stayed like this while we focused on other, more pressing, rooms in our house.
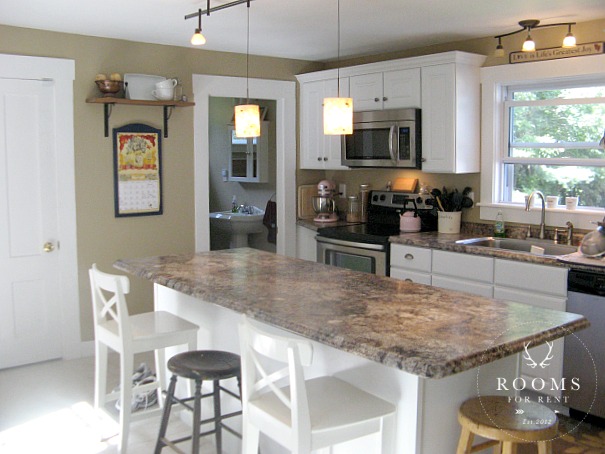
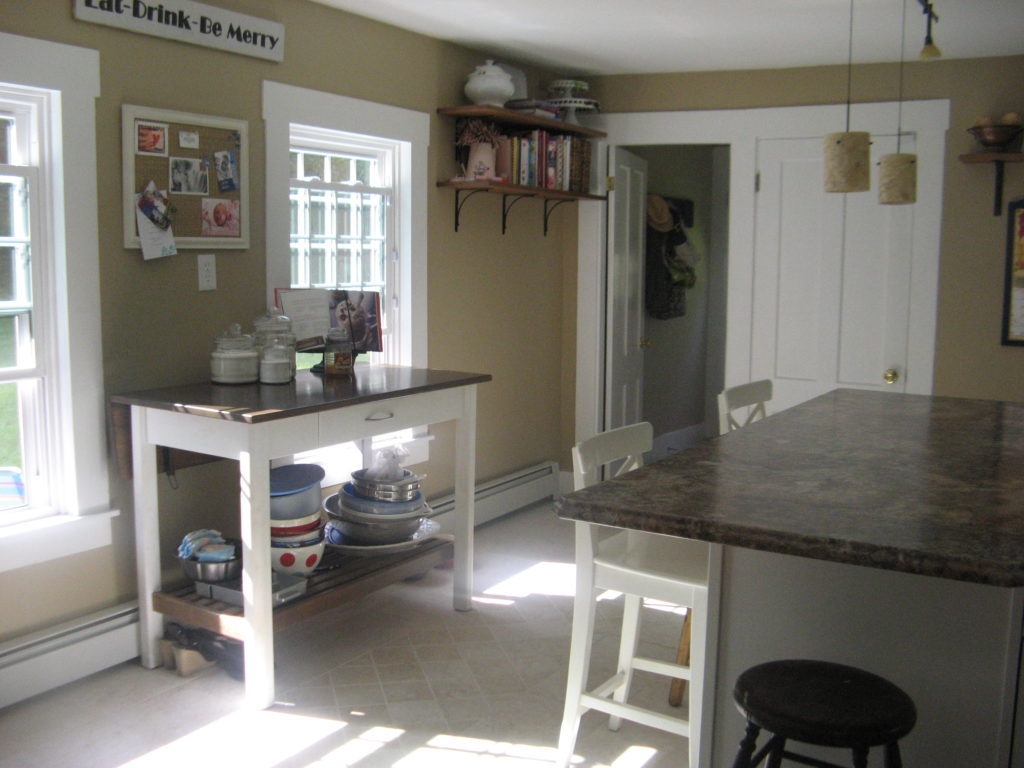
All of our cabinets are on one side of the kitchen, creating a galley style feel, and opposite wall were two large windows. The far wall is what I referred to as the wall of doors, and this is also where the main entrance we use for the house is.
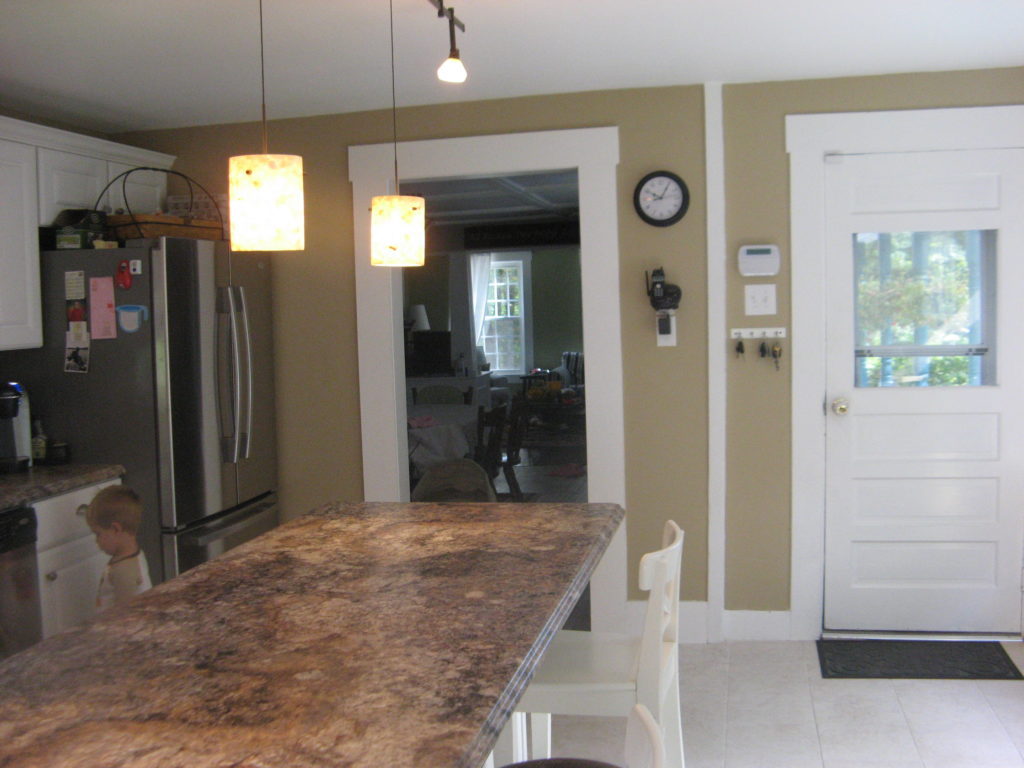
We have no pantry, which is quite common in these older homes, so finding some storage solutions became the first priority. Along with brainstorming creative storage options, about a year after we lived with the kitchen like this, I got the itch to paint it.
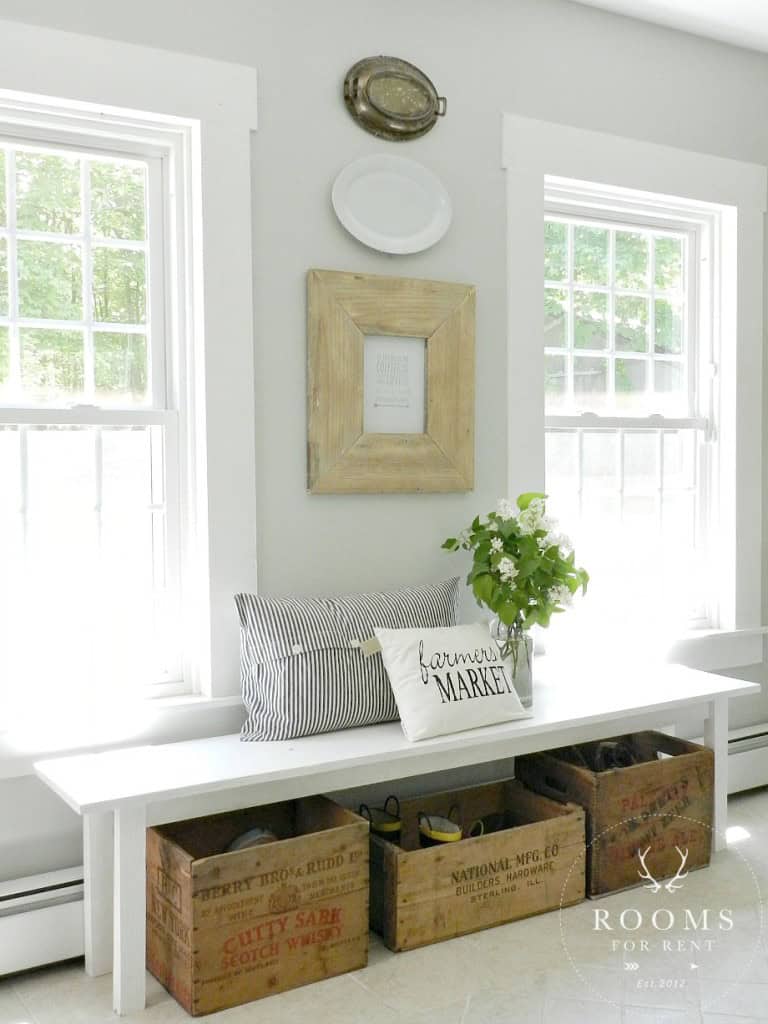
We sold our “old” island that was placed in between the two windows and replaced it with a DIY bench my hubby built, and antique crates underneath to make it easier to take toddler shoes off and on.
Next we tackled the open shelves. Originally we hung them high with the hopes of putting an antique pie safe underneath them for more storage, but when no such piece became available, it was time to rethink the shelves.
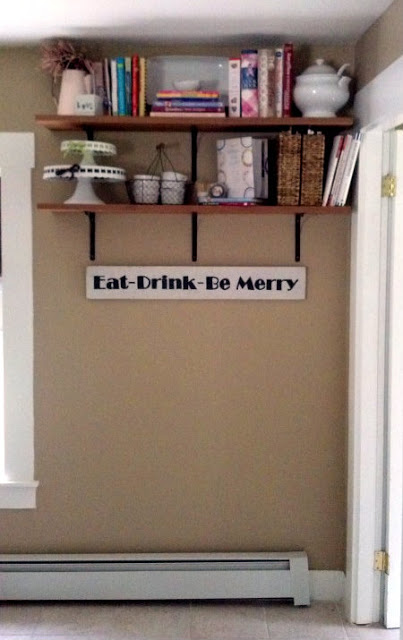
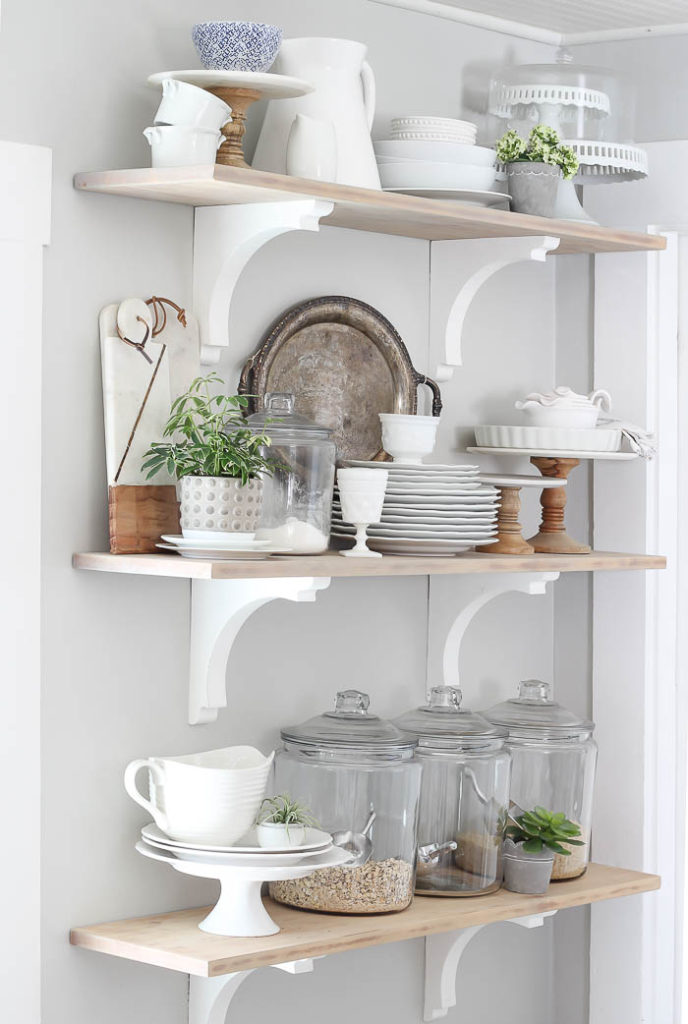
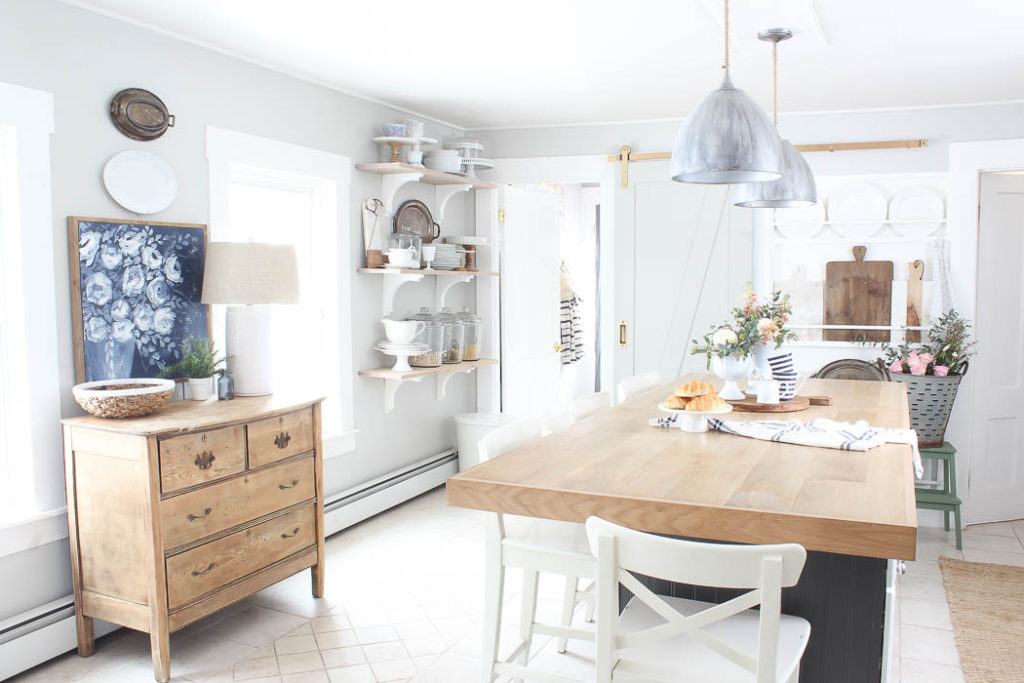
With the doorway leading to our back hall right there, and baseboard heat along the bottom, installing cabinets wasn’t an option either. So I returned to my inspiration photos of my favorite kitchens, and the open shelves you see today was born! I used birthday money to buy the corbels, and we used old Ikea shelves we already had. You can catch more details HERE.
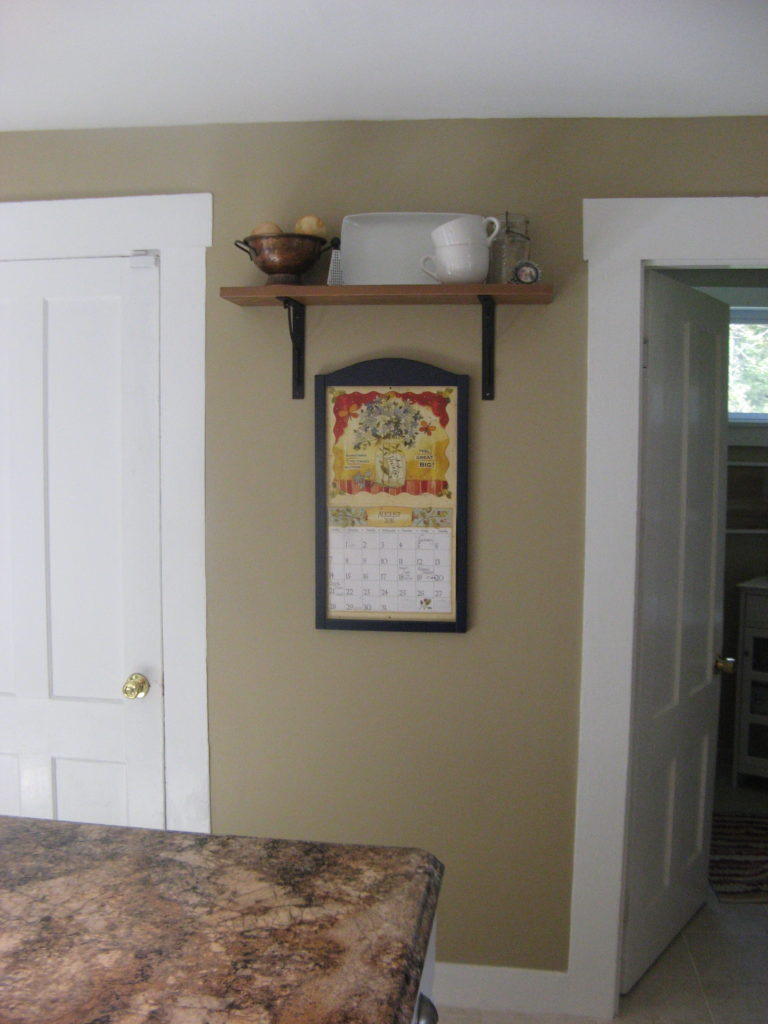
Next up the “wall of doors”. The back wall in our kitchen has 3 doors on it – one that leads to the back hall, one that leads to the basement, and small portion of wall, and then one that leads to our downstairs bathroom. It plagued me to say the least, lol. I felt like it was hopeless. I would sit at my island everyday at lunch and brainstorm ways I could “fix it” esthetically, while my toddlers ate mac n’ cheese.
Then one day I stumbled upon Karianne’s kitchen, and the plate rack wall her hubby built, and that was all the inspiration I needed. It only took me about another 6 months to convince the hubby to tackle the project, because it involved tearing down the wall and removing one side of the unused chimney behind that wall!
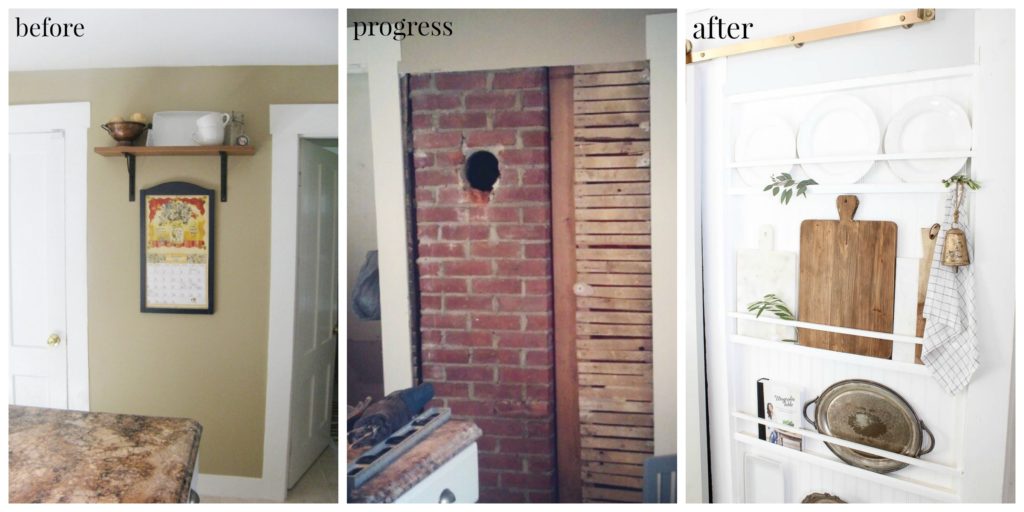
In his defense it was quite the project, but one I will be forever grateful for, because the plate rack wall did just what I was hoping it would. It disguised the “wall of doors” and gave it a focal point the space needed – and one that looked like it had always been there!
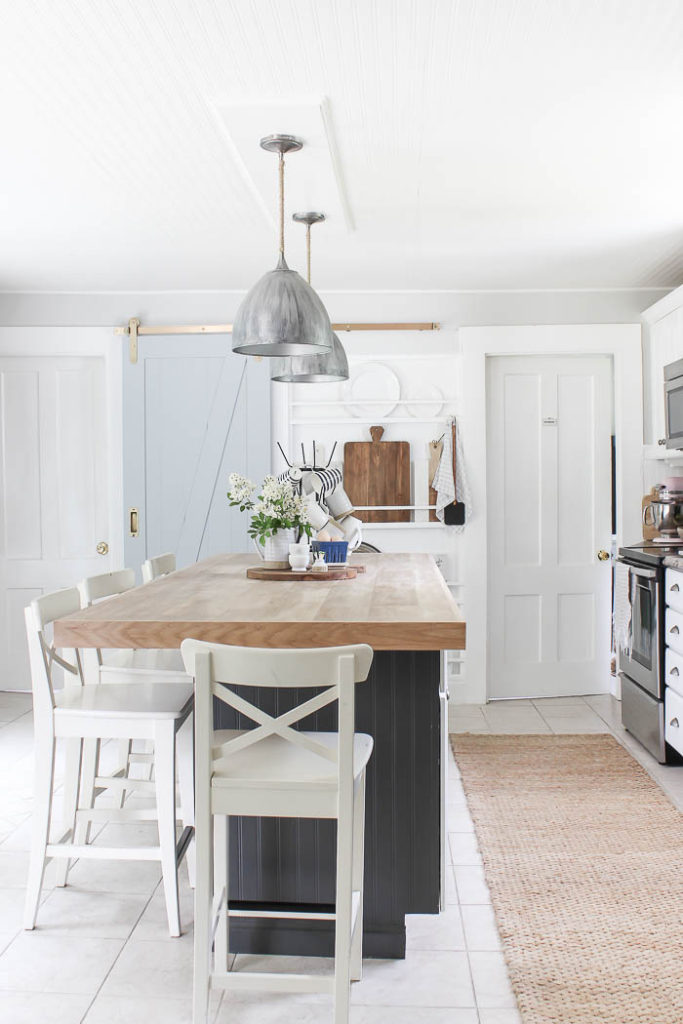
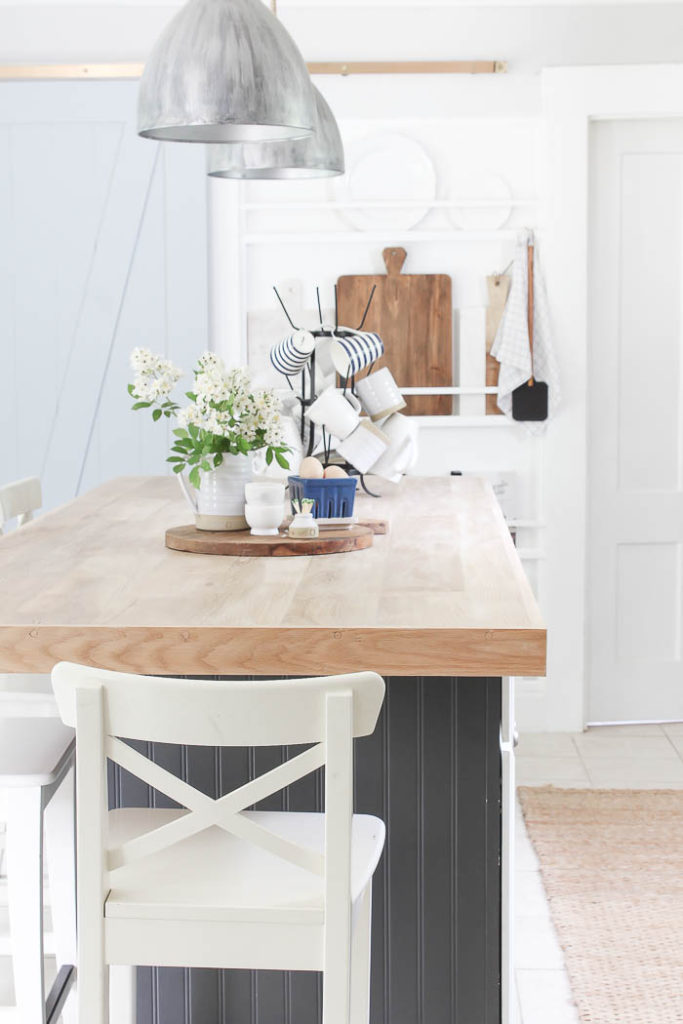
Then about 5 years later, we got to do two major things I had always wanted to do inner kitchen. Install a sliding barn door, replacing the old basement door, and disguising the “wall of doors” one step further, and replacing our island countertop!
I know it seems like this kitchen came together quickly, because I’m wrapping up 8 years of work into one tiny blog post. But it took time, and patience, and money to eventually transform our kitchen into the space you see today. We did improvements as the budget allowed, without doing a complete kitchen overhaul.
We did things along the way, like painting the island in the kitchen a darker color. Adding character to the ceiling with beadboard wallpaper, and the latest addition was swapping out the bench (because I no longer have to help tiny toddlers tie their shoes *insert sad face*) with an antique dresser, for yet again more storage.
I shared a post 4 years ago about how to update your kitchen without doing a complete remodel. And while the photos might be old, I still stand by every word I said. So if you are wanting to make a change, but not quite sure where to start, try starting HERE.
One of the biggest things I have learned when it comes to the marriage of decorating and your homes’ function, is it has to serve the people who live inside it well! If a space isn’t working for you, then rethink what you really need in that space to make it function better for your needs. And then search for inspiration to make choices that enhance your decor as well.

Fantastic Bre! No one would ever know you didn’t do a complete remodel, it’s gorgeous!
I absolutely LOVE your barn door–I think one might be in my future 🙂
Loving it !! You & your hubby did a great job, I’ll always be a huge fan of white cabinets and butcher block counters !