Hello friends! I shared a little project I’ve been working on this past month – my husbands NEW office space! We are in the home stretch of this project, and it’s so exciting to see it all starting to come together. As promised, I’m back to share some tips on painting shiplap. While I have done lots of painting before, this was the first time I painted actual shiplap, and wanted to share what I learned with you.
To recap, we installed an accent wall of real wood shiplap in my husbands new office. I wanted to give his new space some depth, and add a little character to the four walls, without things feeling overly busy. So we went with pre-primed shiplap, because I knew we would be painting it, and wanted to make that process as easy as possible.
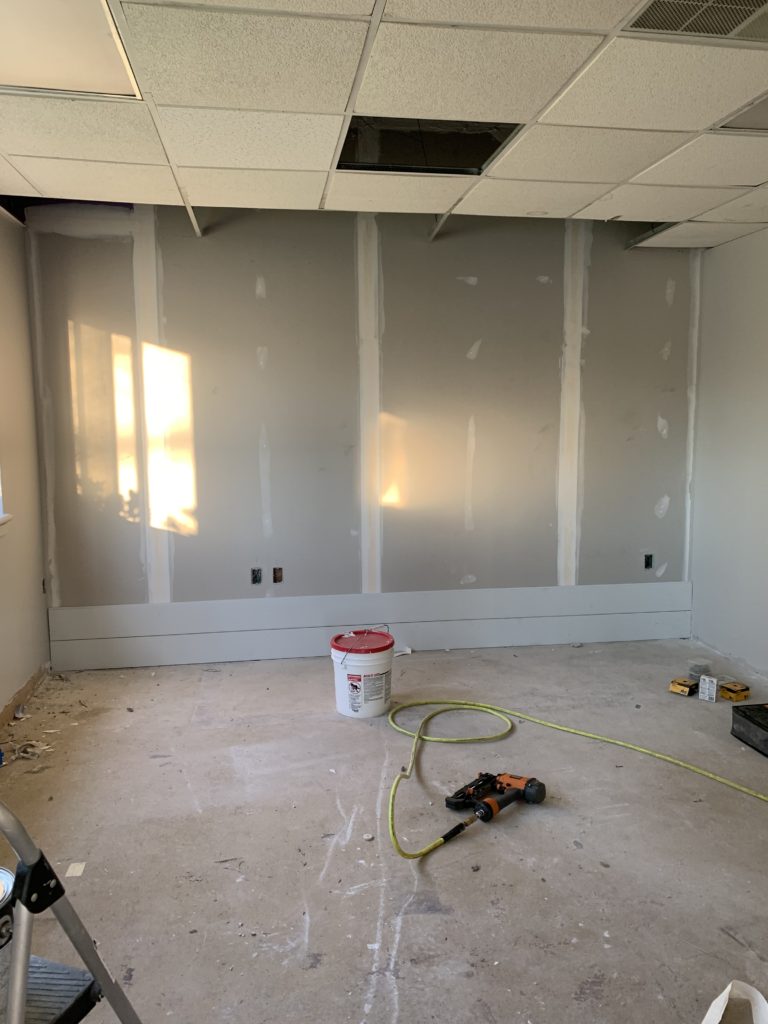
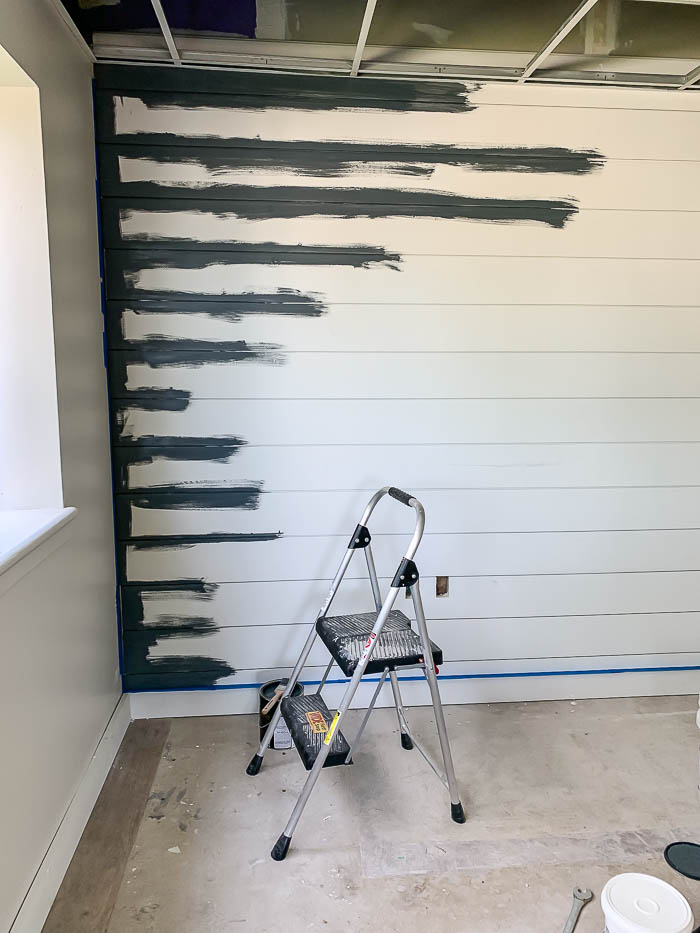
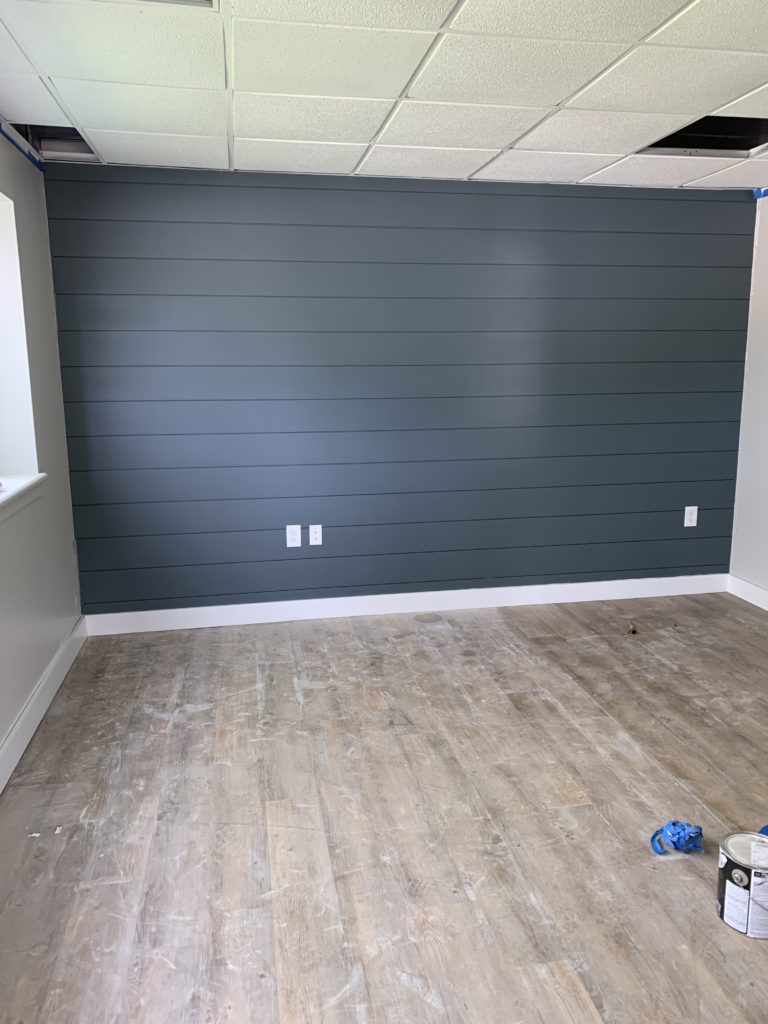
Above is what the wall looked like as we started installing the primed shiplap. The boards came in 14ft lengths, so we only had to cut a few inches off, and could install them to fit the entire length of the wall.
Once we finished installing the shiplap, it was time to paint.
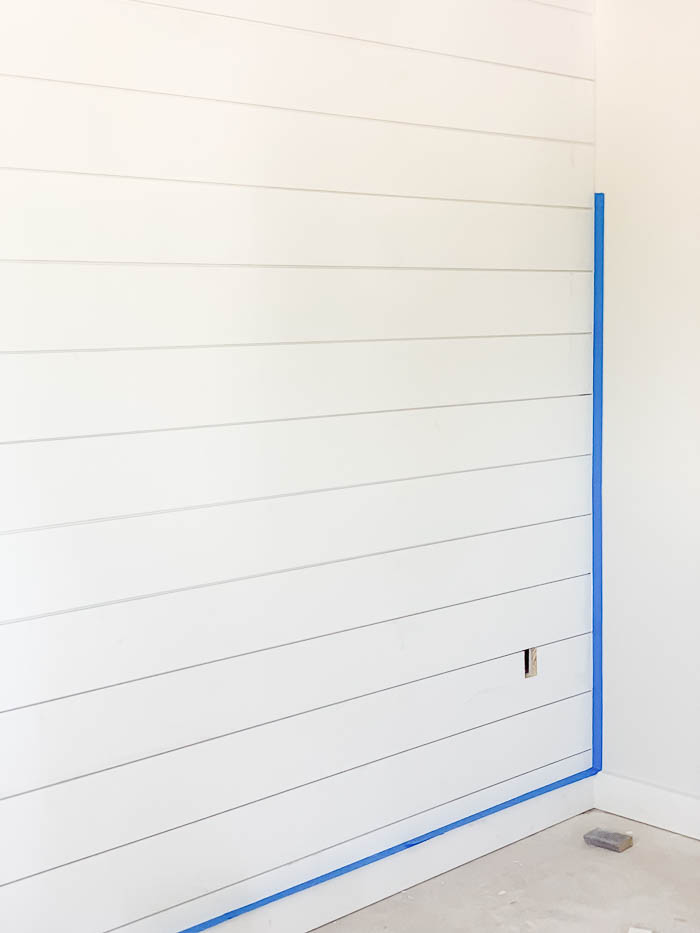
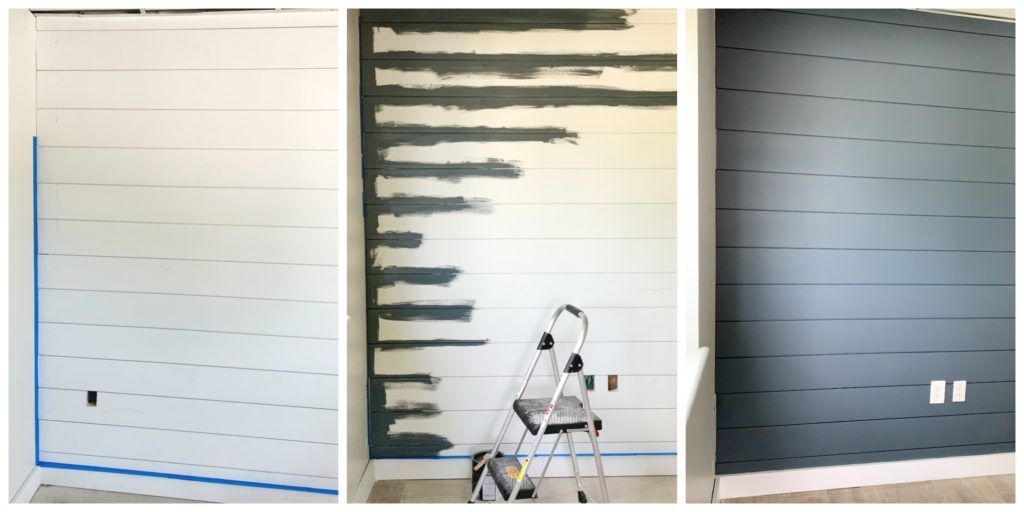
I taped off all four sides so that when I started painted the gaps in between each board I didn’t have to worry about getting paint on the other walls.
We did a 3/16″ gap, commonly known as “nickel gap”, and had to cut in paint in between each plank of wood, and boy did I learn a few things during this process ~
- If you plan on painting the boards, paint them before you install them! I quickly realized how painful this process can be when you do not paint the boards ahead of time!
- Invest in a paint sprayer! About 2 hours in to this process, and seeing how time consuming it was, I wished I had bit the bullet and gotten a paint sprayer.
- If you are painting the shiplap after it’s been installed, like I did, use a 1″ or 1 1/2″ paint brush. This size brush fits much easier in-between the slats of wood, allowing you to move along at a quicker pace.
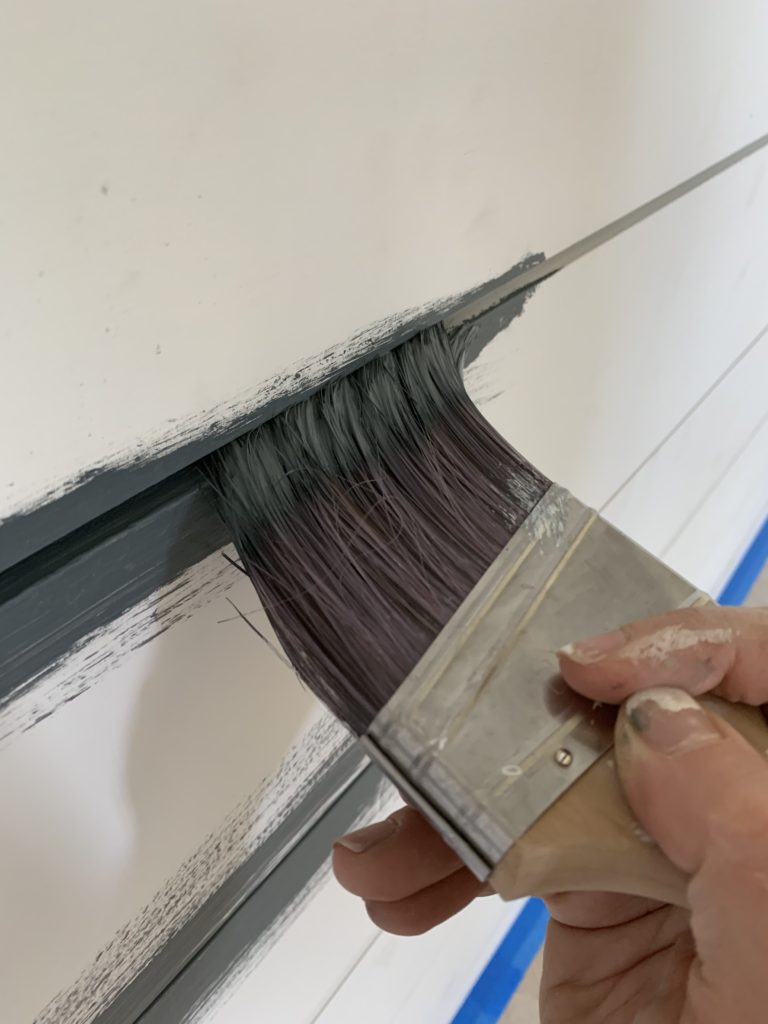
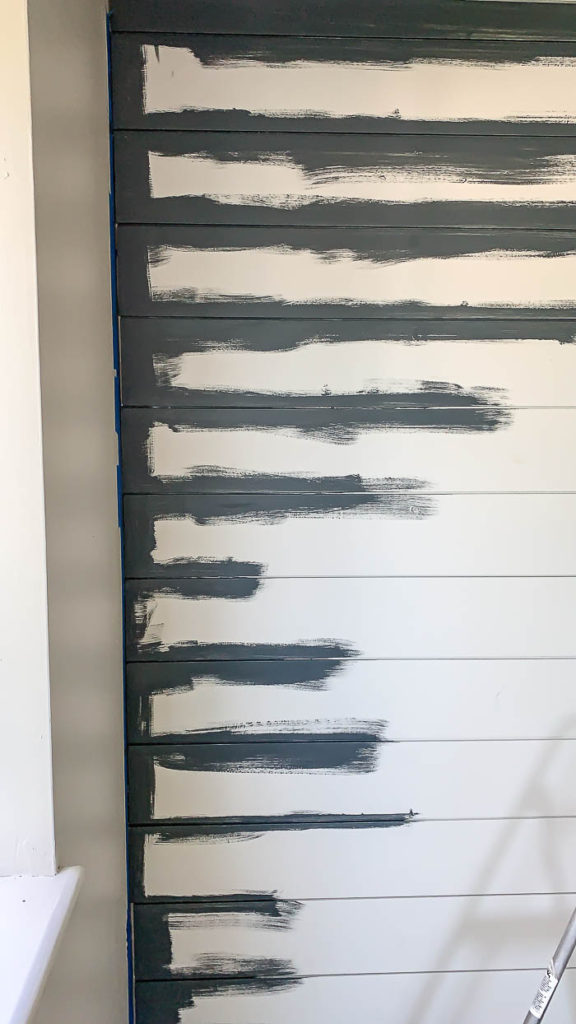
Before any rolling can be done, you want to make sure that you have painted in-between all the boards, so that once you roll it will smooth out any brush strokes from cutting.
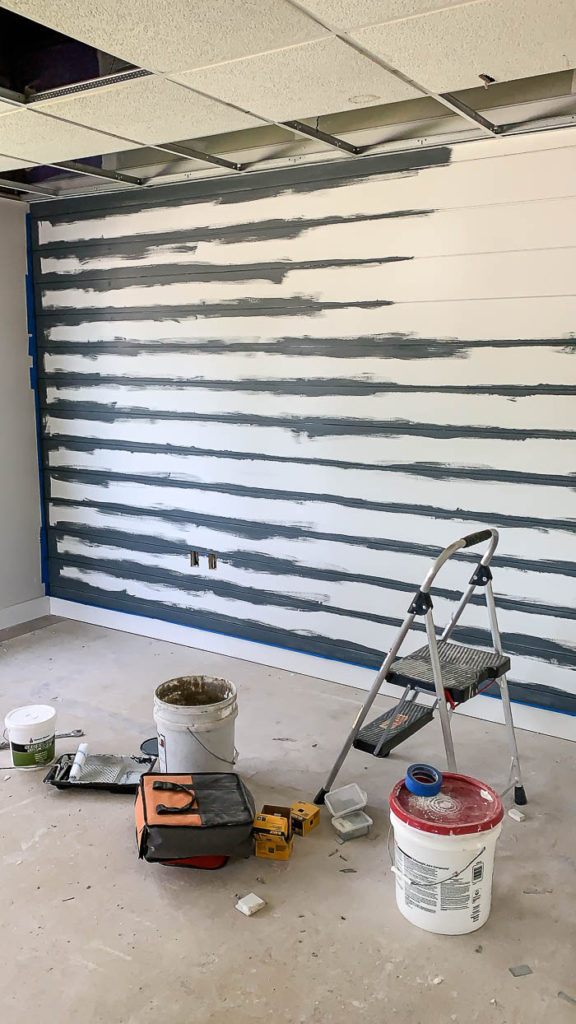
The best news of the day, is that I only had to cut in between the boards once. I made sure that everything got a nice even coat, and that it went on pretty thick, so I wouldn’t have to go back and do it a second time!

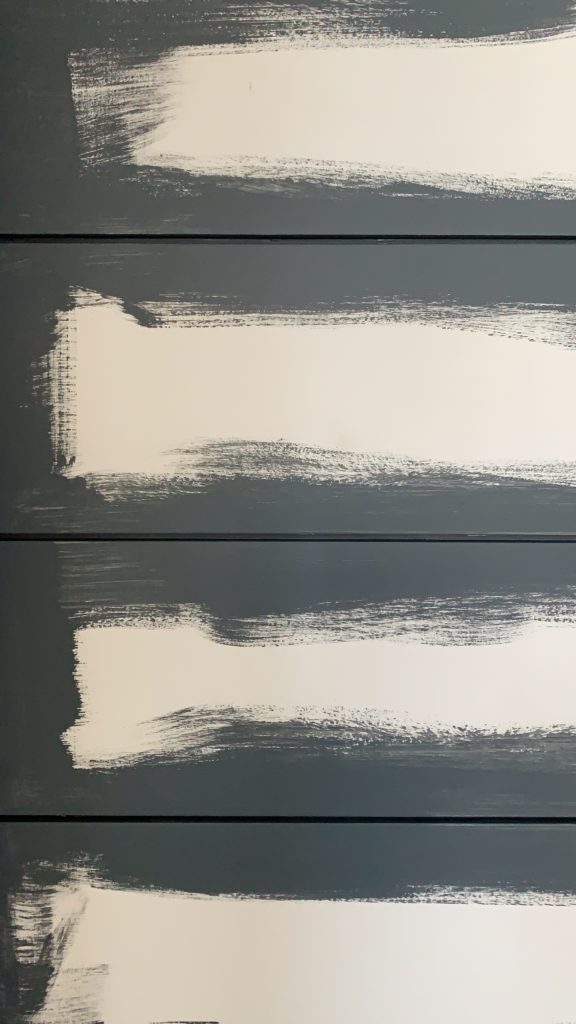
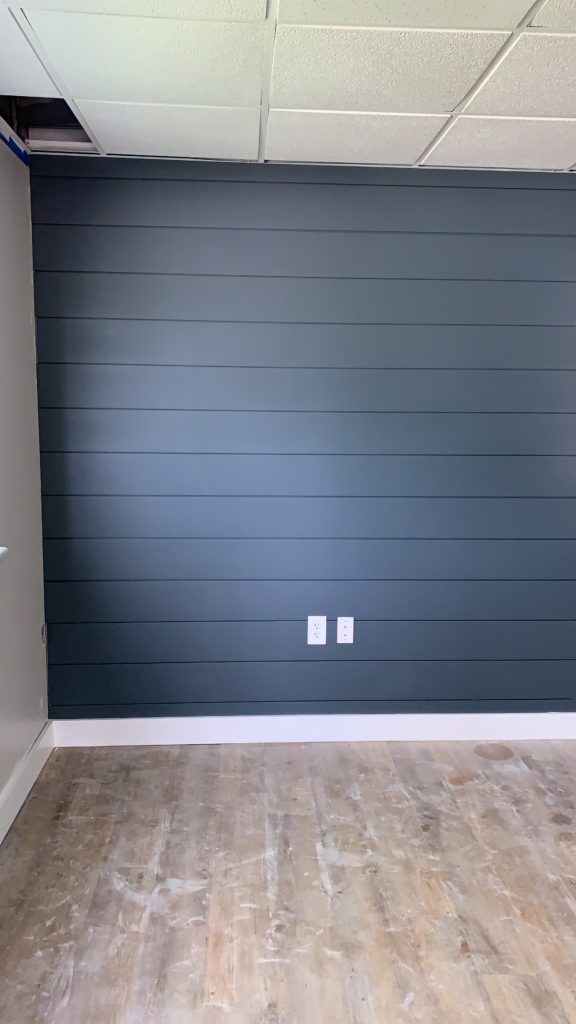
Once you finished all the cutting, it’s time to roll! Thankfully this part went extremely fast thanks to using pre-primed boards. We applied two coats of Sherwin Williams – Grays Harbor which you can see below.
It’s a really pretty gray/blue, that isn’t quite as dark as other similar navy blue colors. The dark painted shiplap adds just the right amount of warmth, to what could be considered a pretty stark feeling office space, and now we are just one step closer to getting him moved in!
In case you missed it, I shared the news of his office space HERE. You can catch up on all the details, including his office design plan, and sources for some of the pieces we are planning on using.
Pin It to save for future projects ~