Hello friends! Recently I shared in my FB group, “Coffee with Bre”, how I go about styling our open shelves in the kitchen. I shared LIVE in the group from start to finish and explained my thought process along the way for how I tackle each individual shelf, and the overall look of all three open shelves together. I thought it would be fun to share the process on here too, and break things down step by step for how I style the open shelves in our kitchen.
Come and see ~
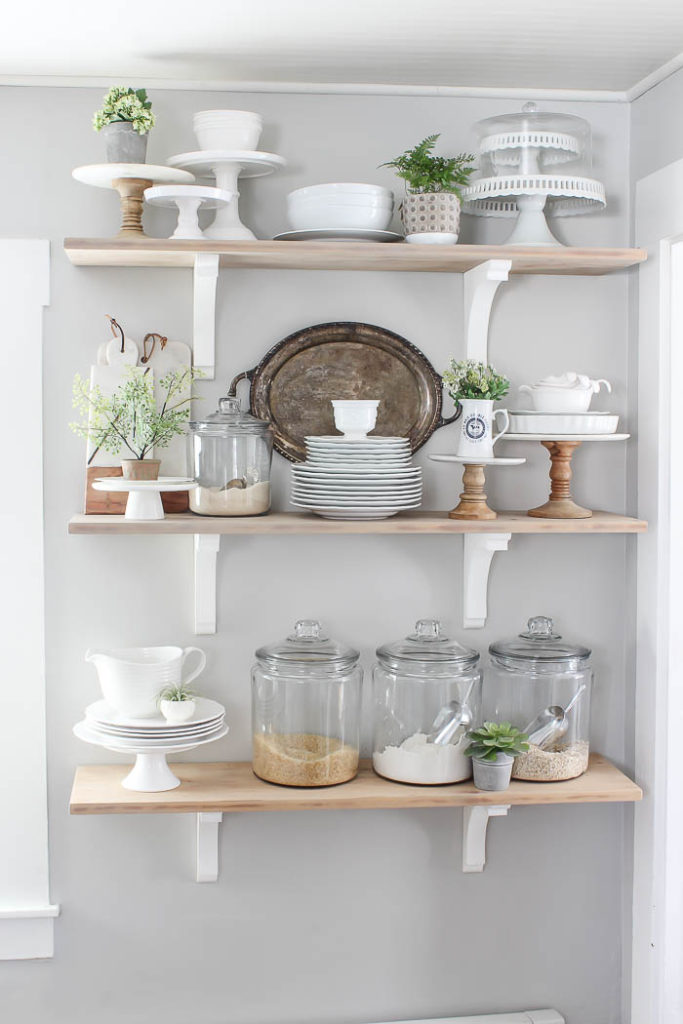
Our kitchen shelves didn’t always look like the styled shelves you see today. It was a process to get where we are today, one that took some time to really evaluate what was needed, what was missing, and what I really wanted to have displayed on the open shelves in our kitchen. I’ve shared before how they have transitioned over the years, but here is a quick recap.
When we first moved in they looked like this ~
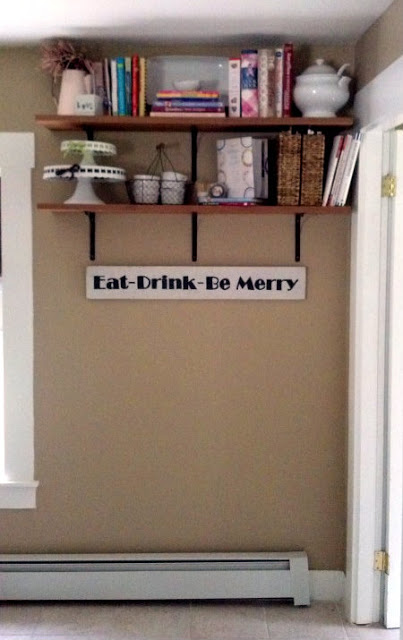
We hung two shelves higher up, with the hopes of getting a small antique jelly cabinet to place underneath it. Something that wasn’t too deep to, that would block the doorway to the right that lead to our back hallway.
When that didn’t happen, we took down those two shelves, and installed the 3 floating shelves you see today, and spaced them out more evenly throughout down the wall space.
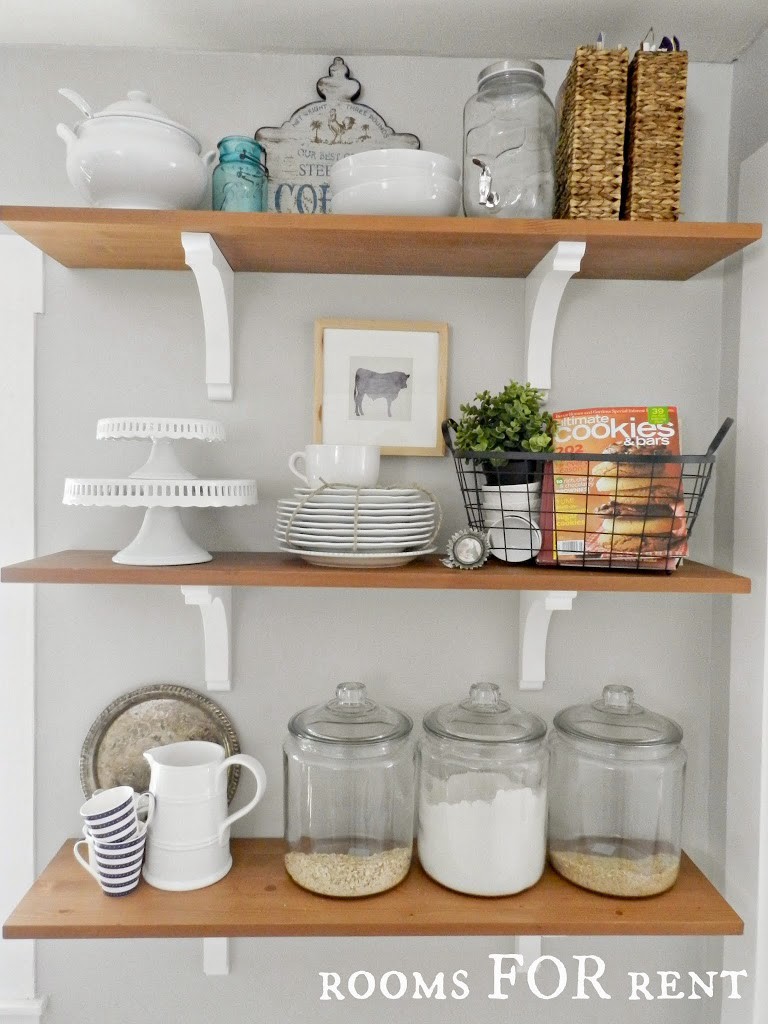
I knew I always wanted the 3 glass canister jars on the bottom shelf, and I wanted to have a place for my cake stands. Originally I got a wire basket to hold magazines and cookbooks, and had a coffee sign on the top shelf, but after some time those areas started looking more cluttered to me, and less in unison. So I took down anything that wasn’t white or glass, and started adding in pieces I already had to get the finished look you see today.
Then, a couple years ago, I took everything off the shelves, and decided to sand down the original wood boards we got from Ikea 15 years ago.
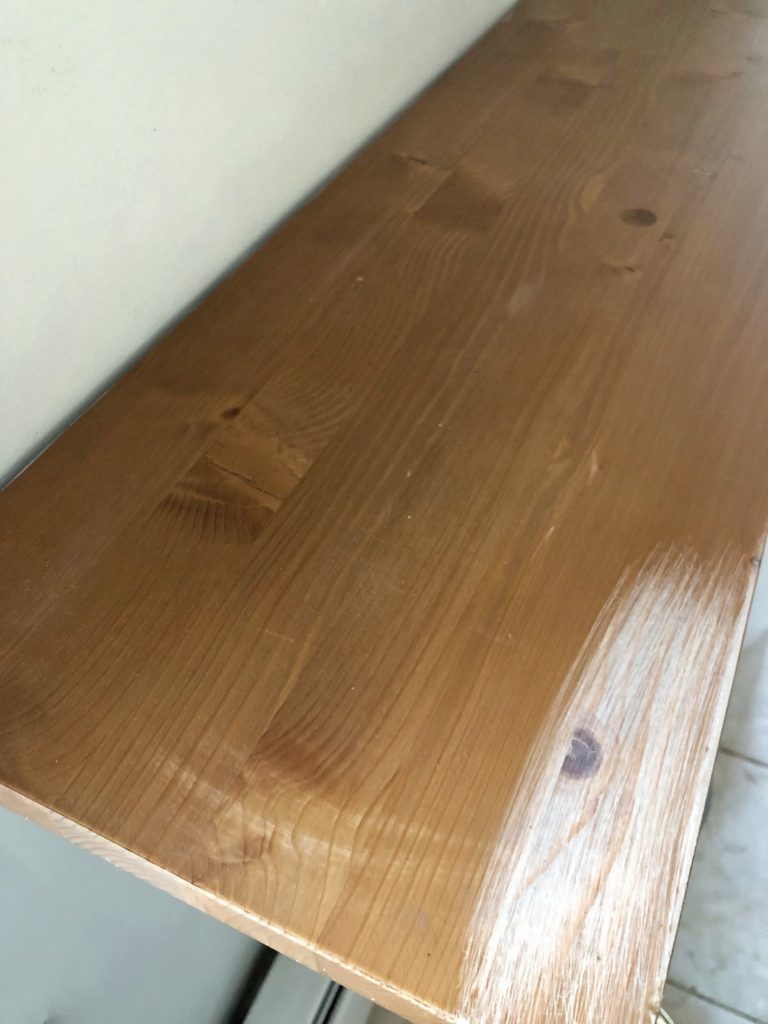
I shared that process – HERE.
So today, I’m going to share my styling process, and a step-by-step look into why I use certain pieces, and how I go about placing them on our kitchen shelves. And be sure to scroll down to the bottom to see the shelves come to life. Ready?! Here we go –
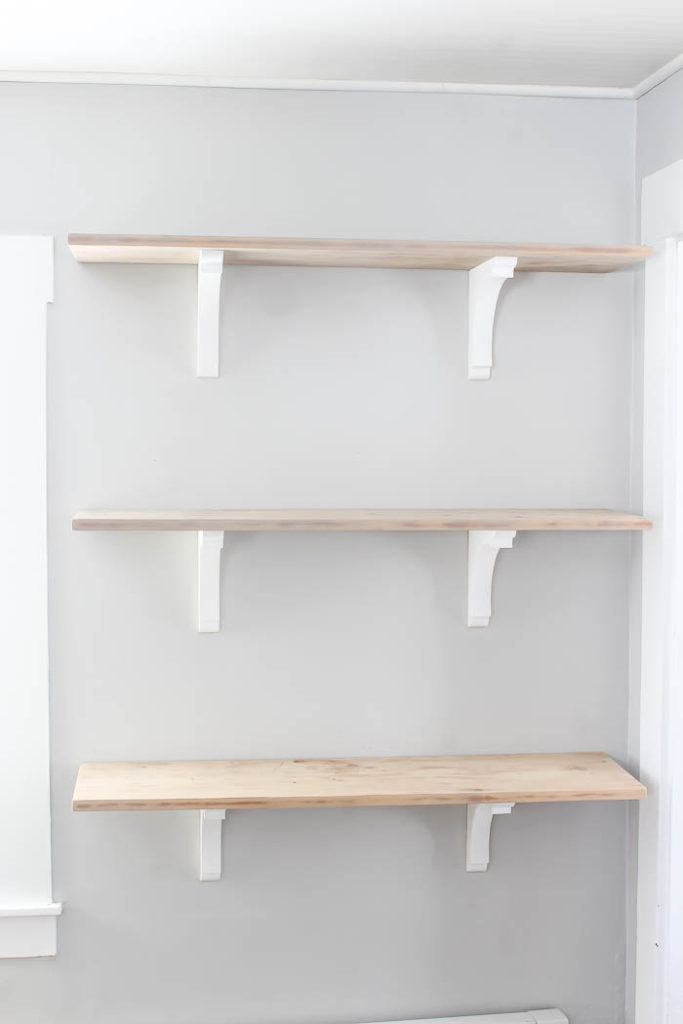
The boards are 1X12’s cut to 4ft lengths, and they are spaced out 21″
apart from each other.
The brackets are from Home Depot (click HERE), and were painted white.
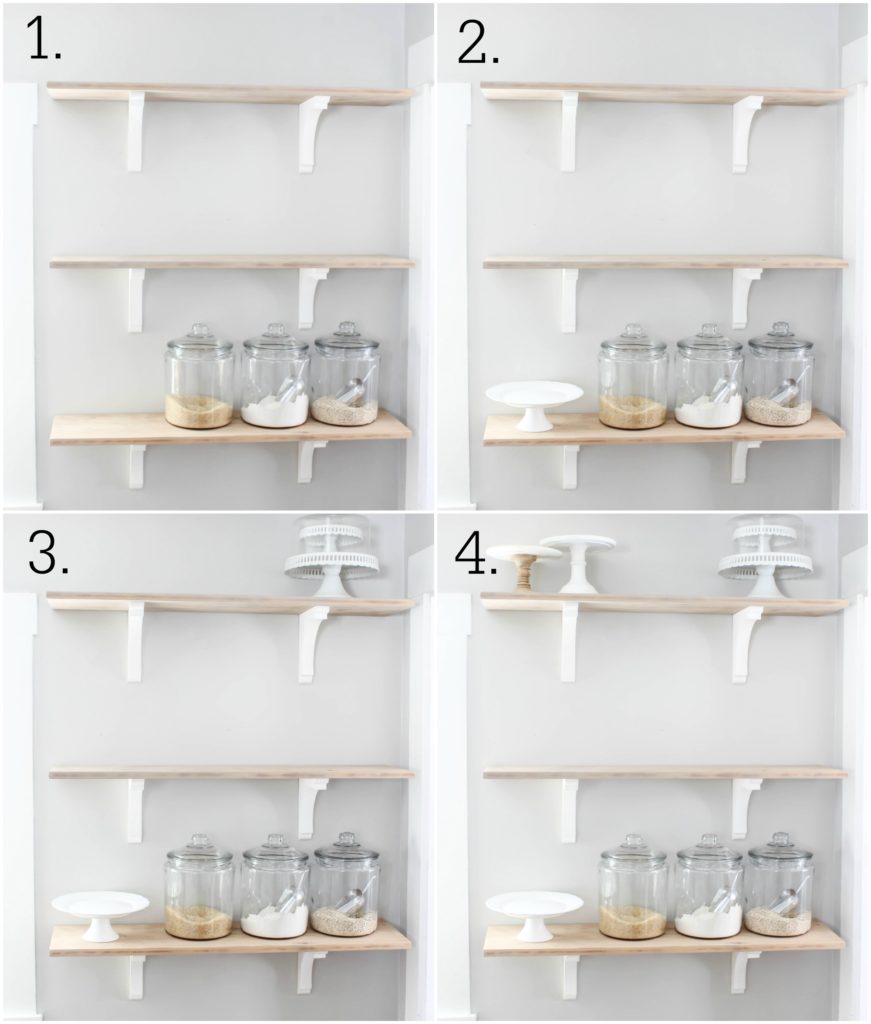
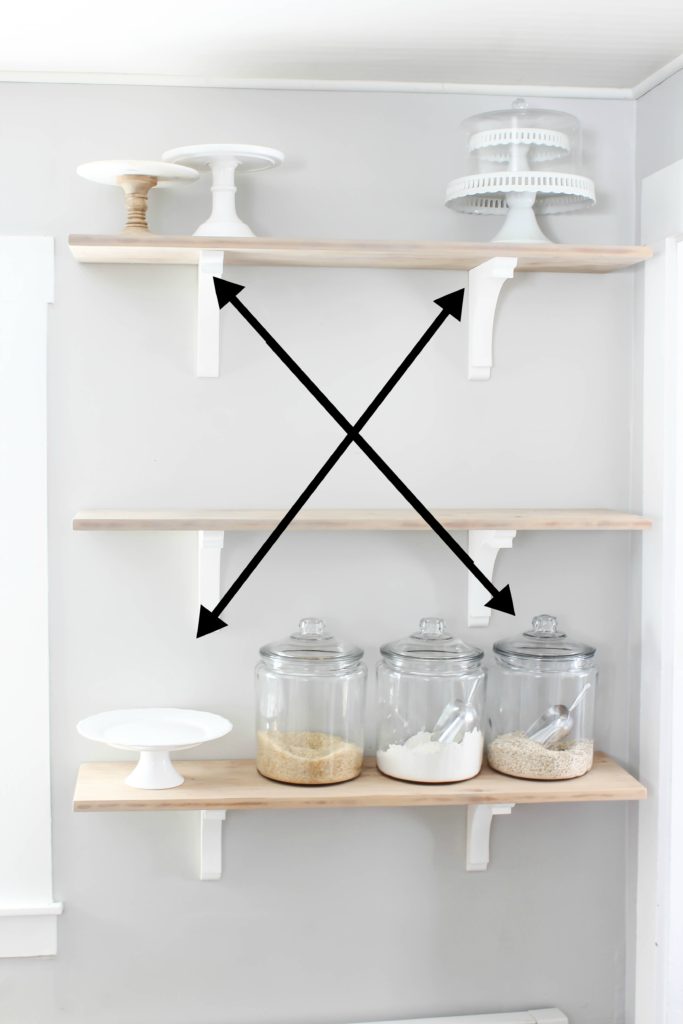
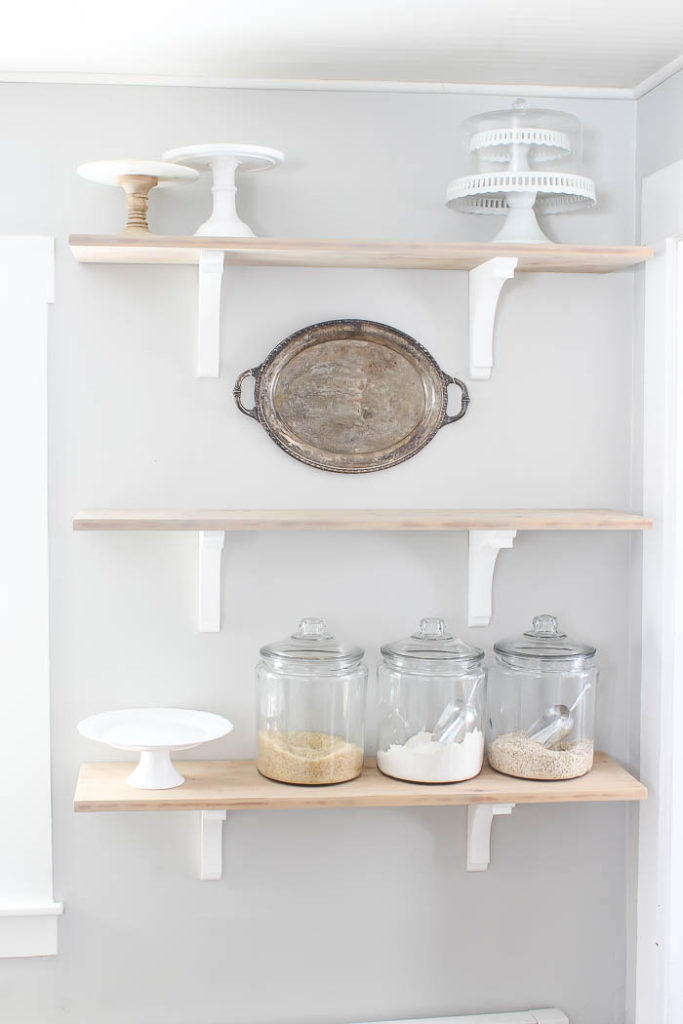
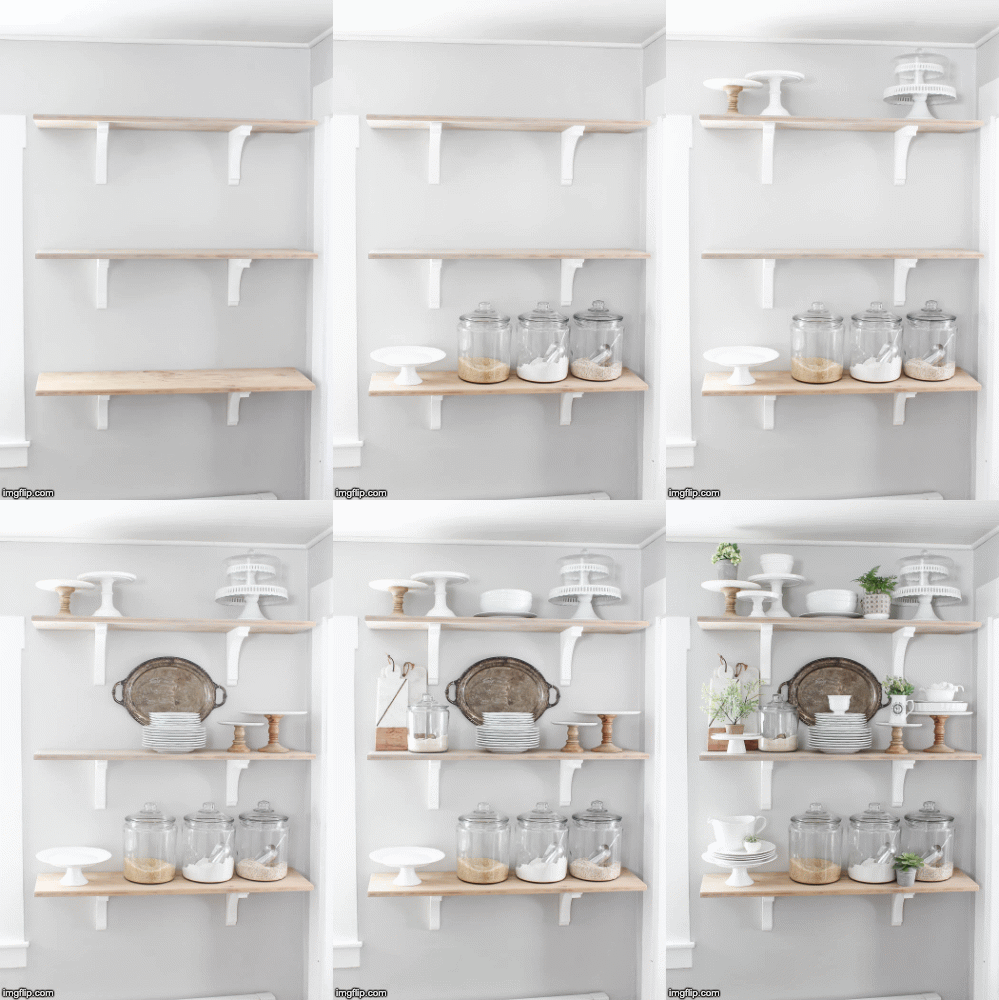
- Bottom Right : 3 Glass canister jars. I chose to put the heaviest items on the bottom shelf , so they would be easier to access.
- Bottom Left : 1 Large white cake stand.
- Top Right : Cake stands stacked on top of each other for height. These two get used the least, which is why they are on the top shelf.
- Top Left : I placed 2 more cake stands, but this time using ones in different heights, to add some variety.
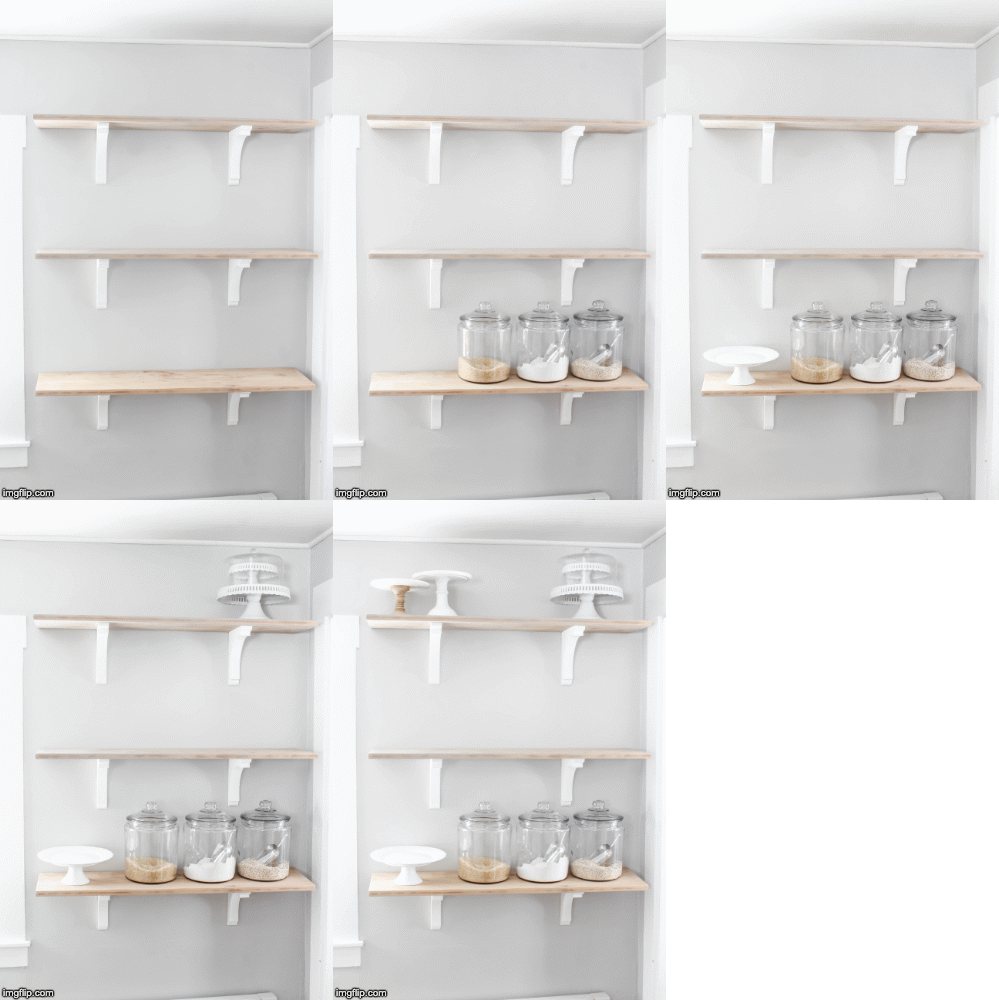
This creates an “X” visually throughout all 3 shelves.
Where the “X” intersects, I hung a large antique silver platter in the center, creating a focal point for all 3 shelves.
Next, it was time to fill in the rest of the empty spaces.
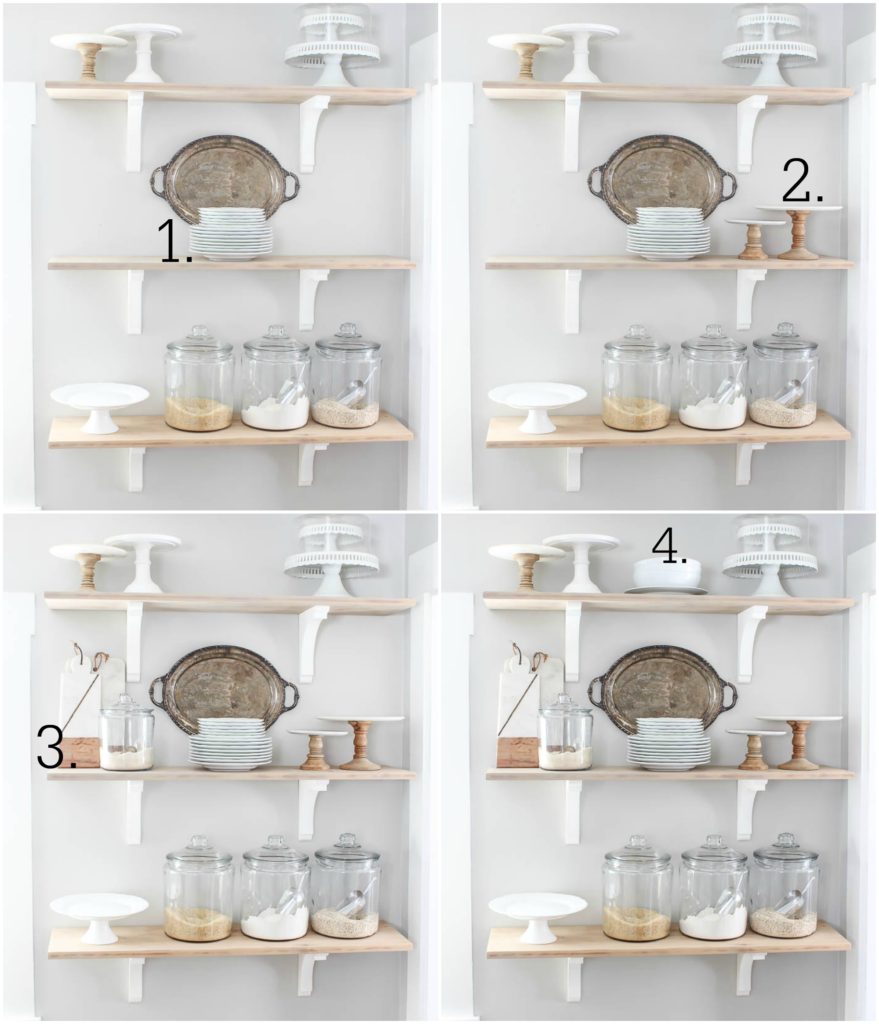
- In the center I placed a stack of white plates. Sticking with my mostly “white” color theme, we also use these plates anytime we want to dress up dinner, or a weekend breakfast.
- To the right I added 2 more cake stands in different heights, similar to the top left hand side on the shelf above. This adds some symmetry.
- To the left of the plates I added some marble cutting boards, and a smaller glass canister. Repeating the same or similar pieces adds a cohesive look to the overall styling of the shelves.
- In the center on the top shelf, I added some white soup bowls, which also make great salad bowls we use frequently.
Time to add layers with height
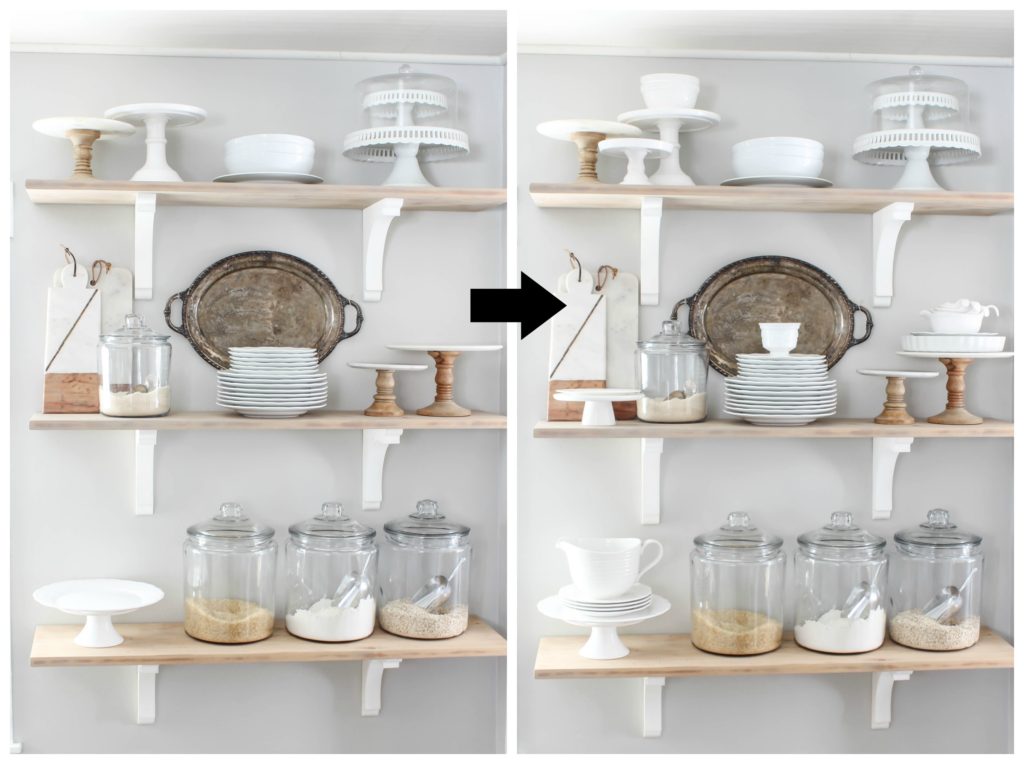
Next, it was time to add some height. This also adds to the “layered” look of my overall shelves. Even though the shelves aren’t that deep, I can still add some height vertically, which helps add some dimension.
Lastly, it’s time to add some green.
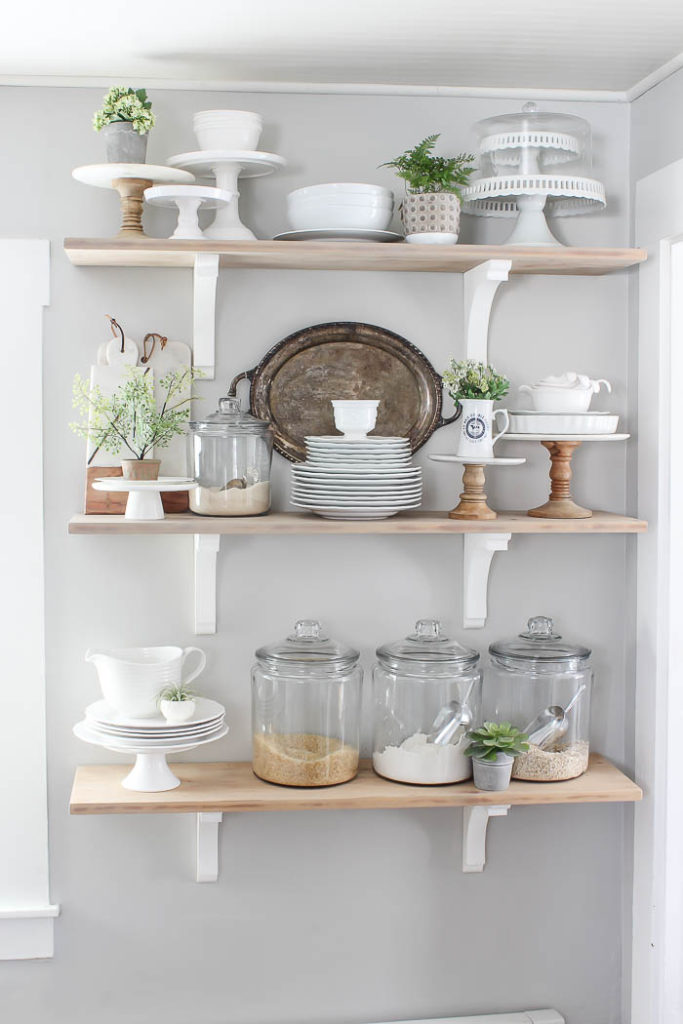
Adding in little pops of green whether faux or real, really helps add some life to the overall look. Without it, the shelves can feel flat or stark. Adding a little pop of greenery really makes the whole design come to life!
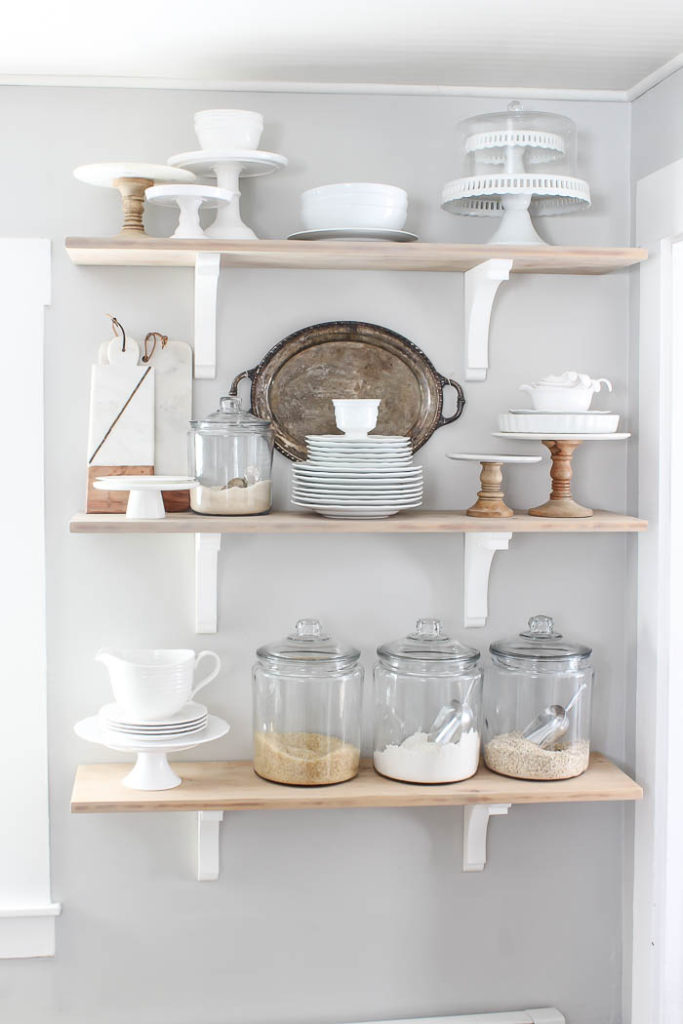
See the whole design come to life ~
Want to find out more about our kitchen, you can get all the details on how we transformed this space, a little at a time HERE.
Pin It ~


Super helpful !!
Oh thank you Kristi!! I’m so glad 🙂