Hello Friends! I’m so excited to share this latest reveal with all of you. The newest installment of one of my favorite wall treatments – board & batten. One of my go-to ways to add texture and warmth to a room that doesn’t have curtains or upholstery in it is with architectural details. You can add architectural details on the ceilings, on walls, and it instantly can make any space feel cozier. We have installed board & batten to quite a few spaces around our home, and each time I am just as smitten with the outcome. So today I’m sharing how we installed this DIY board & batten in our hallway at the bottom of our stairs.
Come and take a look ~
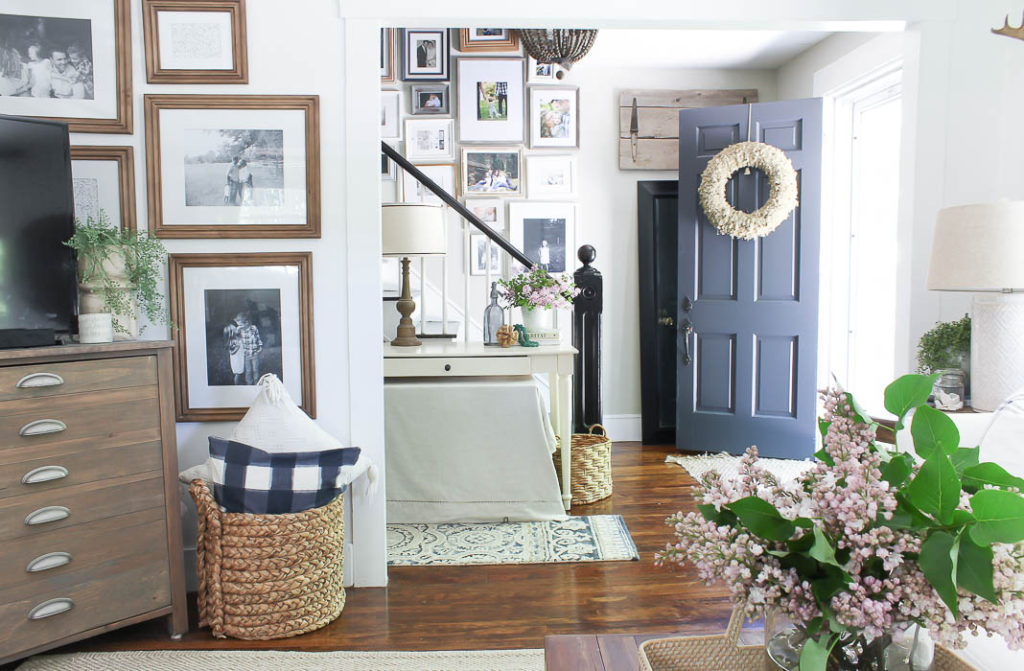
One of my favorite features in our home is our gallery wall that climbs up our staircase. It was one of my very first decorating choices when we moved in, despite my husband thinking I was nuts for lining our staircase with framed photos with two toddlers, but I stuck to my gut instinct and just knew this staircase was meant for a gallery wall.
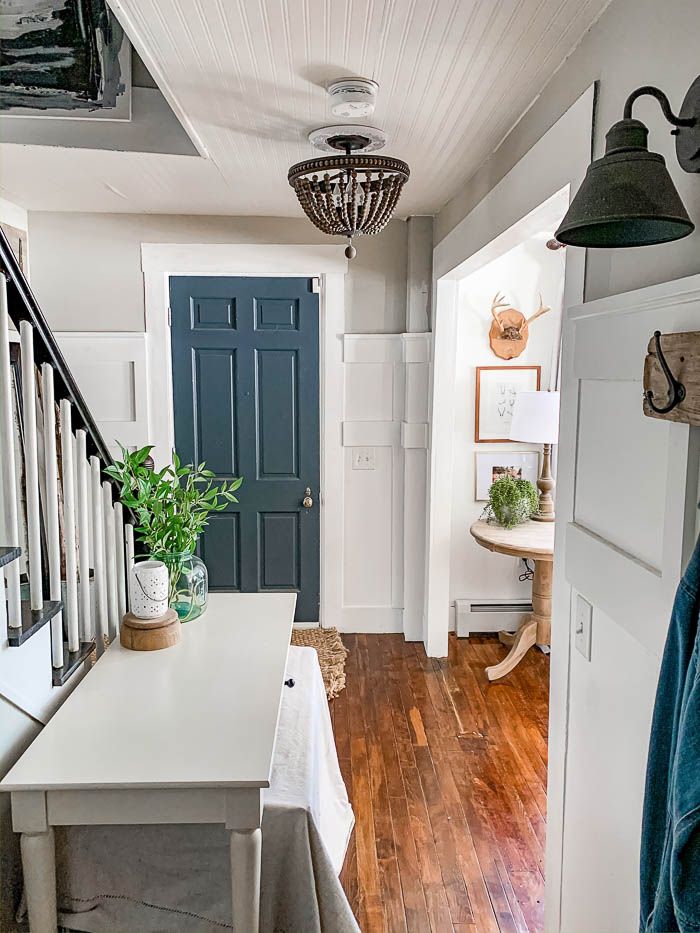
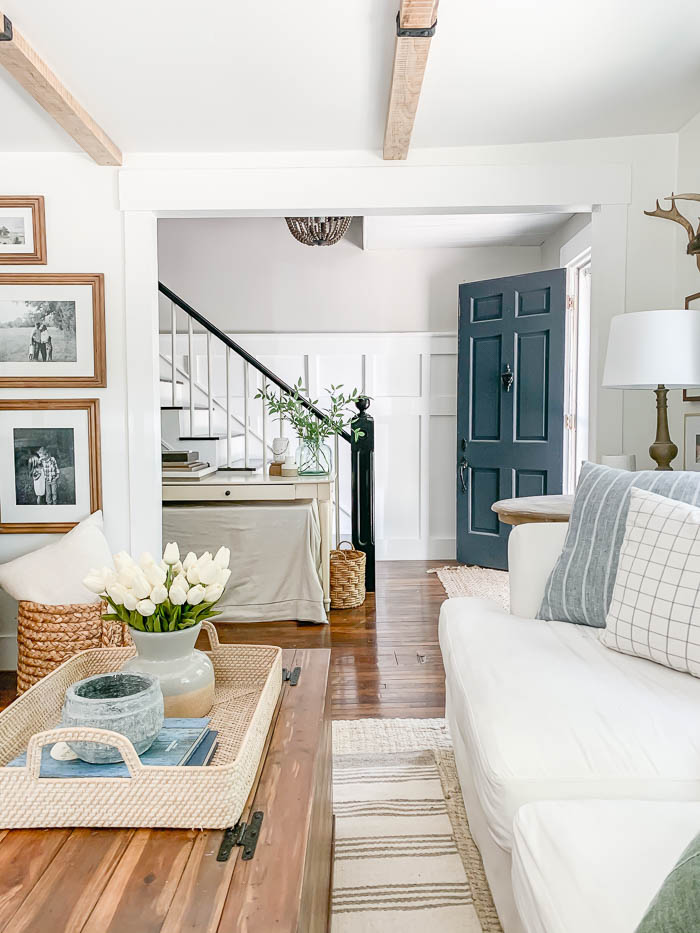
Years ago, we installed this DIY board & batten treatment around our front door, and down the small hallway which leads to a coat closet at the bottom of our stairs, as a way to “lighten” up this area of our home that gets very little natural light. At the time we decided to just include the portion of the wall around our front door, and down the hallway. Of course, after years of sitting in our living room – looking at our hallway, I always wondered what it would look like if we had continued this board & batten treatment up our staircase.
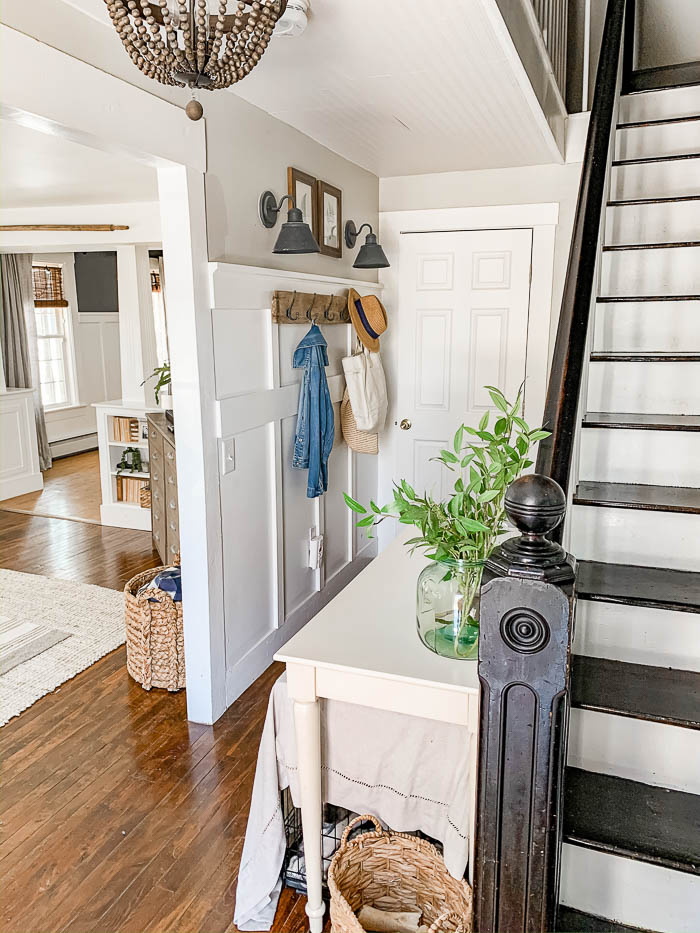
One of the things that I love about this version of board & batten is it’s actually considered a “faux” board & batten treatment, because you are only using the board part of the treatment. We aren’t actually installing the paneling part that is customary to see, which can help keep your cost very low, depending on the type of boards you use.
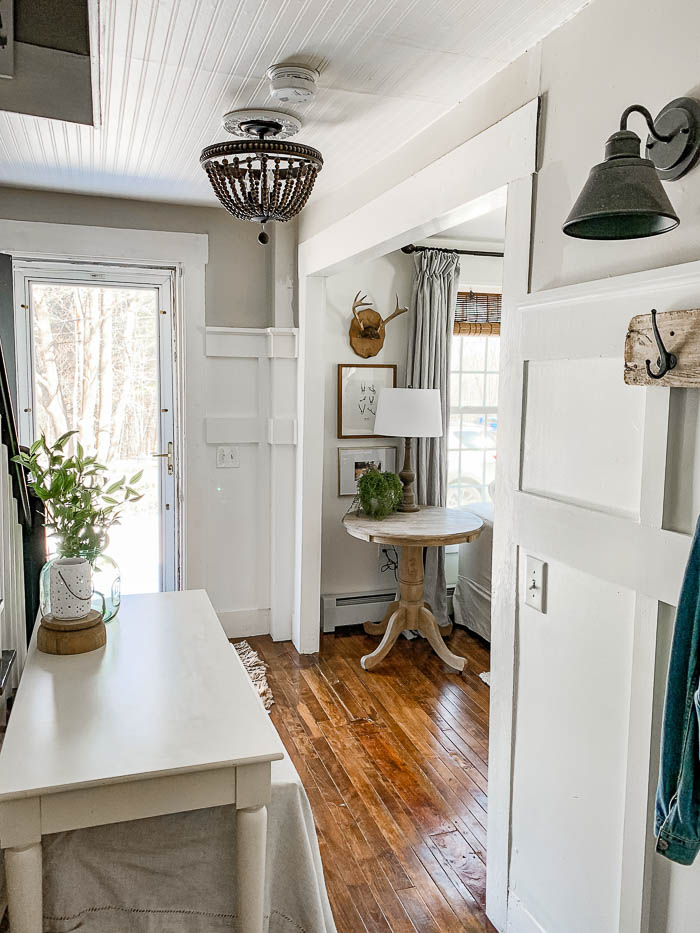
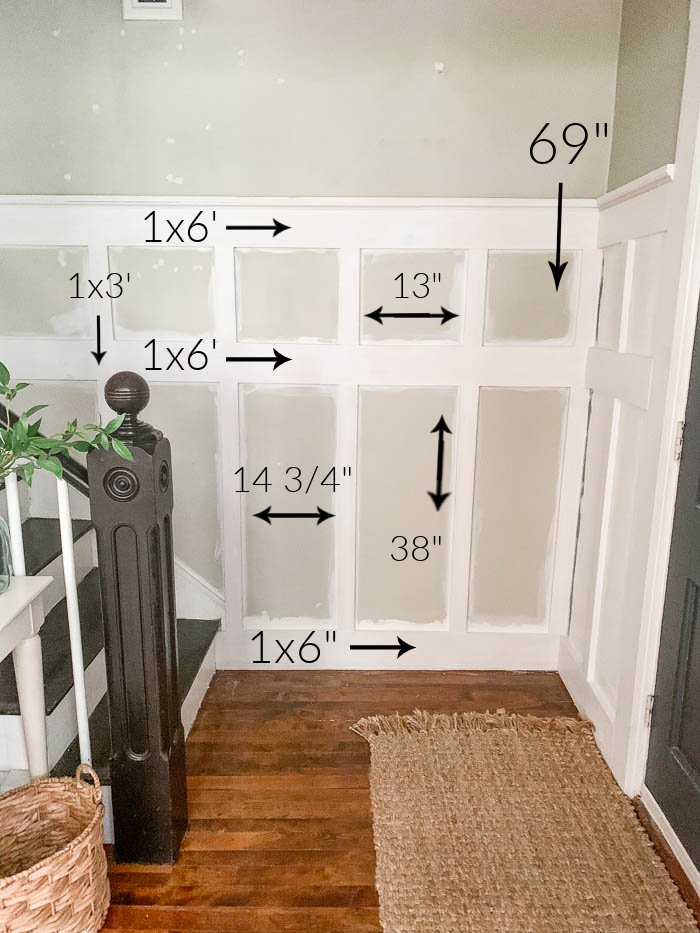
I have seen all different versions on Pinterest, of this tutorial, but to stay with the consistency of the rest of the trim throughout our home we stuck with Pine Boards in two different sizes. 1×6’s for the horizontal boards, and 1×3’s for the vertical boards. We also added trim to the top using 1×2’s and cove round trim moulding, which I’ll show you towards the end of the post.
To start, you want to measure your wall / walls first to know how many boards you will need to get.
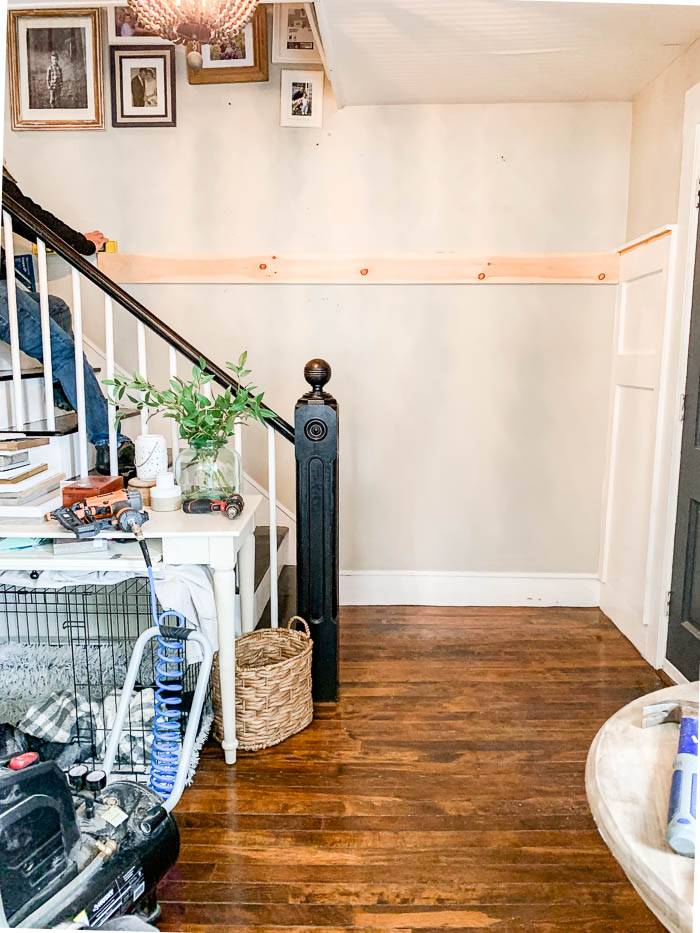
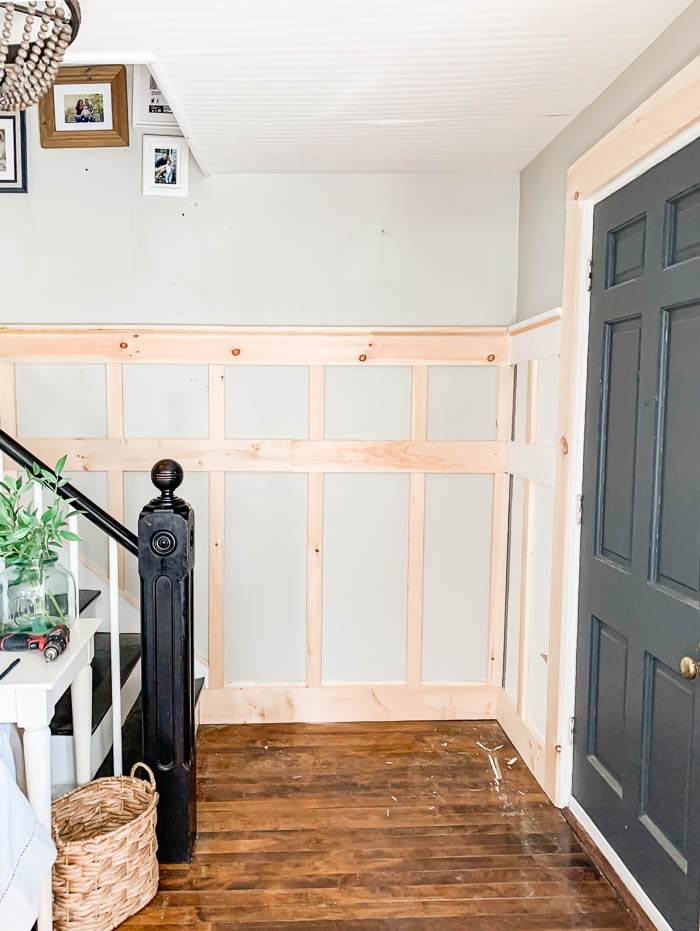
Using a level, we started by hanging our horizontal boards first. Since we already had this same wall treatment on the wall to the right, we continued on with the same height for the staircase wall as well.
Once both horizontal boards are hung, using THIS finish nailer, we could start measuring and cutting for the vertical boards.
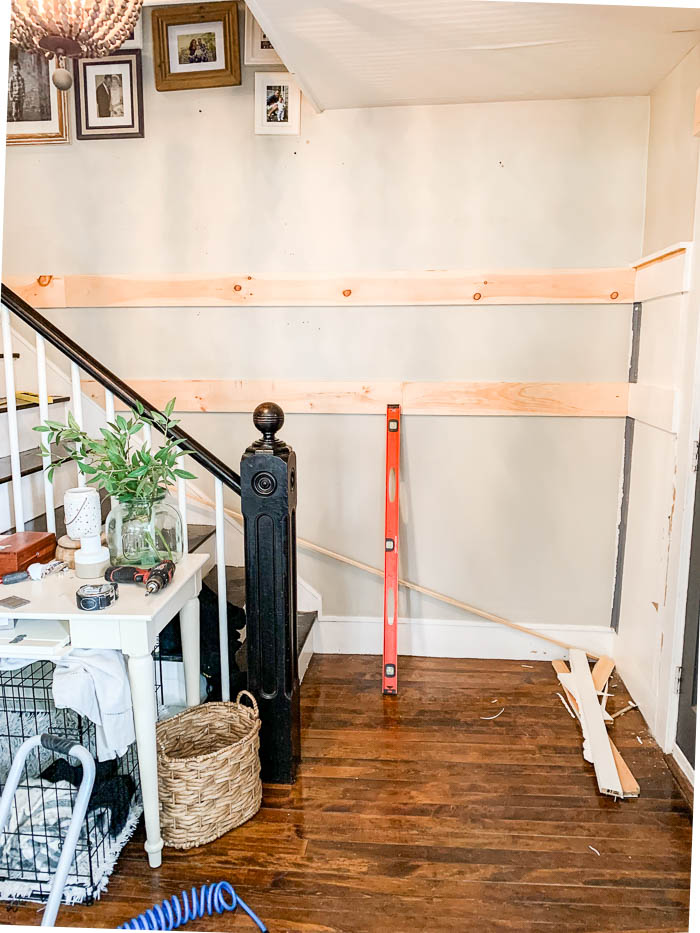
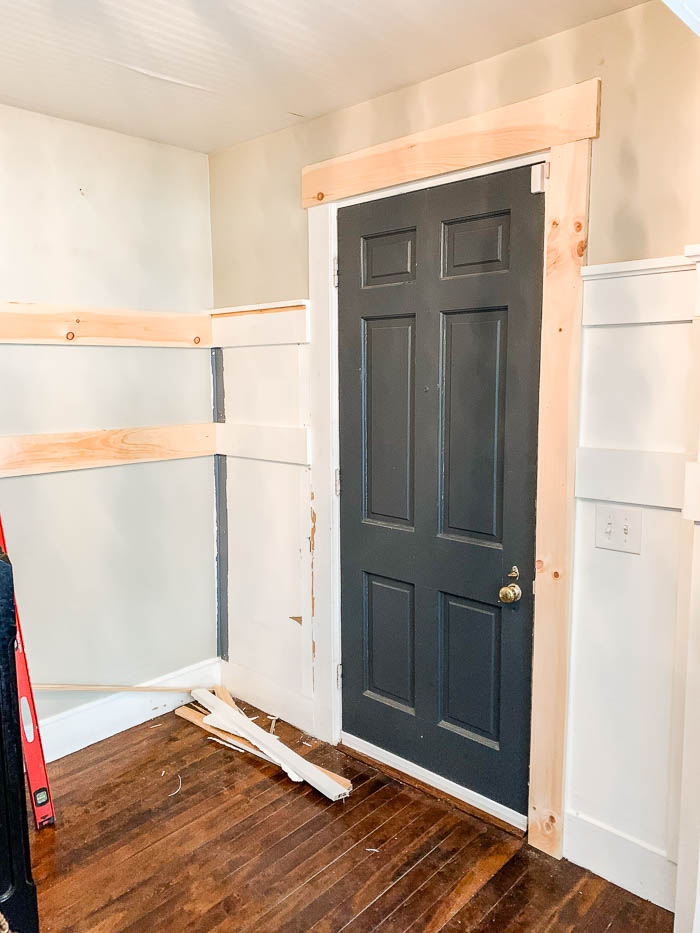
One of the things we did, was add an additional piece of trim moulding to run the baseboard on our staircase. This would make it so that when we installed the vertical boards there wouldn’t be any over hang at the bottom. Depending on the type of baseboard moulding you have, you may need to do this. We used a 1″ square dowel, found in the lumber section where you would buy materials to make a screen door.
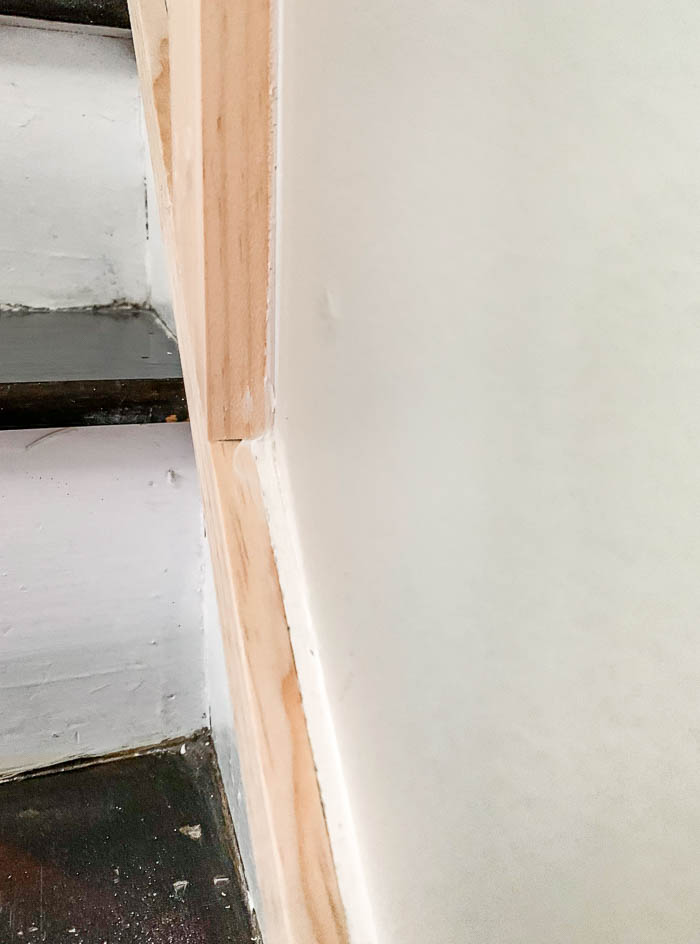
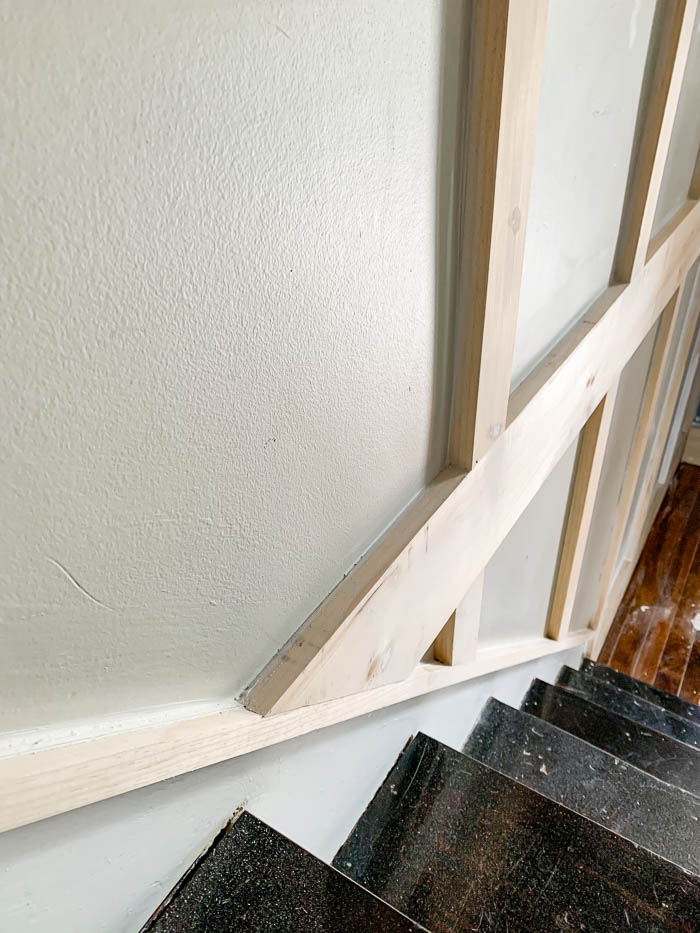
To create the ledge moulding at the top, we used a 1×2″ placed horizontally on top of the 1×6″ top board. And then used 3/4″ cove moulding under the lip of the 1×2″ for a more finished look.
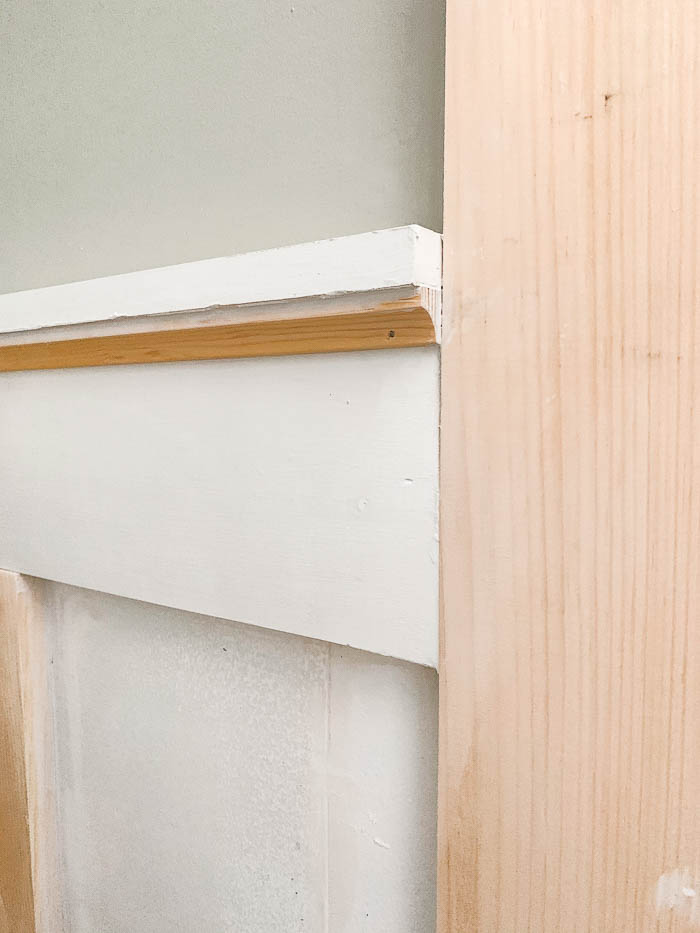
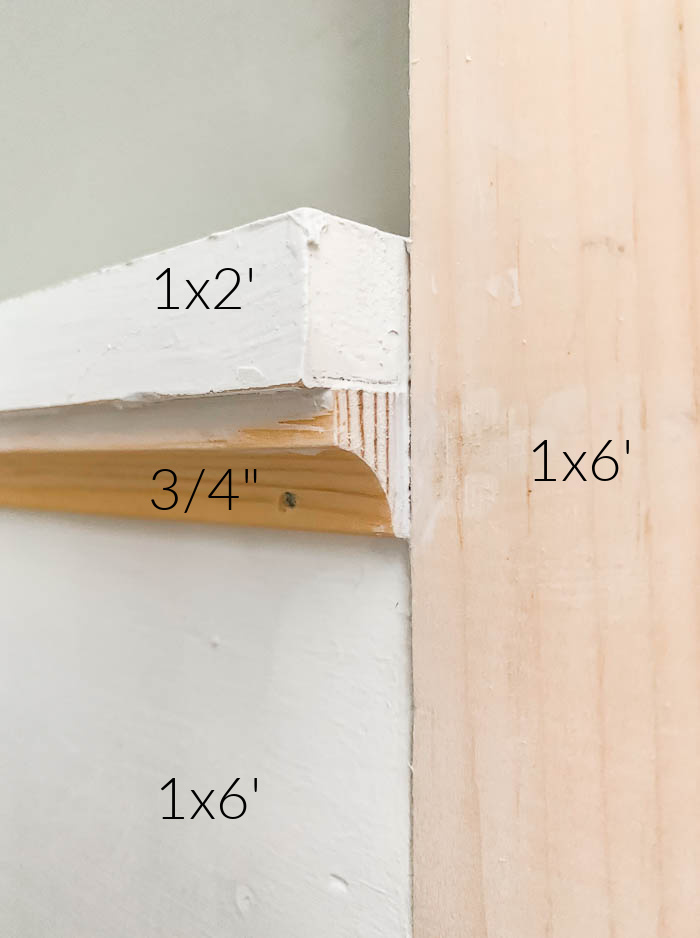
Since the original trim around the baseboards and the door were flush with the wall, from the house settling over time, we added new trim right on top of the existing trim for a more finished look.
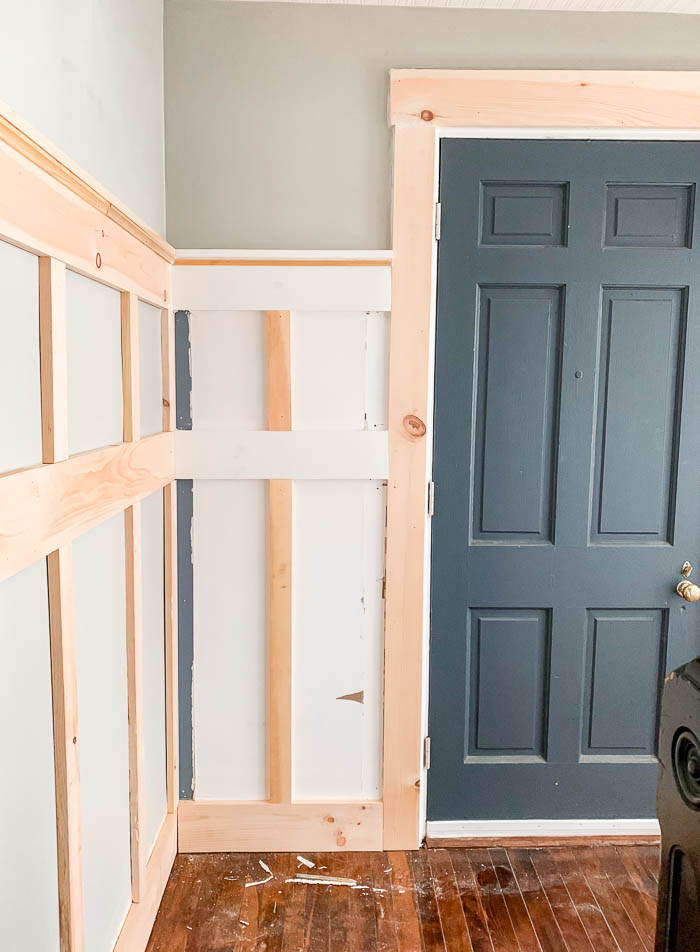
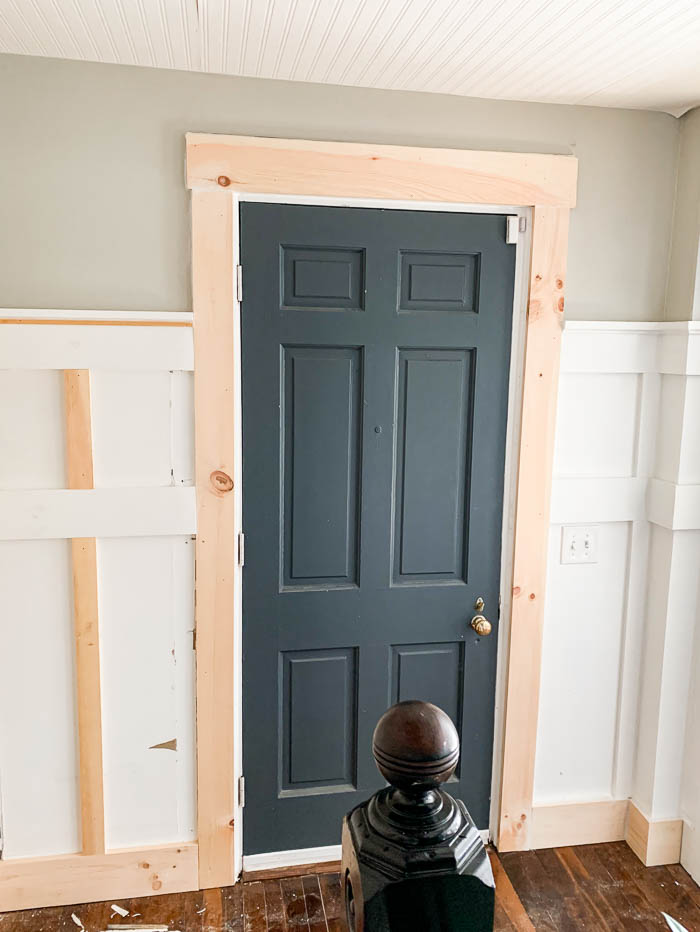
Once all the boards were installed, I primed them with a few coats of Zinsser BIN primer to cover all the knots in the wood. Then once everything was primed, you could finally see this project start to take shape, and I painted the walls and the installed boards with my favorite white trim paint (shared HERE).
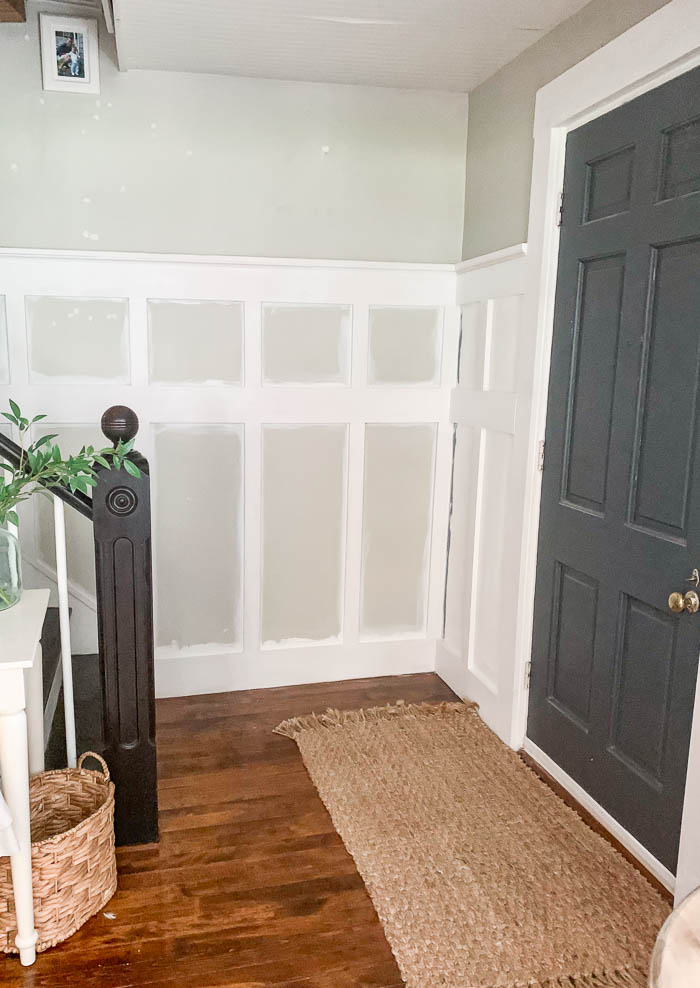
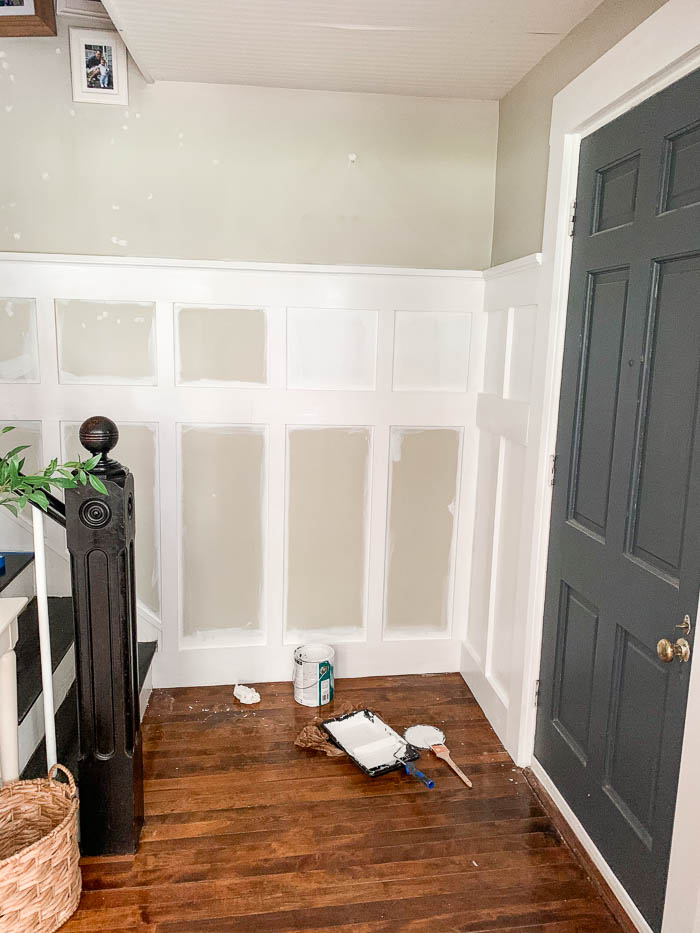
I painted the boards and the sections of wall in between the boards all with the same SEMI-GLOSS SHEEN paint. Even though we didn’t install the wood paneling in between the boards, I still wanted the overall wall treatment to have consistency, and using the same sheen of paint for both the boards and the wall is the KEY to pulling off this “faux” board & batten look.
Below you can see the measurements we did in between each of the boards. Depending on the height and length of the wall you are doing will depict the size of the squares you end up with. I like the look of the over all wall being covered with 2/3’s wall treatment, and the top 1/3 exposed wall. The preference is really up to you, depending on where you end up placing your boards, but that is my general rule of thumb.
After
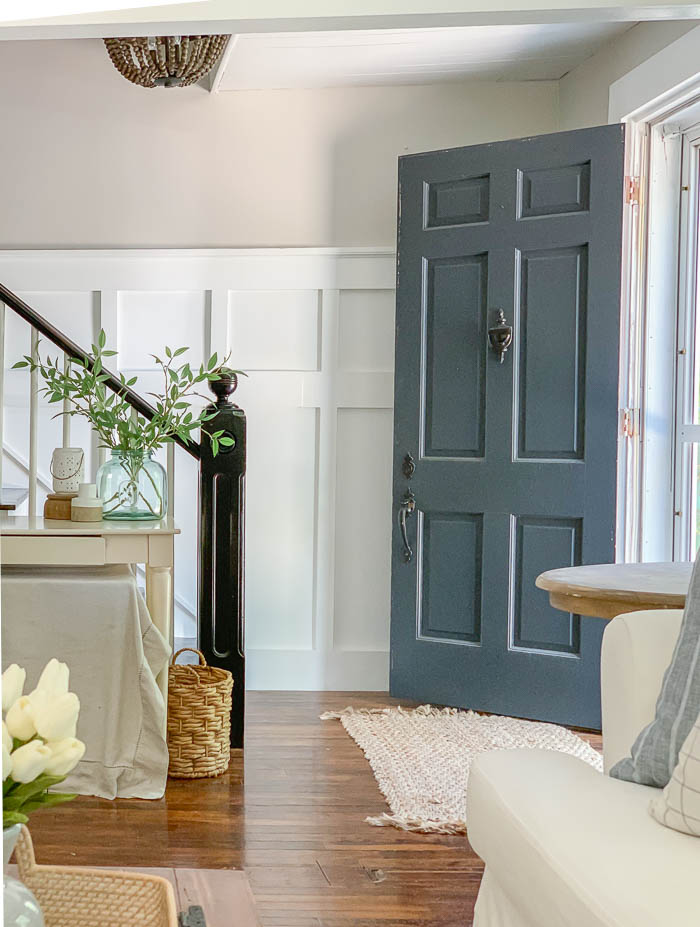
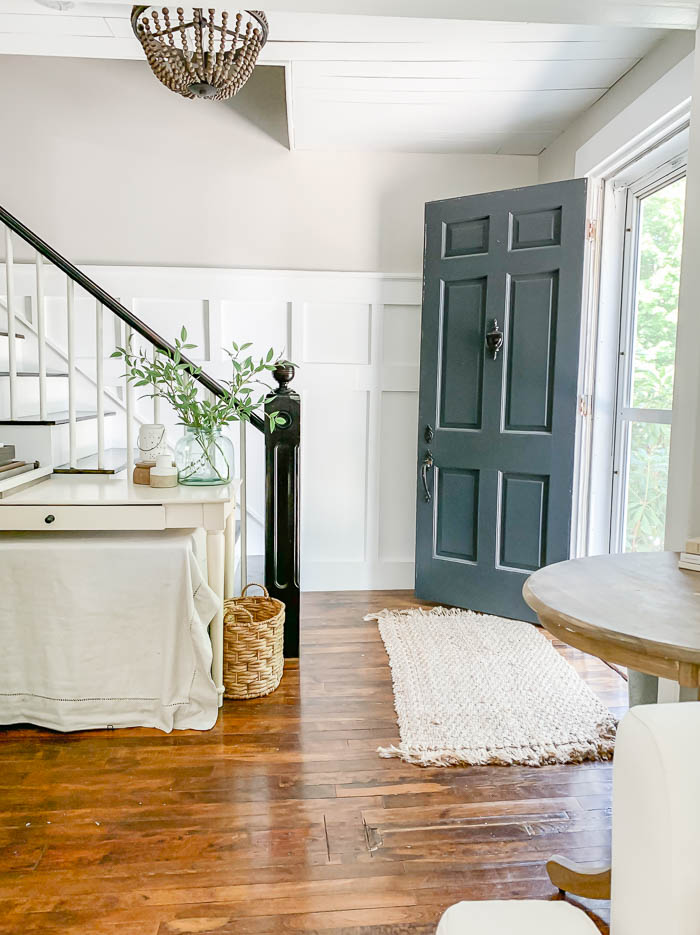
I have since hung my gallery wall back up, but I love the clean look of the board & batten, and of course all that extra texture it gives our hallway.
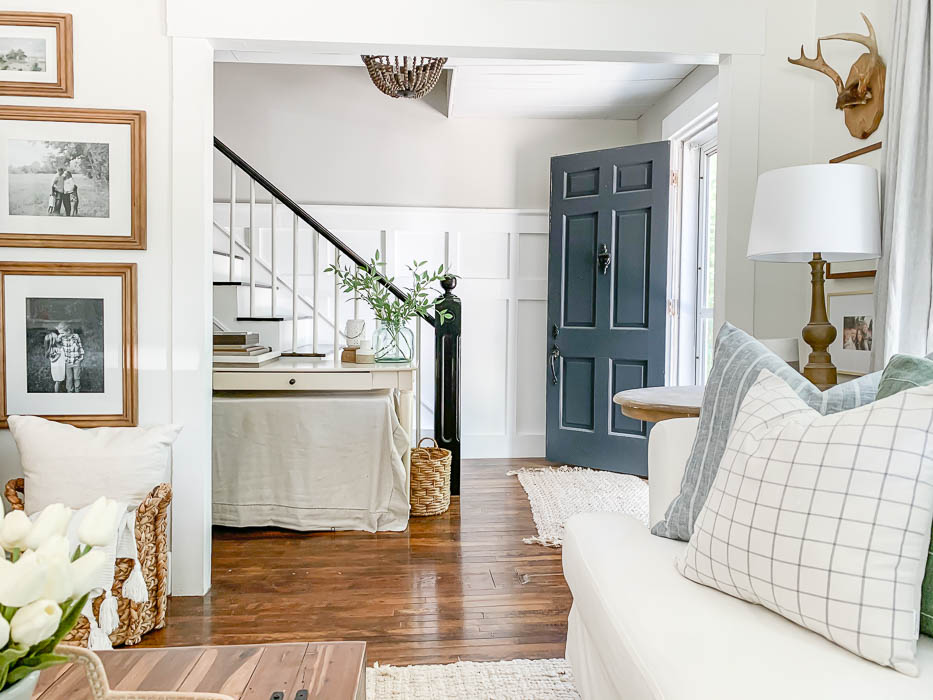
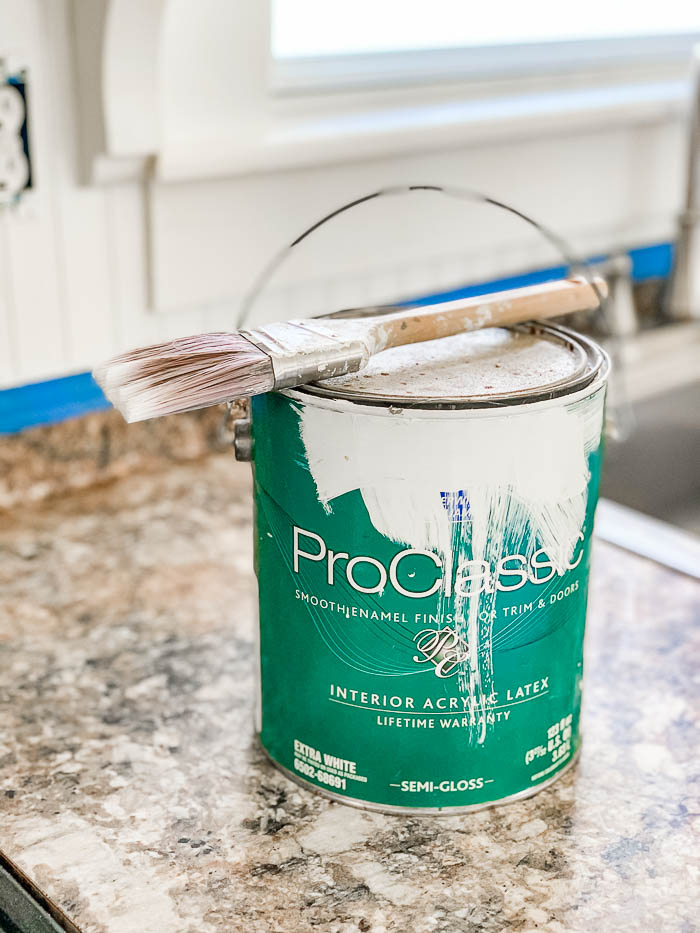
Our front door is painted Wrought Iron by Benjamin Moore – and you can read all about it in this post HERE. The top portion of the walls in our hallway are painted Agreeable Gray by Sherwin Williams in Satin, and the new Board & Batten wall treatment below, including all of our trim is painted with Extra White (no color mixed) Semi-Gloss, from the ProClassic line at Sherwin Williams.

It turned out beautifully Bre! What a statement. I would love to feature this on my weekly wrap-up blog post next Saturday if that’s ok with you.
Ohh Thank you so much Kim!! You can absolutely feature it in your weekly – wrap up 🙂
I like this look makes your house seem tailored and I love the idea of pictures on the wall going up the stairs.
Ohh Thank you so much Marlene 🙂
I love it! So attractive! Thanks for such a thorough explanation of how you did this. Love your style!
So glad you enjoyed it Geri. I contemplated adding it to our staircase wall for a long time, and it’s so nice to see it added now 🙂
i love the new look of the hallway….. would really like to see the gallery hung up now! i am glad that you are back on the blog circuit!!
Thank you so much Lynne!! I will be sharing those photos soon 🙂
Your new walls look great! Thanks for explaining it in detail. Would like to try it in our home. My sister just put the board & batten in many of their rooms and I love it!!
I enjoy reading your blog and have enjoyed watching you make your house your home. Purchased your book and look at it often. You have a great eye for decor and tablescapes.
Happy Easter!
Ohh Thank you so much Dot!! That is so kind 🙂 I really do love how much character the board & batten adds to any space!