Hi Friend!
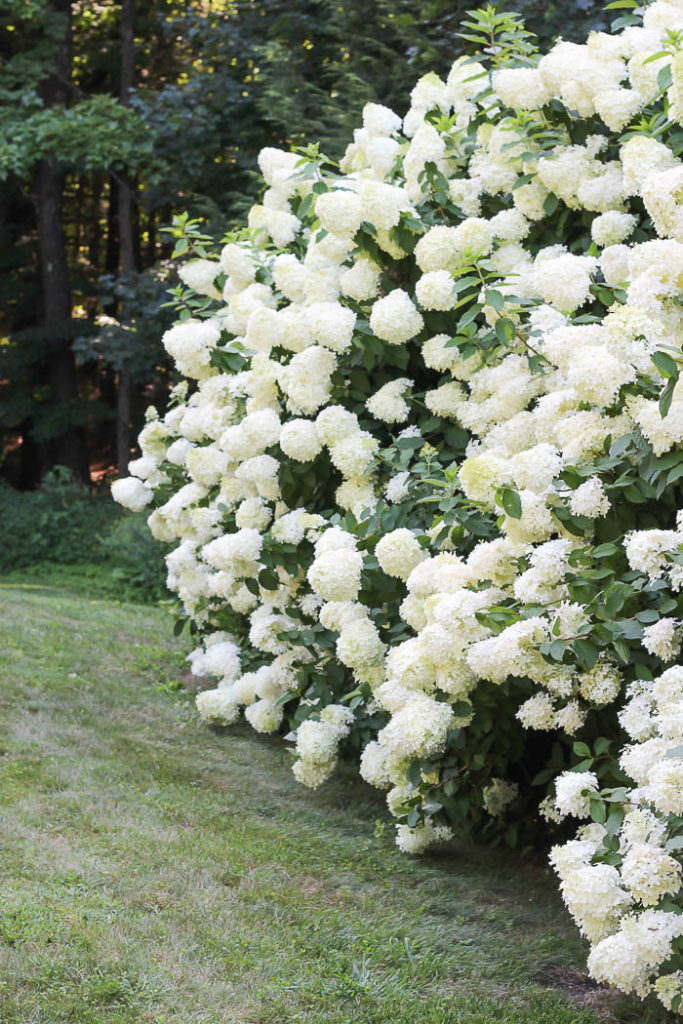
We have been working on planting a new hydrangea hedge at our new property, and I am so excited with the progress. One of the questions I got asked the most when we were moving was “won’t you miss your hydrangeas?”. While I was certainly bummed to leave our 8ft tall hydrangea hedge at our last house (shared HERE), I had every intention of recreating the same look at our new house. Knowing that limelight hydrangeas mature quickly, I knew it would only take a few years for them to take off, and they certainly have! Today I’m sharing what our limelight hydrangeas look like in the fall, and the progress we have made so far.
Come and see ~
First, I need to back up and show you what the area looked like when we moved in. I knew right away that I wanted to recreate our wall of hydrangeas from our last house, along the road at our new house, along the rock wall in our front yard.
Here is what it looked like when we moved in –
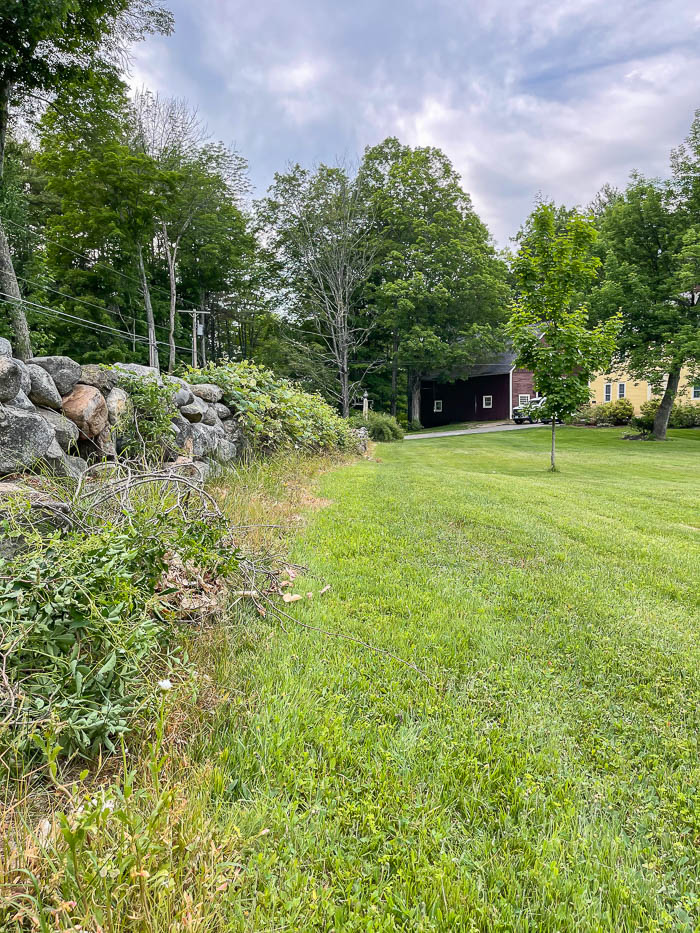
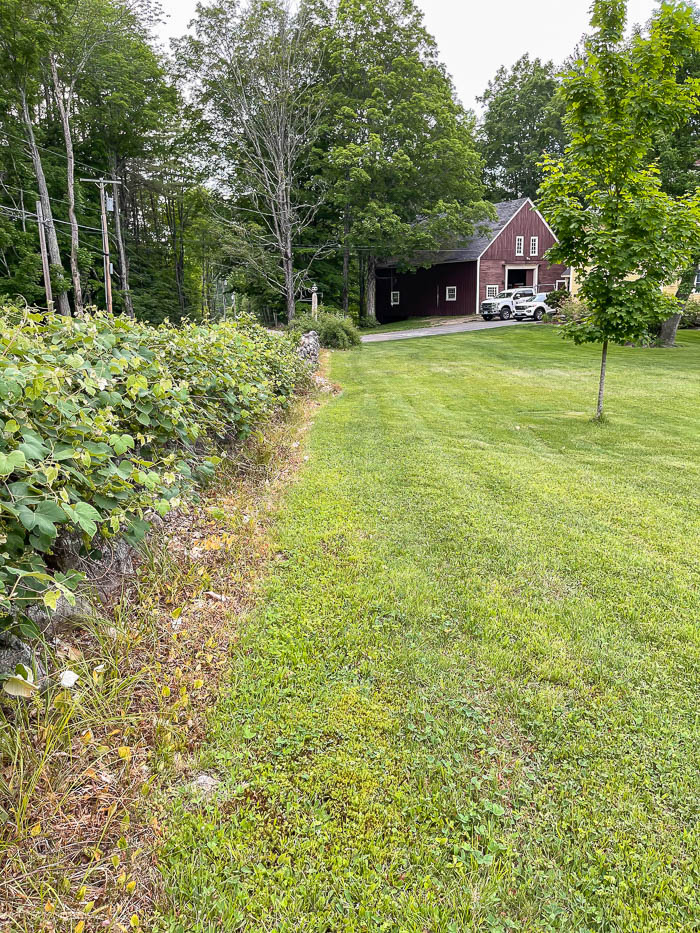
It was overgrown, had a lot of weeds, and covered in grapevines, and some rose bushes that were pretty untamed. The first order of business was to clean up the area, and remove the over grown plants that were there. (When we took the overgrown plants out, we realized just how much damage they were doing to the rock wall, which also resulted in having to rebuild that as well. We’ve been slowly working on it, but it’s been fun to see the progress so far. )
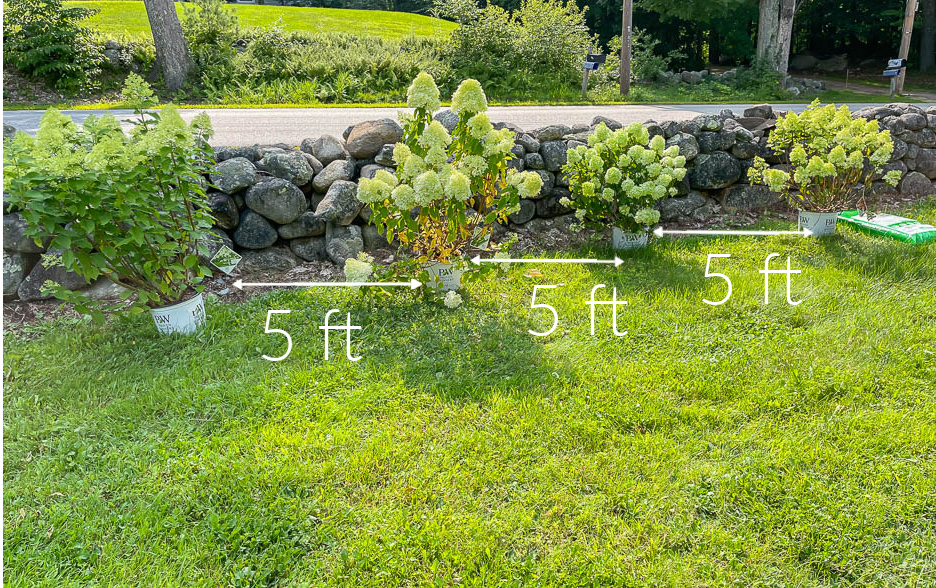
Our first summer (2021) in this house we planted eight limelight hydrangeas that were in 5 gallon buckets. We spaced out each plant, and planted them 5 feet apart from each other, measuring from the center of each plant.
Tip : To make this project budget friendly, we decided to add plants to this row every year or so, knowing that they will all fill in once they are fully matured.

We removed all the grass and weeds around the new limelight hydrangea shrubs, and I began to edge out a border for the garden bed. I filled in around the hydrangeas with black bark mulch, because I love how much it makes their white flowers pop when they are in full bloom.
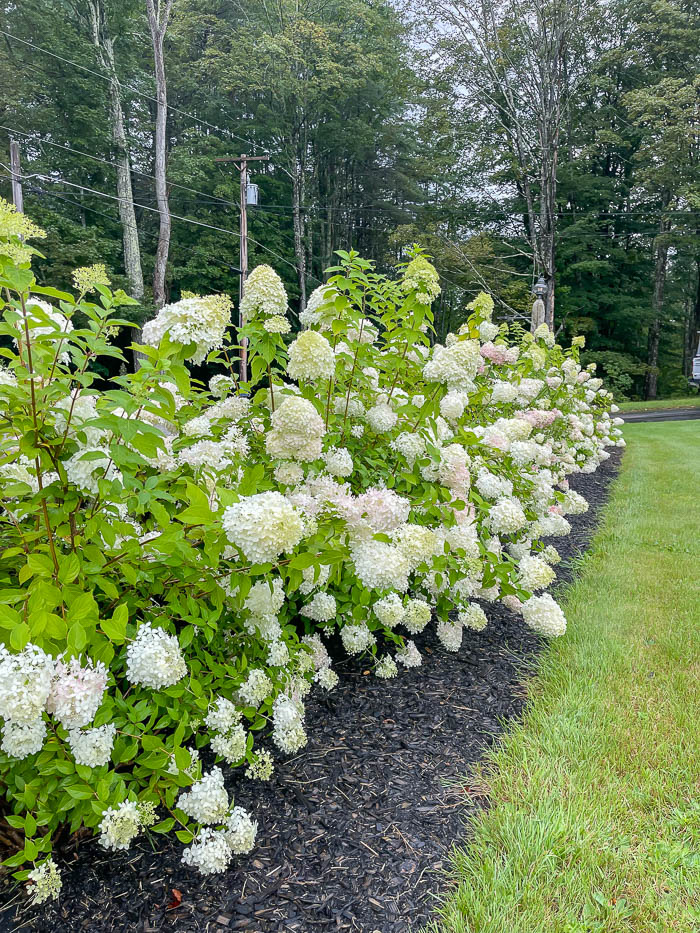
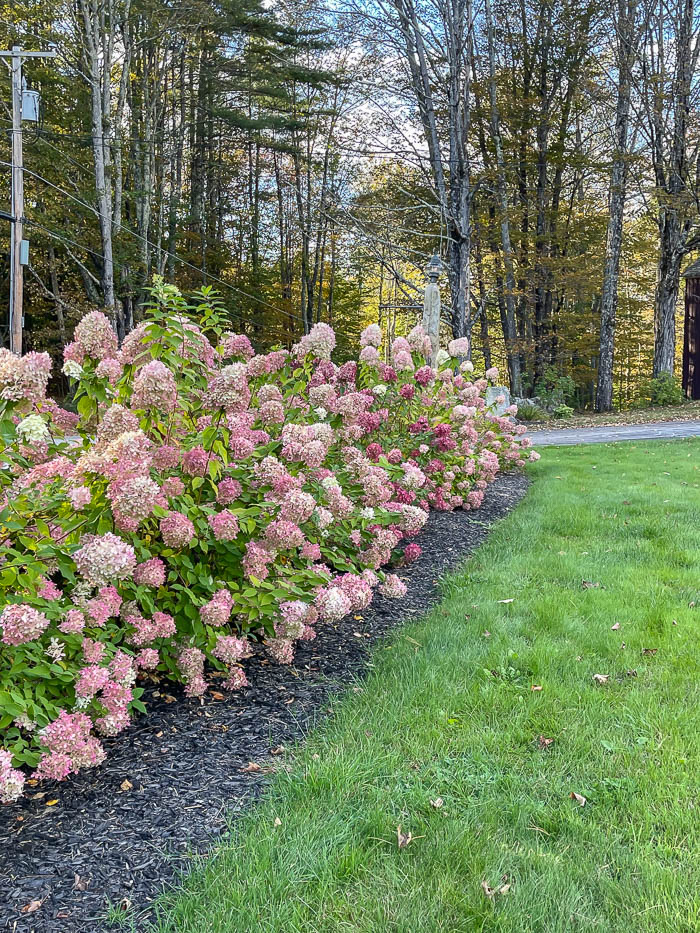
Below you can see how the original eight look now, that we planted two summers ago.
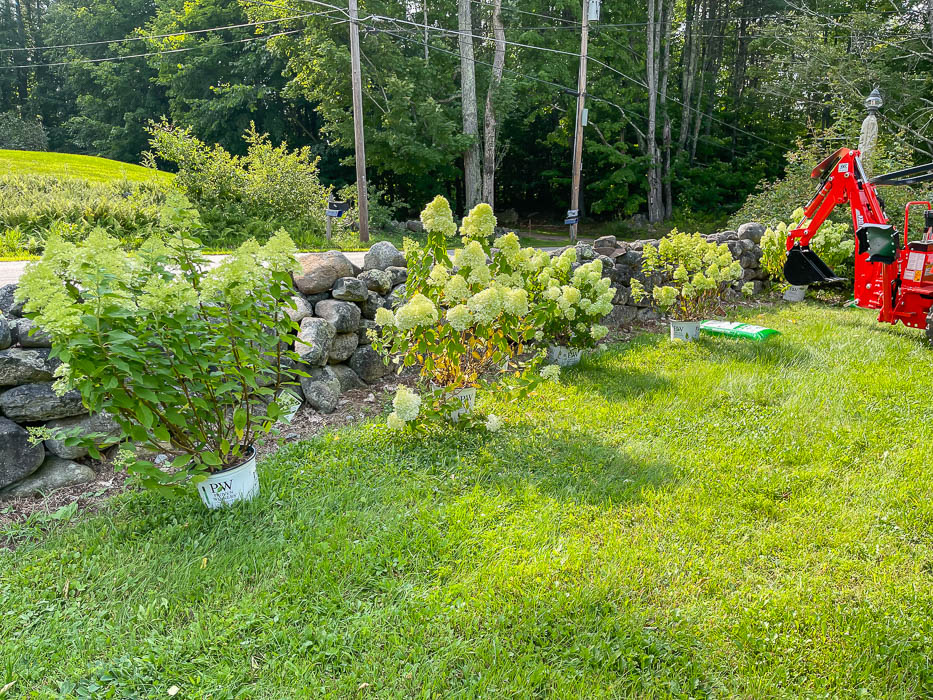
At the end of this summer we bought eight more limelight hydrangeas, and continued planting them along the rock wall. Below you can see the new limelights in their 5 gallons pots getting ready to go in the ground.
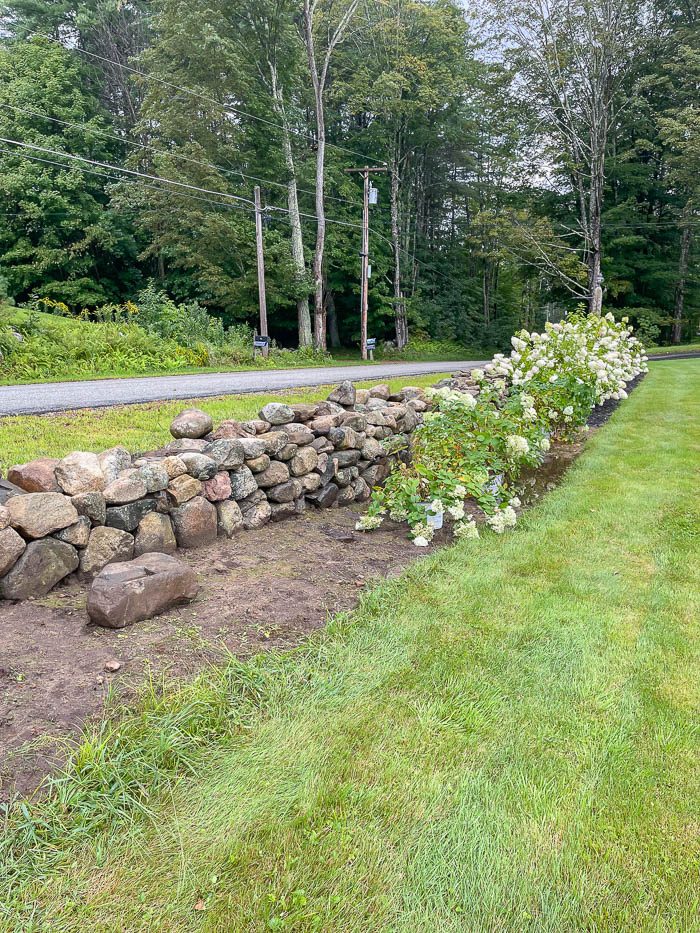
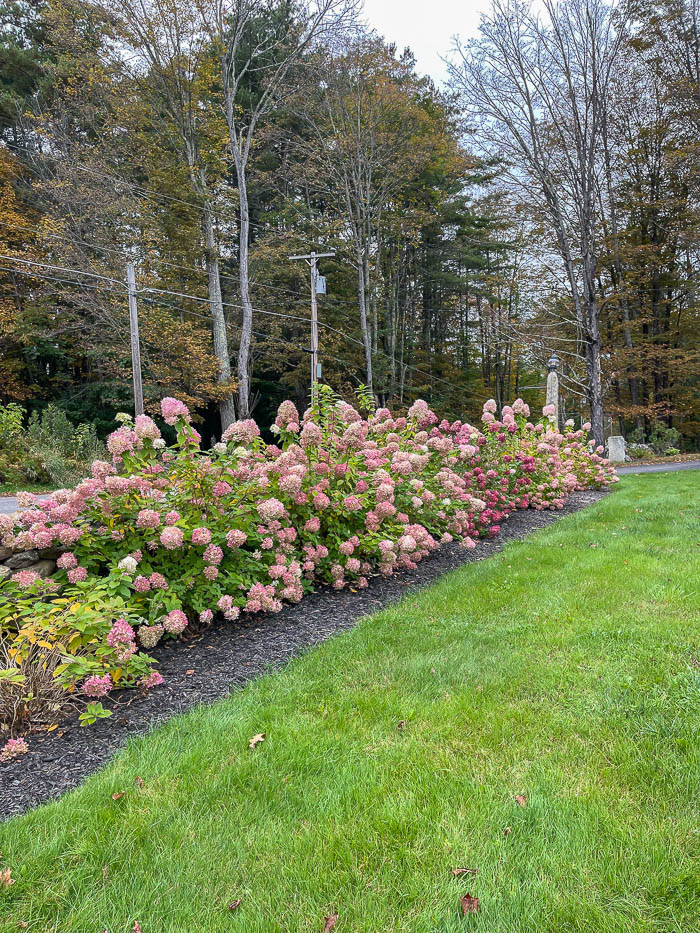
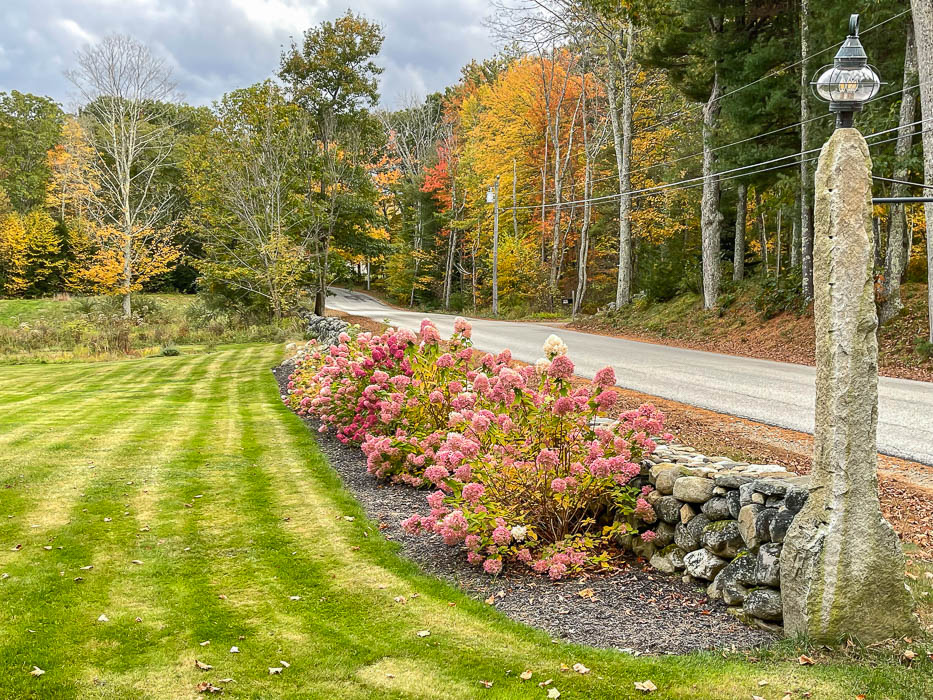
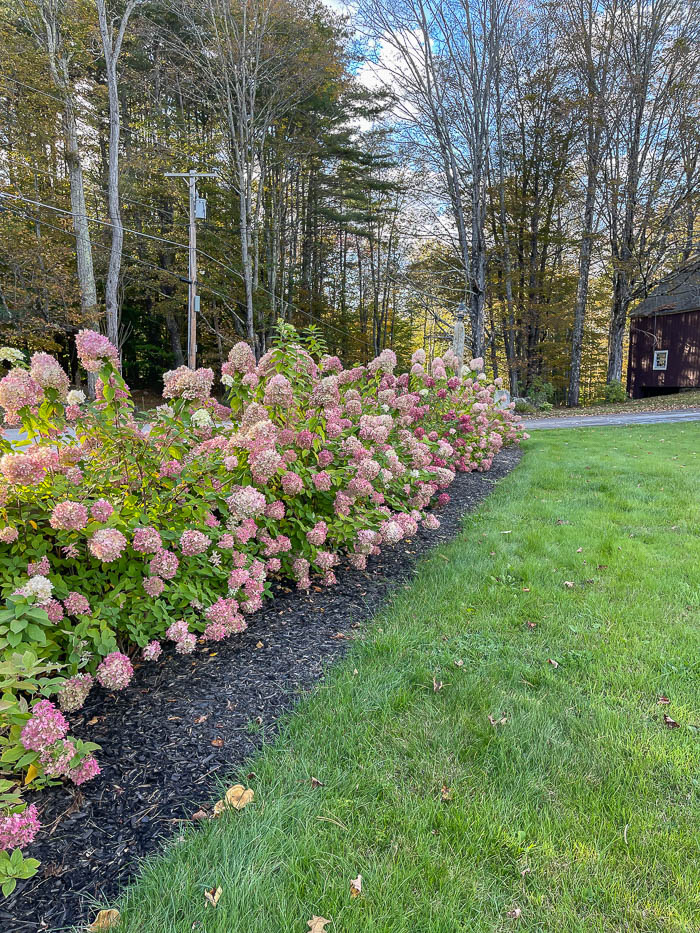
Once we got the second batch of limelight hydrangeas planted, I continued edging out my line, and put down more black bark mulch. Below you can see how they look now.
One of the things I love about limelight hydrangeas is they mature relatively quickly compared to other plants their size. Limelight hydrangeas mature at 6-8ft hight, and 6-8ft wide, making them a perfect solution to create a natural border or in lieu of a fence for privacy.
This is why I’m not worried about the size difference between the first batch of limelights we planted compared to the new ones we just put in the ground. In a few short years they will all be nice and full and the same size, and continue to add to the beautiful border we are creating.
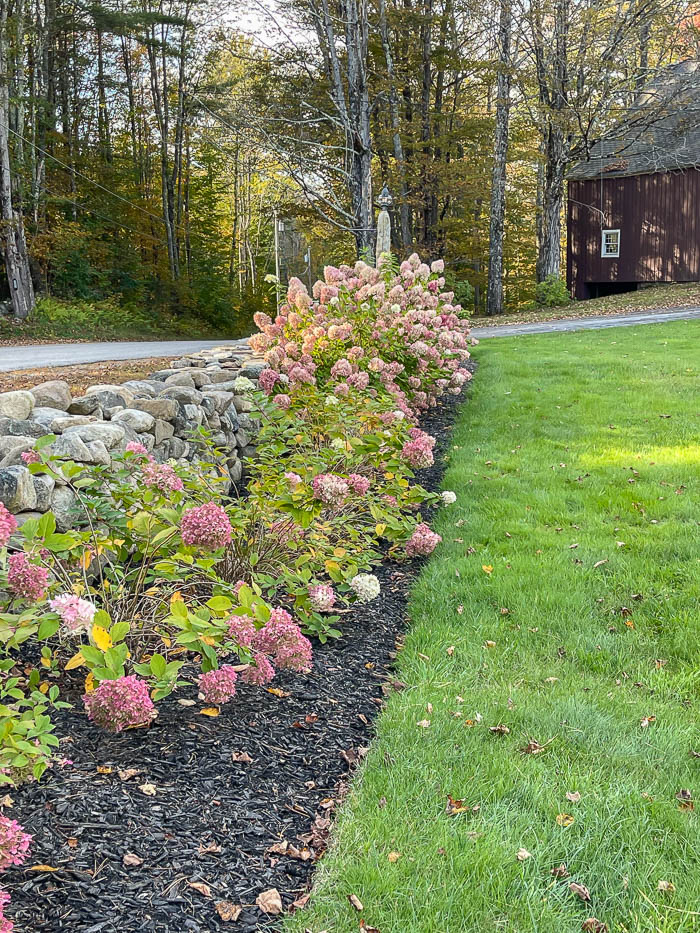
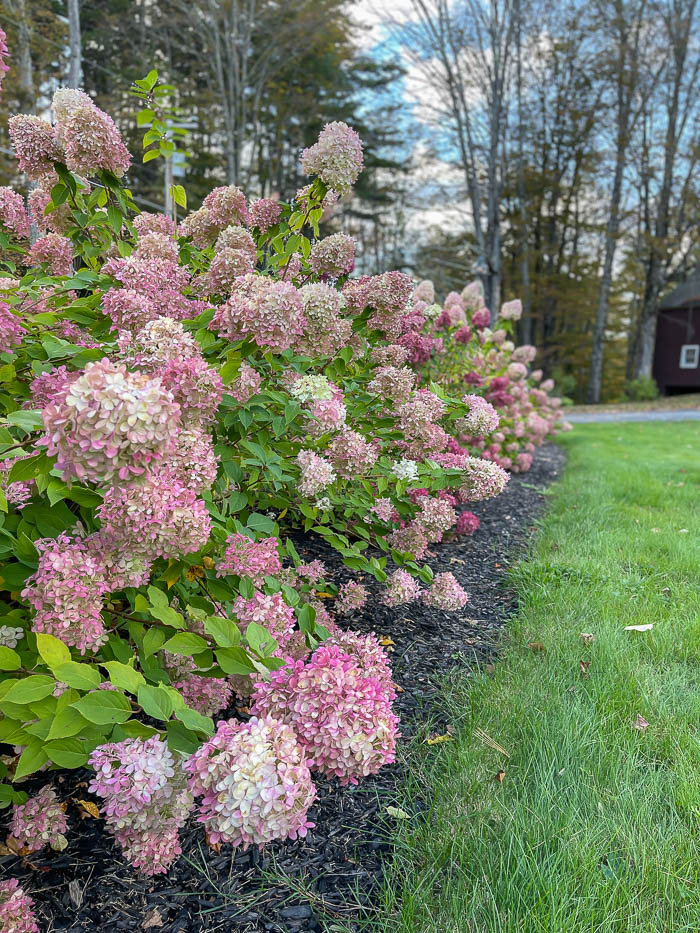
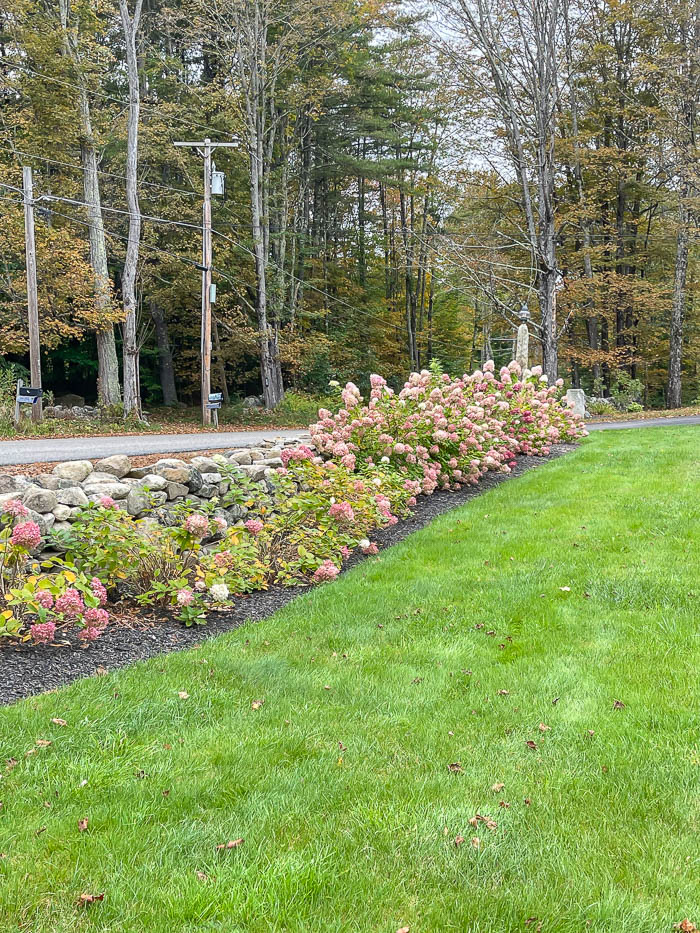
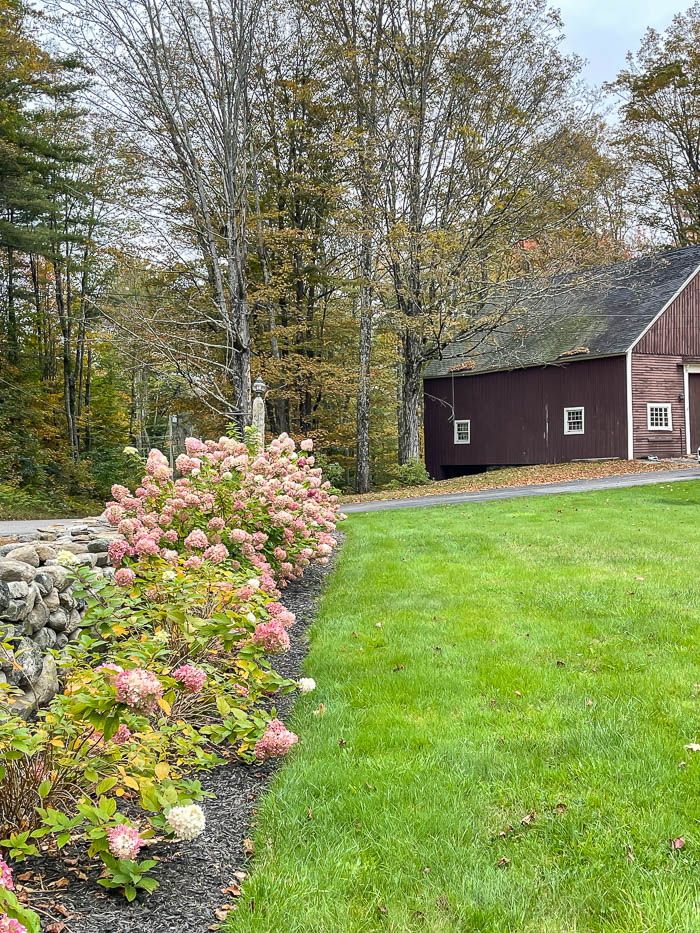
Even though limelight hydrangeas start out with a pale green bloom while during the summer months they transition to white. In the fall, with the cool overnight temps, their blooms transition from white, to a soft pink, into a deep pink much like their sister plant Quick fire, which are both apart of the pinacle hydrangea family.
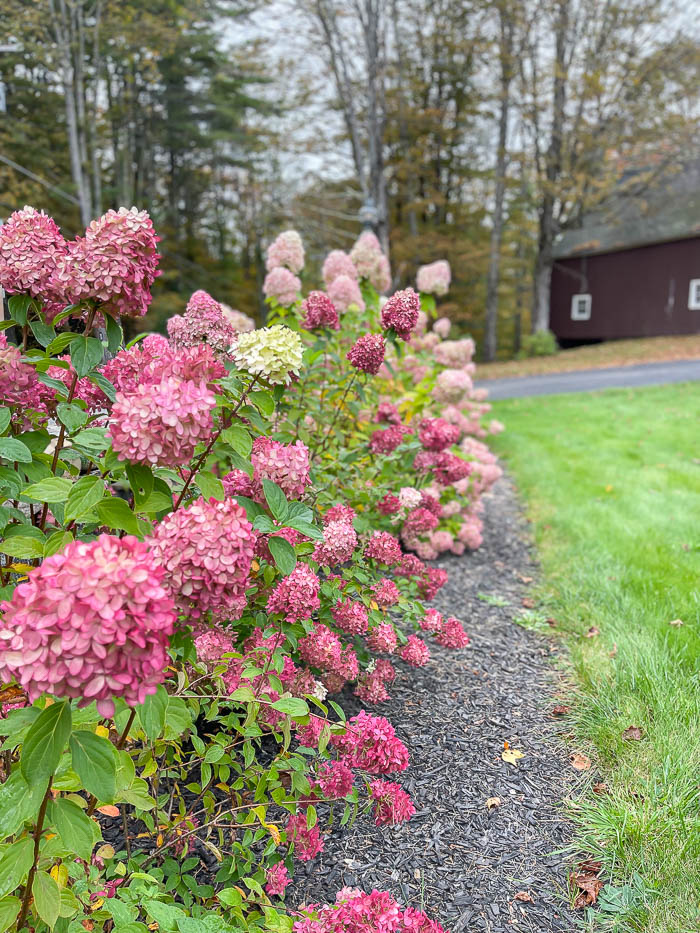
Our view looking up the road from the end of our driveway. Only eight more limelight plants to go, for a total twenty-four limelights in our hedge, and we will finish up this section of our front yard.
Before
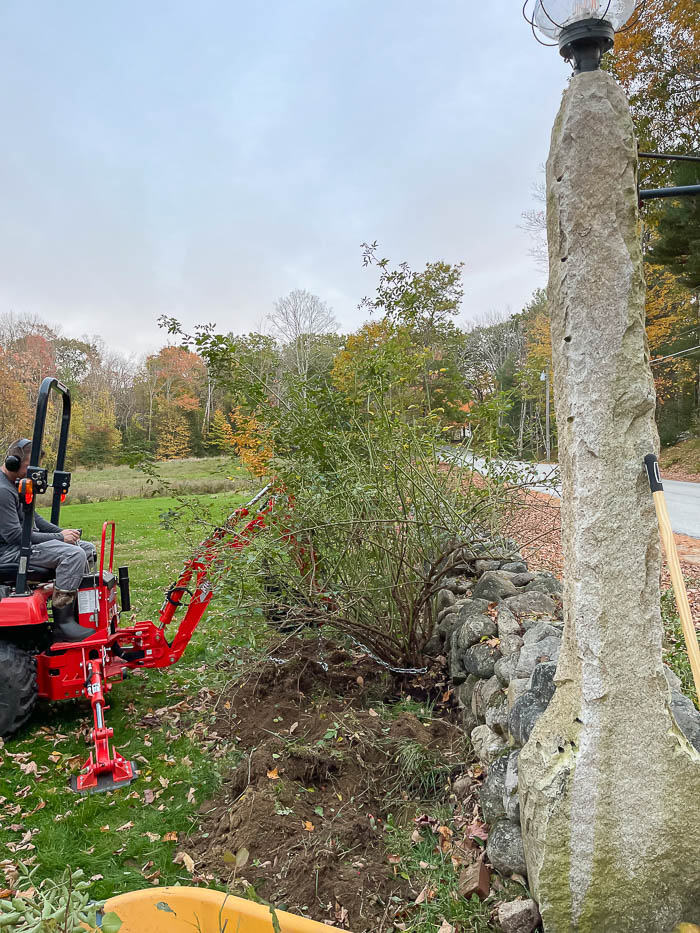
After
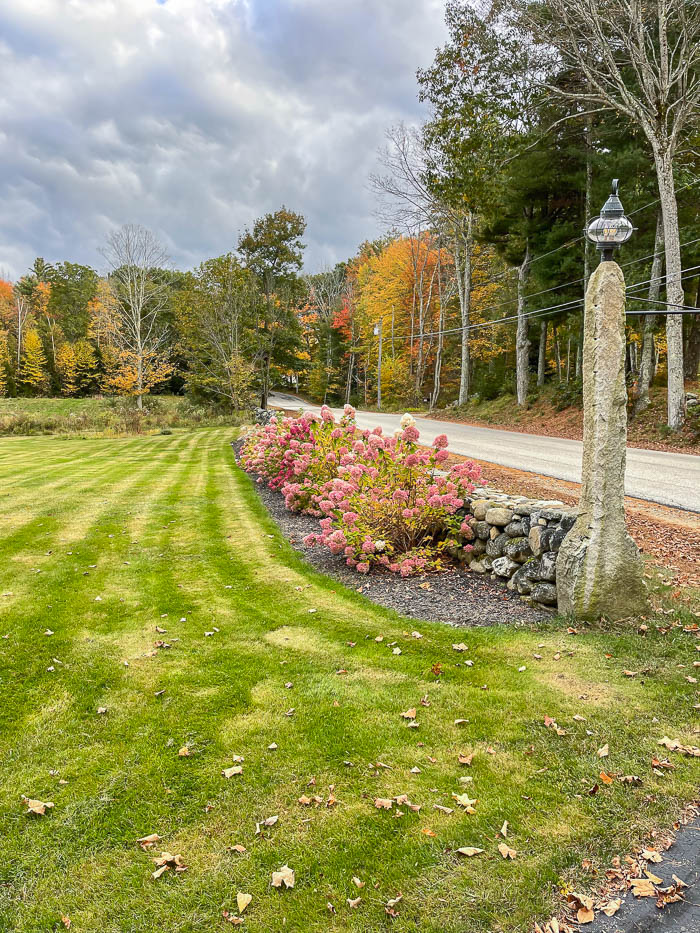
In the beginning I did contemplate keeping the rose bushes that were next to the granite lamp post. I wondered if we left them if they would really make that big of a difference, but now seeing the after, I’m glad I trusted my gut, and we removed them. There is one thing I always tell myself when I’m planting plants, or planning new garden beds, and that is “that I have to love it”. What we choose to plant is a personal decision, and should be solely to bring us joy. I knew the overgrown rose bushes did not compliment the overall landscape design I was wanting, so they had to go.
Before
After
For more tips on growing limelight hydrangeas, click HERE.