Hi friends!! Do you ever have an “AH-HA” moment and wonder why you didn’t think of it before? I was laying in bed the other night, catching up on some IG stories, when I was came across another fellow blogger I love, and she was touring a home that was for sale. She shared the outside of the home before they walked in, and it hit me like a ton of bricks! It was this cute white, cape style home, but the foundation was painted dark. And then the lightbulb moment happened!
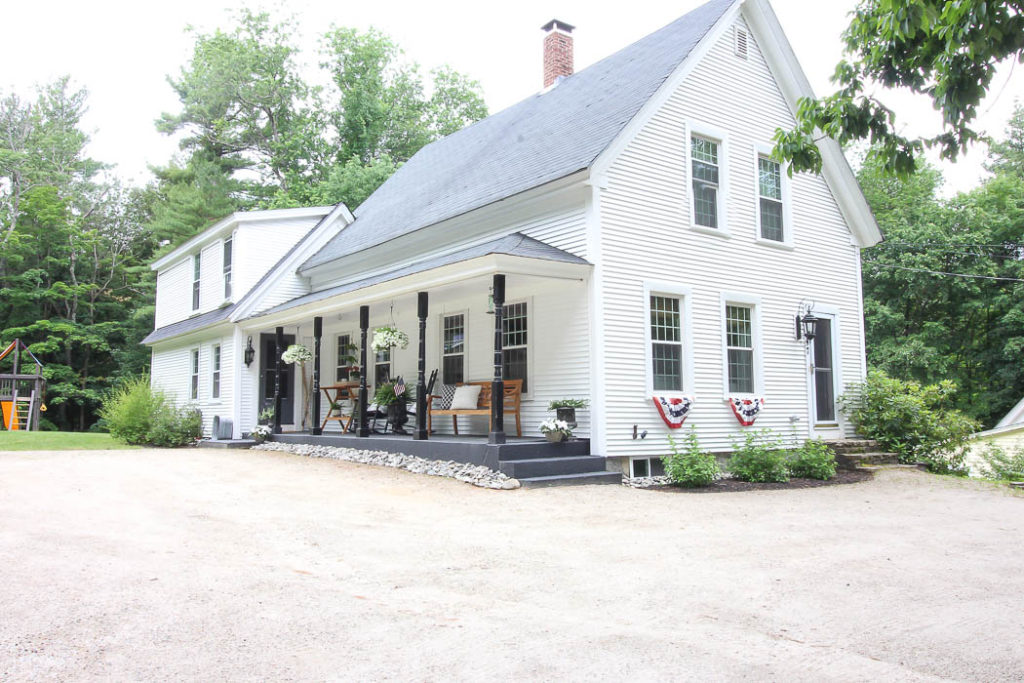
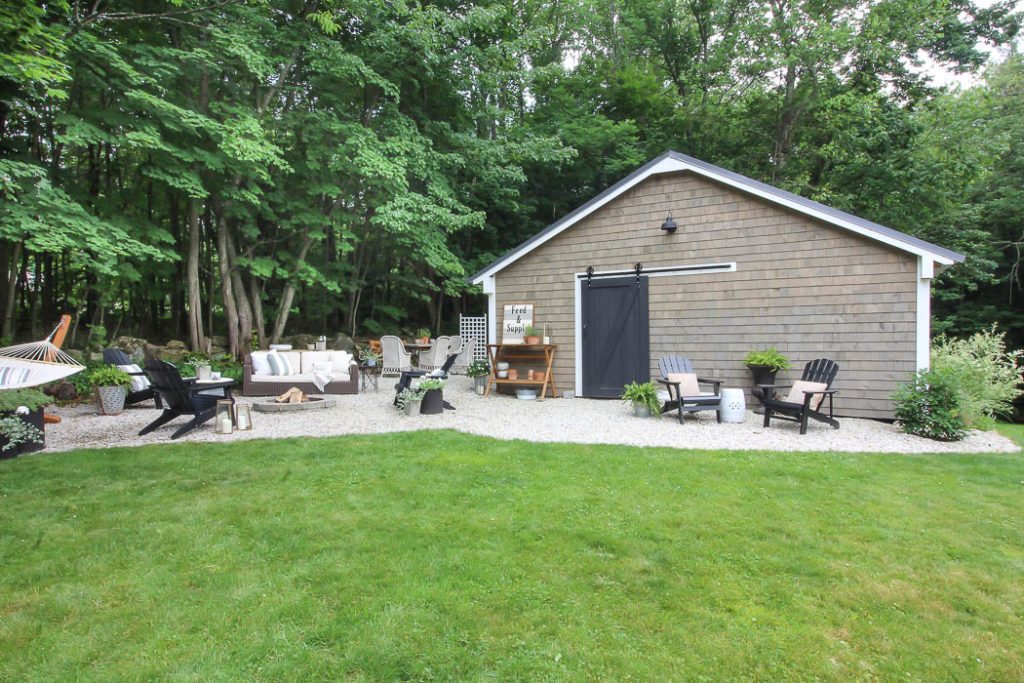
So let me back up for a quick minute. I’ve shared the exterior of our house before, and landscaping goals we have. But with the expansion of the gravel patio area around the barn last spring, we have focused about 99% on the landscaping in our yard to this main side of our house.
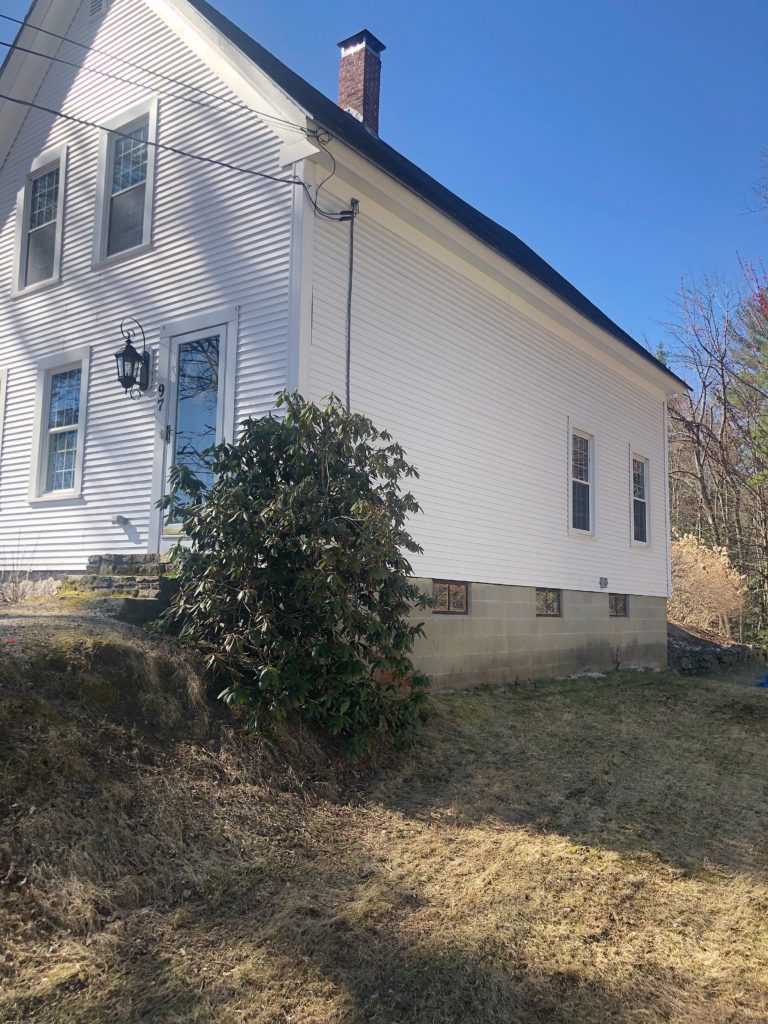
But, it’s not the first view of our home when you come driving down our street. Nope, you actually see this side of our home, where we have done literally nothing but cut the grass. (Looking at the photo below, it’s the side of our home that’s to the right of the front door.)
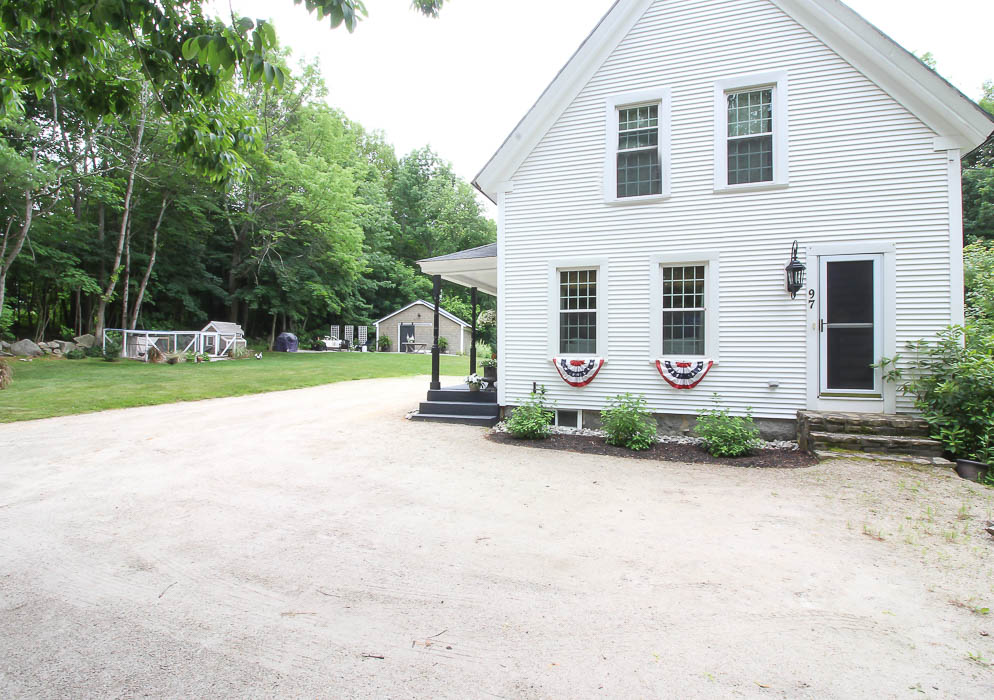
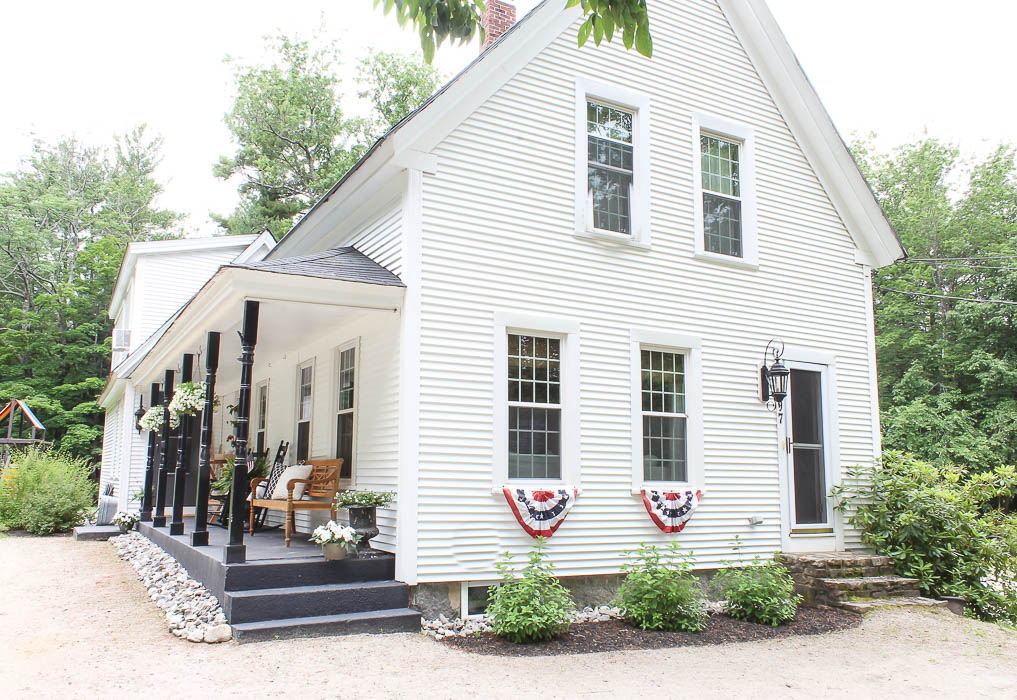
Our house was built in 1846, and typical foundations from that time period have dirt floors and fieldstone (giant rock) walls. That was certainly the case with our house, and then sometime in the 70’s the previous owners jacked the house up and poured in a concrete foundation. Our house is located on a hill, so 3 walls in our basement still have the original stone, and then the remaining side wall has concrete cinder blocks.
It’s always been an eyesore to me, but the moment you pull in the driveway you don’t see it. So I guess you could say it’s been out of sight out of mind. Yet every once in awhile it will catch my eye as I’m pulling up to our house and I cringe.
I headed to the hardware store, since we have painted our concrete porch in the past, I knew just what I needed. There are a few different types of paint out there, made by different brands. but primarily you are looking for the terms “Deck Over” on the paint. We’ve used the Rustoleum Restore brand before, and it’s been “ok”, so I decided to try Behr this time to see how they compare.
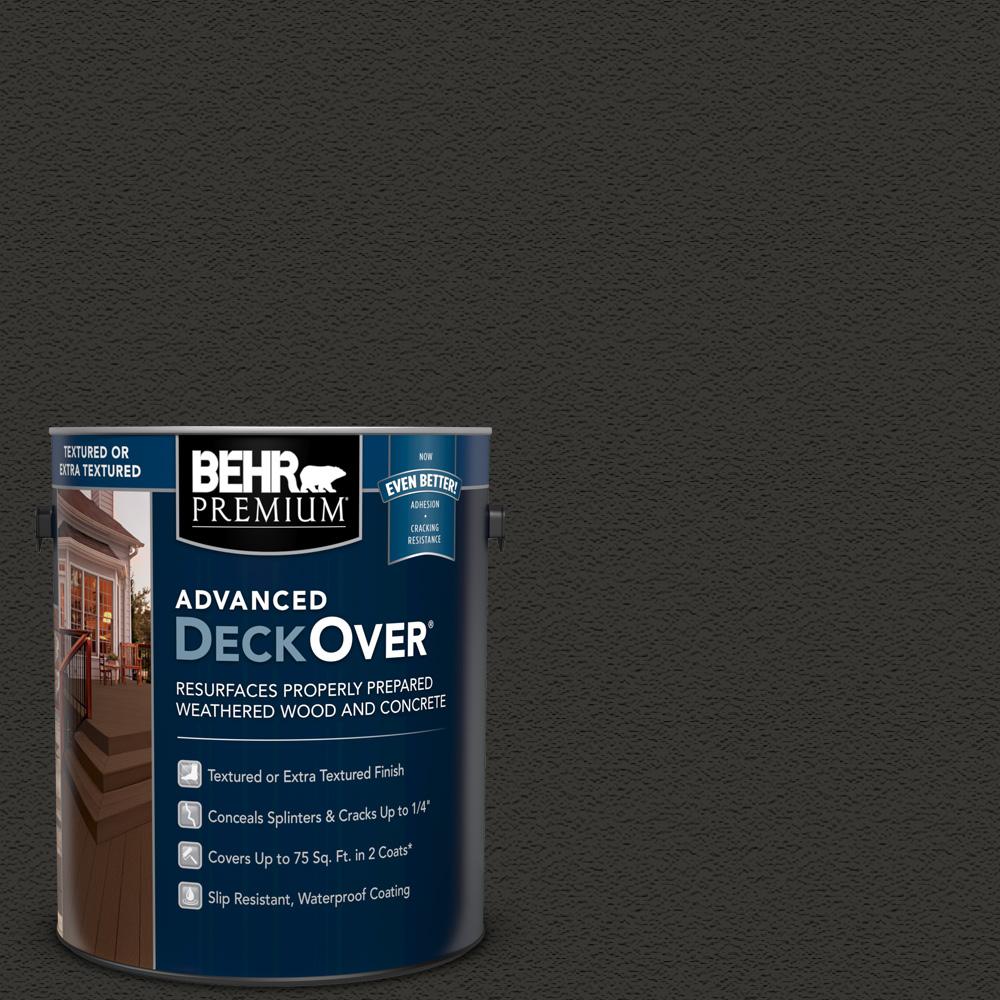
This is an extremely thick paint! It also comes with the option of “smooth” vs. “textured” I always go with the smooth, because there is still some grit to it, but the textured comes out more like how a textured ceiling looks.
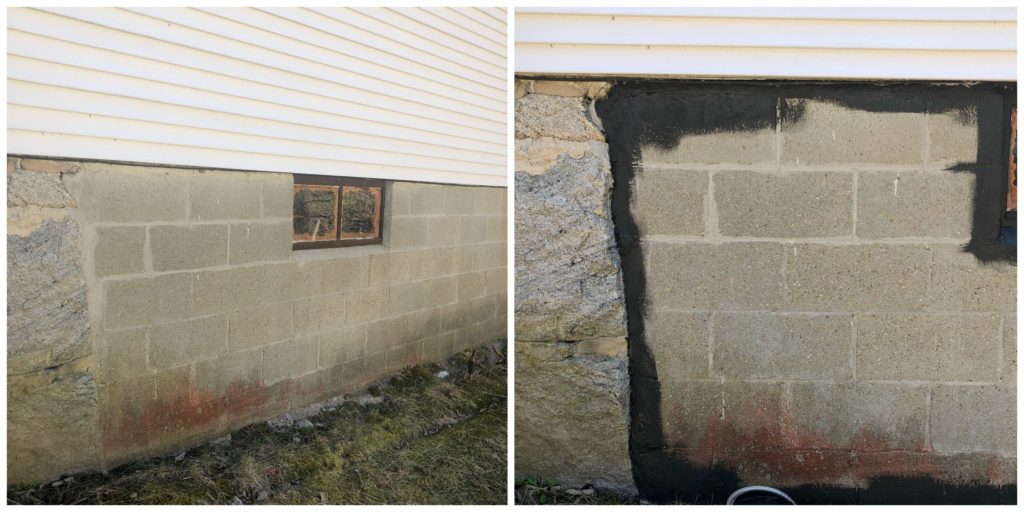
I began painting by doing all the cutting first. This paint dries fast, and I didn’t want to pour it into a painters tray until I was ready to paint the entire thing.
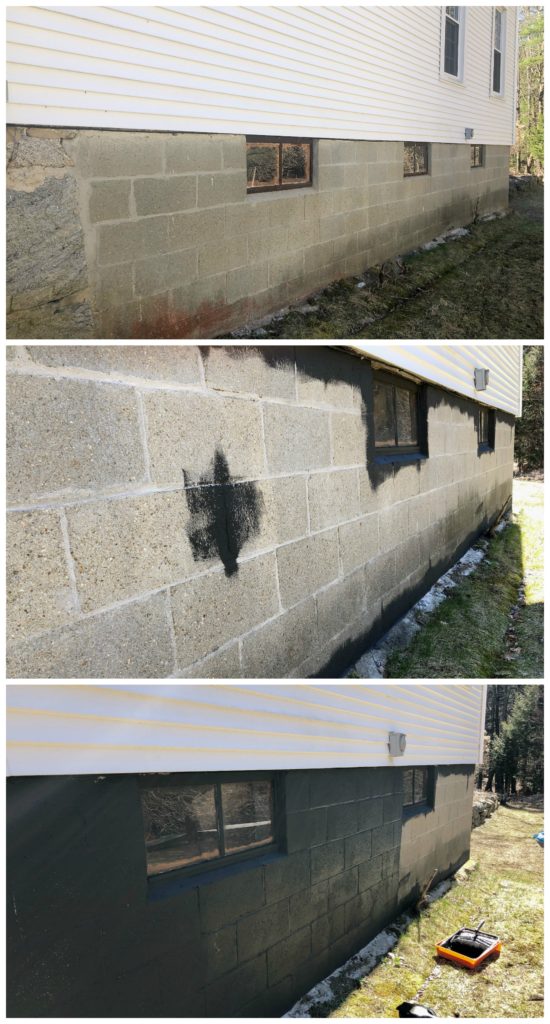
The can recommends 2 coats of paint. At first I thought I could just get away with doing one really thick coat. Our foundation is really porous, so you can imagine it sucked this paint up, lol! Some areas I could go on thicker with, but with how quickly the paint was getting absorbed, I realized it was easier to paint on the first coat, and then go back once it was dry to fill in all the rest of the cracks & holes with a second coat.
Here’s a close up of what I mean –
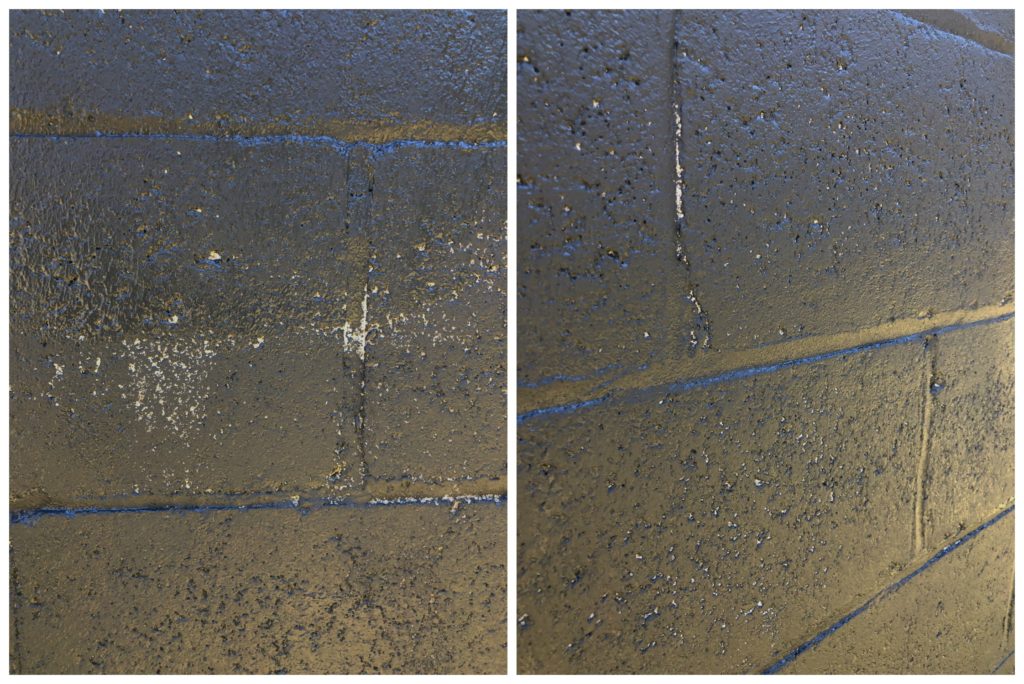
You can see in some spots it filled in really well, but in general there are tiny spots spread throughout. The first coat went on slow, because the concrete was absorbing so much of the paint, but I know when I go back over it again with a second coat, it will go on much quicker.
I thought I could get away with only one can, which covers 75 sq ft, but it turns out I need to go back and get a 2nd can. At $35 a gallon, this was definitely the more budget friendly fix!
I think that is an important reminder when it comes to fixing up our homes. Sometimes it can be such a disappointment when we don’t have the money to do the renovations we want to do. Sure I would’ve loved to be having our foundation refaced with stone, but we have some other priorities this year, so the money is going towards those things. But that doesn’t mean I still can’t update it in the meantime. Like most of the projects we’ve done around our home, sometimes there is a “quick-fix” we do first, until we have the funds in our budget to really do what we want. It’s all about loving the space you are in, so any improvement is sure to help you love it just a little bit more!
I’ll be back to share the finished pictures with you, once I get some of the landscaping done on this side of our house as well!


This is perfect timing for me as i’ve been thinking of doing the exact same thing at my house! Our foundation was painted green by the previous owners, and the color isn’t bad, but the paint is old and starting to peel so it needs to be replaced. I think i’ll go with black when I replace it 🙂
Thanks for all the tips! I will definitely keep this in mind as I embark on my project.
I’m excited to see the finished project. I’ve saved your post to show my husband. I think this might be exactly what our foundation needs to improve the look. Thanks for sharing your work.
I live in a home about that same age. And we really don’t have a “front and formal” view of the house when you pull in the drive. It’s weird. I’ve been thinking about painting our foundation as well but our home is kind of cream with green trim and know I won’t keep it this way so it’s on hold for a while.
Can’t wait to see the final projects.
That looks so goid! Wish I’d known about this stain before unpainted our foundation. I hate foundations unless they’re granite, stone or brick! We painted our foundation brick a couple if years ago and, knock on wood, It’s still looking fine! Great job, beautiful home!
Thank you so much Deb!
It’s looking good ! I really like the other side of the house. You were clever to leave the original stone-‘as is’. Can’t wait to see the finished job. You have planned well !
Thank you Margaret!! We’ve worked a lot on the other side of the house, so I’m excited to finally feel like this side will match the esthetic 🙂
So anxious to see the finished painting job. My house sits on a hill and two sides have the exposed cement block basement walls exposed and I have thought about having some refacing done except money is an issue; now I will be able to see how your project turns out with paint and maybe I can go that route.
So exciting Sue! I finished yesterday afternoon, and it looks amazing!! I’ll be sharing soon! The second coat really helped out a ton!
Another great post!
Awe, Thank you so much Nancy 🙂
Can’t wait to see the finished project! It’s going to be nice.
Thank you Susan!!