Hello Friends!!
I’m so excited to share todays project with all of you, because it’s probably one of my most favorite faux treatments. I’m sharing all my tips, from prep work to paint sheen, to show you how I achieve this high-end look, for a fraction of the price. I know people don’t typically think about “decorating their ceilings”, but I love the character this adds to any room.
So let’s get started!
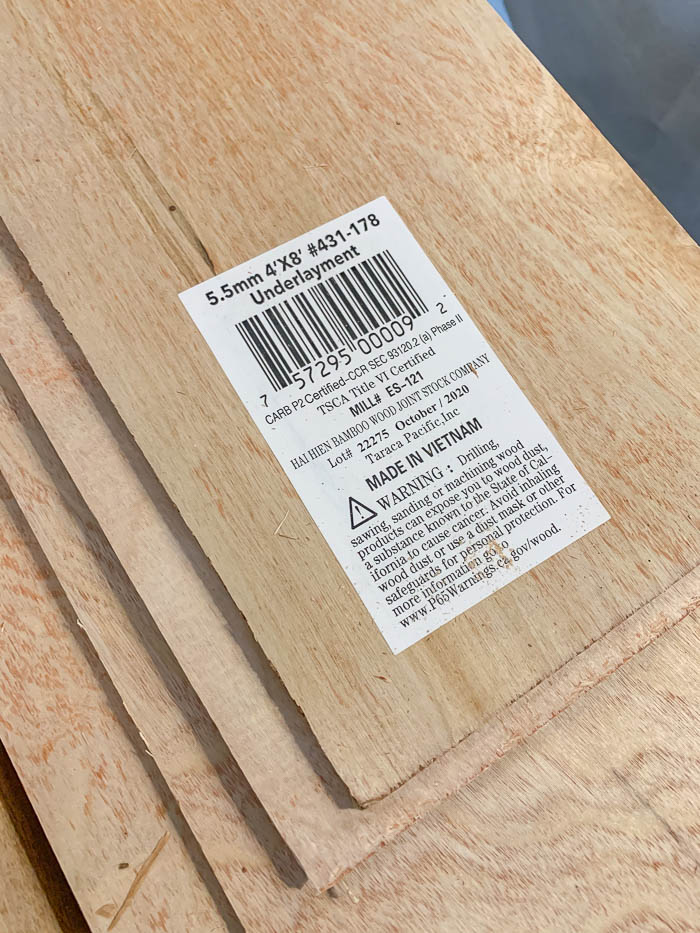
You may remember I actually did the same ceiling treatment to our bathroom last year. That ceiling was in rough shape after some failed DIY attempts, and this was the perfect solution to not only cover up the mess, but also add some character. To get started, I used 5.5mm 4’x8′ Underlayment plywood. This runs around $13 a sheet, and I ended up needing about 5 sheets.
Materials & Tools You’ll Need
| Item | Purpose |
|---|---|
| 5.5 mm underlayment plywood (4′ × 8′ sheets) | Rip into strips to mimic shiplap boards |
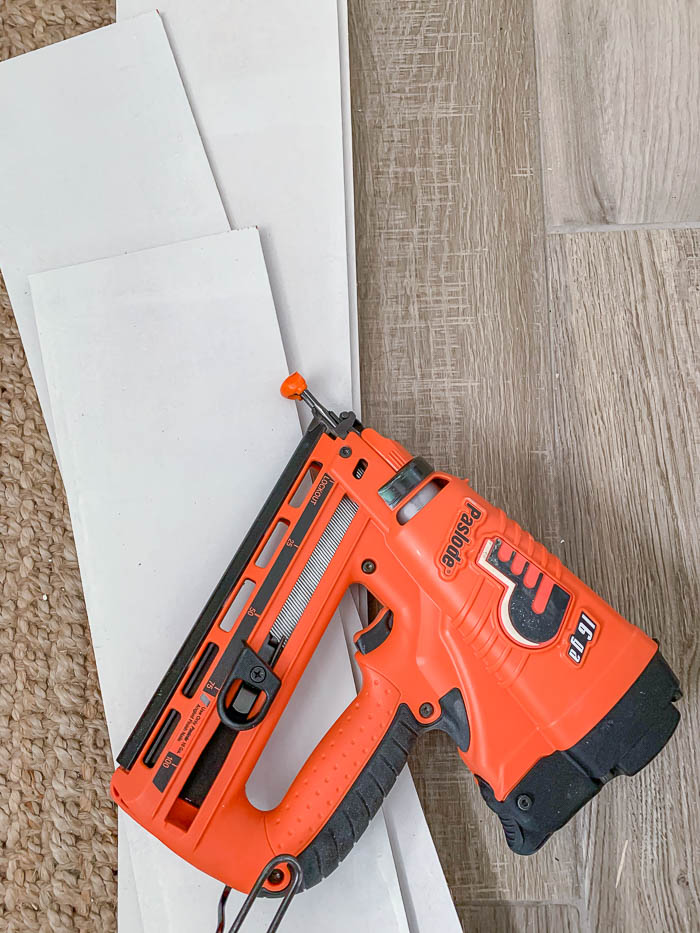
| Finish nailer | For securing boards to ceiling joists |
| Primer + paint (semi-gloss or satin) | Primer seals plywood; paint sheen enhances the finish |
| 1×2 pine boards | Trim to frame the ceiling edge |
| Laser level, chalk line | To layout straight, even rows |
| Sandpaper (fine grit) | Smooth edges and ensure clean seams |
| Drop cloths, paint supplies | Protect surfaces; paint both faces and edges |
Note: I purchased five sheets of plywood, then had them ripped into 6″ strips at the hardware store.
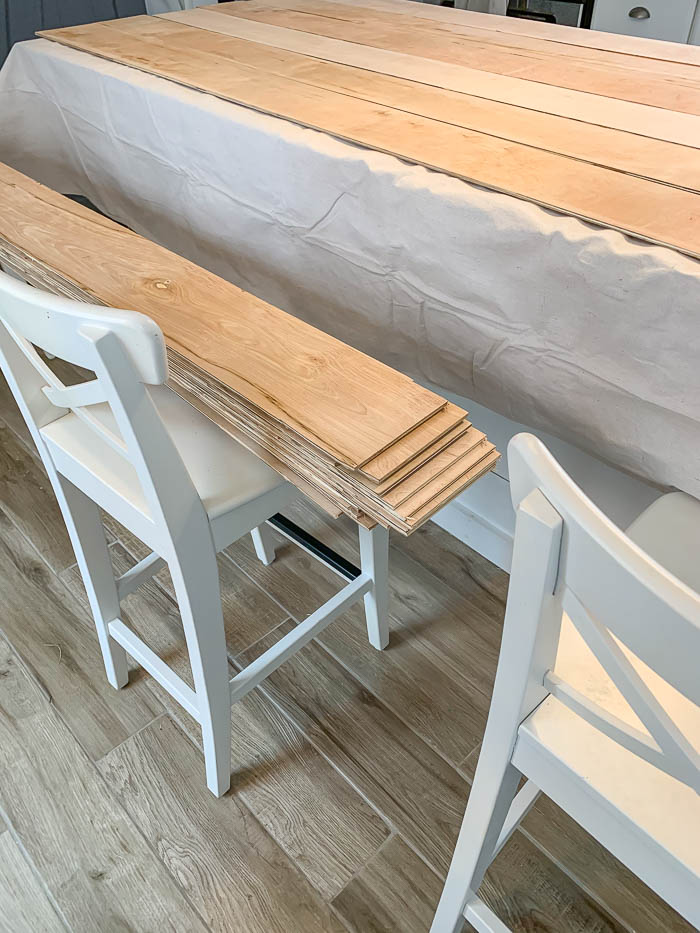
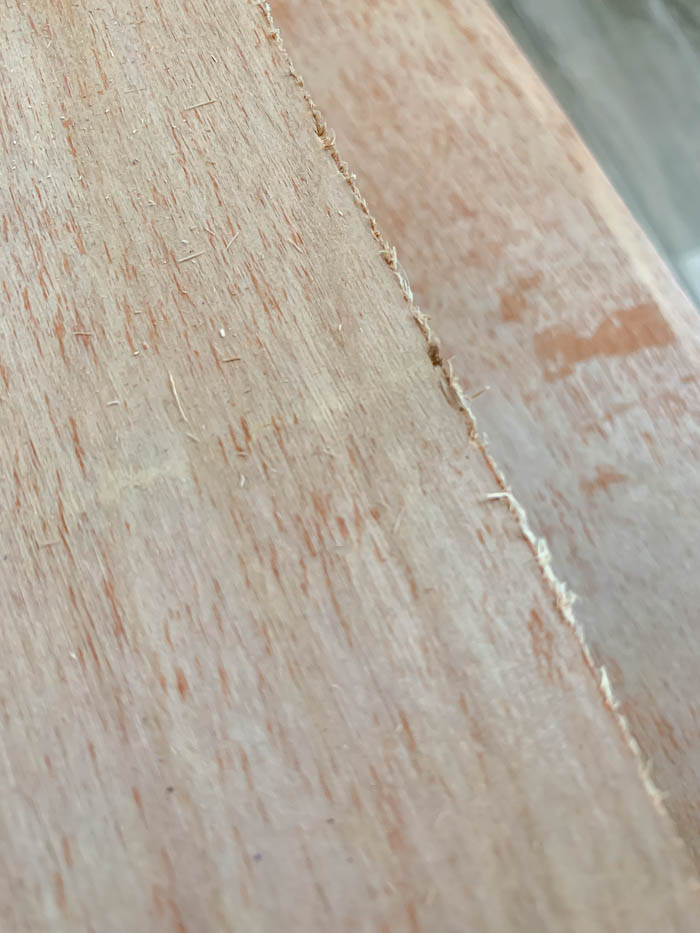
Quick Tip – You’ll want to lightly sand the edges of the planks, to remove any frayed pieces from ripping down the boards. This will give you cleaner lines in between the planks when you go to paint them. A key when achieving this faux shiplap look!
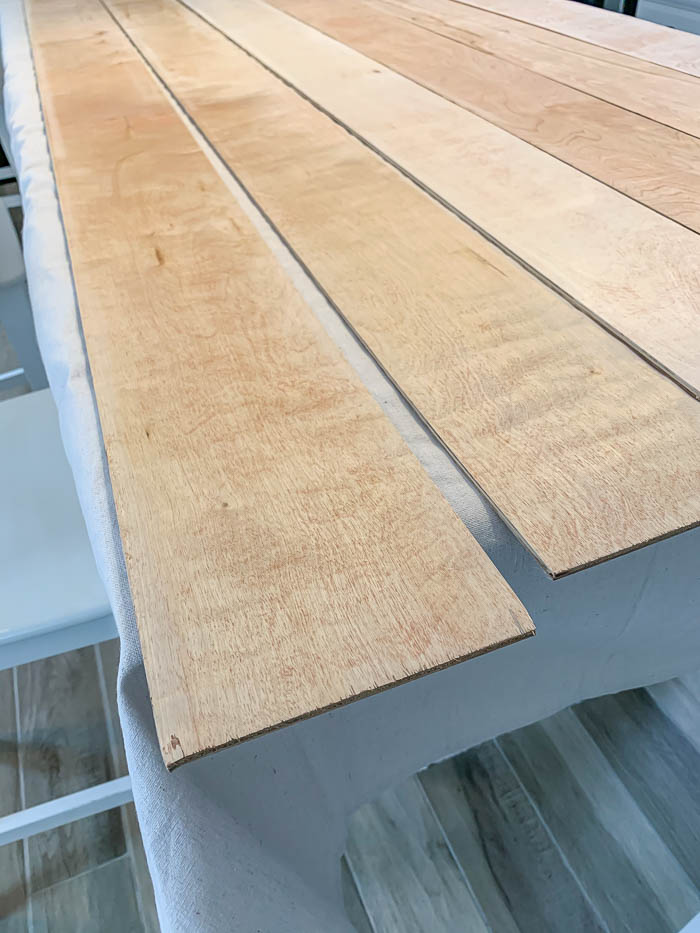
After quickly sanding all the edges, it was time to prime the boards. I used some leftover white paint I already had on hand, and set up my painting station on our kitchen island. I placed a drop cloth over the island and slightly spaced out the boards, so I could paint them, included the sides.
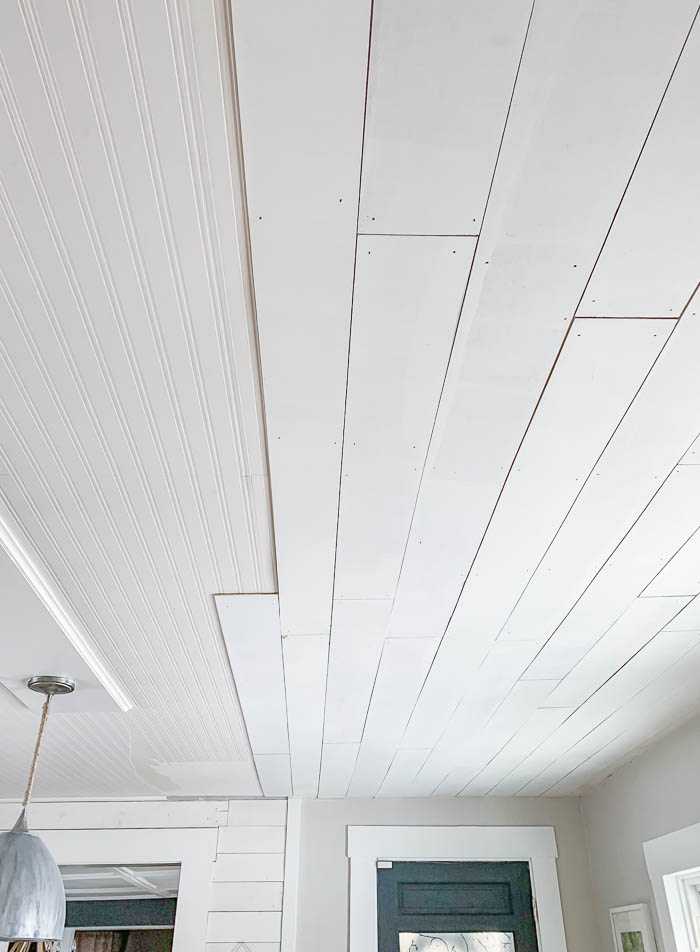
Once my planks were primed I used our finish nailer to attach them to the ceiling.
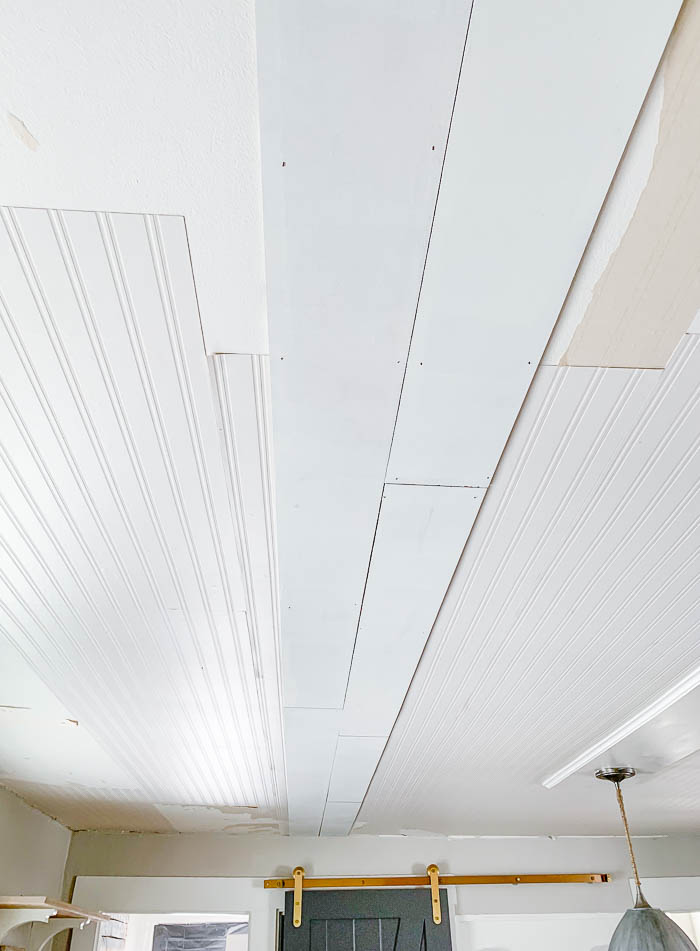
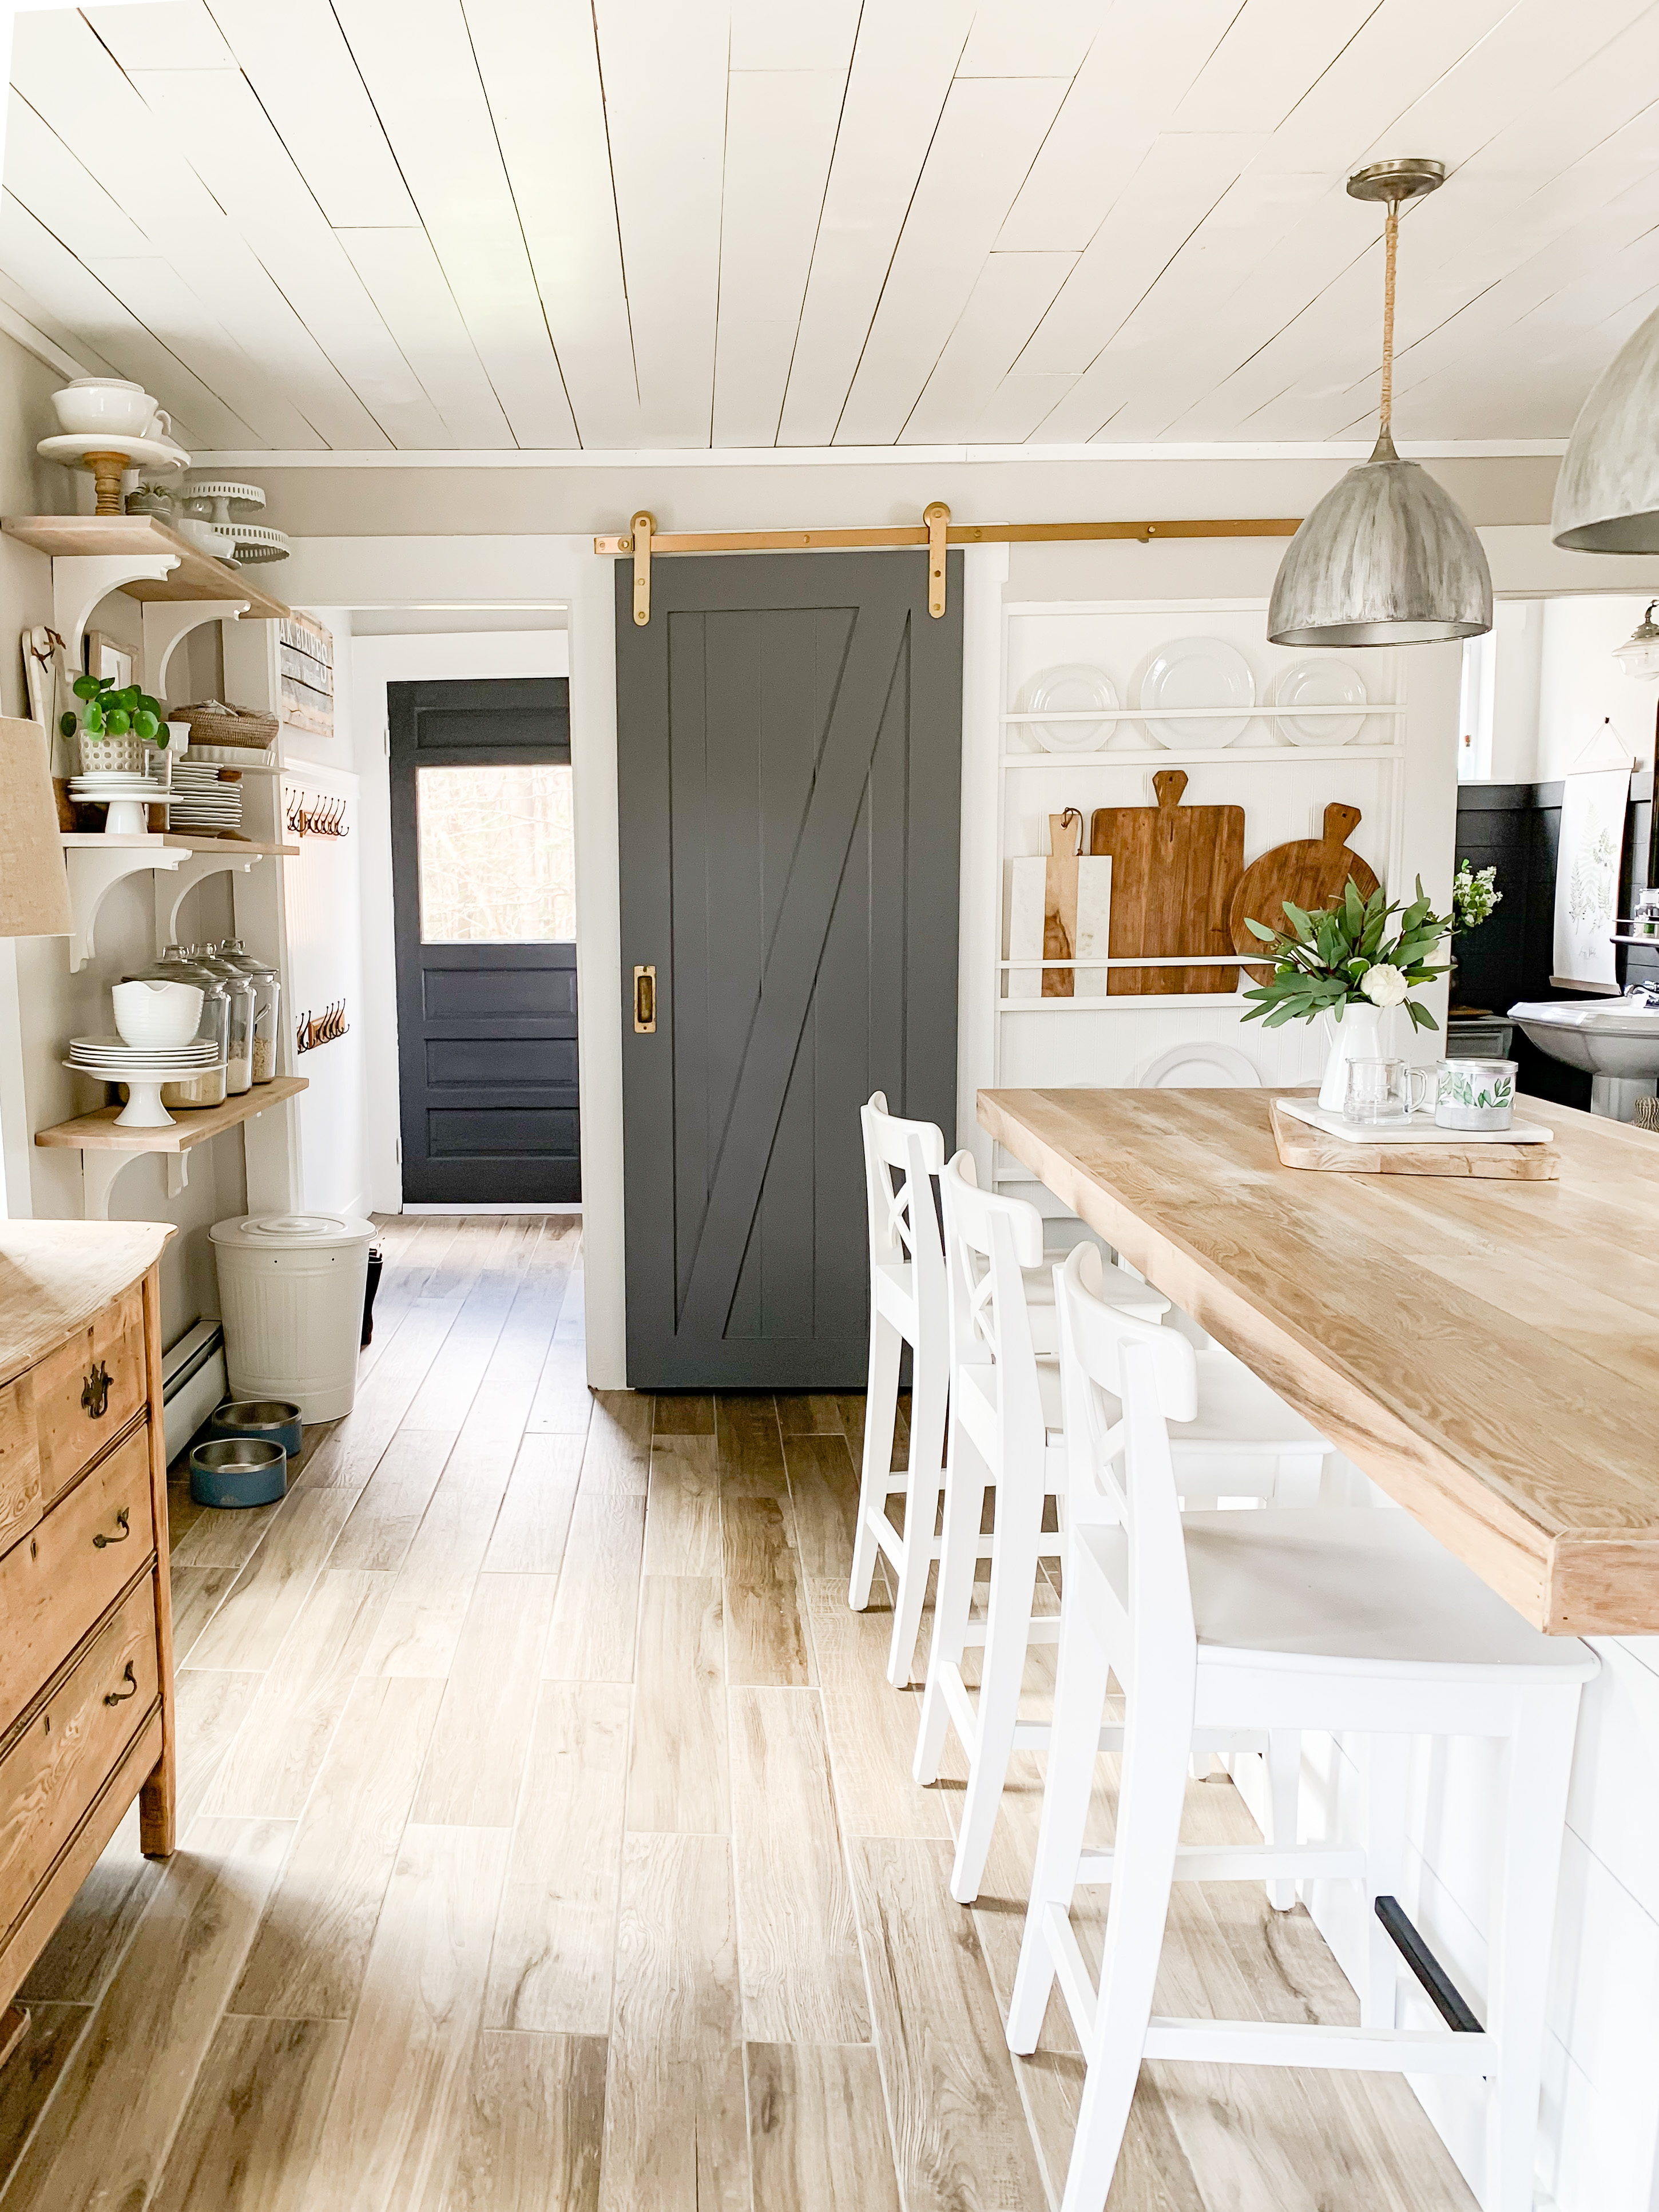
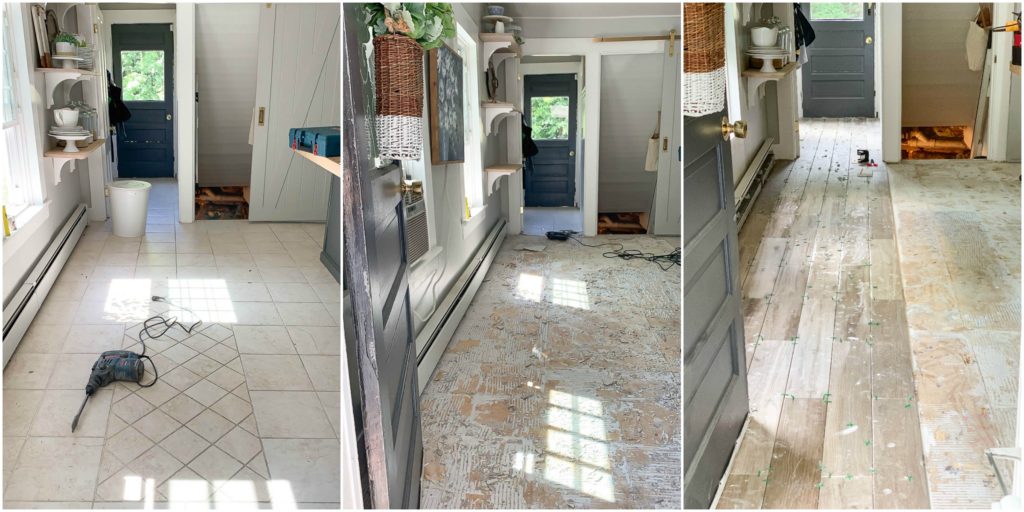
Because our walls aren’t straight, due to the charm of this 1846 farmhouse, we decided not to start up against the wall on one side of the room. With our wood look tile planked for below, my husband wanted to ensure that the seams on our ceiling would match the grout lines on the floor below. (I included a photo at the end where you can see both). Using a laser level, he was able to cast the line from the laser along the grout line on the floor, up the barn door, and onto the ceiling, where we made a chalk line to create our starting point. This would make it so that the grout lines on the floor and the lines from the gaps in between the planks on the ceiling would match. Meaning no one would be looking crosseyed every time the walked into our kitchen.
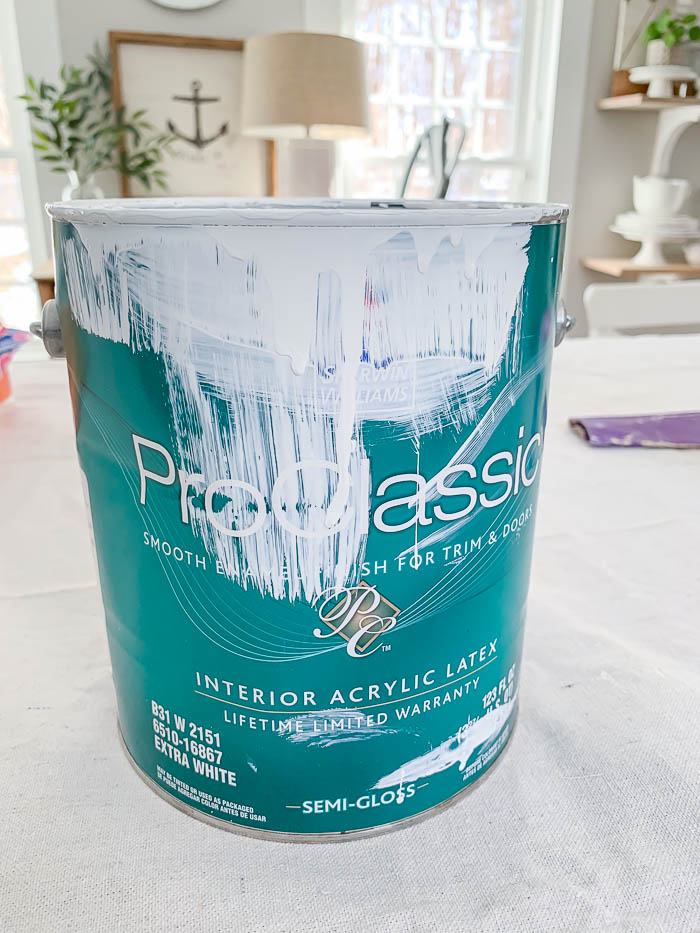
Once the primed planks were up on the ceiling, I took out my Go-To Trim Paint, Extra White by Sherwin Williams in Semi-Gloss, and gave the entire ceiling 2 coats. Below you can see the difference in the sheen of the painted planks in flat paint, and then the semi-gloss.
Just like in our DIY board and batten wall treatment, using a paint that has a sheen to it, really helps enhance the look of the wood, and this case the plywood, making it appear more expensive than it really is. It also helps reflect the sunlight around the room more, making the entire space brighter!
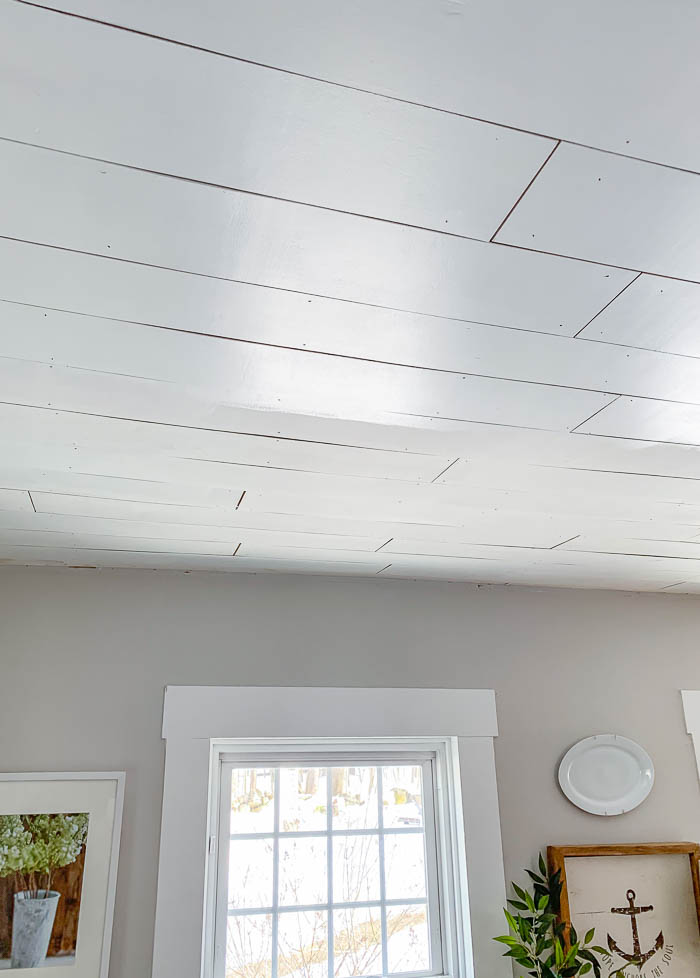
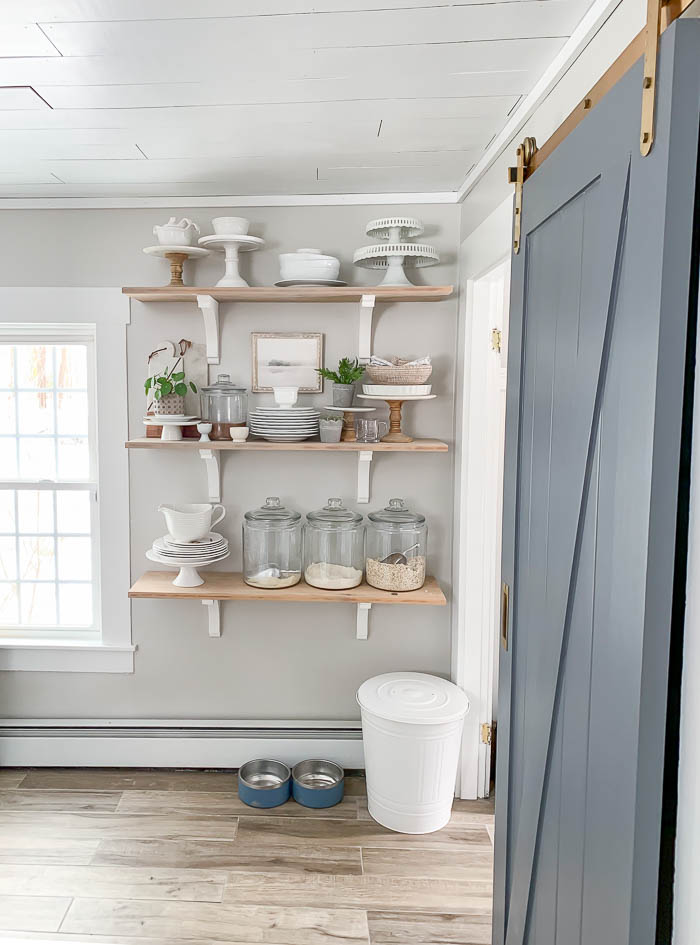
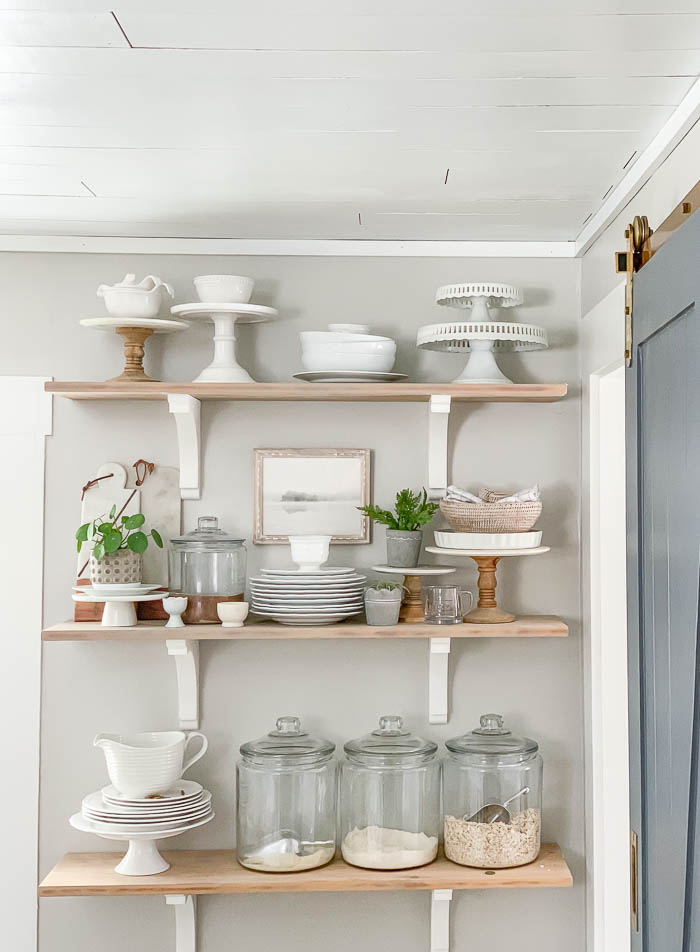
We finished off the ceiling by adding trim all around. We used 1×2 pine boards, and painted them with the same paint I used on the planks. Because of the age of our house, and settling that has taken place over the last 200 years, none of our walls are straight. Adding the trim helps disguise that “charm” just a little bit more, and cover up the gaps.

You can click HERE, to read all about how I painted our barn door this past fall.
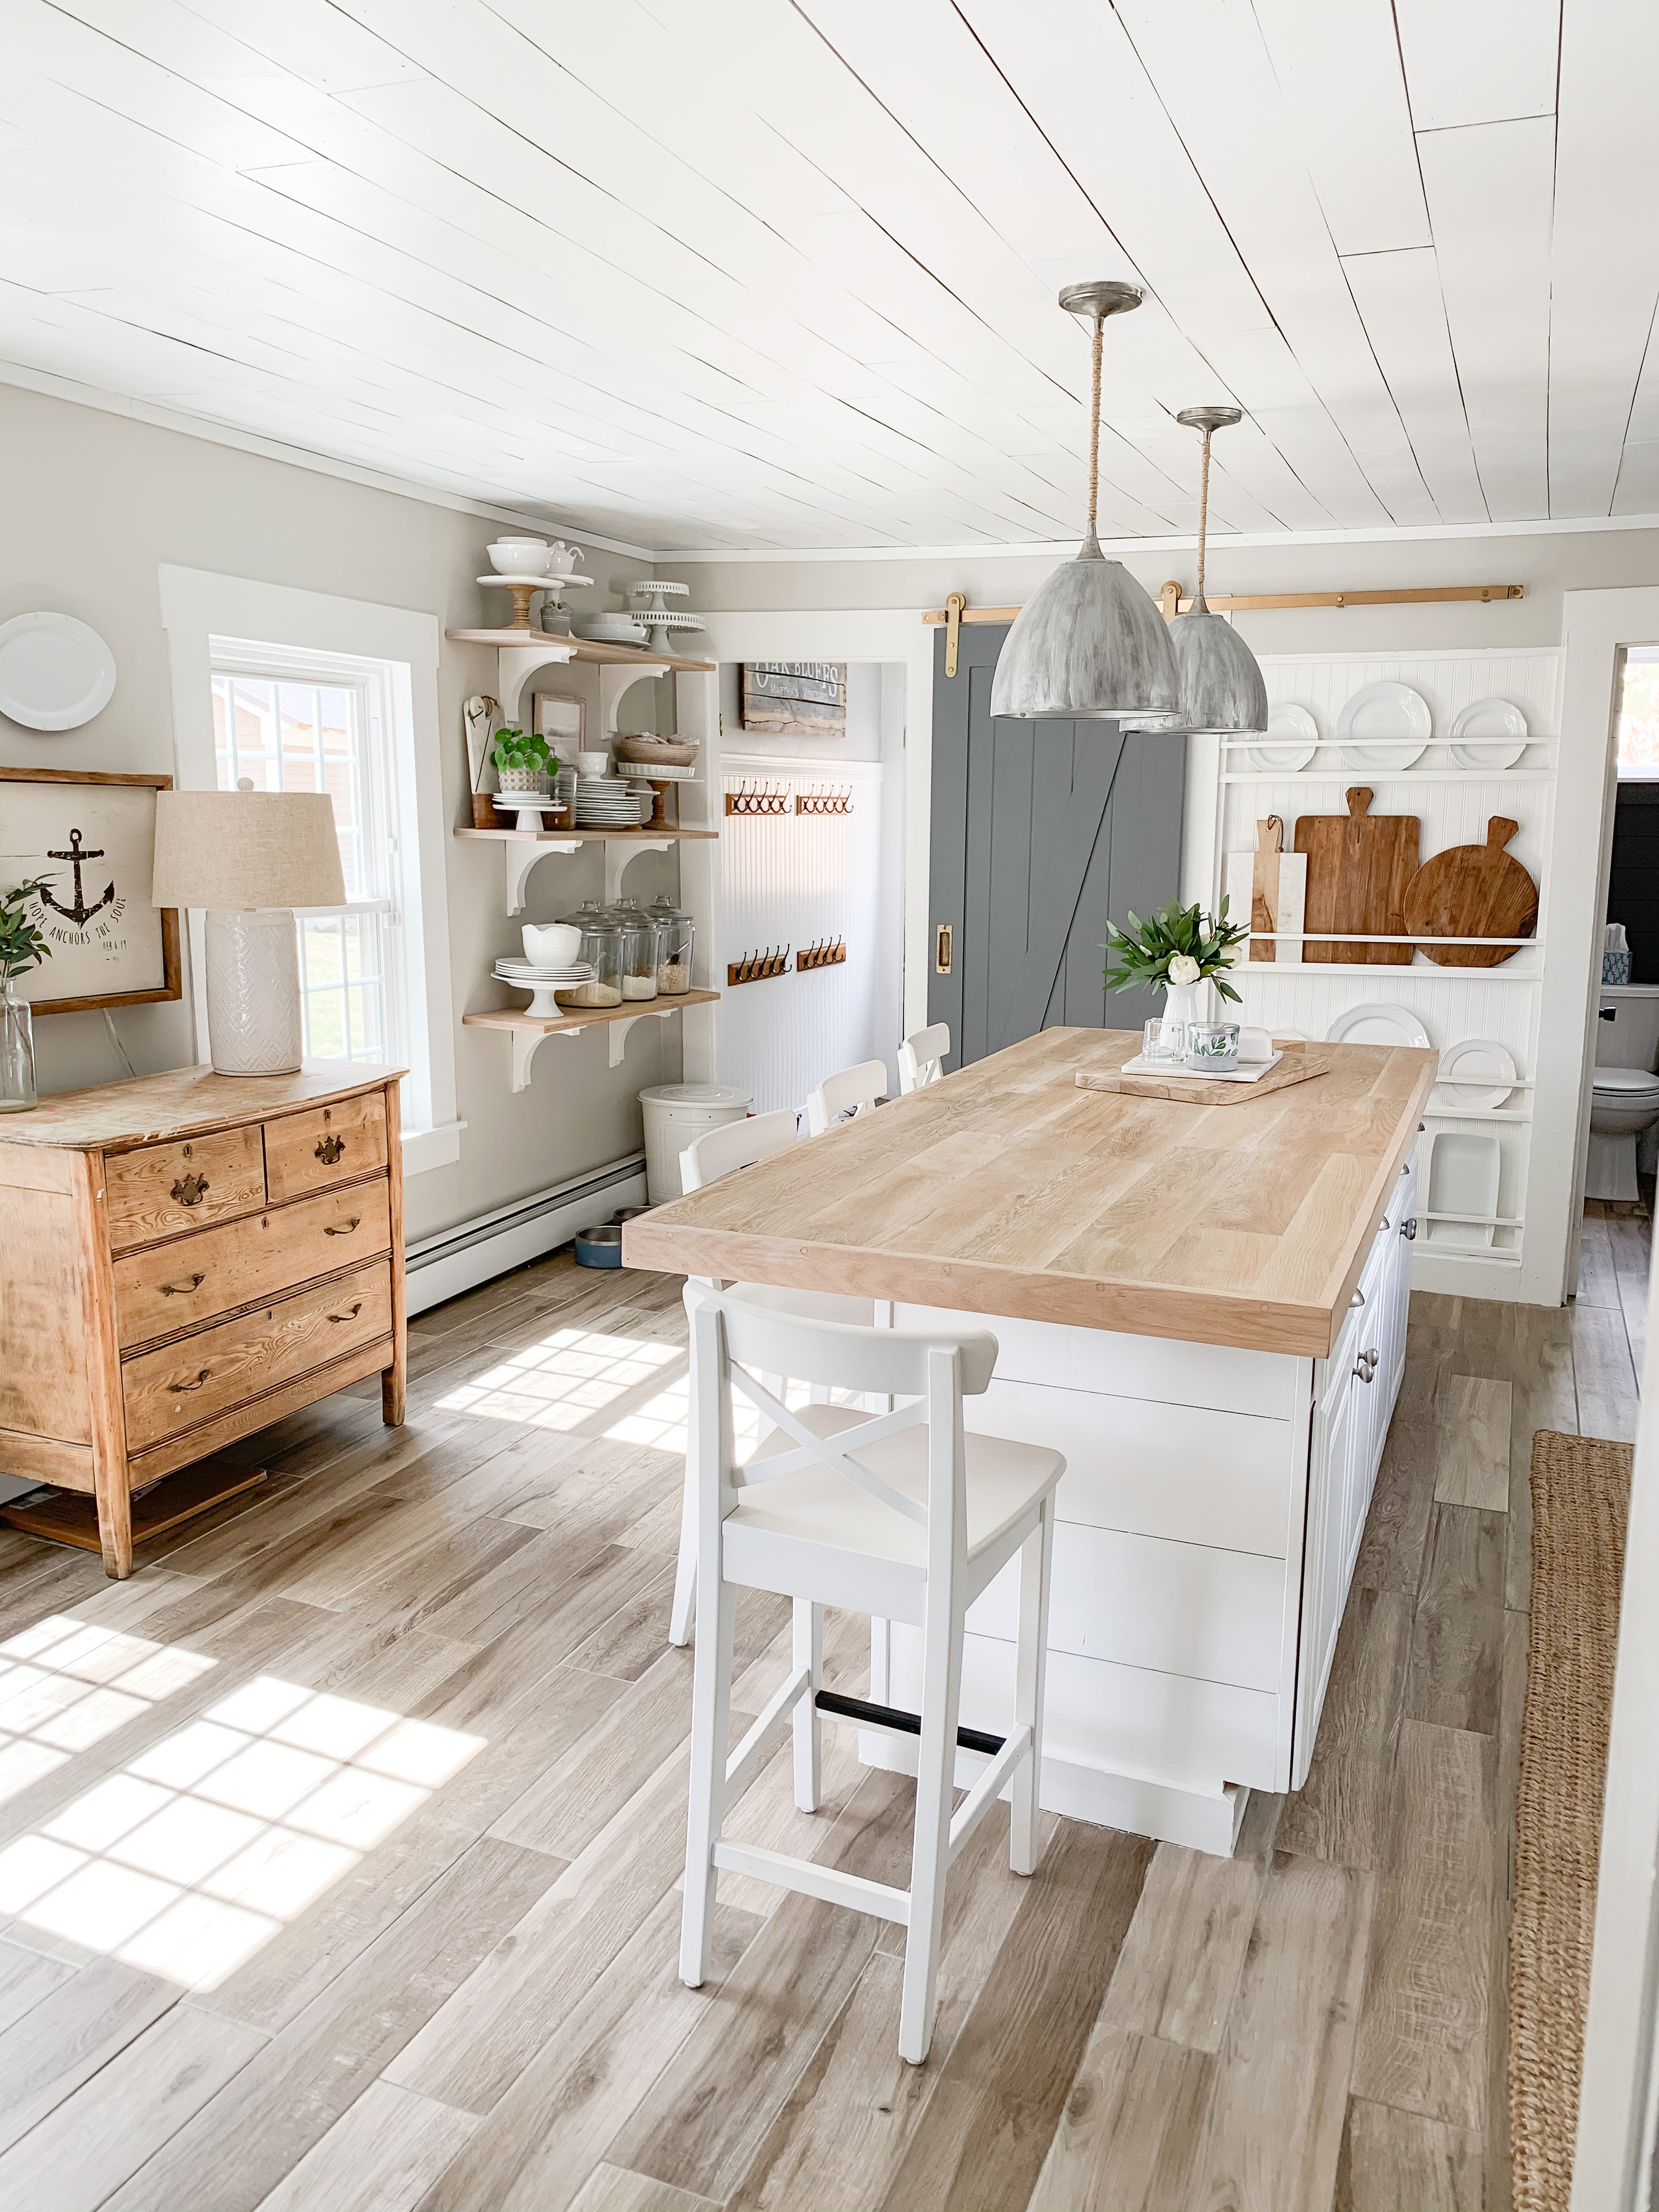
You can see below where how we lined up the seams of the planks with the grout lines on the floor. A detail that I probably wouldn’t of noticed until it was too late. But one that my husband had the foresight to see, and take a few extra minutes to get exact so everything would line up correctly.
To see the transformation of our kitchen floors, click HERE.

WHAT A DIFFERENCE!!! Your new shiplap ceiling adds the most beautiful finishing touch to your gorgeous kitchen. I don’t think I would have considered using a high sheen paint but it is obvious in the photo that it made a big impact and was the perfect choice!
Thanks so much for sharing your latest project:)
Good morning!
Your new ceiling looks great!! You have made your old farmhouse a showstopper! I often go back to your previous posts to look at all your rooms and outdoor spaces. You have a great eye! You inspire me.
Have a great day!
Dot
It’s a lovely ceiling, looks so farmhouse and perfect in your kitchen. Your Kitchen is a wonderful place to gather with family and friends.
Ohh Thank you so much Marlene 🙂 It sure has come a long way 🙂