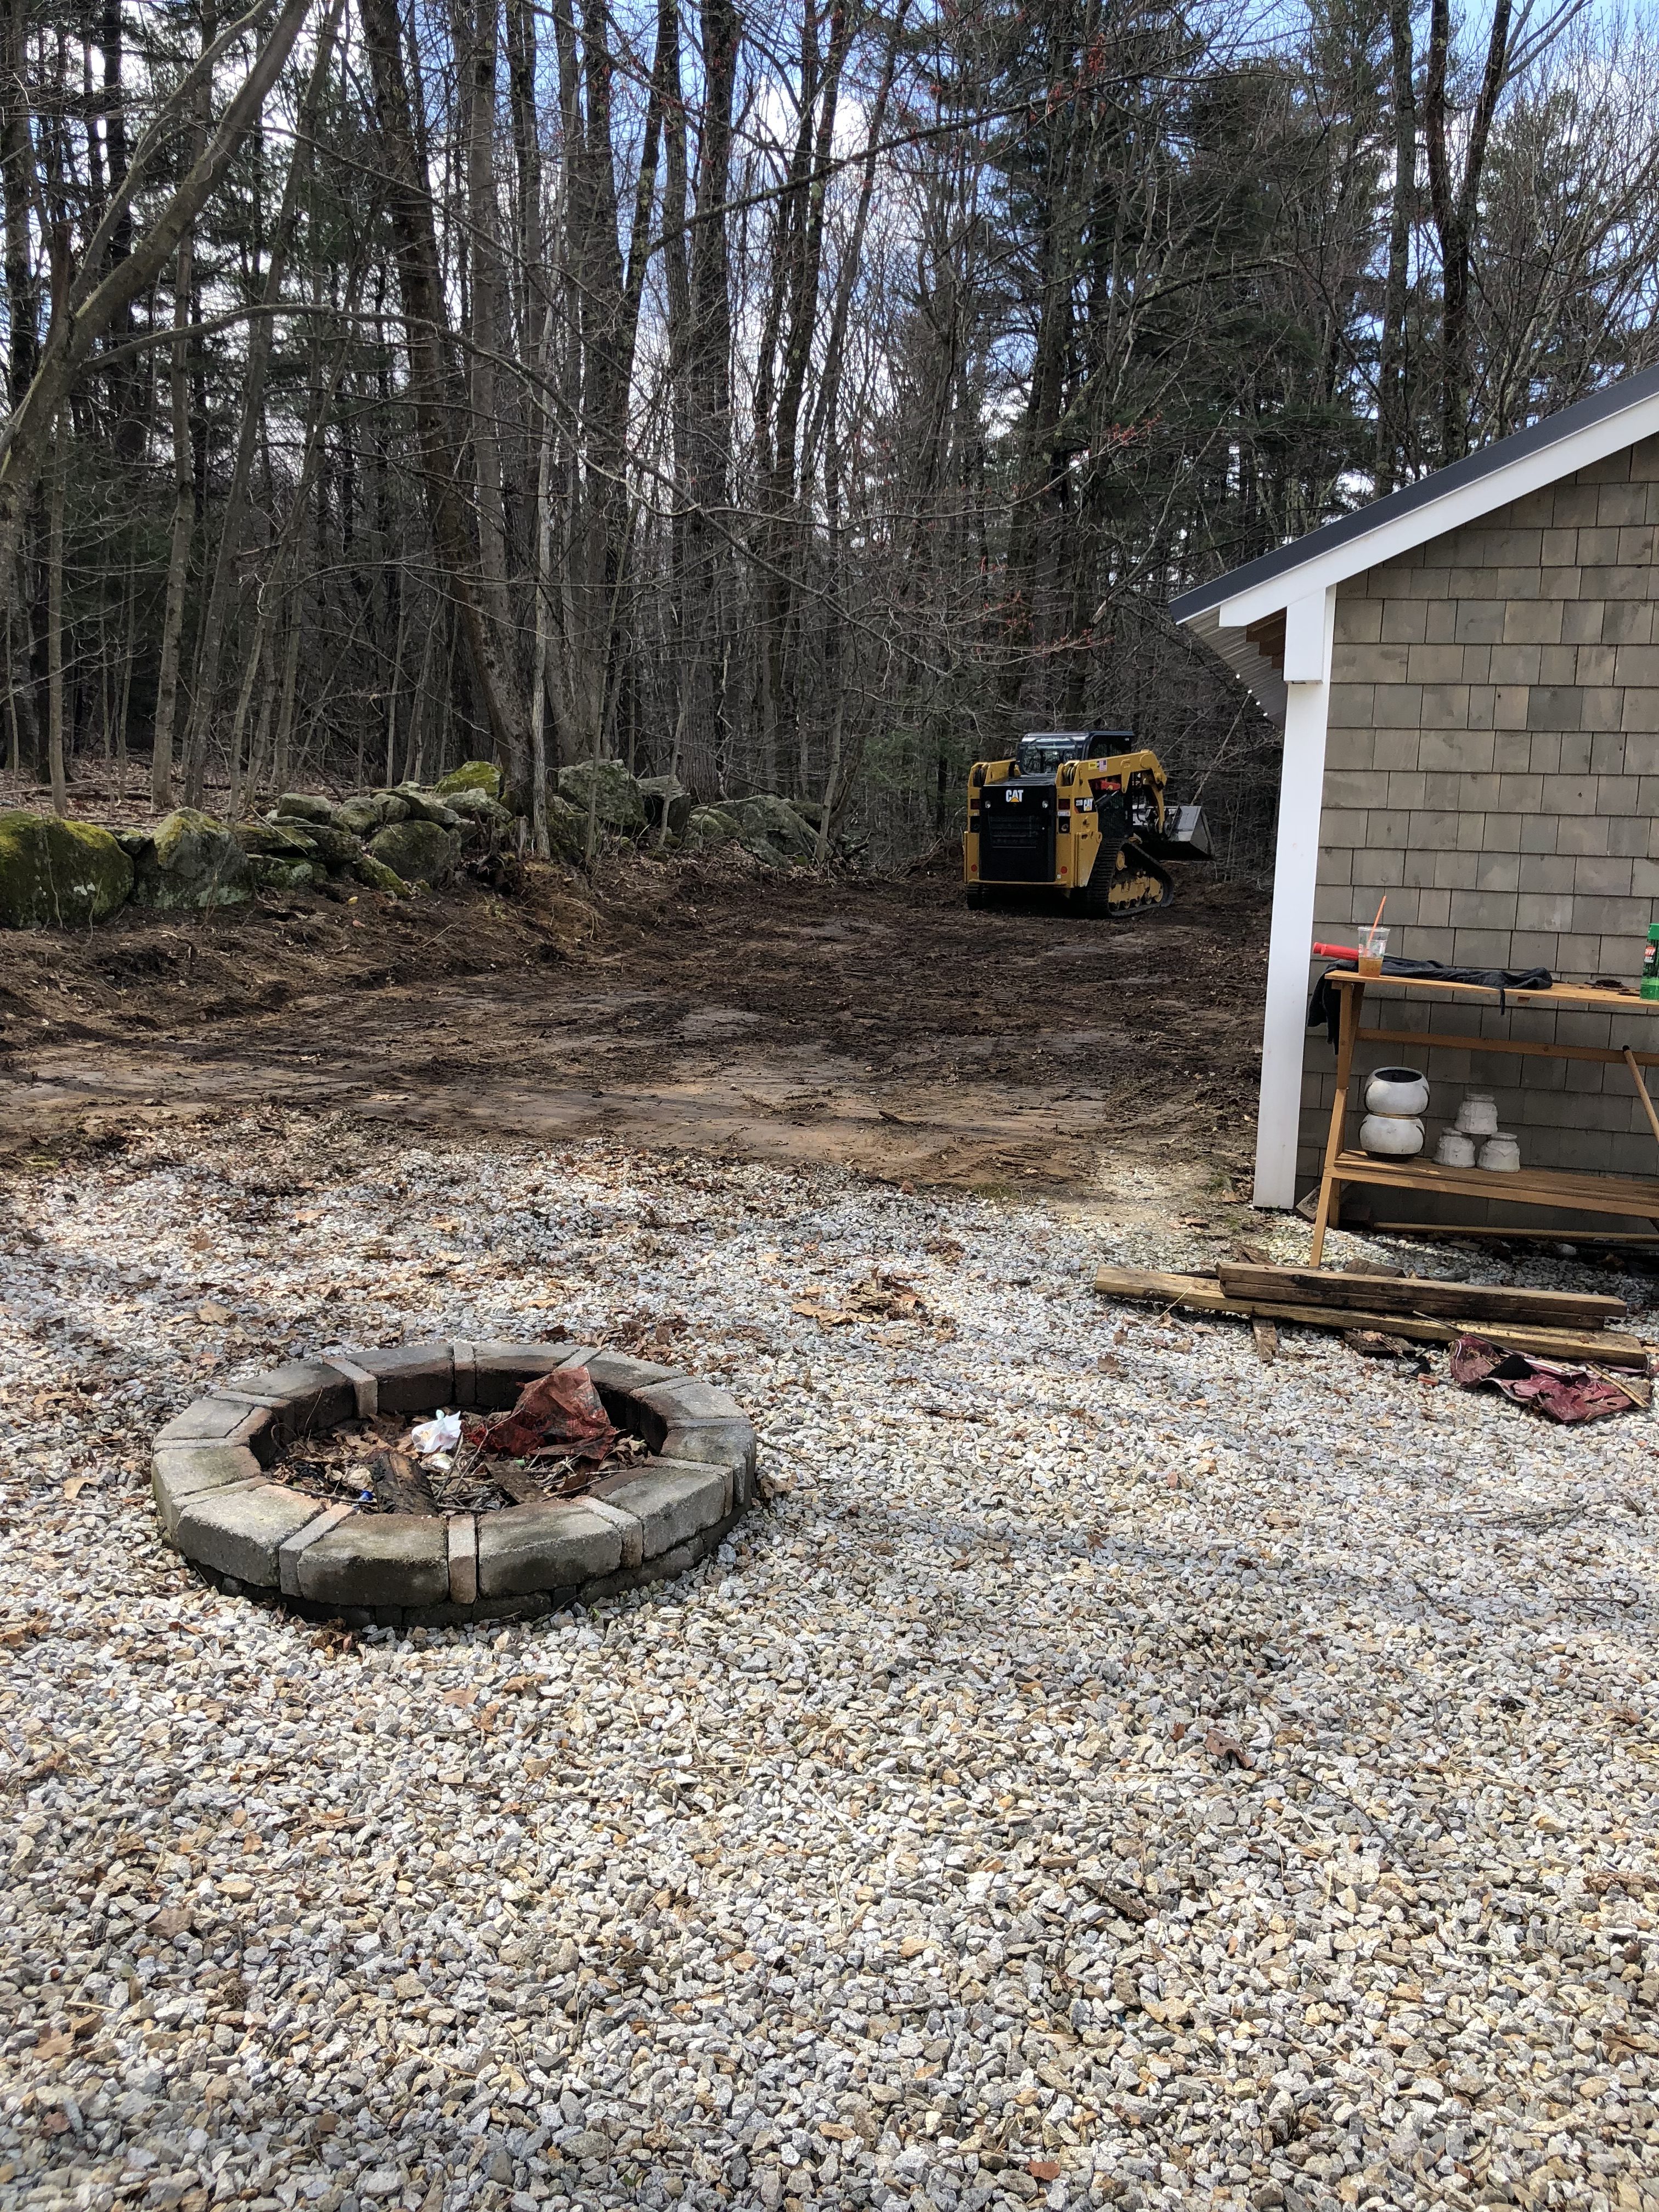
Hello Friends! Happy Friday!! Yes you read that title correctly – we rented a BobCat! My son liked to joke the whole time saying “Where I don’t see a bobcat?!”. He thought he was pretty funny! I shared in my landscaping post, we have totally switched gears after renovating our master bathroom and turned our attention towards our outdoor spaces. So to tackle one of our bigger projects we rented a bobcat, cleared some land, and laid down some crushed stone. The same kind of stone we used in our outdoor patio area. So today I’m going to show you the area we cleared, and how we install our crushed stone.
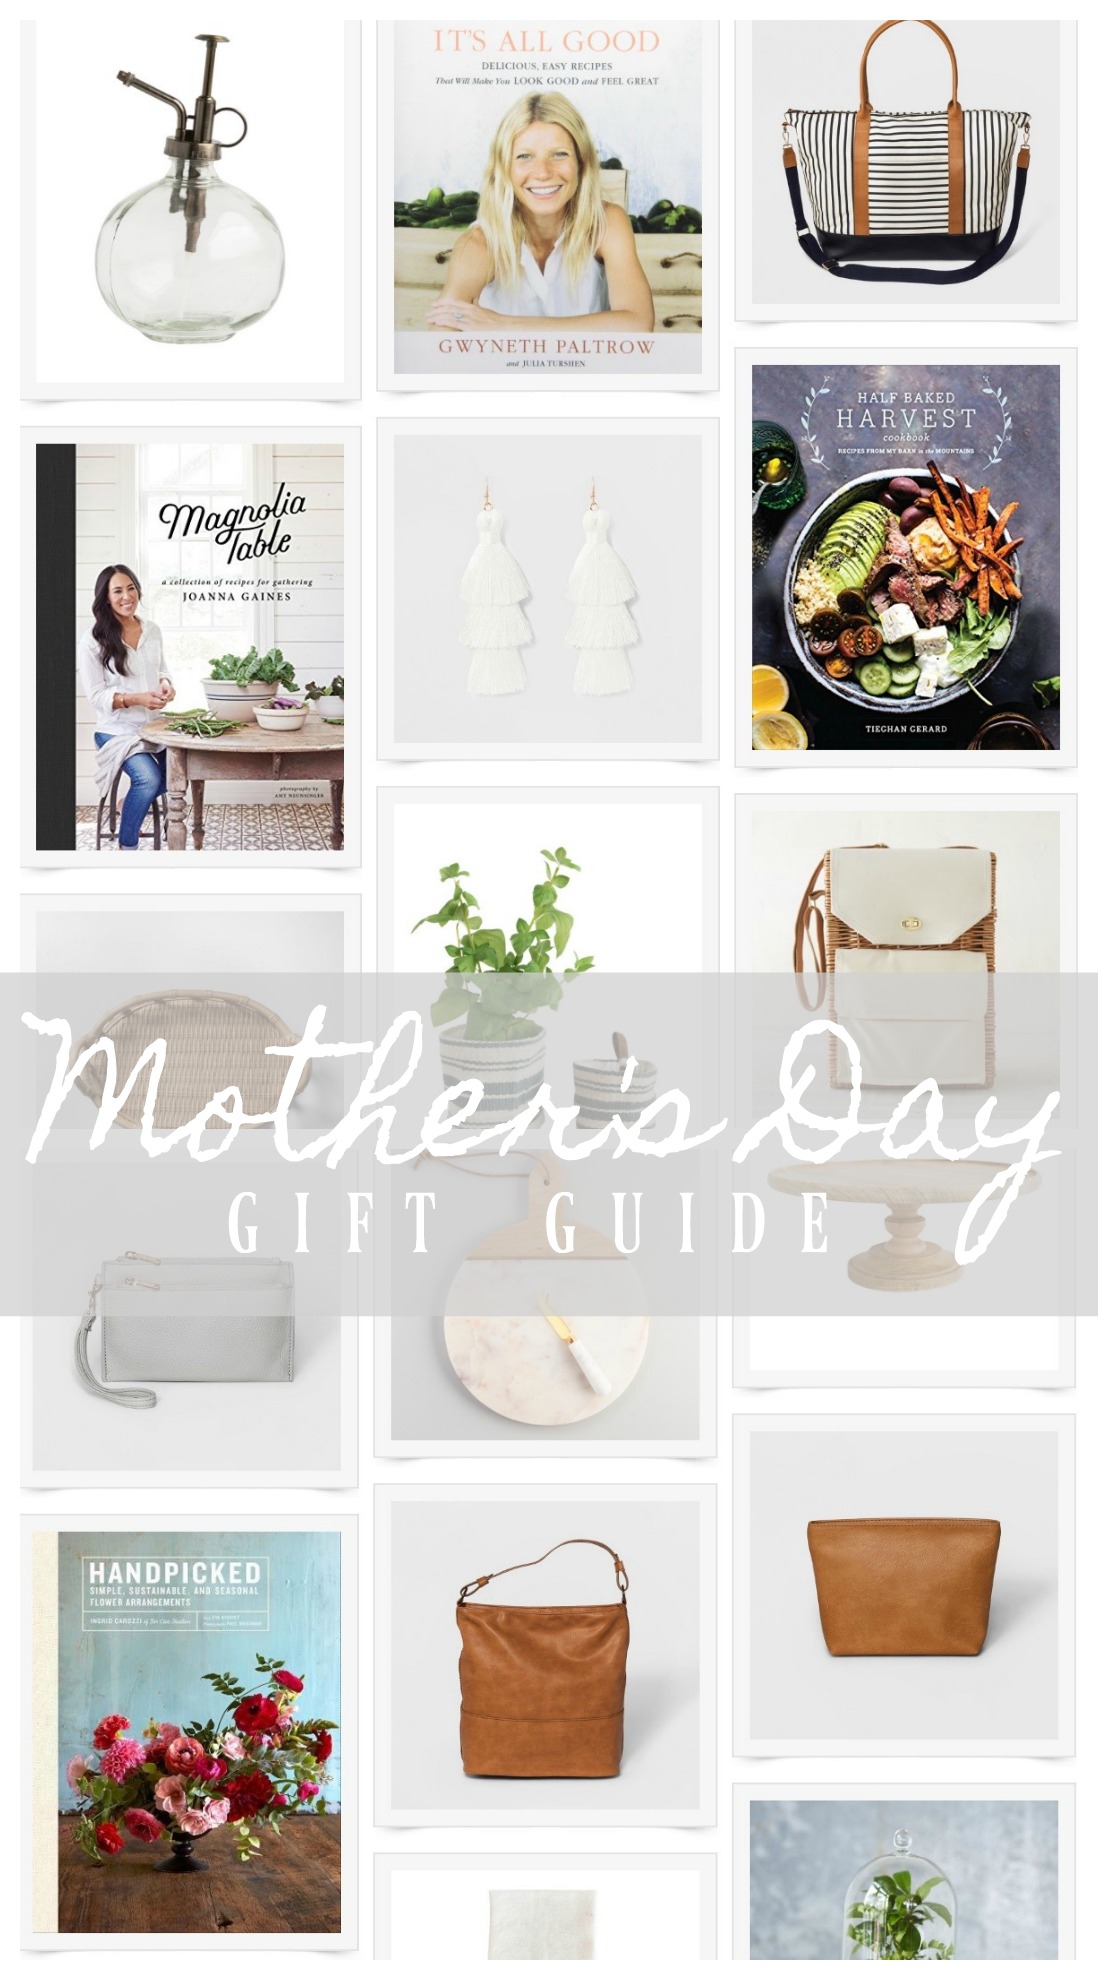
Mother’s Day Gift Guide
I get it. What do you get the women who means the most to you. Or perhaps you don’t have the closest relationship with your mom, but you still want to get her something special. Something unique. Something that says I care about you, without it being the same thing you bought her last year, or dare I even say the last 5 years?! It’s ok, I’ve got you covered today!
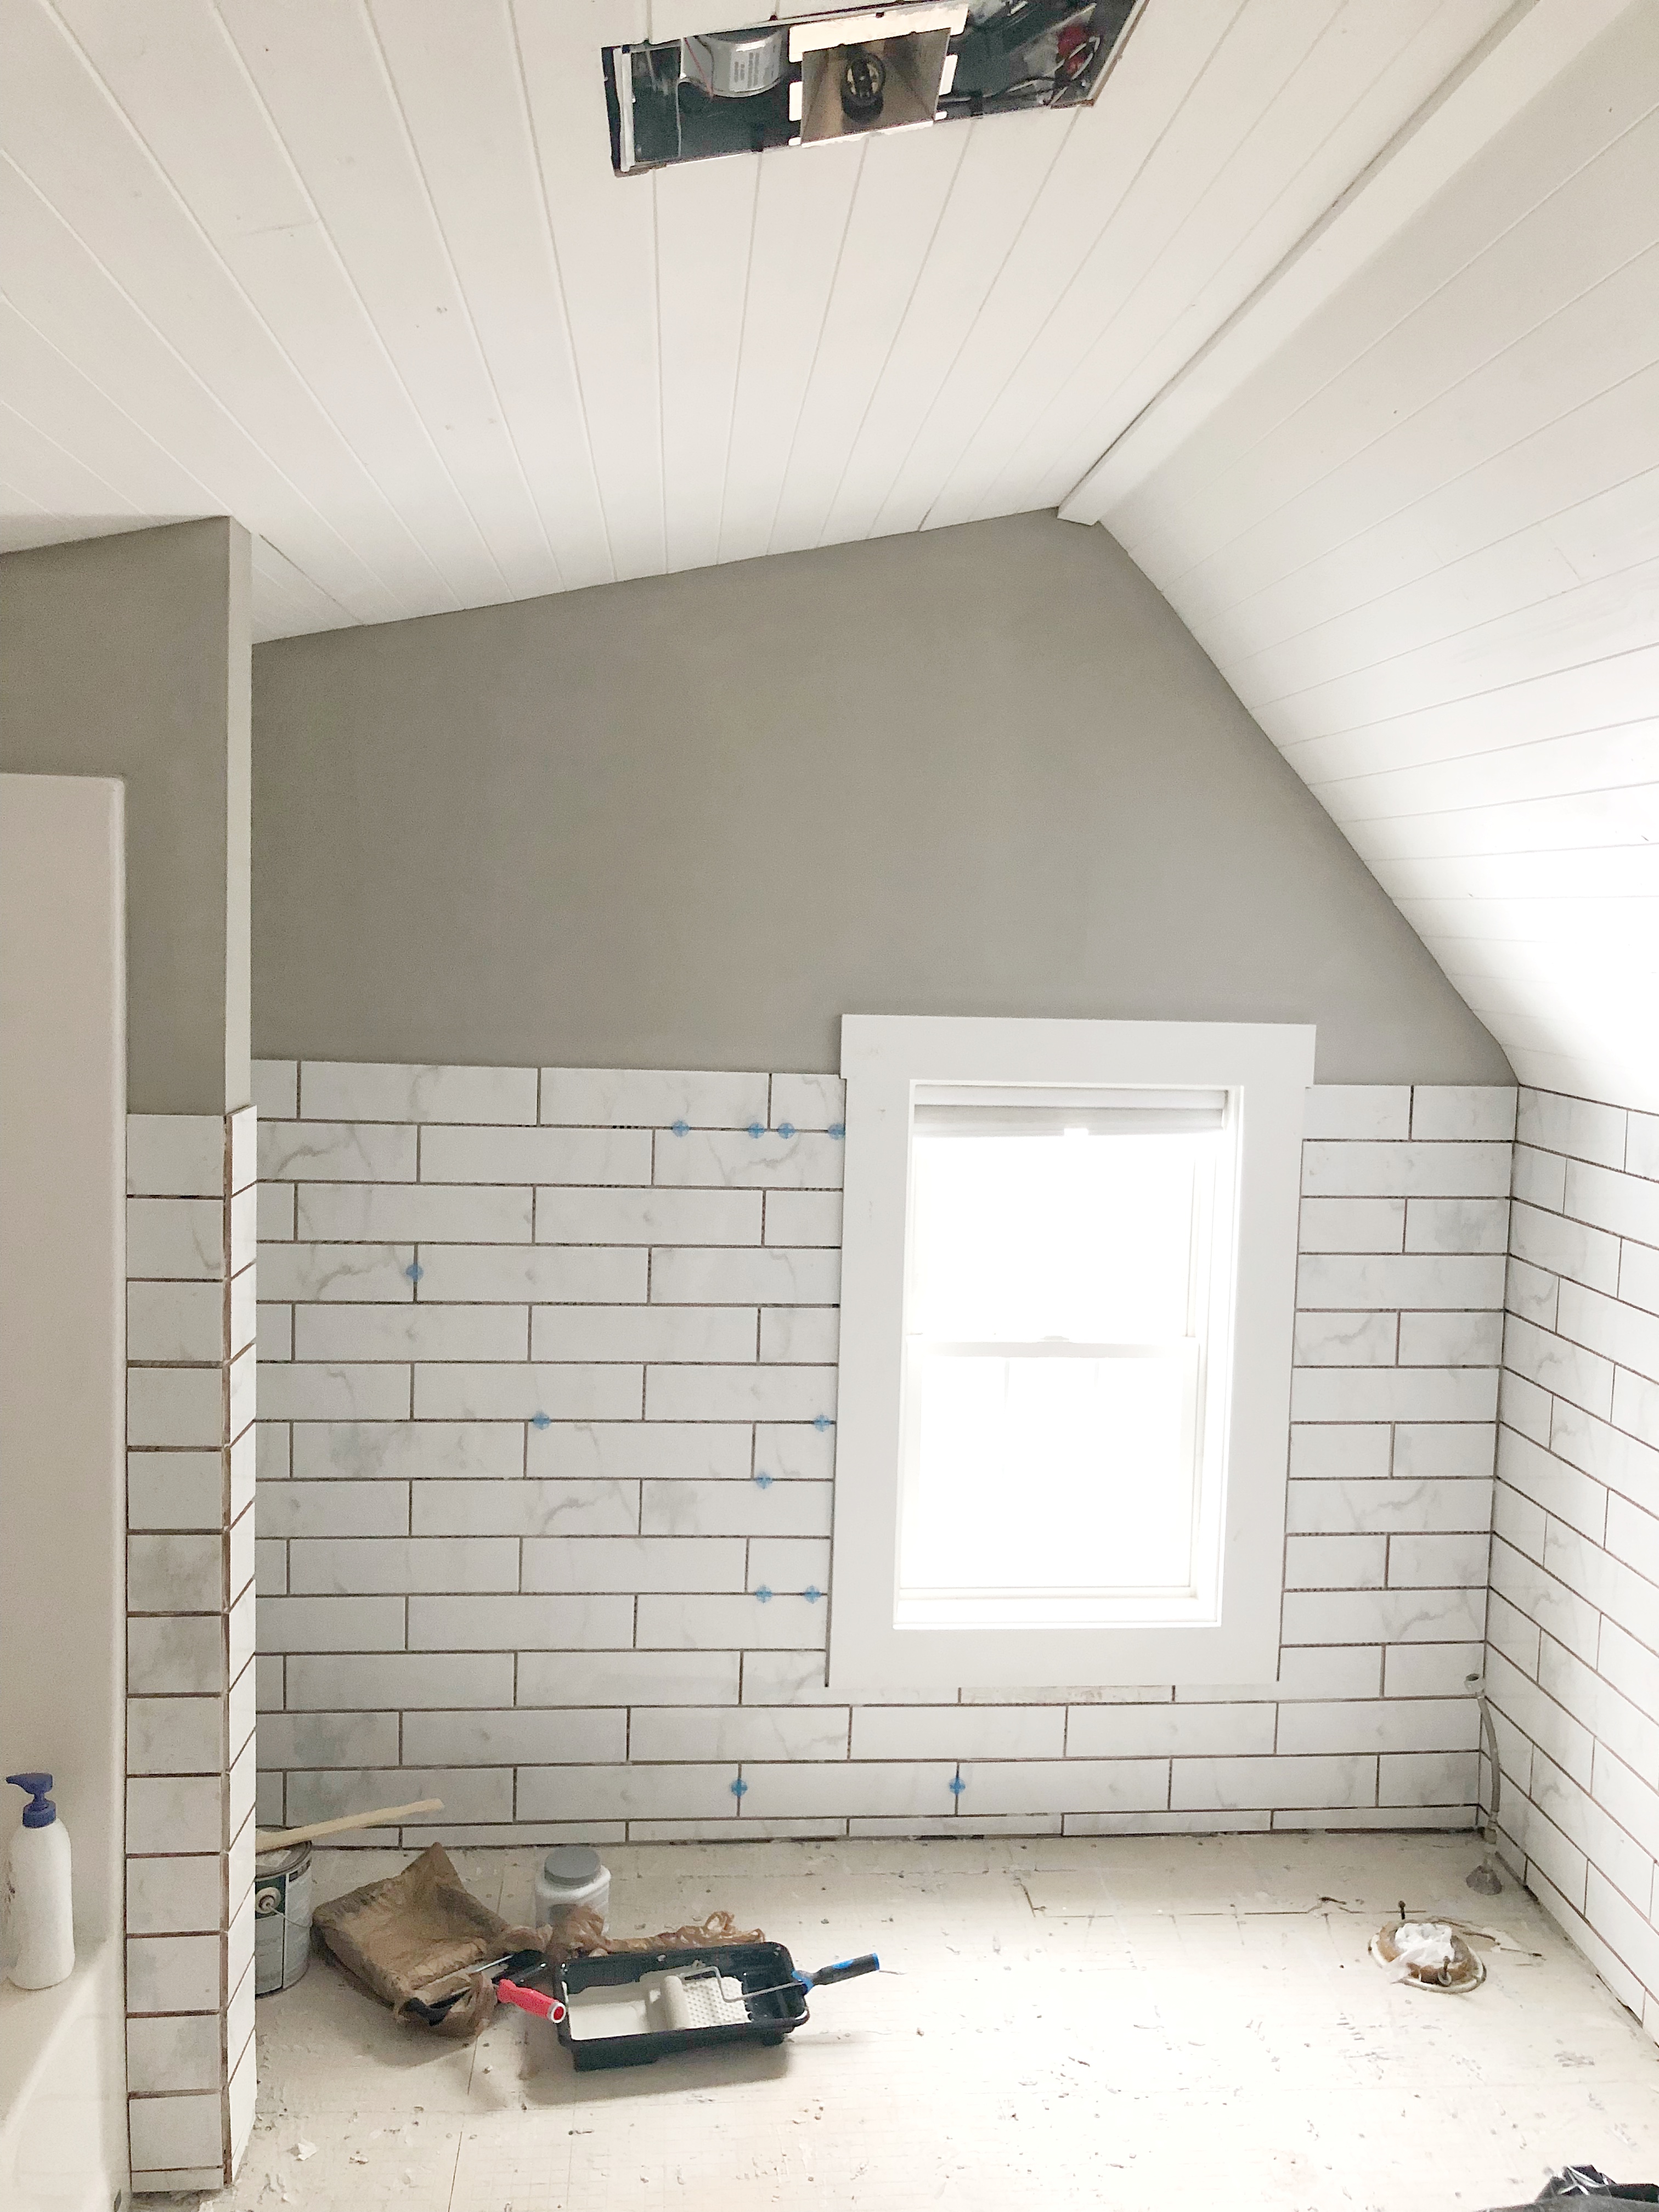
We have Tile
I was so determined to do tiling in this project. I knew it would really be a huge help to my hubby while he’s at work during the day, I could make some great headway in our reno. I have seen so many other bloggers tackle tiling, and since I’m somewhat skilled in DIY, I figured it would be smooth sailing with my hubby by my side teaching me. And you know what? I wanted to vomit!
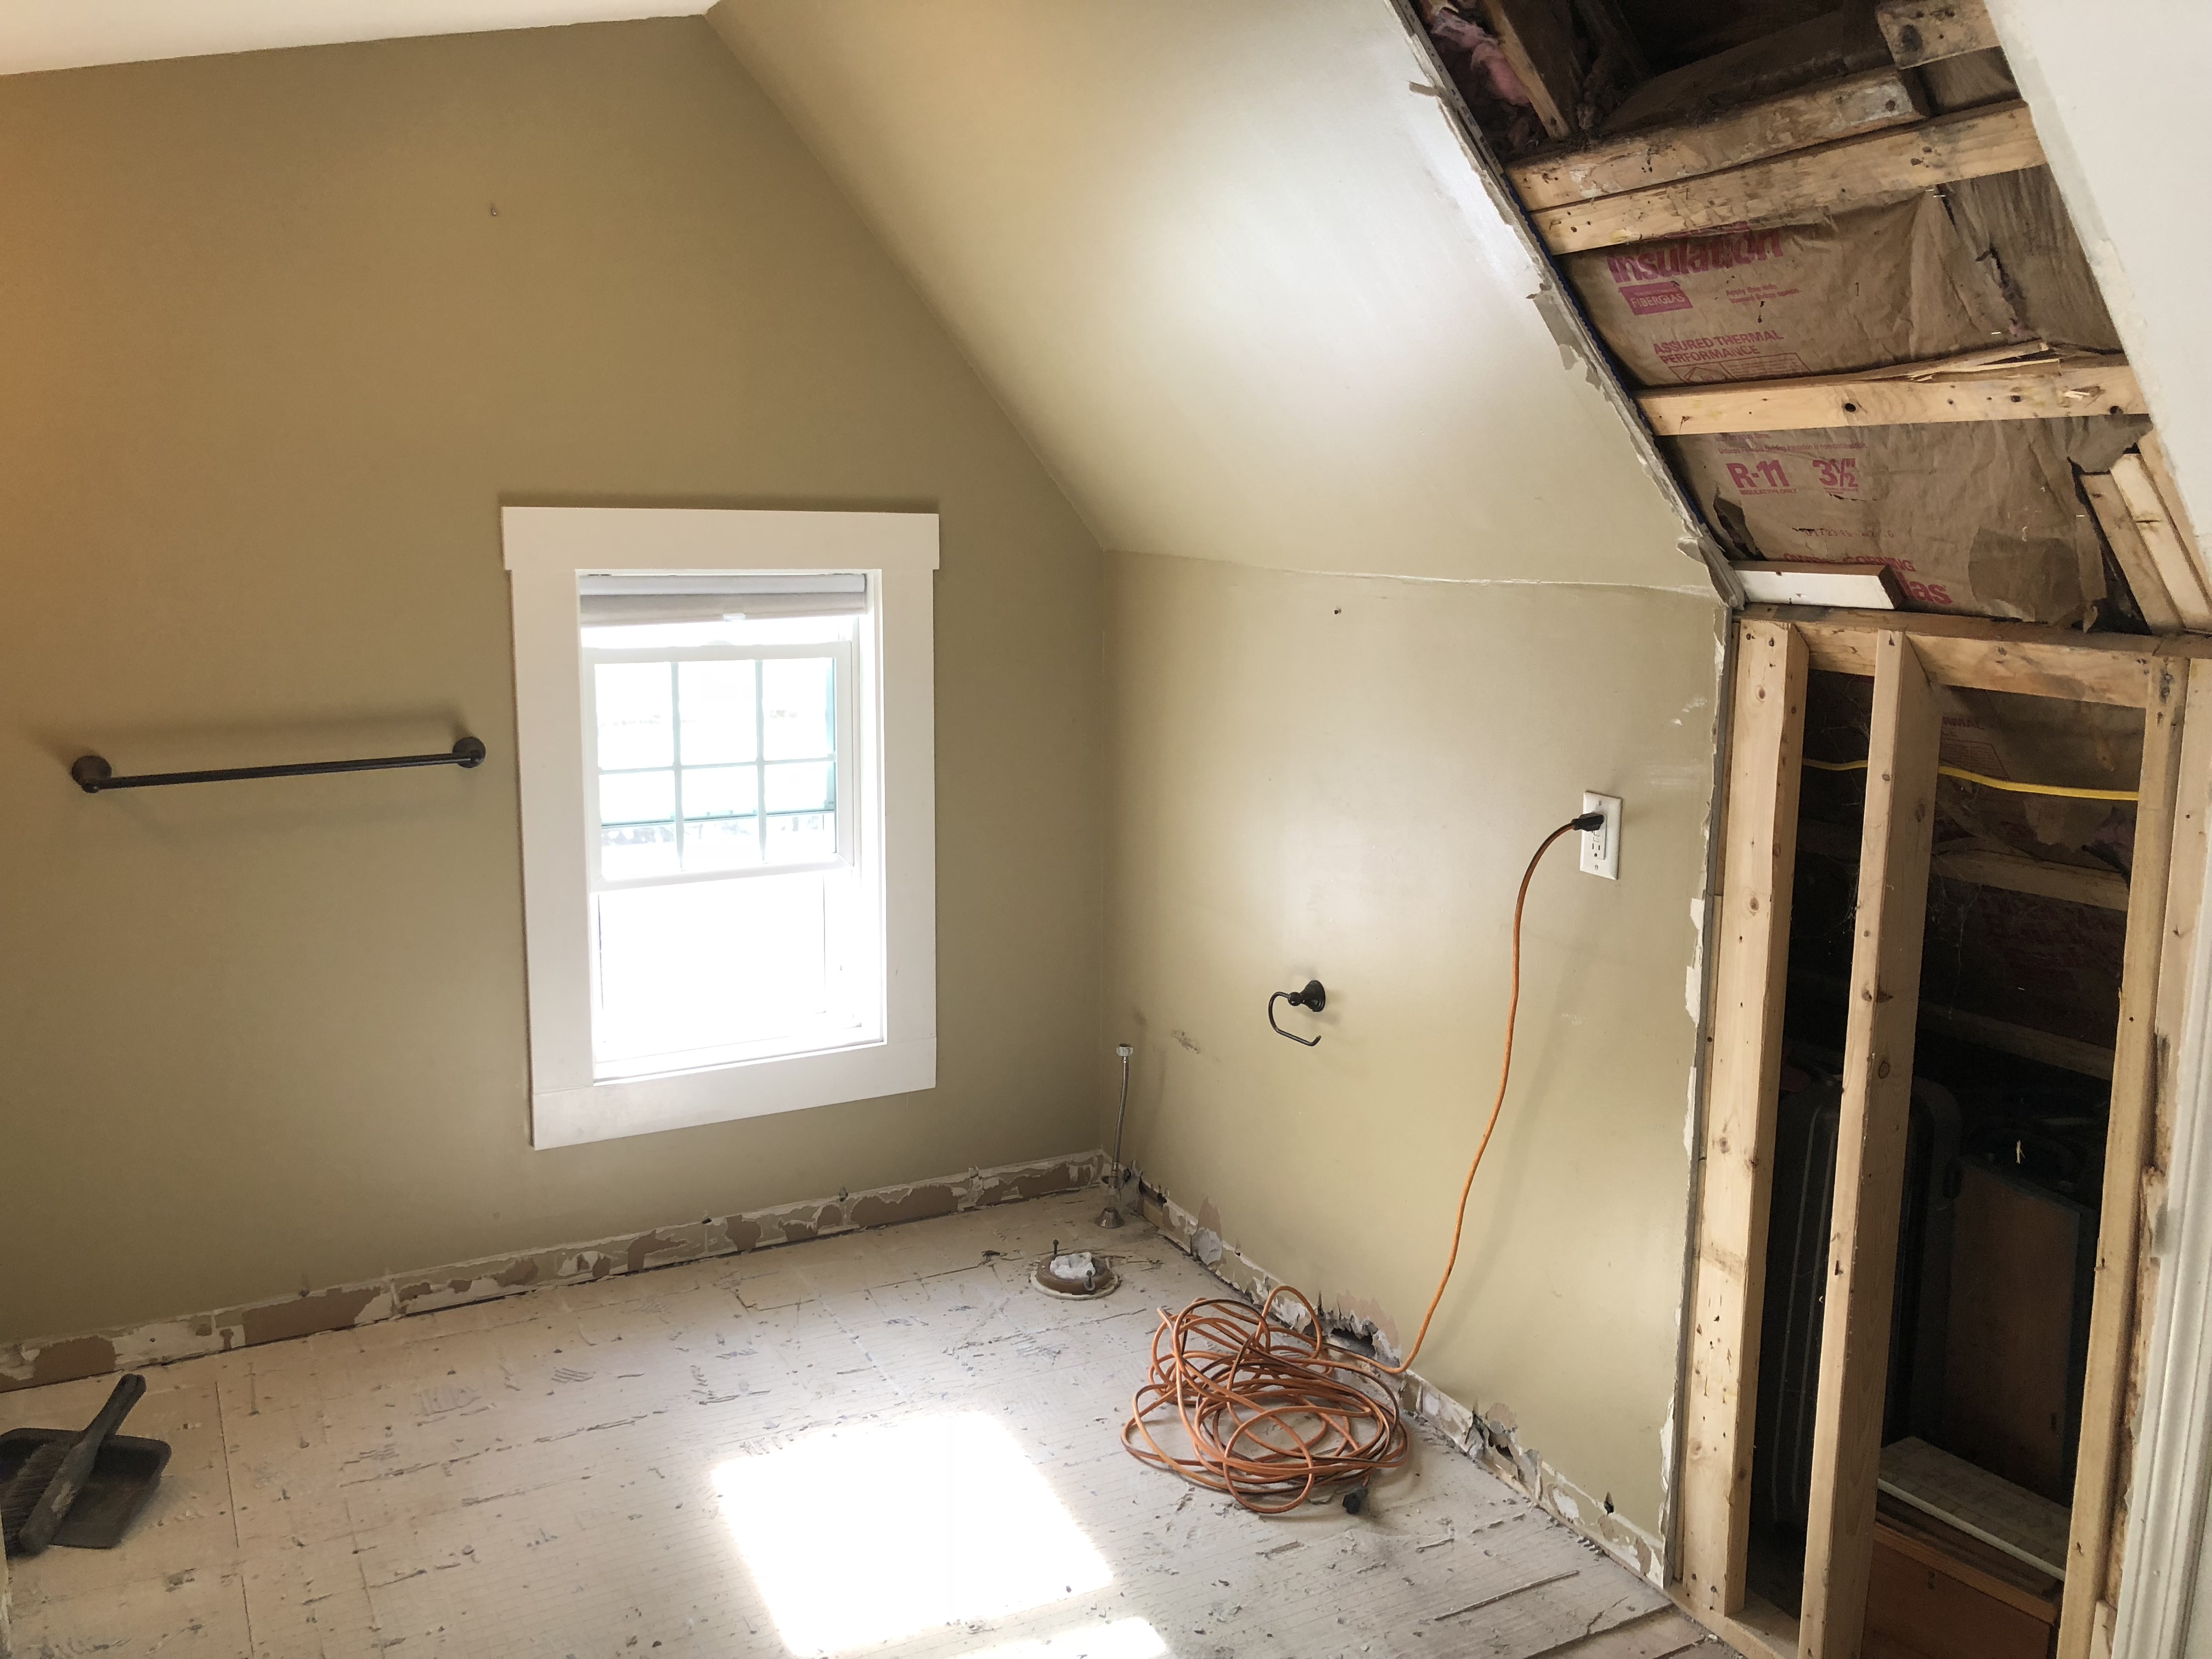
Bathroom Demo
Hi Friends!! Yes you are reading that title right, todays post is all about our bathroom demo! In case you missed it we are teaming up with Wayfair for their #oneroomchallenge and renovating our master bathroom! It’s so exciting! This room has NOT been touched since we’ve lived here, and I can honestly say it feels so good to put my signature on it! Unlike our downstairs bathroom makeover we did last year, the tub and toilet do NOT need to be replaced. However we are replacing the vanity, adding lots of new lighting, and adding a whole BUNCH of tile! EEK! You can read all about my design plan …
Master Bathroom Before
Hello Friends! I hope you are doing well! Today I’m sharing all of our “before” photos of our master bathroom with you! Brace yourselves, this is a never before seen room. Ack! And it is a whole lot of blah beige. We are teaming up with our friends over at Wayfair to join in on their One Room Reno Challenge. In case you missed it I shared the design plan for the space HERE. I am so excited to get this project started. Our master bathroom is the LAST room in our house to get my signature touch. Seriously this room has not been touched since we moved in just about 7 years ago! Yikes, but I have a feeling it will be one of our best makeovers yet!
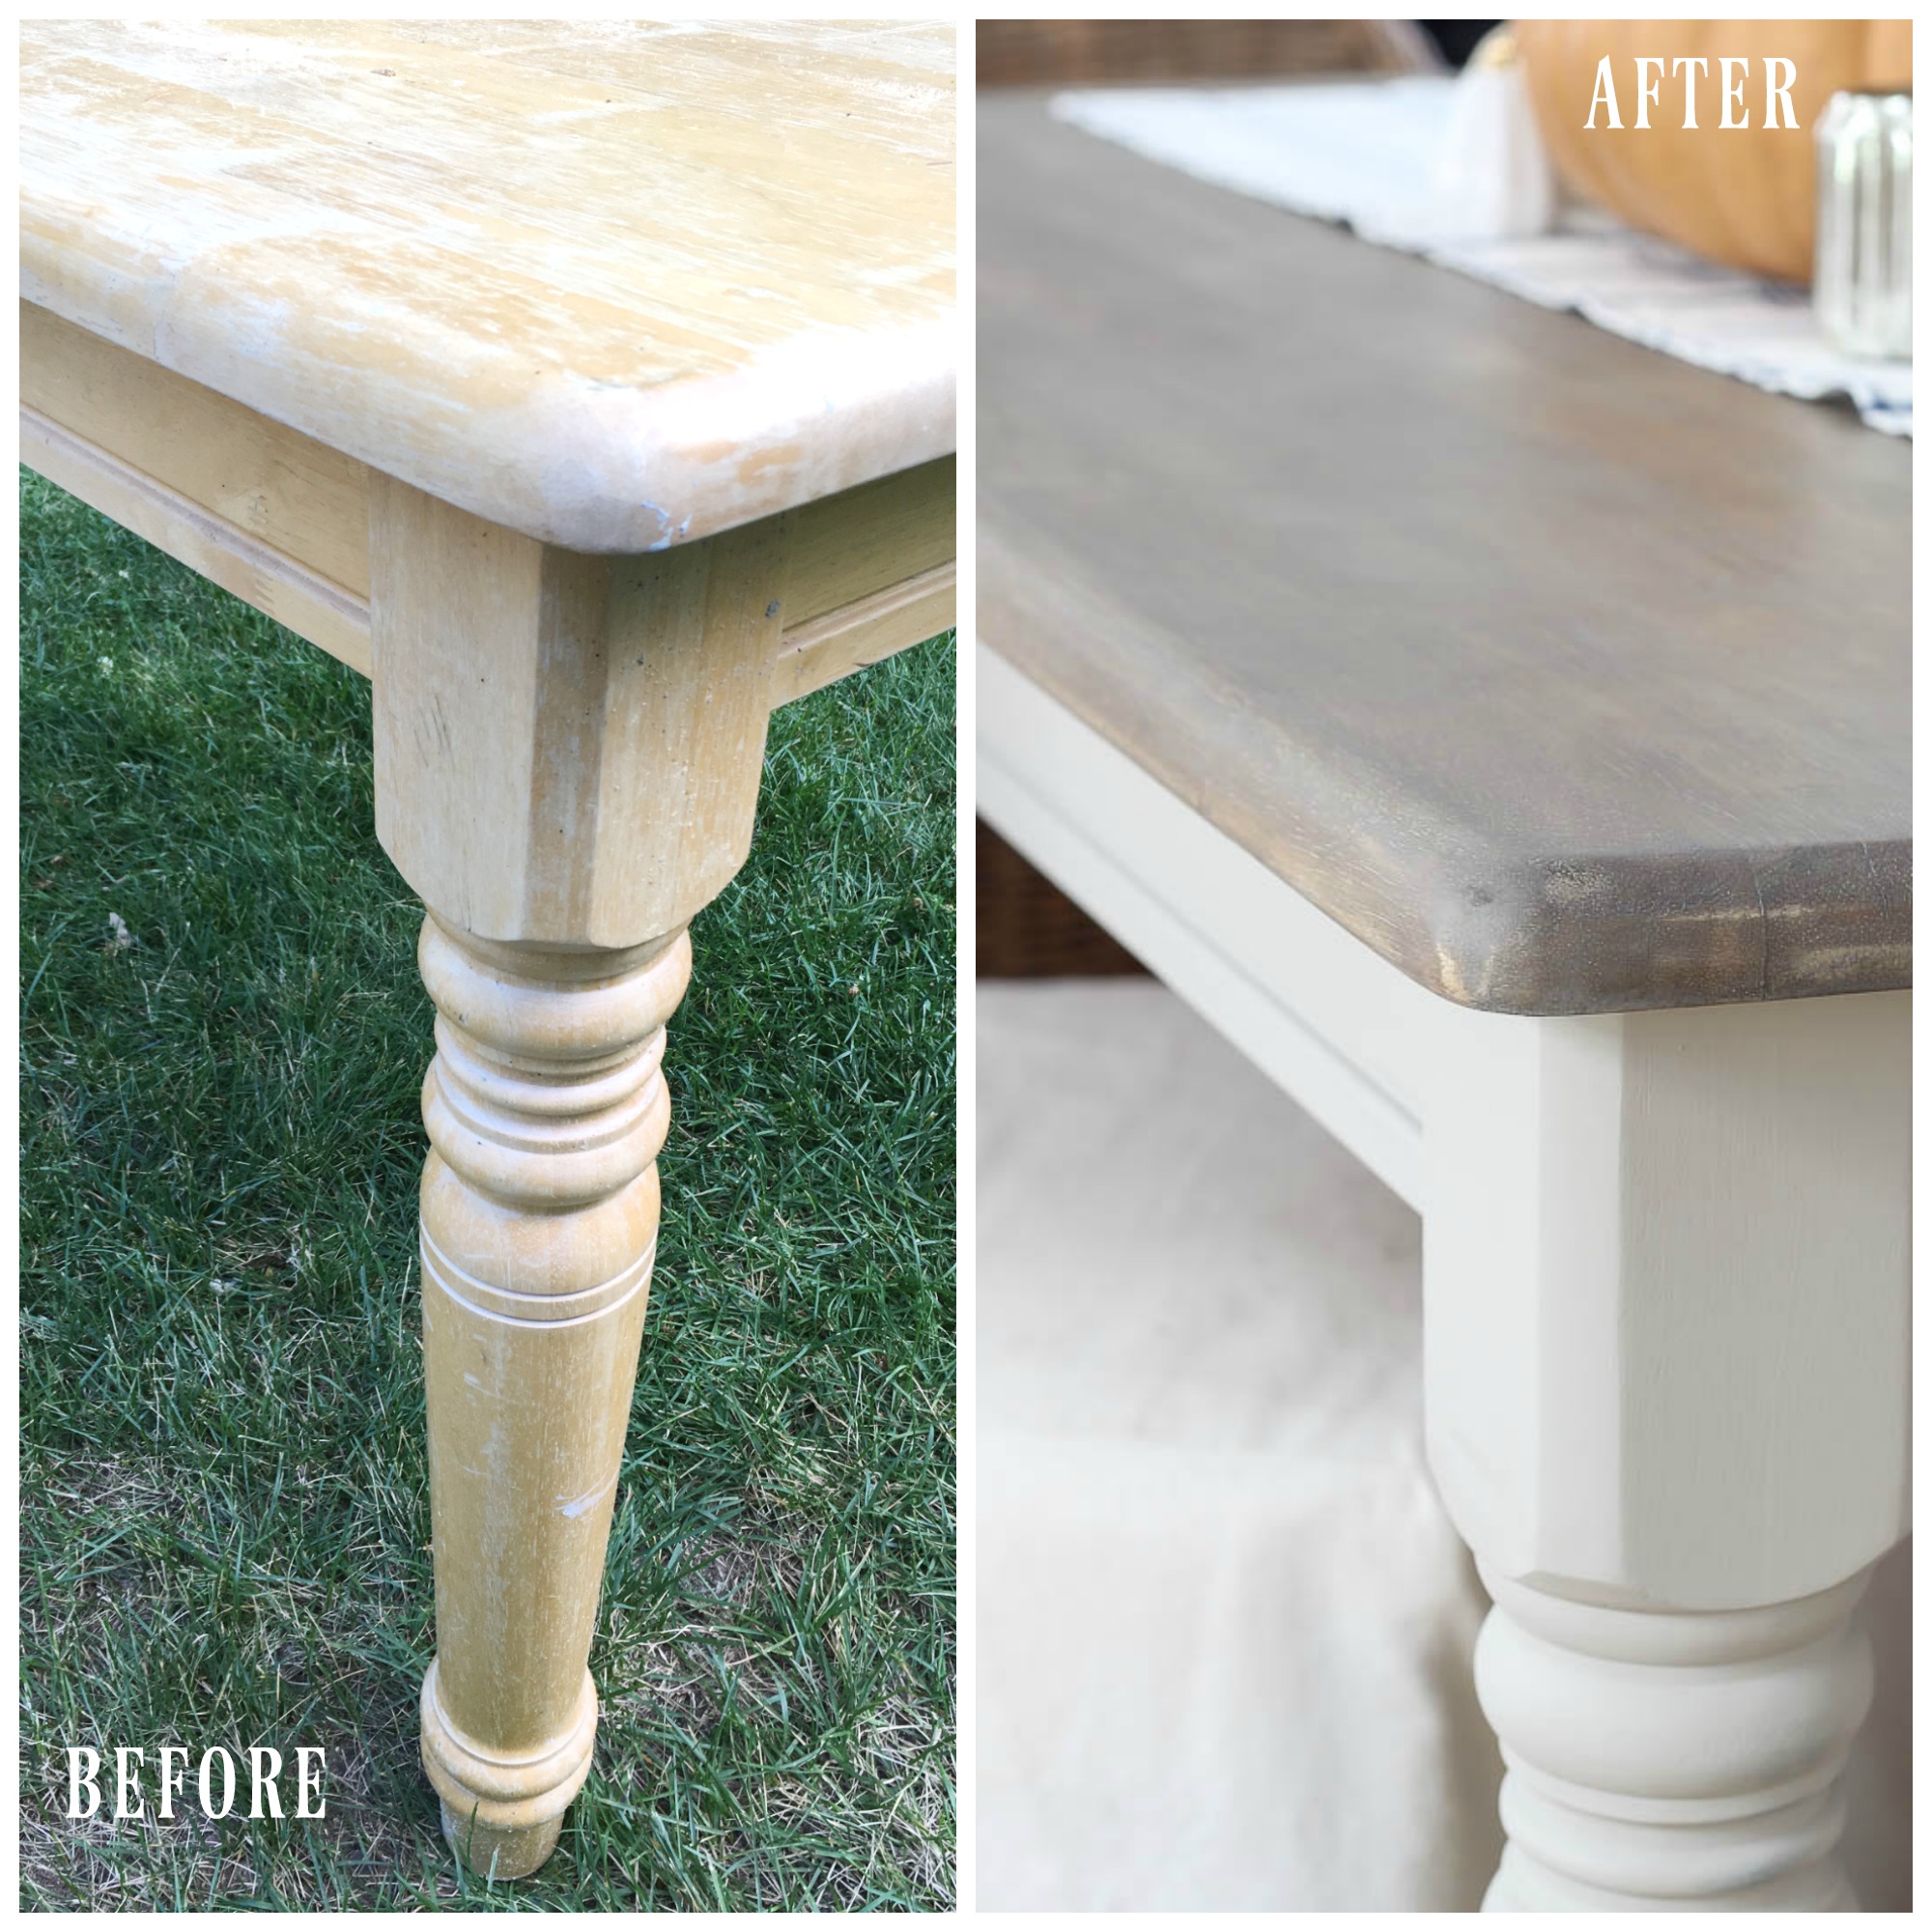
Simple Farmhouse Table Makeover
Last summer a friend of mine moved, and I inherited a few pieces of furniture from her just before they left. One of them being this solid pine farmhouse table. I had no need for another table at the time, but honestly, who can resist a piece of furniture that has the opportunity for a great makeover?? I sure can’t. My husband looked at me completely puzzled as to why I was taking her table, but I said “don’t worry” just load it in the truck. It was a solid wood, pine table that looks very circa 1990’s-ish. But when it’s solid wood, and has great legs, you don’t hesitate.
Farmhouse Laundry Room Makeover
Hi Friends! We have been busting out some projects over here that had been put on the back burner since they weren’t necessarily pressing to get done. But it feels so good to cross some of these of my list. You know that list that my husband thinks never ends, and can’t tangibly see because it exists in my head, and I slowly add to it. Todays project was one that I actually put on the list when we bought our house. But as I said it wasn’t the most important so it got pushed down to the bottom. Well not anymore friends! Today it is officially done, and I can’t wait to show you! I teamed up with Weaber Lumber to complete this project, and I couldn’t be more thrilled with the outcome! Say hello to our most recent makeover – our Farmhouse Laundry Room.
DIY Chalk Painted Cabinet
One of my favorite transformations to do is making over a piece of furniture. I love that for a fraction of the price of buying a new piece, you can make existing furniture work with a little elbow grease. That was just what was needed for the little cabinet we have in our downstairs bathroom when we gave it a makeover. The best part about this little DIY was I completed it in a day, so if you are looking for something fun to do this weekend, or coming week, this is a great project that anyone can tackle.
Bathroom Makeover Reveal
Friends, today is the day! I’m finally sharing our bathroom makeover reveal! I wanted to keep the overall feel of the design of the bathroom vintage yet classic. It was important to me to choose elements that not only complimented our style, but complimented our house too. Since we live in an old farmhouse, even though we were adding all brand new pieces I wanted them to feel like they matched the era of the house, and would feel like they always belonged.
- « Previous Page
- 1
- …
- 3
- 4
- 5
- 6
- 7
- …
- 15
- Next Page »