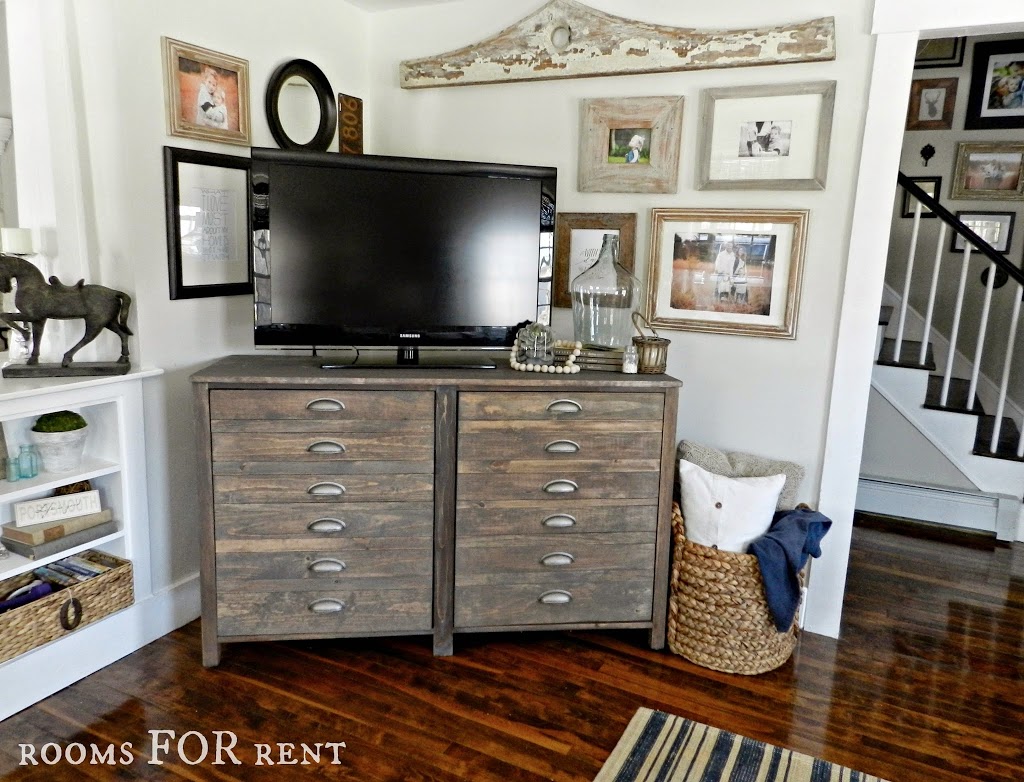
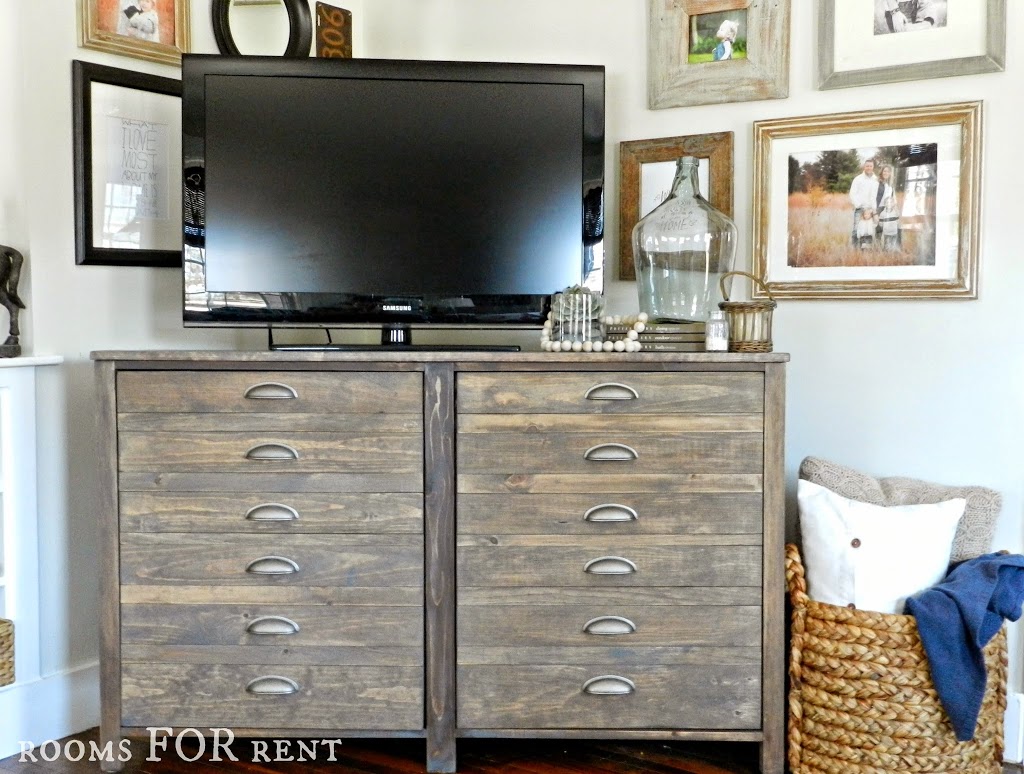
If you follow me on Instagram, than you have already gotten to see a few sneak peeks of our DIY printers cabinet tv unit. Allow me to introduce you to a corner of our living room that you haven’t seen much of before. You’ve seen it here, and I loved our previous tv unit, mostly because it hid the tv, but it was very deep, and just too big for the space. Then I found plans for this piece (here), and I was in love!
If you click the link above, Ana White gives great furniture plans to build this yourself, however I will say for those of you wondering “If you could tackle a project like this?”, make sure you have the right tools. I would not attempt it if I didn’t have all the tools she lists to complete it. (We also came across a few errors with the wood sizes listed, and we also added more shelves than she listed).
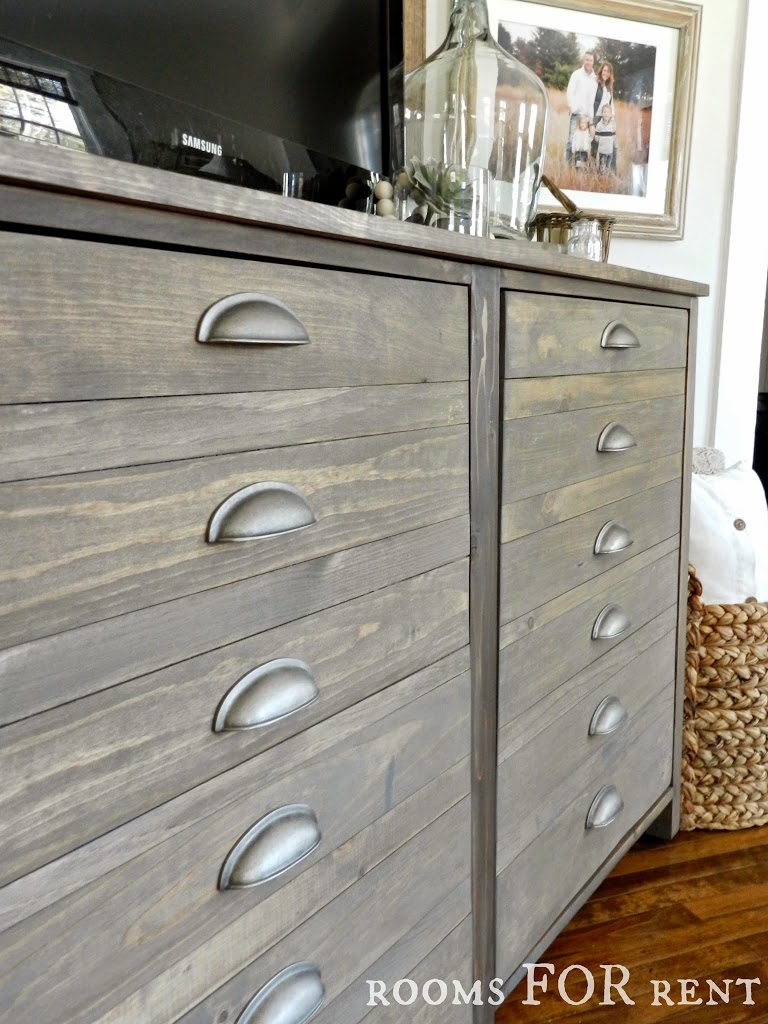
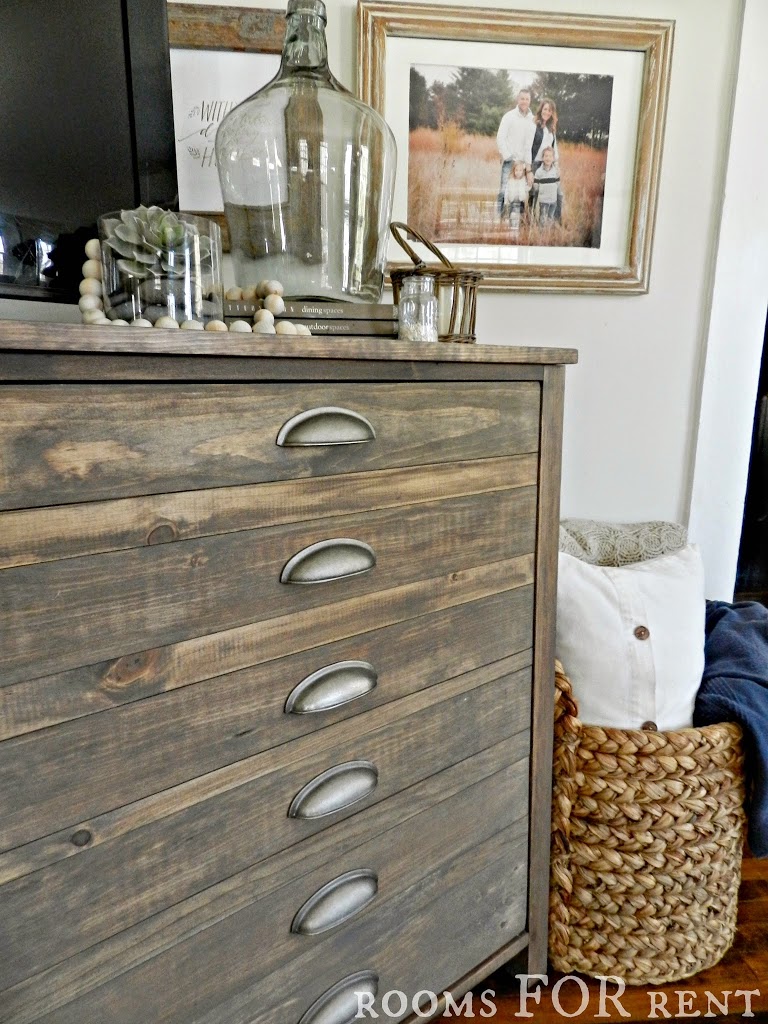
I really wanted this piece to have the same look and finish that you would find in Restoration Hardware. To accomplish that weathered wood finish, I first rubbed Minwax “Special Walnut” over the entire piece. Once that had completely soaked in, I rubbed a light coat of Rustoleum “Weathered Grey” over the entire piece. Basically rubbing it off once I rubbed it on, because I didn’t want to cover up the wood tone underneath.
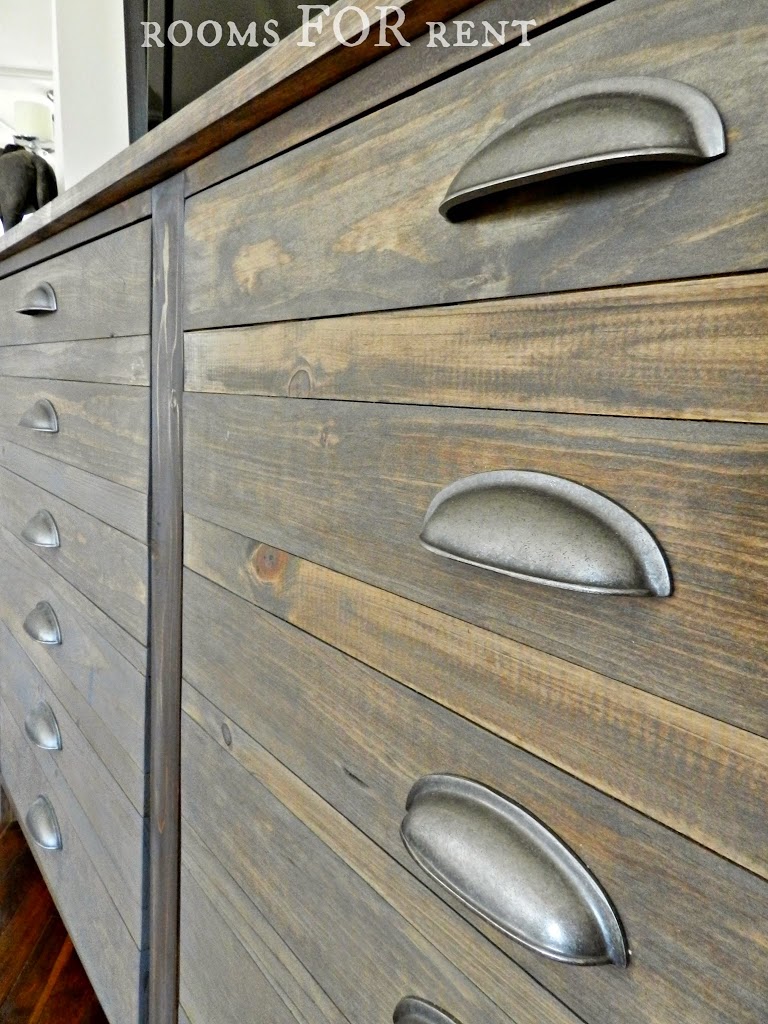
To complete the vintage Printers Cabinet look, I really wanted the hardware to resemble something that you would have seen back when the piece was made. I was in search for the perfect vintage cabinet pulls. However finding more than 4 of the same style is not that easy.
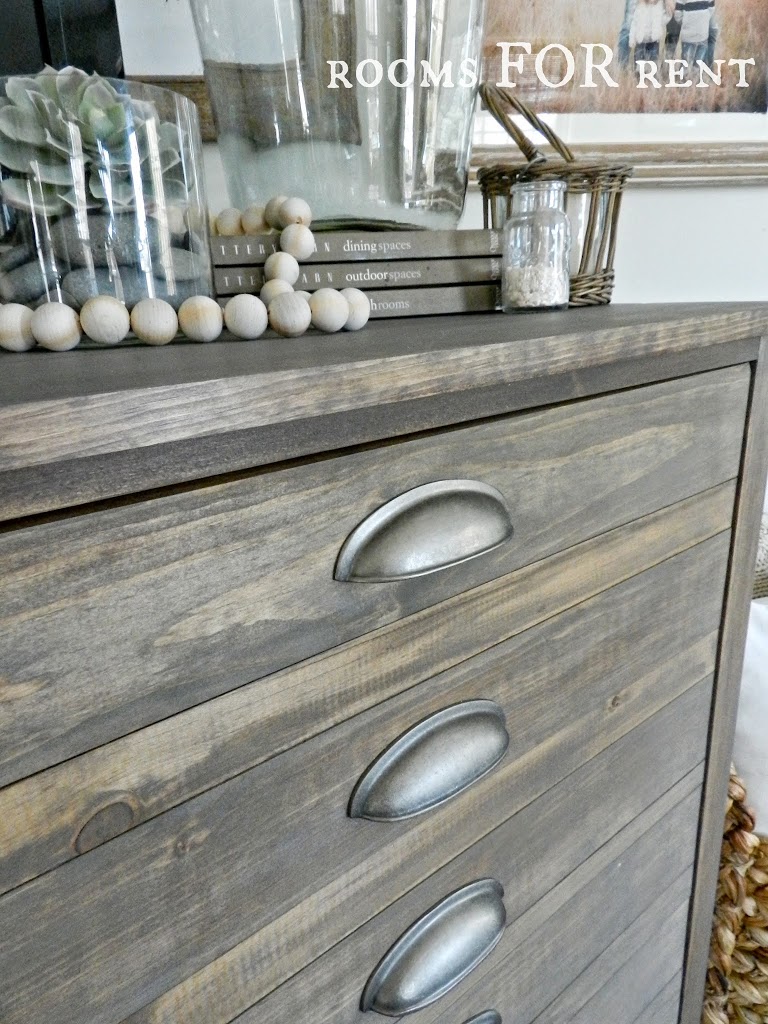
These gorgeous pulls came from DLawless Hardware. They are described as a “heavy antique iron pull” and that was exactly what I was looking for. They are even more stunning in person. They are nice and heavy, like the quality you would find from vintage pieces, and have the perfect antique look to them.
I was so impressed with them when I received them, they are larger than anything I’ve seen at the local hardware store. And I couldn’t wait to get them installed!
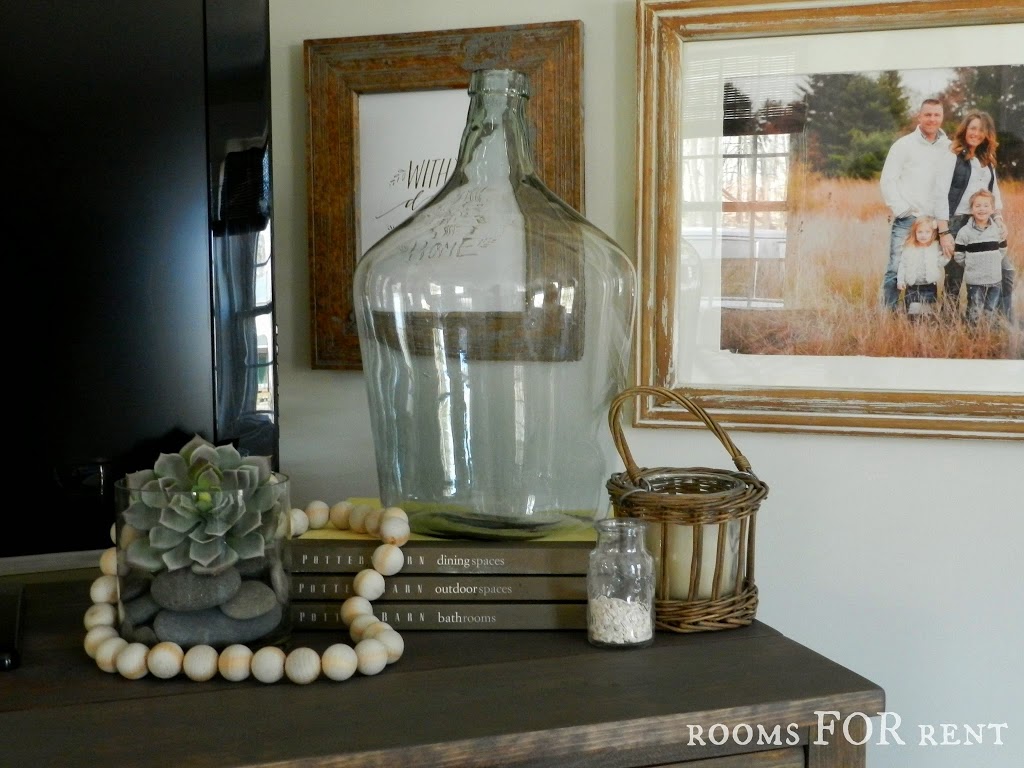
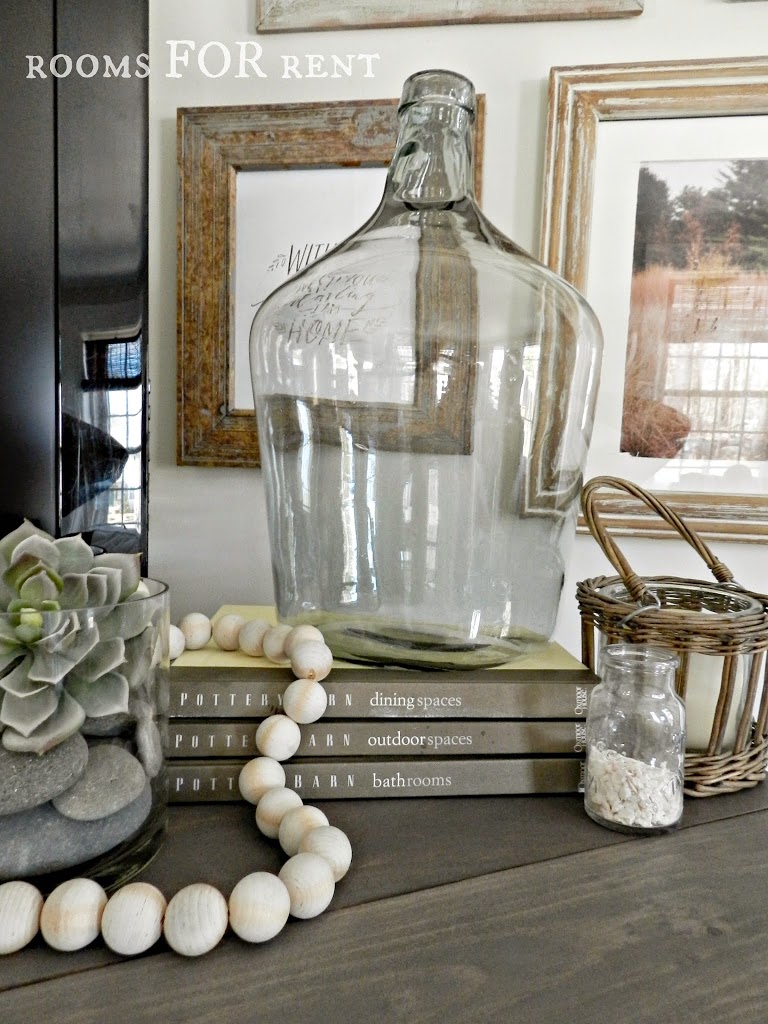
I’m not quite done with the gallery wall behind the tv, I have a few more pieces left to hang, but couldn’t wait to show you guys 🙂
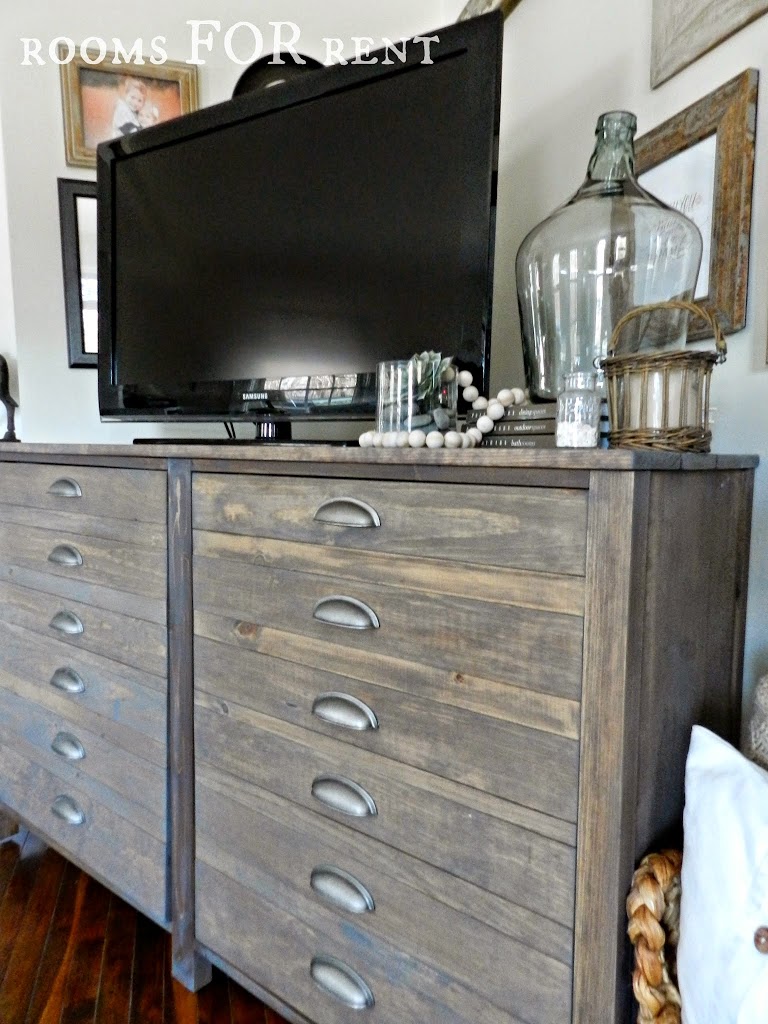
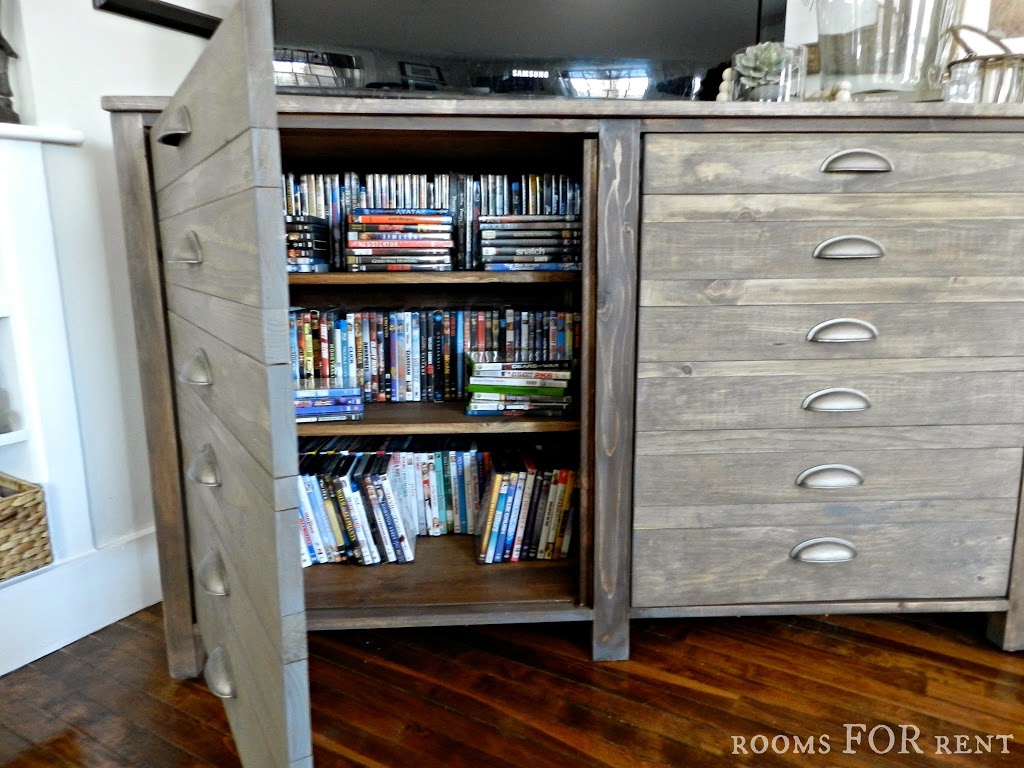
One of my favorite features about this whole furniture build, is it gives the illusion of multiple drawers, like the old printers cabinets. However it’s not!
It’s in fact 2 doors, with shelves inside to hold all of our dvd’s! The kids get one side, and we have one side. We still have to drill a whole in the back to so we can put our dvd player in the cabinet instead of on top of it, but we can get to that later.
For now I’m just thrilled to have this piece done and in place. I love the look and feel of it, and the effect is gives the whole space. I have a feeling you will be seeing more of this corner in our living room from now on!
Detail Breakout:
Minwax – Special Walnut
Rustoleum – Weathered Grey
Hardware – DLawless Hardware

I have a coffee table I am redoing and I think I will try this stain technique….I was curious if you sealed it with any kind of wax or poly? This is my first time attempting anything like this, so I appreciate any advice you can give 🙂
Hi Amanda. I did seal it with a wax, and it gives it a really nice smooth finish 🙂
Looks great! Looks so much like Restoration Hardware! Great job!
Stumbled on this post. Love the finish on this piece! “Brag Post of the Day” on our Facebook page!
This looks great! Did you rub the excess walnut off before adding the weathered grey?
Yes, After applying the walnut stain, I wiped off any excess left over. Then once it was completely dry rubbed on the weathered grey 🙂
I just LOVE this piece. You finished it beautifully!!!
you have such gorgeous style!!! Christine from Little Brags
Bre I cant tell you enough I much I love this!!! It is stunning! I love everything you do & adore your blog:). Have a nice Sunday with your family sweet friend! ps-thank you for all your support, it means the world to me:). Jen-City Farmhouse
Wow, awesome that you guys made that and I would never have guessed that it had doors instead of drawers! Great storage and a gorgeous finish (thanks for sharing the staining process.)
Thanks to Pinterest, I found your blog. This is the most beautiful DIY I’ve seen in a very long time. I have one question though. After you applied the stain, did you put any kind of protective finish on it? No matter what kind of poly or finish I try, I always get a sheen, which I would prefer not to have. Now I’m off to read more of your posts!!!
That is stunning! I was so surprised when you said they weren’t draws, but door! Great piece!
ADORE!!!!!!!!!!!! PERFECT PIECE!
So awesome. It looks great! I love me some Ana White. Have you ever done a post about your hardwood floors? I can’t get over how shiny they look.
I love it sooo much! And your gallery wall around it is amazing too. I have been working on one around my tv forever and just can’t get it finished. Yours is so inspiring!
oooh i love it! that finish is soooo good!
Beautiful, as always, Bre!
WOW!! What an amazing job!!! Love the storage and the combo of the stains!! Looks like a piece right out of a catalog!!! I’m so jealous! I’m so not handy with power tools! Well done!
Thanks Lisa!!! I feel the same way! This was def. not the first piece we attempted to build, I’m glad we “built” up to it! ha ha ~Bre
I love how this turned out Bre!!!! The two stains is genius and that hardware IS amazing! Nice work!!!!
Thanks Anneke!!!! It too me a bit to figure out how to accomplish that “look” without it being to grey 🙂 And now you know why I was showing that hardware off all over IG 🙂
took*
That finish…my oh my!! Instant rustic cabin feel. Makes me think of a northern NH getaway 🙂 You pulled the beauty right out of this piece…well done, Bre!!! 🙂
Ohh thanks Charisa 🙂 You took the words right out of my mouth :)!!
I love it and love the weathered finish.
Thanks Kim!!!!