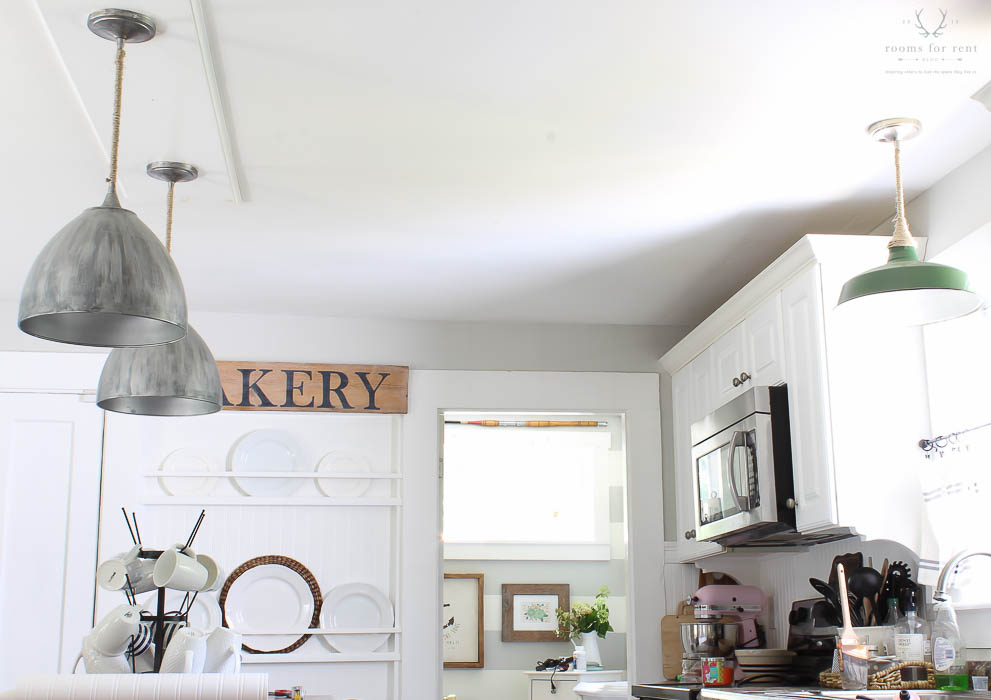
I have been wanting to add bead board to the ceiling in our kitchen since, OH about FOREVER! There are plenty of options out there for installing bead board, and for the most part non are super pricey. They more differ in difficulty and the tools needed to install. I’ve always loved the look, and even though the hubby was on board, his plate has been so full I couldn’t see him having time any time in the near future to tackle this project. One of the options I always kept in mind was using bead board wallpaper, and so that was exactly the route I decided to go. The ceiling in our kitchen was smooth, so using wallpaper was a perfect solution.
Plus it was a project I could tackle on my own, which means the hubby got a free pass on this one! I chose Graham & Brown’s bead board wallpaper. It’s a thicker wallpaper, but has texture so it gives the appearance of actual bead board to the touch. The only tools I needed for installing were a level, a tape measure, and a X-acto knife. 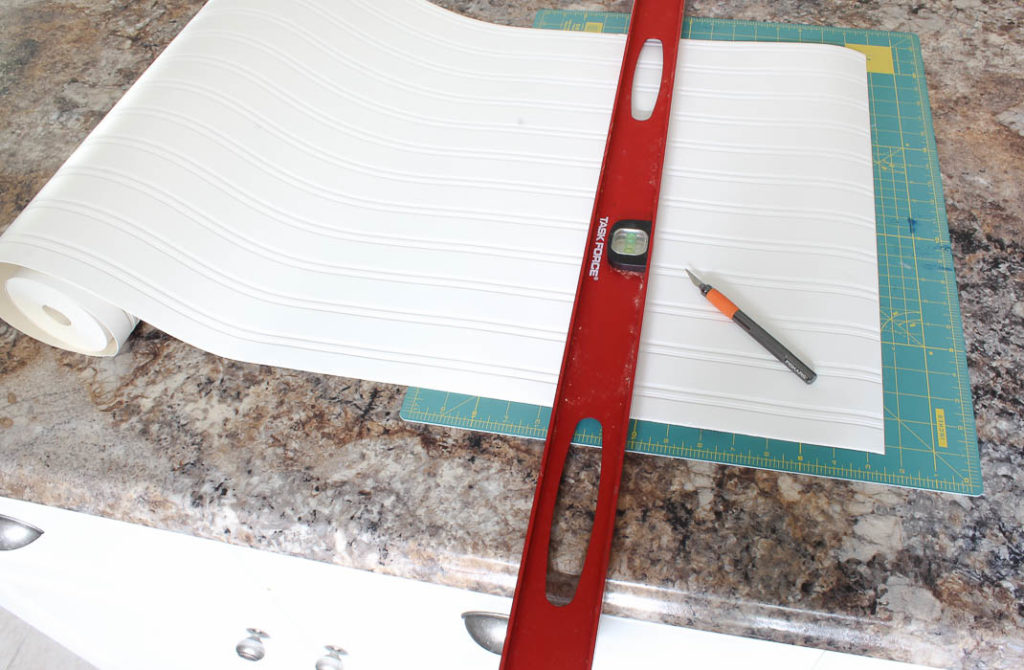
I started off by measuring sections of the wallpaper, cutting it with my knife, and then following the steps from the wallpaper instructions to prepare my wallpaper for installing. *Quick Tip* – I did a small test piece first to get a feel for the wallpaper. To see how long to let it sit after soaking to let the paste activate, and allow it to slightly dry.

I found that if the wallpaper was too wet, it wouldn’t stick to the ceiling. However if I let it dry a little longer after soaking it, the wallpaper had the perfect amount of tackiness to apply. If I let it dry too long, the glue would loose it’s stickiness, and just fall right off the ceiling.
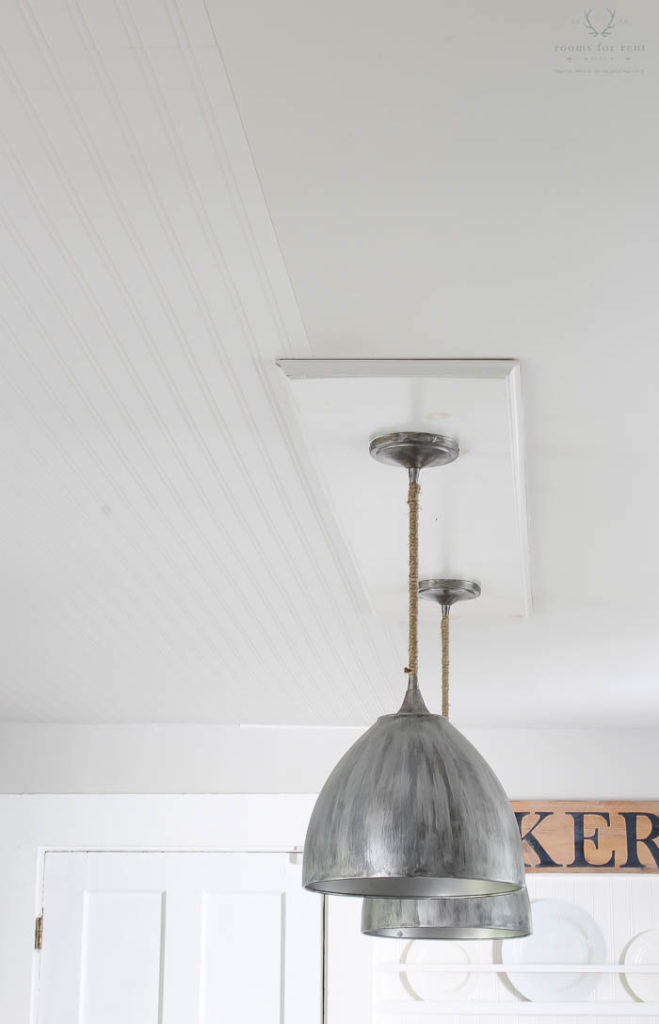
This wallpaper was really easy to install, and easy to remove and reapply if you mess up. Which is great for those of us that need a 2nd or 3rd try to get it lined up just right. 
I’m loving the texture and character it’s adding to our kitchen. It already feels much more cozier in the space, and once it dries you can’t even tell that it’s not actual bead board, but wallpaper instead. I can’t wait to share the full reveal with you next week!
Stay in touch!
Instagram / Pinterest / Facebook
Have a design question? Visit Doucette Design Co. for all your design needs!

I love my beadboard wallpaper ceiling! Have fun with it, let me know if you have questions!
I love this idea! My grandparents farmhouse had true beadboard ceilings and I have often wished that I had gone in and salvaged it before my aunt had the house torn down (yes she is on my bad list for that).
I loved meeting you at Haven, and can’t believe I was lucky enough to be given you as my mentor!
Smoochies, Jody
Hi Bre!
Did u just put it up with your hands or with a roller?
Cant wait to see the final results! Love everything you do!
Emily
Hi Emily! I just used my hands, and smoothed it out with my hands too 🙂 I’m more of a start a project with as minimal tools needed as possible person 🙂 ha ha. Not always to my benefit, but this went up just fine.
I have used this exactbeadboard wall paper for my hall way and living room. I then painted mine. And 4 years later, I still love it!
YEAH!! So glad to hear it Deb!
Hey girl this is so cool! great job!